This Grandmaster quest sees you continue the Mahjarrat storyline, hunting down one of the most powerful artefacts in existence while ensuring it doesn't fall into the wrong hands. This artefact is known by many names – most recently, the Stone of Jas. It has shaped the course of Gielinor’s history, from the creation of the first Runes to the fall of Zaros. It was last seen at the devastating end of the God Wars, when Zamorak, in a fit of rage, used it to reduce the land of Forinthry to the Wilde
1 log of any type except redwood (you can obtain one using a bronze axe next to the Hunting Expert, but you must not already have an axe in your inventory (a Zombie axe counts, even though it can not be used to cut down trees)
Follow the chapters below. Click any screenshot or diagram to view it at full size.
01
The Crux Eqal
Items recommended:Antipoison and combat equipment to defeat two level 167 Assassins.
The player may receive an Armadyl communiqué from a Guardian of Armadyl during gameplay, but is not necessary to start the quest. Players may choose to wait and receive it if they wish to acquire the item.
Speak to Ivy Sophista at Taverley to begin the quest. She is found in the same building that houses the crystal chest. She will tell you about the danger that Lucien poses, and thus refers you to Thaerisk, as what he is going to say requires the utmost secrecy. Head up the ladder and talk to Thaerisk, who will continue to talk about Lucien, the evil Mahjarrat has become even more powerful since acquiring the Staff of Armadyl.
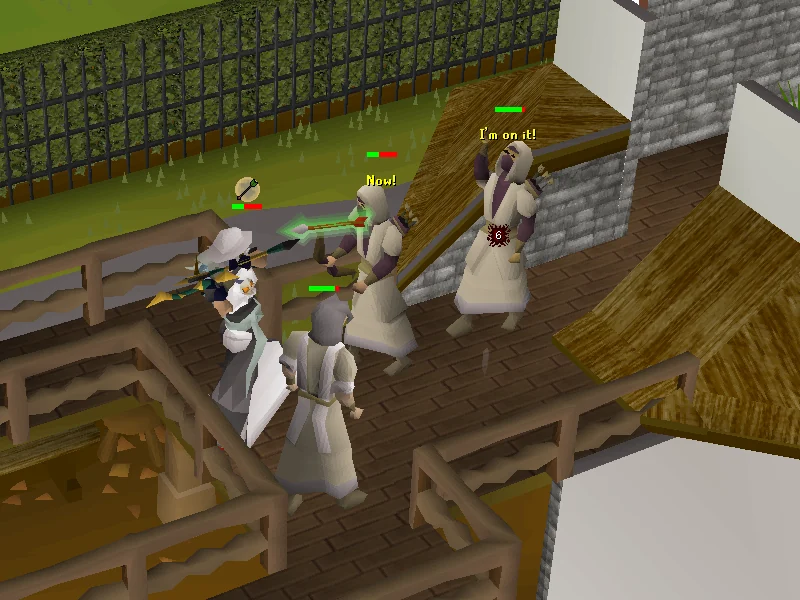
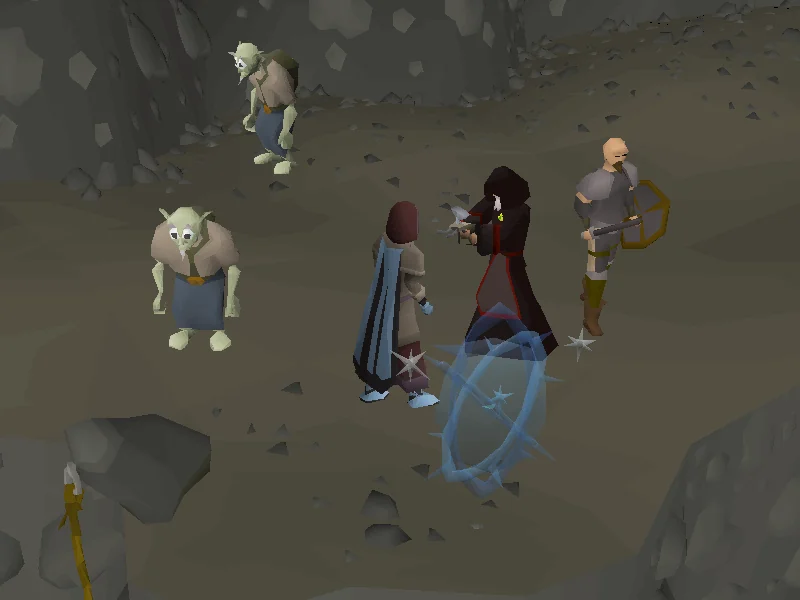
As Thaerisk speaks, the two of you will be attacked by assassins disguised as druids; one will focus on Thaerisk, and the other will attack you. The assassins attack with ranged, and every so often, will yell Now!, launching a glowing arrow at the player. Shortly after this arrow lands, the other assassin will say Nothing personal, adventurer! and attack once with a dragon dagger special attack, which can hit at least 53 damage if not protected against. Swap to Protect from Melee after the arrow lands, and then focus back on the assassin. You do not have to worry about Thaerisk; he cannot die in this encounter, and his Earth Blast spells can easily fend off the assassin focused on him.
Speak with Thaerisk again to learn that many operatives of the Crux Eqal—followers of Guthix who play an active part in combating threats to Gielinor— have allied with the Guardians of Armadyl in response to attacks from Lucien's agents. Thaerisk will reveal that they have reached out to the Temple Knights, believing it necessary to unite followers of different gods to oppose Lucien.
He will suggest that players look for a researcher named Movario, who he suspects stole the Staff of Armadyl. Their best lead so far is that he hired a member of the Khazard Army named Darve to act as a bodyguard, and that the Fight Arena is a good place to start looking.
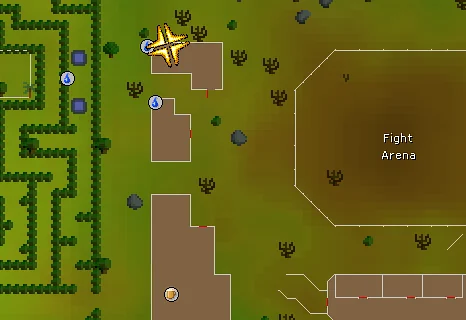
The location of the launderer in the Fight Arena Image credits →
Head to the Fight Arena, and speak to the Khazard Launderer two buildings north of the Fight Arena Bar. This is just south-west of the Ardougne Monastery teleport (accessed with the Ardougne cloak 1 or greater). Speak to the launderer regarding Movario. He will be sceptical to give information, so either charm him with the ring of Charos(a), or bribe him with 500 coins. He will tell you that he doesn't know where Movario lives, but will mention that he does have a dirty shirt that is too damaged to be washed, and will give the shirt to you. He will also mention that you should speak to the hunting expert at Feldip Hills if you want to catch down a broav of your own to track Movario to his base.
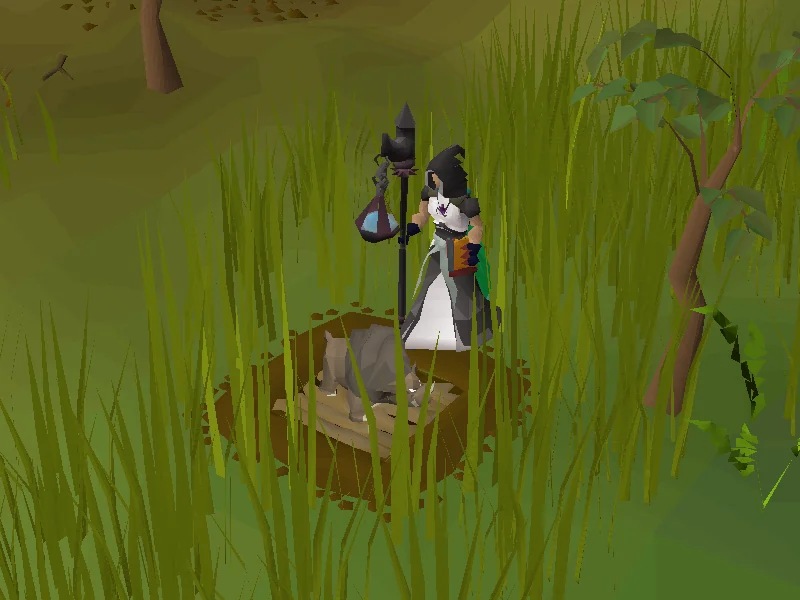
Ask her about catching broavs, and she will offer to train one for you if you bring her one. She will provide you with a mort myre fungus as bait; bring this to the trap west of her location, and set up a pitfall trap (requiring a knife and logs—logs can be acquired from nearby jungle trees). After setting up the trap, use the fungus on it to bait it, and wait for a wild broav to appear and fall inside. Be careful not to click too quickly on the trap after the broav falls in as it's possible to overwrite the broav with a new trap. This will only occur if the player has an additional set of logs and mort myre fungus.
Once you have an unconscious broav, bring it back to the hunting expert. Ask the hunting expert to train your newly acquired broav.
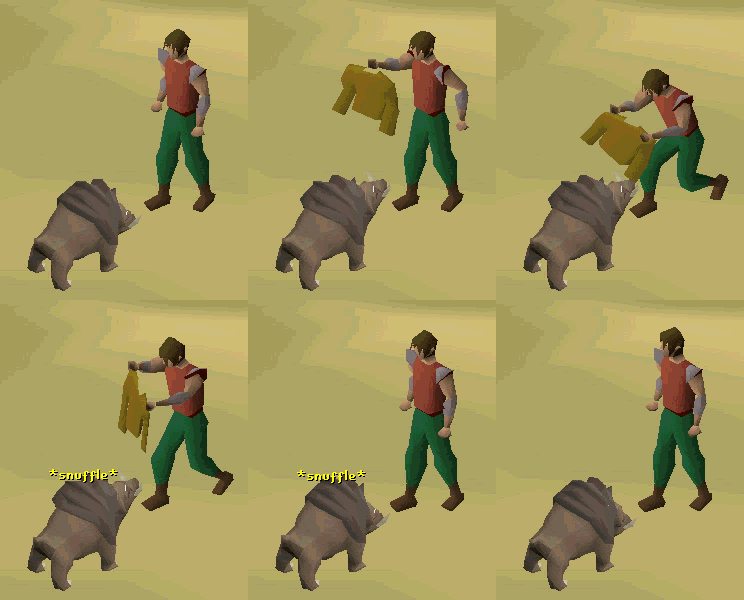
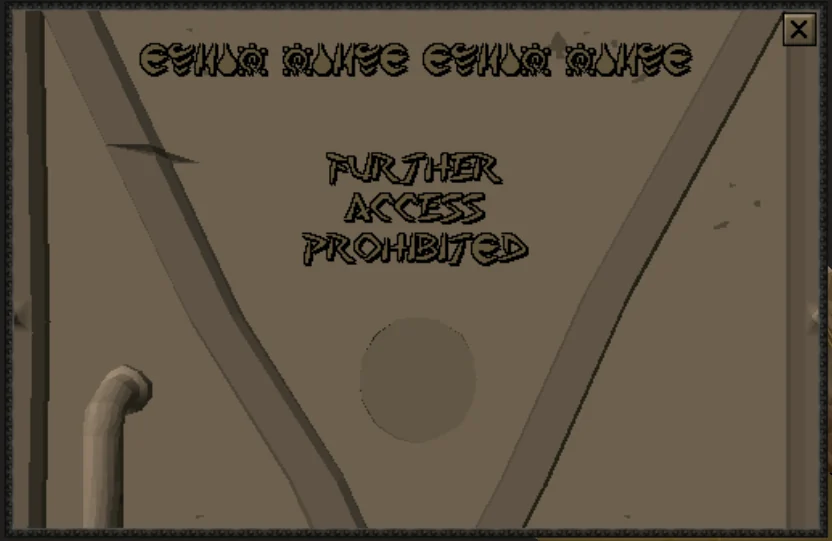
Show animation: Using Movario's dirty shirt on the broav.Using Movario's dirty shirt on the broav. Image credits →Pay attention to the word "PROHIBITED" (different for all players) to determine blast colour configuration. Image credits →
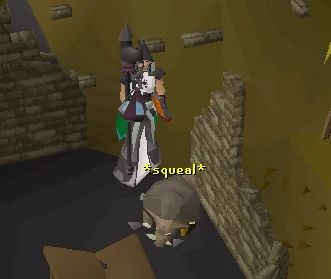
After speaking to the hunting expert, head to the battlefield and enter the ruined building with a broken table near the Carnillean mansion ( View start location ↗). Once here, drop the broav, then use the shirt on it. Follow the broav to a broken table; once the broav squeals, the broken table can be searched, revealing a trapdoor underneath it. Open the trapdoor to enter Movario's base.
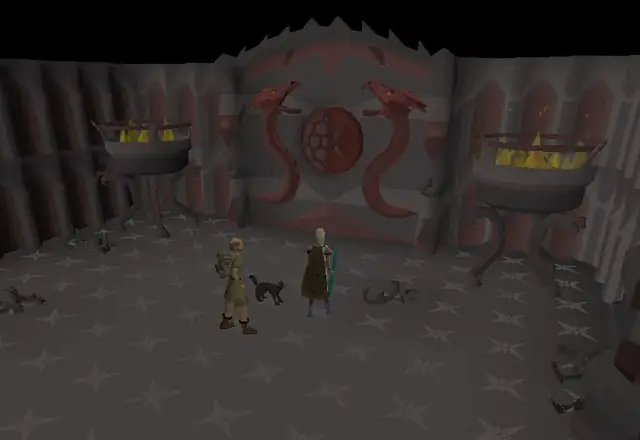
Upon entering the base, you will be attacked by melee-using Elite Khazard Guards as soon as you open the door. When ready, make your way to the north-west area shaped like a hook on the minimap. At the northern end is an open chest; search it to obtain a number of runes. Climb down the stairs, where you find yourself in a room with an old battered door in the way. Note that all teleportation from this point onward is blocked. Right-click inspect the door, and pay close attention to the word "PROHIBITED;" one of the letters is stylised after a rune, which is the rune you must use to open the door. This rune is different for every player.
Using the incorrect rune on the door will result in an unblockable blast of magic fired at you, dealing 20+ damage. The colour of the blast indicates the correct rune that should have been used.
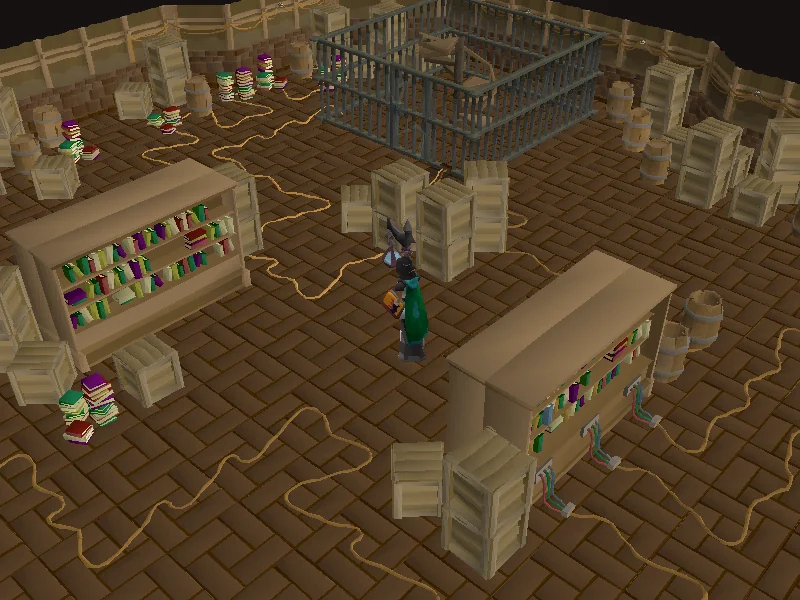
A room full of bookcases with wires running between them. Image credits →
Upon using the correct rune, proceed through the door. Note that you cannot enter if you weigh less than 2 kg, so unequip any weight-reducing clothing you may be wearing before moving forward.
As you enter the room, a section of floor will sink slightly under your weight. In this room, filled with bookcases with wires running between them, the objective is to open the caged door by diverting power from the gates to the wires. Begin by searching the bookcases until the chatbox indicates that you hear a click as you pull a lever. From that initial bookcase, follow the floor wires that illuminate and search the subsequent bookcase, continuing to do so until the chatbox indicates that the electric gate is deactivated. This message indicates the gate can now be safely opened. Enter the gate, and then search the spiral staircase and disable the trap, then climb it to access Movario's study.
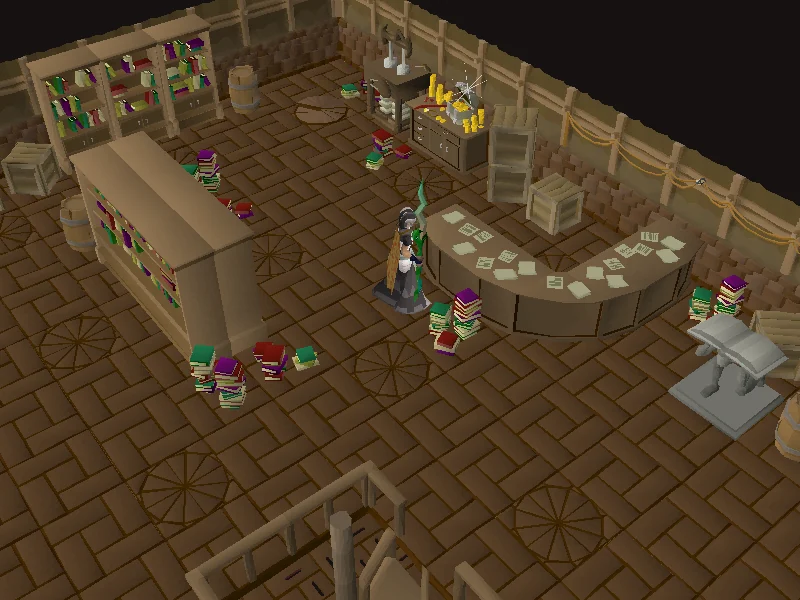
In the study, search the desk to obtain Movario's notes (volume 1), and click through all pages. Next, pick up the waste-paper basket next to the desk, and search it for a ruby key. Use this key on the northernmost bookcase to the west to access a rising staircase; this has no traps, so proceed upstairs.
Search the bed to uncover a bed chest beneath it, then use the ruby key on the chest to unlock it. Right-click "search" the bed chest (choosing "Open" will trigger a trap dealing 18+ damage). Then, open the chest and search the open chest for Movario's notes (volume 2). Read it, and do not discard them, as you must give them to Thaerisk later on.
Weight and see
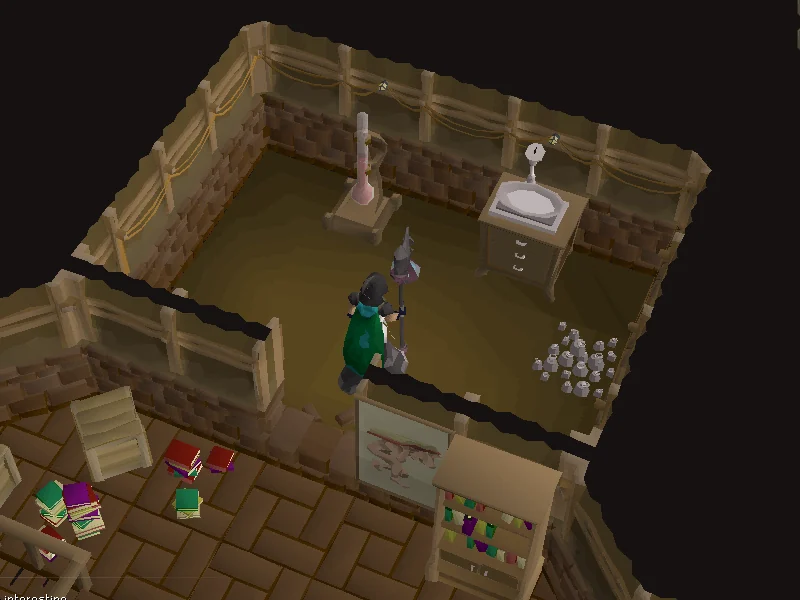
Head back downstairs to the study. At the southern side of the room, inspect the painting on the wall and pull the lever to reveal an entrance to a hidden room. Cross over the broken wall, then search the drawers to obtain some notes on pressure. Read it, then look at the pressure gauge, which displays a number in the unit of "tickits;" this value represents the sum of the weight of the statue, as well as that of any objects on top of it. Exiting the room requires the pressure gauge to read the same value as the weight indicated in your Equipment Stats interface.
The hidden room beyond the painting in Movario's study. Image credits →
If your mass is different than the value of tickits indicated by the pressure gauge, you must do one of two things. Both require you to take weights from the pile of weights nearby, where there are three sizes available: 1kg, 2kg, and 5kg.
If your mass is lower than the value from the pressure gauge you must take and carry enough weights from the pile to increase your weights to match the pressure gauge's value.
If your mass is higher, you must take enough weights from the pile and put them on the statue to the north.
For example, if you weigh 41 kg, and the pressure gauge reads 11 tickits, you must put 30 kg on the statue (11 + 30 = 41). If you weigh 29 kg and the pressure gauge reads 31 tickits, you must pick up 2 kg from the weight pile and keep it in your inventory (31 - 29 = 2).
Once your weight and the reading on the pressure gauge are equal, the eastern door will unlock, allowing you to leave via teleportation.
If you made a mistake, a small contraption by the door will count down from three, indicating the amount of tries the player has before triggering a trap. If the contraption counts down to zero, it will spray gas and throw the player into a jail room, confiscating Movario's notes. Players may simply retrace their steps to get them back.
Note: While not necessary for quest completion, there is a tunnel in the south-west corner of the study. Entering the tunnel brings you to a room where you can loot 100 death runes, 100 fire runes, 100 coal, and 100 magic logs. The fastest way to leave with the resources is to attempt to open the eastern door with the wrong weight on the scale, in order to be kicked out of the base. Note that the coal and magic logs are looted in unnoted form, so bringing a coal bag and log basket will be advantageous for those seeking to reduce trips back and forth. Movario's notes will still be confiscated even if they are in the bank, so it is advised to hand them in to Thaerisk first before going back and looting the base.
Head back to Thaerisk at Taverley and show him the notes you stole from Movario's base. He will then tell you that in your absence, the Crux Eqal have managed to secure the Temple Knights as allies, and that a base of operations is being established at the White Knights' Castle. Additionally, they have lost contact with Idria and the Guardians of Armadyl; as such, Thaerisk will ask that you head to McGrubor's Wood to check up on them.
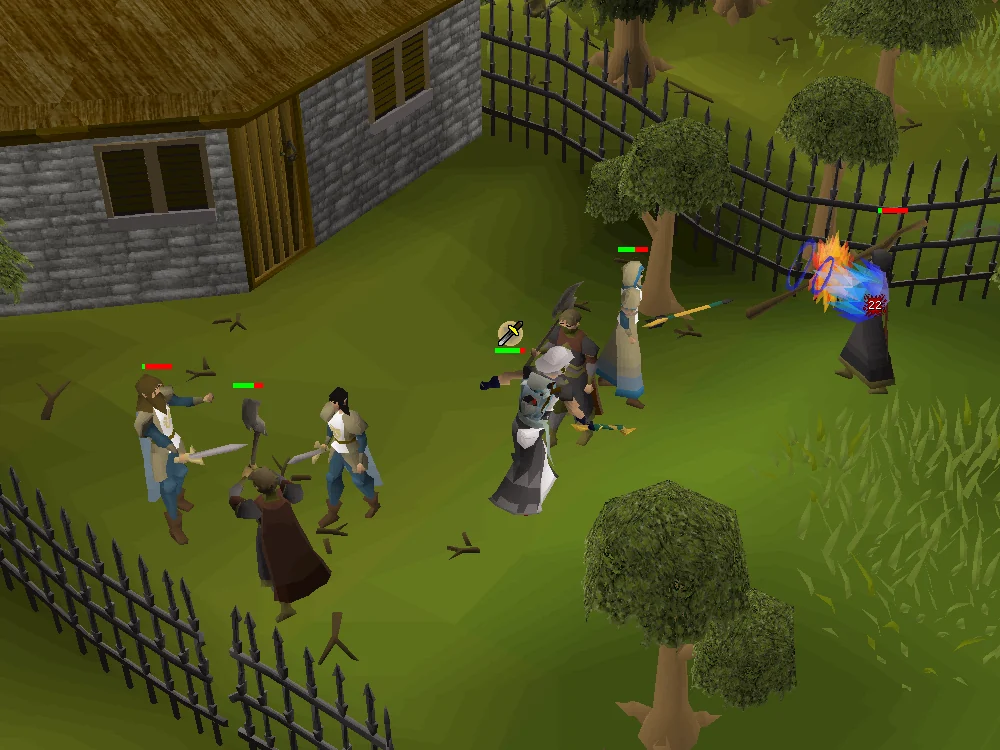
The quickest way to reach McGrubor's Wood is via fairy ring (code ALS). Once there, head to the building by way of the loose railing to the east, where a cutscene begins in which Lucien's mercenaries will attack the Guardians of Armadyl. Kill the two mercenary axemen, then finish off the mercenary mage; when the mage teleports away at low health, you can proceed to speak to Idria, whom you will inform of the Crux Eqal moving their base of operations to the White Knights' Castle. Alternatively, wait for Idria to kill all of them.
Telling the truth
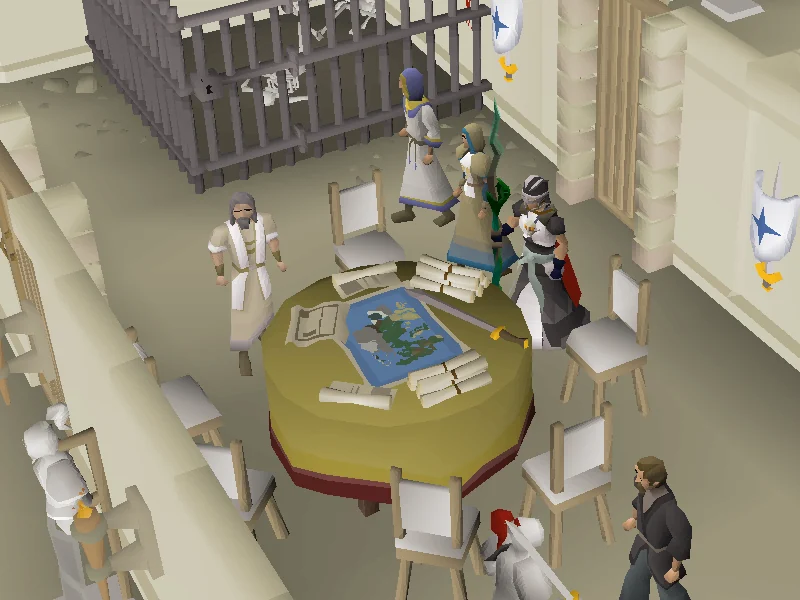
Head to the Falador castle and head to the round table on the ground floor east side, where you will meet Akrisae along with Thaerisk and Idria. Despite their differing beliefs, they agree that Lucien poses a threat and that they all must work together to stop him. Based on Movario's notes, they will conclude that he is looking for the Stone of Jas, an extremely powerful artefact of ancient origin. They will add that the spies Lucien sent to monitor Movario could be captured for interrogation, and that they have an improved version of a truth serum to use on them. Akrisae will give you a teleorb that you must plant on a spy, which will then teleport the spy into the jail cell once the corresponding teleport spell is cast.
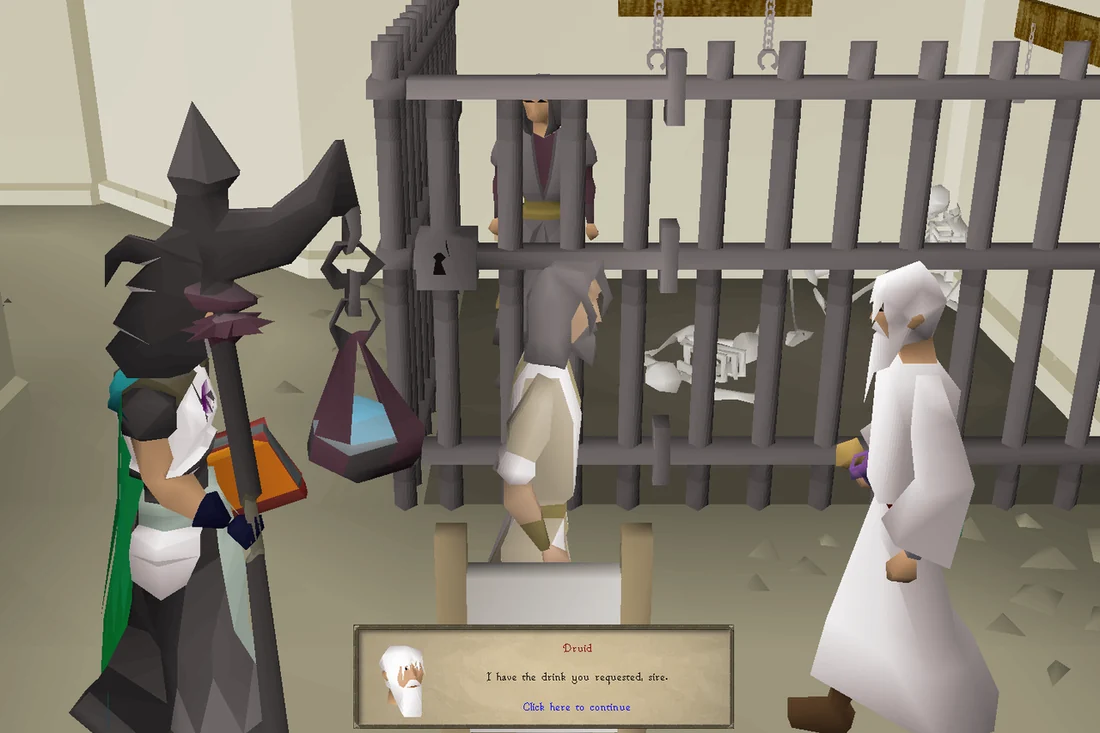
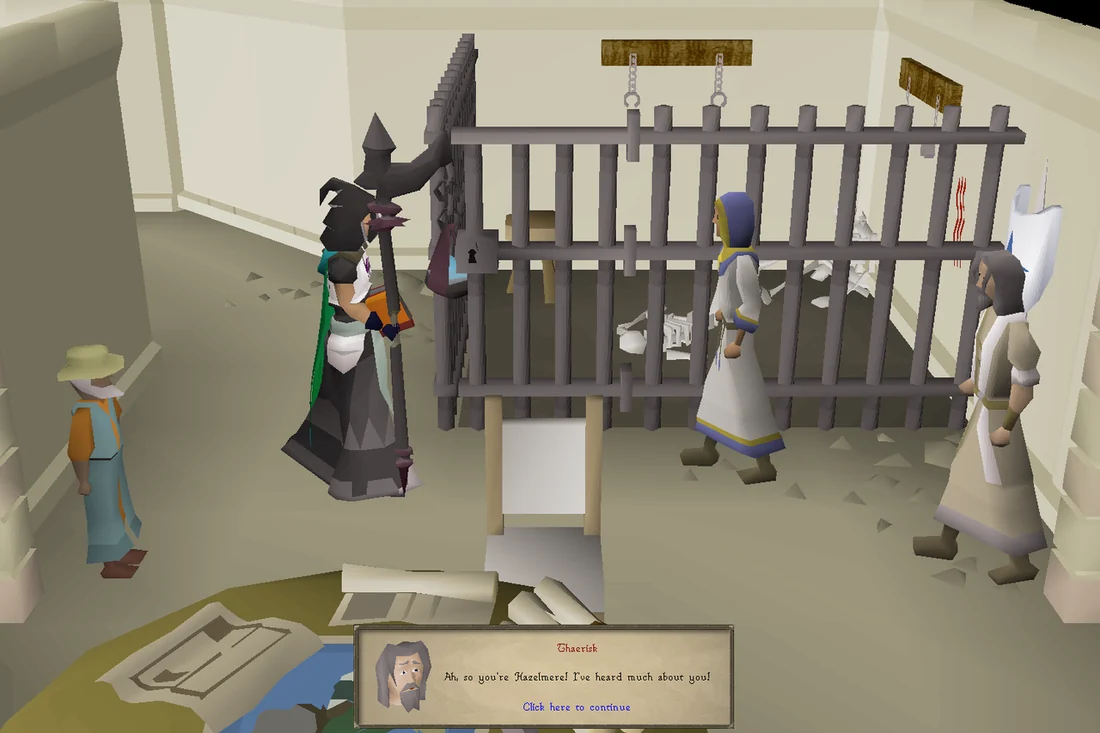
Thaerisk instructs a druid to serve the spy some "juice". Image credits →
In Draynor Village, you will find a number of shady strangers and suspicious outsiders. Use the teleorb on any of them. Make sure to avoid talking to the stranger first, as you may be unable to plant the orb on them for some time. Note that it is possible to fail, causing you to take a small amount of damage. Once you've succeeded, make your way back to White Knights' Castle and speak to Akrisae, who will forcefully teleport the spy into the cell.
A cutscene will play in which a druid attempts to coax the spy into drinking the truth serum, but the spy will kick them, knocking him out and breaking the "juice." You will now need to make another one on behalf of Thaerisk, who tells you that the enhanced serum uses an enriched snapdragon, directs you to Betty in Port Sarim, and offers a teleport to get there.
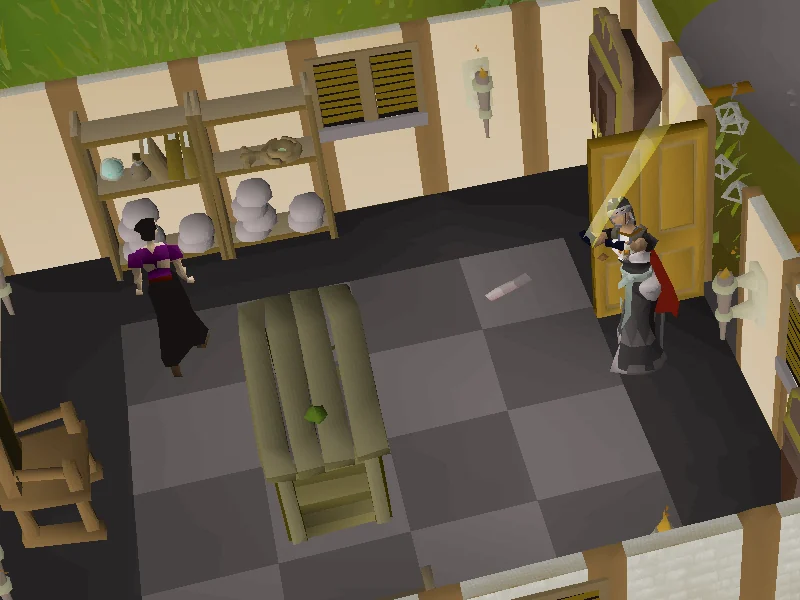
Enriching the snapdragon seed at Betty's shop. Image credits →
Before being teleported, make sure you have a lantern lens and 20 coins. Thaerisk will also give the player a free snapdragon seed if they choose to take it.
When ready, accept Thaerisk's teleport. Talk to Betty and purchase the pink dye from her, then use it on the lantern lens to obtain a rose-tinted lens. Next, speak to her again, asking about enriching snapdragon seeds. She will realise you are working with Thaerisk, since she is aware only he would need it, but willing to help nonetheless.
To enrich the seed, the player needs to use the tinted lens on the shop counter whilst standing at the doorway. Pick up the enriched snapdragon seed and return to Thaerisk in the White Knights' Castle.
Amassing the masters
With the seed in tow, Thaerisk will instruct you to plant the enriched seed in a special patch on top of the castle. Climb up the western stairs to the top of the castle (three floors up), then plant the seed in the patch (the seed cannot become diseased). As the herb grows, speak to Idria, who will ask that you assemble a small task force to take on Lucien alongside you, all of which can be recruited via Astral Contact:
The player can visit each master in person, but it is recommended to use Astral Contact instead, since Cyrisus requires the spell to be contacted anyway. Talk to them about Lucien, and they will agree to help.
Once all four heroes are recruited, the herb will have finished growing, so return to the patch and harvest an enriched snapdragon. Head back down to Thaerisk, who he will give you a regular truth serum; use the enriched snapdragon on it to create the super truth serum.
If you don't already have a charcoal and papyrus, they can be obtained in the drawers just south of the jail cell next to the Suit of Armour. With the super truth serum, go inside the jail cell. The stranger will refuse to talk, so you will threaten him instead, causing him to quickly comply and consume the serum. He will reveal that he takes orders from a man named the Dark Squall, and then describe Squall's appearance. You will automatically make a suspect sketch.
Give the sketch to Idria, who will tell you that she will get them copied for wanted posters and passed around to the Temple Knight's spies. In the meantime, she will ask that you recruit Ghommal, Harrallak Menarous, and Sloane, who can all be found in the Warriors' Guild. Ghommal and Harrallak can be found right by the guild's entrance, whilst Sloane can be found one floor above.
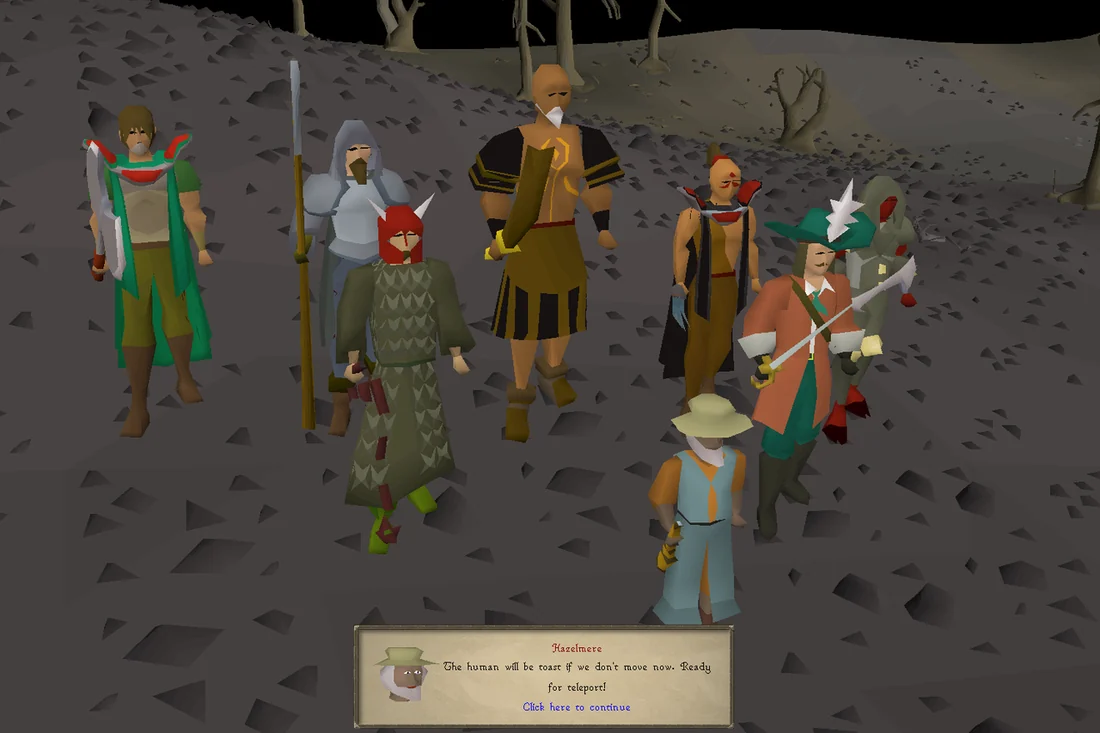
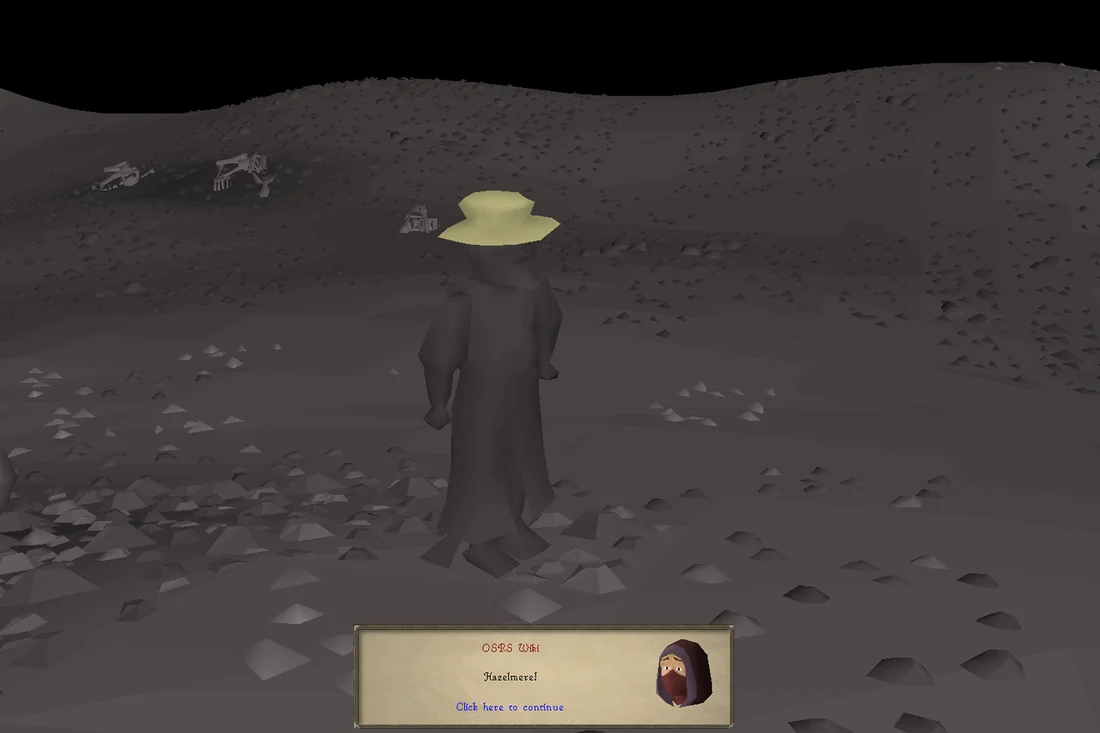
Return to Akrisae, who has potential new developments regarding the Dark Squall. However, the group is interrupted by the appearance of Hazelmere, who will reveal to you that the vision he told you about refers to Lucien, and offers his assistance.
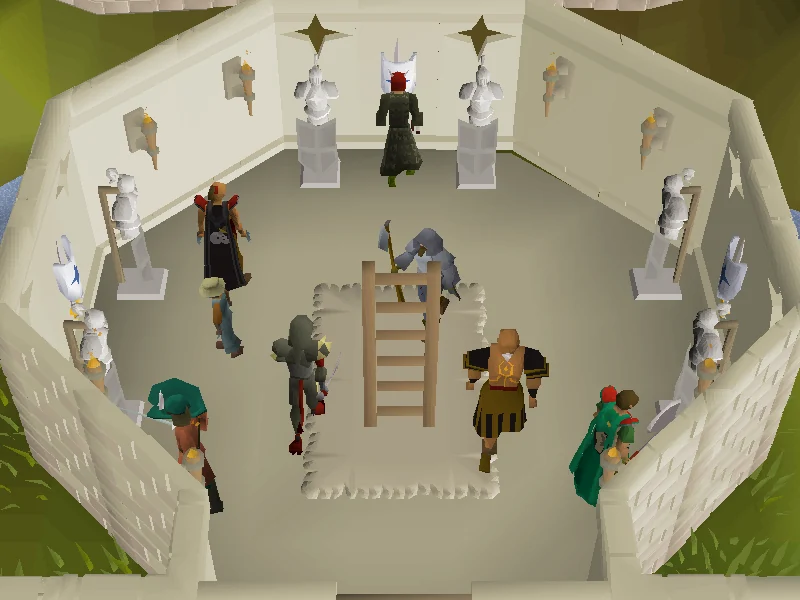
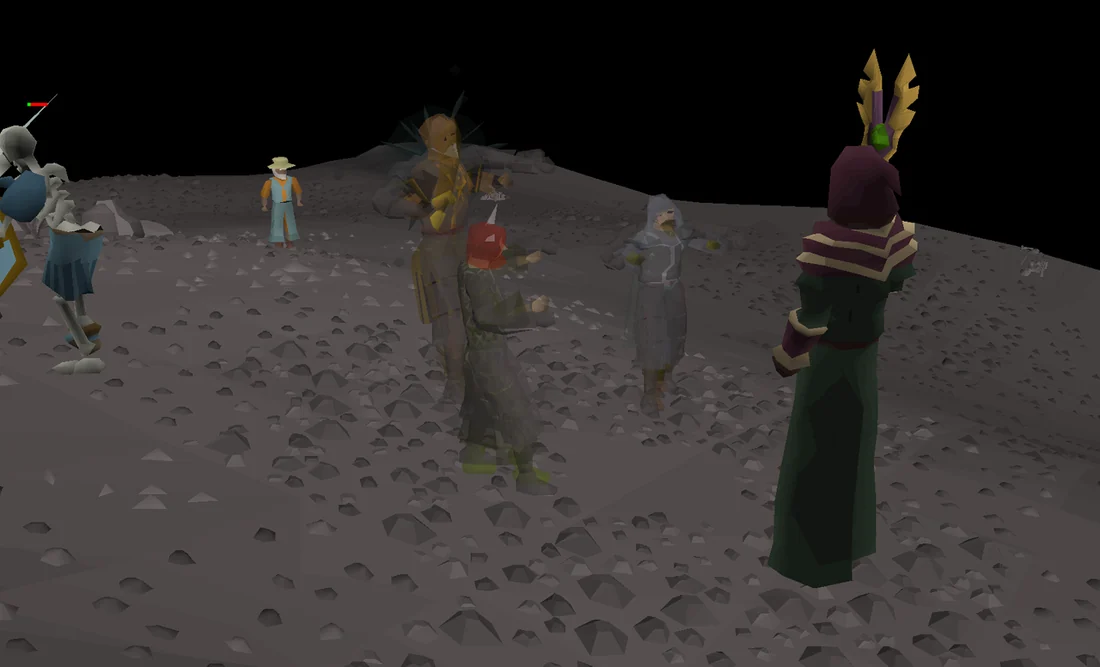
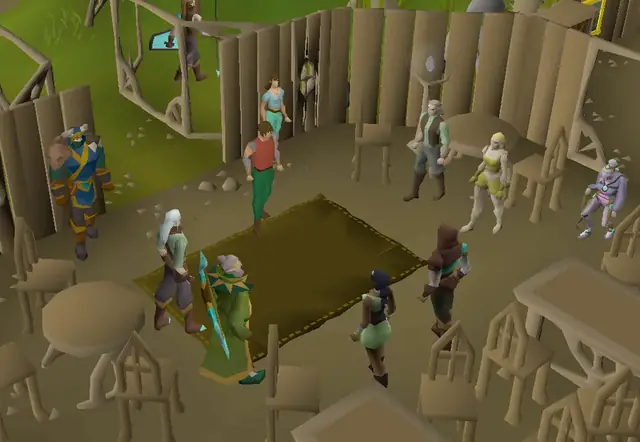
The alliance headquartered within White Knights' Castle. Image credits →Hazelmere arrives to offer his assistance to the alliance. Image credits →The band of heroes, gathered together within White Knights' Castle. Image credits →
Speak to Akrisae, who tells you that the Dark Squall has been spotted near the Black Knights' Fortress. Akrisae sent his operative Silif to scout the area, whose last report is that he had entered the fortress and presumably followed Dark Squall inside. You will be asked to investigate this further in case Silif is in trouble.
Enter the fortress with your disguise of choice (you may unequip it after entering), then push the hidden wall directly ahead and climb down the ladder. Head south towards the tiled flooring, and inspect the green carved tile with an orb symbol on it. Cast any charged orb spell on it, and it will transform into a trapdoor; climb down to enter the Black Knight Catacombs.
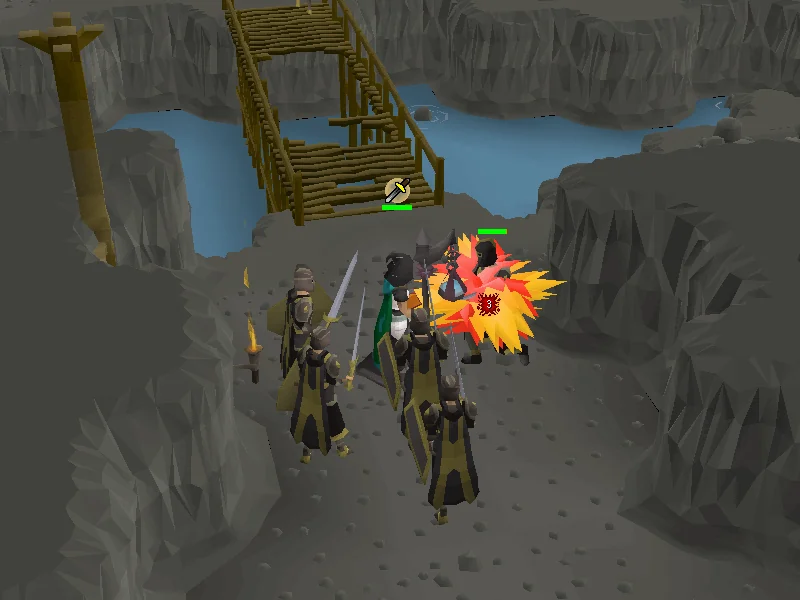
Players can safely kill elite black knights just past the broken bridge with Protect from Melee. Image credits →
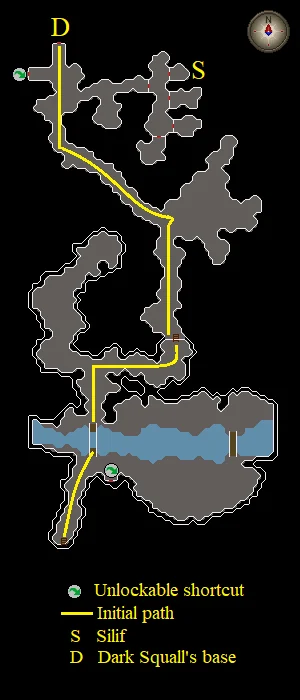
After passing the broken bridge, you will be surrounded by elite dark warriors and one elite black knight, allowing you to pray Protect from Melee without any mages and rangers attacking. Kill the elite black knight here until you have a full set of elite black armour.
Making sure to wear the armour beforehand, make your way north-east and climb up the wall. Run all the way north-west to a set of doors.
Recommended: Enter the western door to unlock a shortcut within the catacombs.
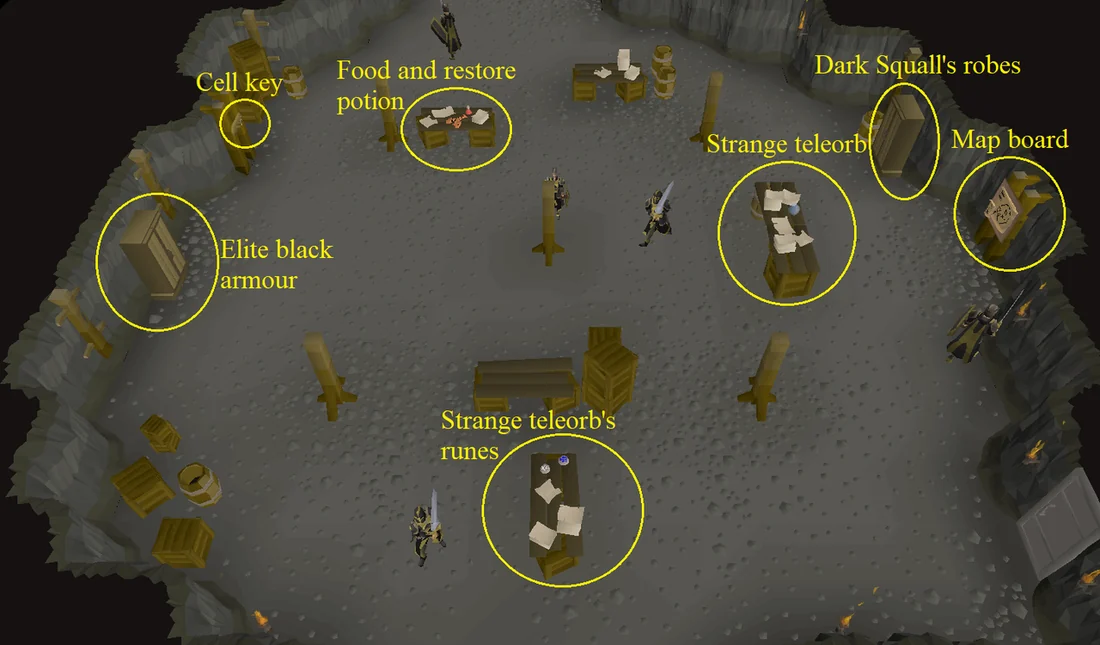
The locations of various objects in the Dark Squall's inner base. Image credits →
With 9 free inventory spaces, enter the northern door and search: 1 Desk, 1 Key Rack, 2 Tables, and 2 Wardrobes to obtain the items required for Silif's rescue:
Note: The robes will be used as your disguise from here on out, including entering the Black Knights' Fortress again in case you teleport out during the fight.
If you have an additional three inventory spaces, take the strange teleorb alongside the death and law rune; otherwise, you can take them later. Head back out through the southern door, then use the nearest eastern path to reach the jail cells, where you will find Silif in the northernmost cell. Open the gate, then use the lobster (or other food item if you lost the lobster since looting it) and restore potion on him to help him recover. Talk to him again and ask if he has a plan, and he will tell you that he needs to access the inner base to view the Dark Squall's maps and plans, which he can memorise and duplicate once he leaves. You will automatically give him the second set of elite black armour at the end of this dialogue, and he will begin to follow you.
Return to the room with the desks and wardrobes, and lead Silif to the map board by the southern wall. While he studies the maps, he will ask that you find the Dark Squall and plant a teleorb on him. It is recommended that players now bank and regear appropriately, as there will be a magic-based boss fight coming up, explained below.
Scuffle with Surok
Items needed: One free inventory slot (to pick up lit explosive), Dark Squall's robes, teleorb, food, combat equipment for standard magic (powered staves will not work), and runes for the following spells: multiple casts of all four elemental spells, Snare/Entangle, Weaken/Enfeeble, Telekinetic Grab, and Low/High Level Alchemy; as such, you will need Air, Water, Earth, Fire, Body/Soul, Nature, Law, and the highest of Mind/Chaos/Death/Blood/Wrath that you can use to cast all four elemental spells).
Make your way back to the inner base, and attempt to climb the ladder on the eastern side of the room (while wearing the Dark Squall's Robes). An Elite Black Knight will stop you, but your disguised self will fool him, scolding him for his incompetence and ordering him to do push-ups. A cutscene will then ensue where you stumble into the real Dark Squall. He will be revealed to be Surok Magis, who escaped during the chaos in Defender of Varrock.
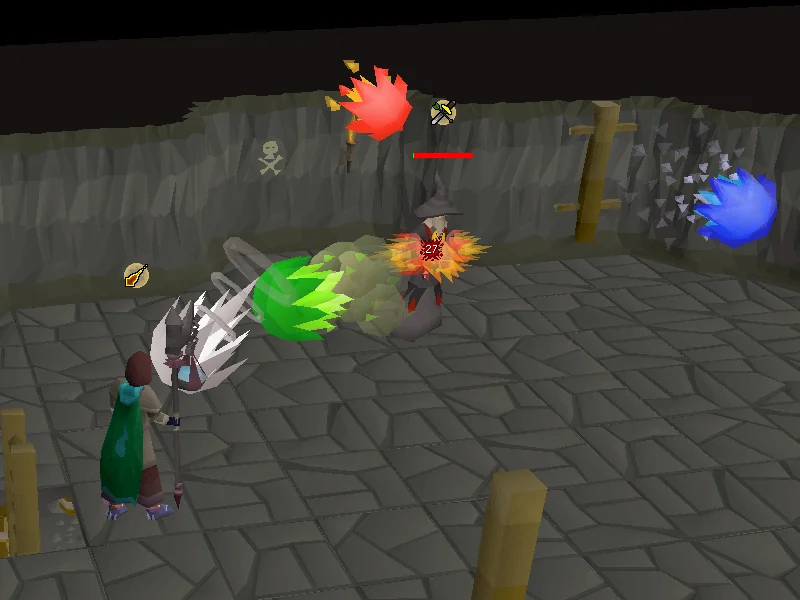
Surok has 450 hitpoints, attacks with Fire Surge, and has both Protect from Melee and Protect from Missiles simultaneously active. It is therefore necessary to attack with magic. Pray Protect from Magic, as his attacks can hit over 40 without it, but significantly less with the prayer active. Surok is notably immune to damage from powered staves, thus the player must use combat spells in order to damage him. He is also immune to the sapping effects caused by blood spells. It is highly recommended to use the standard spellbook and cast the best elemental spell possible (or Iban Blast), as Surok's mechanics necessitate the use of the spellbook to counter them.
The player fights Surok Magis, leader of the Dagon'hai. Image credits →
Every 7-8 attacks, Surok will launch a special attack:
Quote
Attack
Fighting you is beneath me!
Surok will call in either a Strong Warrior or Agile Warrior and begin to approach you. The player will always deal no damage to them unless casting counter spells beforehand. These spells are Weaken for the Strong Warrior and any binding spell, such as Entangle, for the Agile Warrior before they can be damaged.
If the warriors are not killed before they reach you, you will be bound and Surok will cast a spell that deals 45+ damage while also killing the warrior in the process.
Magicus ignitus!
Surok will throw out a lit explosive, which will deal 45+ damage if ignored or picked up. Quickly cast Telekinetic Grab on it, then alchemise it to safely avoid the explosion. (If you use the plug-in "No Bad Alchs" turn it off before the fight)
Witness true sorcery!
Surok will cast 1-4 elemental surges that approach slowly towards you, dealing 45+ damage per surge unless countered. The lower Surok's health, the more surges he casts.
They can be countered by casting any offensive spell of the opposite element on the elemental surges (not Surok himself). Air and earth are opposites, as are water and fire. It is strongly recommended not to use low level spells for this, as they will deal only partial damage to the surges.
You do NOT need to wait for your spell's animation to finish before targetting the next surge.
The Twinflame staff's passive effect does NOT work against this attack, spells will still need to be cast manually.
If you die, your gravestone will be in the tunnels with the elite black knights and collecting your items will be risky without the disguises. The Dark Squall Robes are always kept on death, so be certain to bring them to reclaim your items.
After defeating Surok, he will fall to the floor. Use the teleorb on him, then return to White Knights' Castle.
Speak to Akrisae, and you will report back on your exploits in the catacombs. He will tell you that with Silif's help, they have managed to locate Lucien's base at the western edge of the Wilderness, and that the heroes will move in once you have visual on Lucien. Your next task is to impersonate Surok, who they believe can contact Lucien directly. Using the robes you stole from Surok's inner base, you will now switch places with him to find a way to access Lucien's base directly.
When ready, walk into the jail cell, and Akrisae will teleport you back into Surok's inner base. If you didn't take the strange teleorb (and the runes required to use it) from the desks, climb back down and do so. Otherwise, activate it whilst standing in the magical circle to teleport into Lucien's camp.
The camp is inhabited by numerous level 128 skeletons and Undead Mages, though they will not be aggressive if the player is still wearing Surok's robes. Run along the north-east path until you are across from the Chaos Temple, then climb up the ice wall to the east and jump to the ledge on the Chaos Temple (this is a safe area and does not count as being in the Wilderness).
Skip reading to the next section if you want to avoid spoilers for this cutscene.
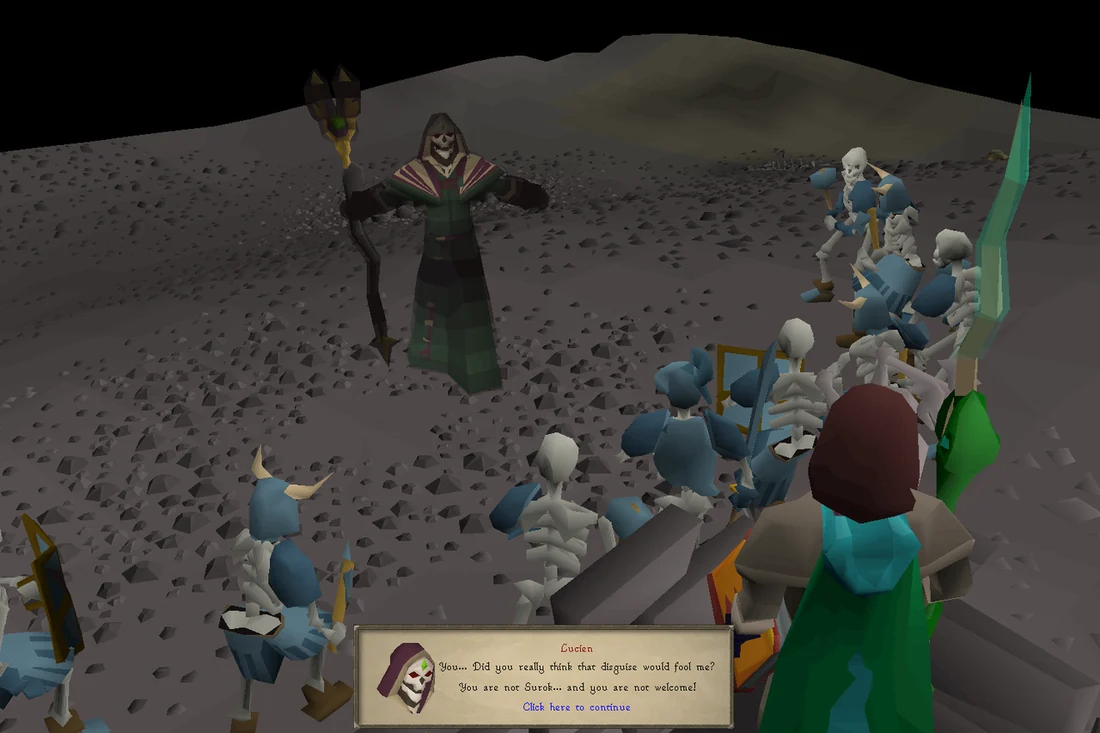
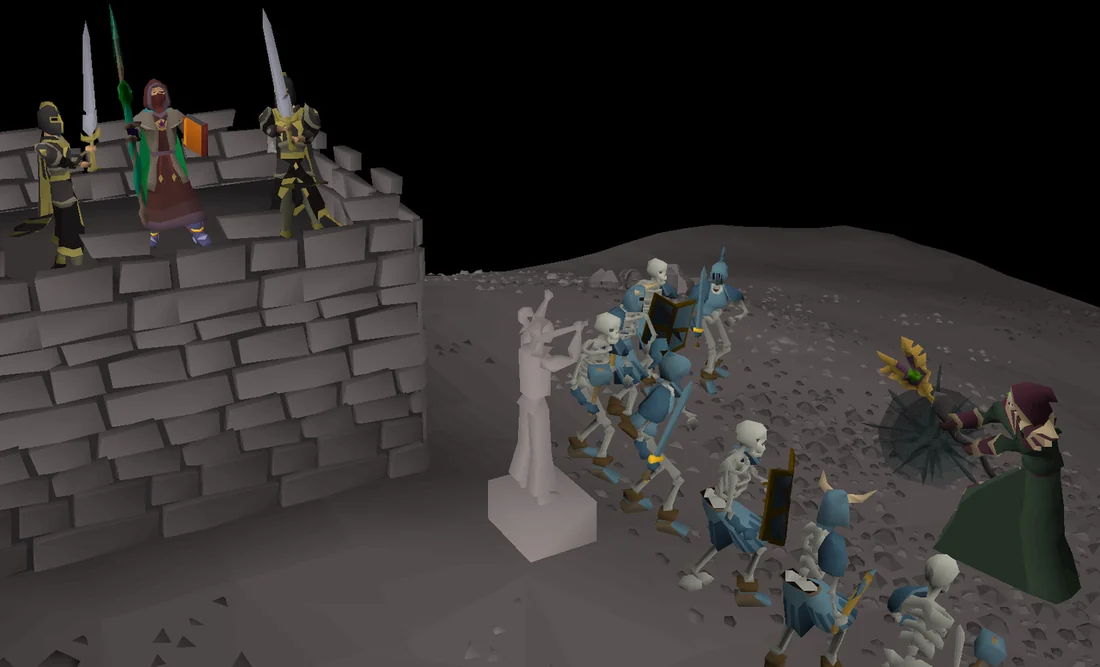
A cutscene will play showing Lucien, now with the Staff of Armadyl, casting a powerful spell to raise Undead Heroes for his army. He will then notice you, see through your disguise, and cast a powerful spell at you. The first shot will miss, and you will jump away from the second shot, which instead incinerates two elite black knights that are attempting to apprehend you. Seeing you in danger, Hazelmere will call on the band of heroes to teleport to the chapel and engage Lucien.
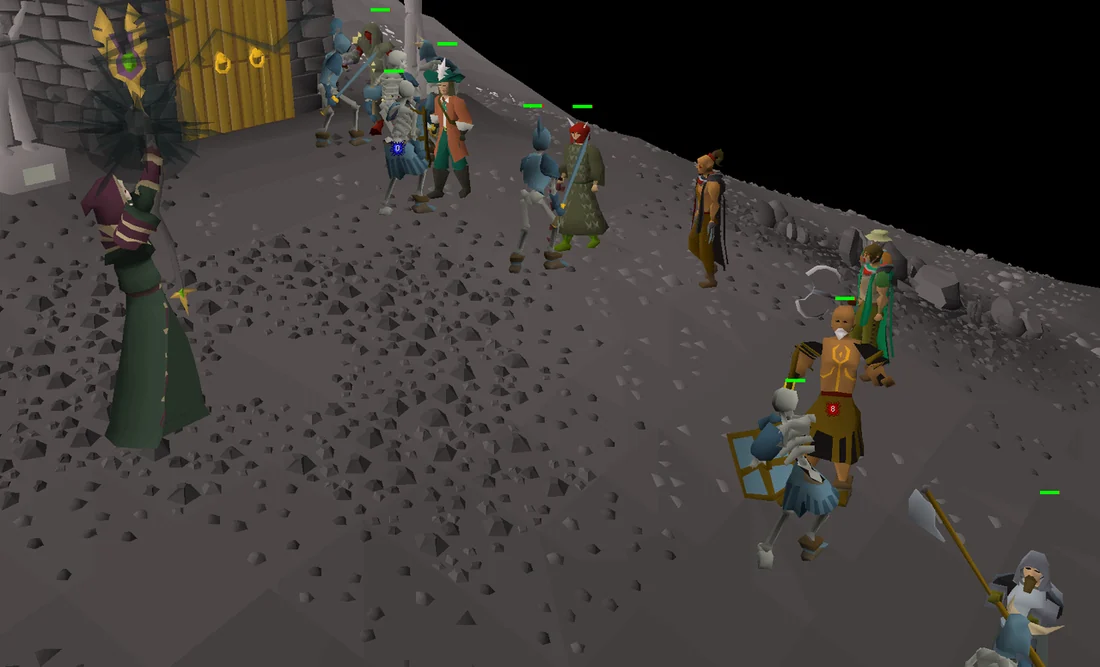
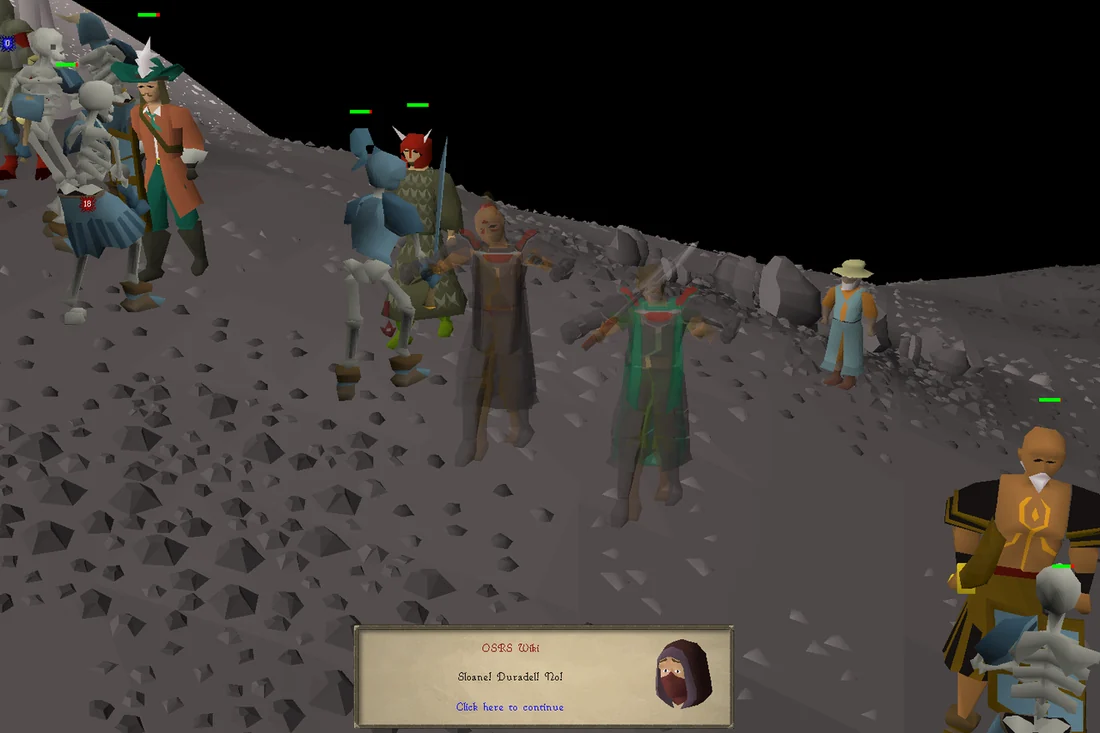
Mazchna and Harrallak will draw the undead heroes, while everyone else will engage Lucien. Sloane and Duradel will be instantly killed when they attempt to face Lucien, and Hazelmere will cast a barrage of crystalline spikes towards him, all to no avail. Cyrisus, Ghommal, and Turael, after killing their respective enemies, also join in on the attack, but fail to deal any damage. Lucien will then cast another attack against the three warriors, incinerating them.
While Hazelmere looks at his seed pod, being no longer usable after he previously used it to save you, he accepts his fate and is incinerated by Lucien. Satisfied with the devastation, Lucien will then teleport away, forcing Mazchna and Harrallak to retreat back to Falador. Head back to White Knights' Castle. Teleports will work while above the Chaos Temple.
Lucien and his army of undead heroes. Image credits →Lucien spots the player, and fires a powerful spell towards you. Image credits →The band of heroes, led by Hazelmere, make haste to your location. Image credits →The heroes arrive not a moment sooner. Image credits →Lucien kills Duradel and Sloane. Image credits →Lucien kills Cyrisus, Turael, and Ghommal. Image credits →The wise and mighty Hazelmere, moments before being reduced to ashes. Image credits →
Speak to either Idria, Akrisae, or Thaerisk, who apologise for severely underestimating Lucien's strength. Akrisae will then report that Movario has been spotted entering the Chasm of Tears, and is likely hot on the trail for the Stone; you will be asked to impersonate Surok and head there to help him with his investigations. Use the games necklace to teleport to Tears of Guthix, then head north (past the minigame) and climb the rocks to reach Movario.
Upon speaking to him as Surok, he will tell you that he believes the Stone is at the bottom of the chasm. Though he lacks the means to climb all the way down the deep chasm, you will reveal the light creatures are capable of doing so with a sapphire lantern, and he will use a light blue spell to draw the creature down into the chasm with you in tow. Click on a light creature to attract it.
Rock bottom
Extracting elemental blocks from the recesses. Image credits →
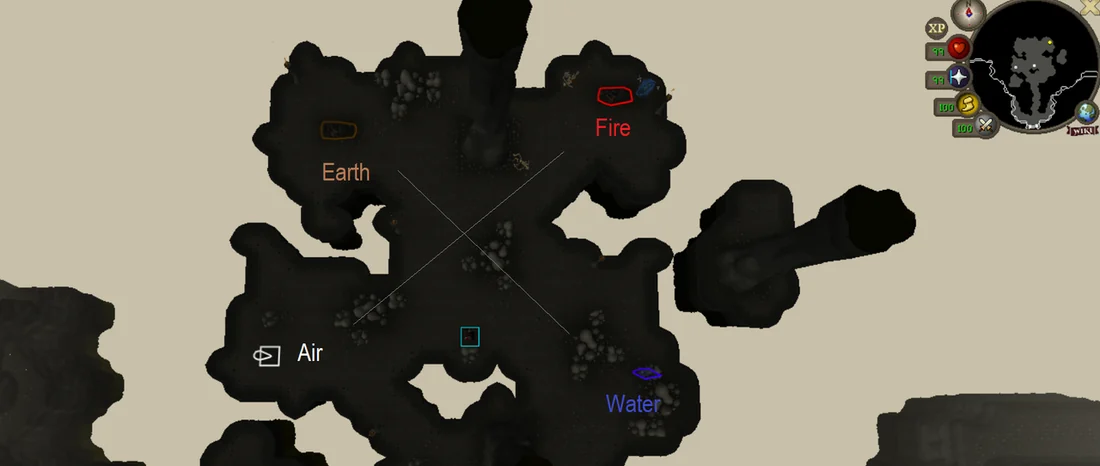
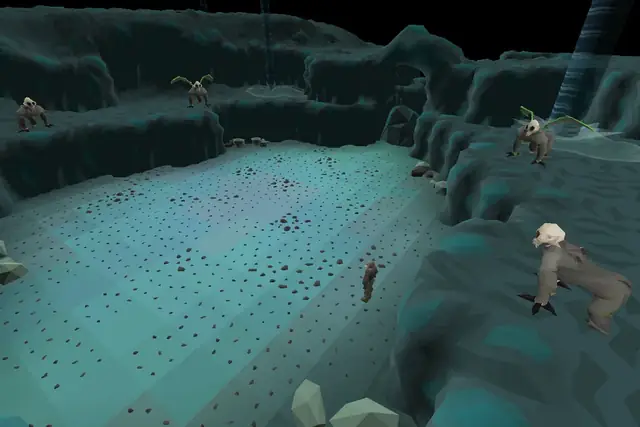
Upon arriving at the bottom of the chasm, you will find yourself on the north-east area of an X-shaped platform.
On the north-east area, use the spade on the pile of rocks next to the skeleton to uncover a brazier, then use the chisel on it to obtain a fire orb.
Go west to the north-west area and use the spade on the lone pile of rocks for an earth orb.
Go south to the south-west area, and use a chisel on the intact brazier there for an air orb.
Go east to the south-east area, use a chisel on the brazier there for the water orb.
Trading Orbs For Blocks, Blocks for Access
Head all the way south to reach the walls shaped as skulls.
For each skull, examine (or camera zoom) the recess to identify an elemental marking. Use the corresponding element orb on a recess to exchange for an elemental block.
The 3 lower-level recesses will be randomised for players, but the recess for water block is located 2 levels above the centre skull, and requires climbing to access. This recess appears different but behaves the same.
With all elemental blocks acquired, unequip your weapon and shield slots and enter all 3 of the lower-level skull nose cavities.
Crawl to the end, examine (or camera zoom) the mechanism to identify the mechanism's element, and use the corresponding elemental block on each mechanism.
The 3 lower-level mechanisms will be randomised for players, but the fire block will be used on the top floor.
Climb back up to the fourth skull (where you received the water block) and use the fire block on the recessed block.
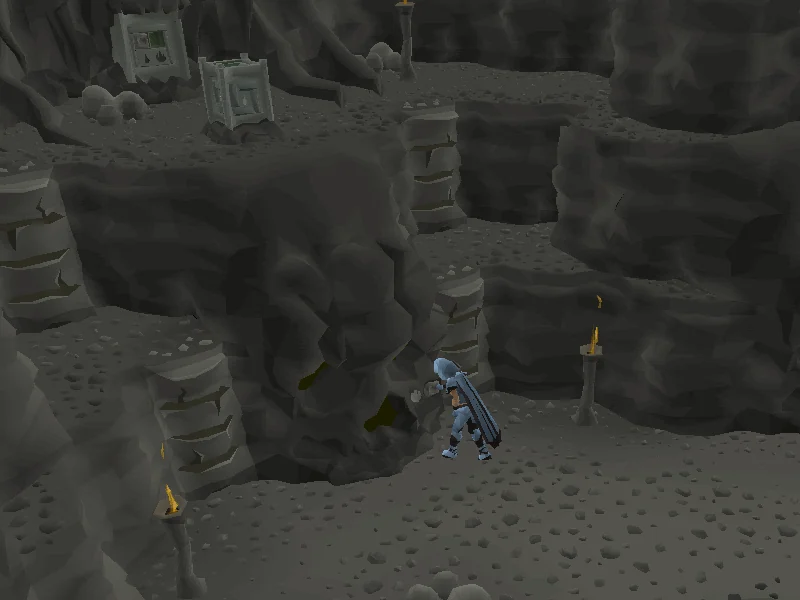
Inspect the stone cube, and the recessed block will vanish to reveal an entrance.
Climb through to reach the Ancient Guthixian Temple.
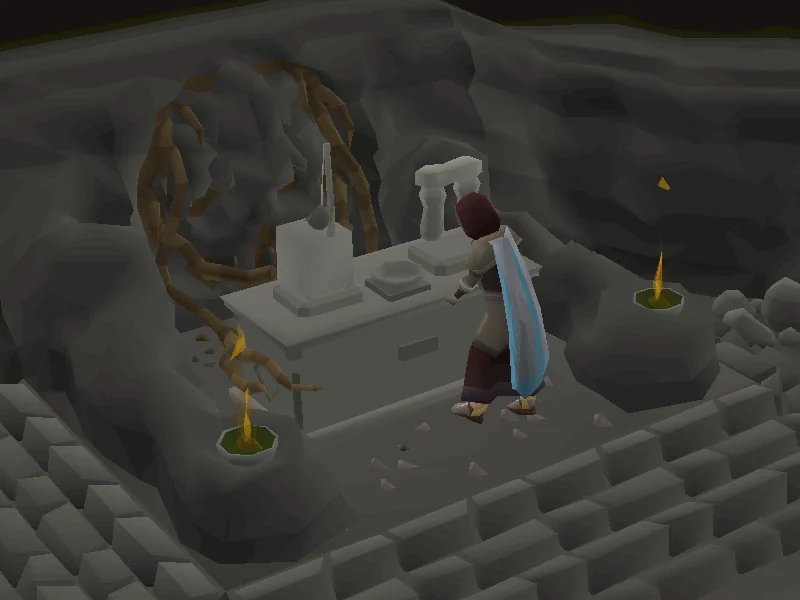
The stone table is surrounded by multiple forked paths leading to 8 of 13 possible statues, each named after potions. Statue selection and locations are randomized uniquely per player.
Make your way south to the central chamber where the stone table is found.
You will need between 2 and 18 free inventory spaces. Drop your spade, chisel, and hammer, re-equip any available item slots to free up inventory.
To use the bare minimum inventory space (2), you will need to scout each tunnel to identify each statue.
To minimise time running, you will loot all supplies simultaneously (16-18) before visiting each statue.
Inspect the green brazier between the table and north entrance for free stamina doses, and return for more.
This brazier does not have a click limit, and will activate the ring of endurance effect and consuming charges if it is equipped.
Acquiring Ingredients
Note that the druids will always drop exactly what is needed to solve all eight puzzles, so there is no risk of receiving unnecessary items or duplicates.
Use a charged druid pouch on druid spirits, they will drop one exact set of ingredients you need.
Ingredients are only dropped once, and no unnecessary items are dropped. If you fail to pick them up, you will need to leave and return with your own.
If you have at least 2 more inventory spaces, rinse and repeat until you have either a full inventory or all 16 supplies needed.
Recharging Pouches
With eight spirits required to be freed and six druid pouch charges provided, the player will need to make two additional charges to obtain all the items needed to solve the puzzles.
With the silver sickle (b) and a druid pouch in your inventory, stand over one of the dead vines scattered all over the tunnels.
Note: The ingredients to make the super versions of hunter and fishing potions cannot be used for the Hunter and Fishing statues.
Upon using the final dolmen on the stone table, the huge door will be opened.
Bank and gear up for the fight in the next section, as there is a particularly hard boss fight coming up which necessitates the use of supplies and multiple combat styles.
The player will no longer need the dark squall's robes at this point.
Players will need to prepare for a difficult fight ahead, requiring equipment for all three attack styles, and a means to restore drained stats. Bringing only two attack styles will result in the elemental praying against both your attack styles in the final phase. The Balance Elemental has negative defence values against crush, heavy ranged, and magic.
If lacking in super restores, regular restore potions are much cheaper and available from a much earlier Herblore level, and will still keep your combat stats restored. If using spells rather than powered staves, it is important to keep your stats restored frequently, and have your autocast spell be set on the lowest level spell of a tier, such as using wind wave instead of fire wave, so that it may still be cast directly after getting drained.
Balancing act
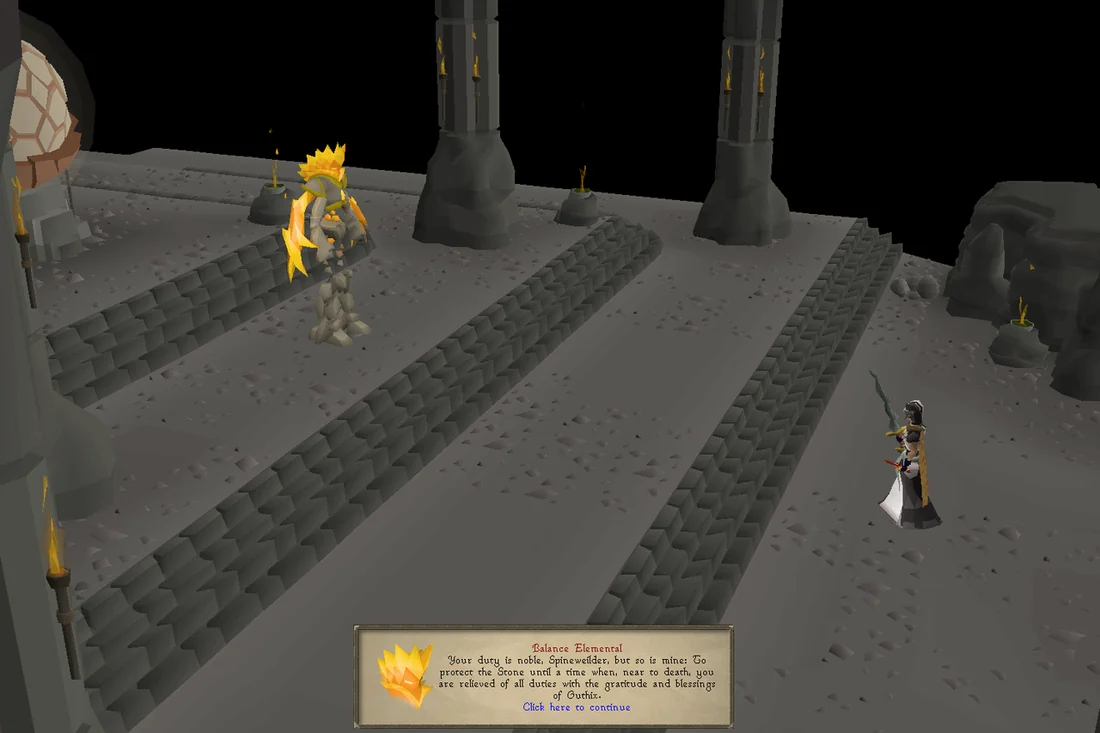
The Stone's guardian, the Balance Elemental, appears before you. Image credits →
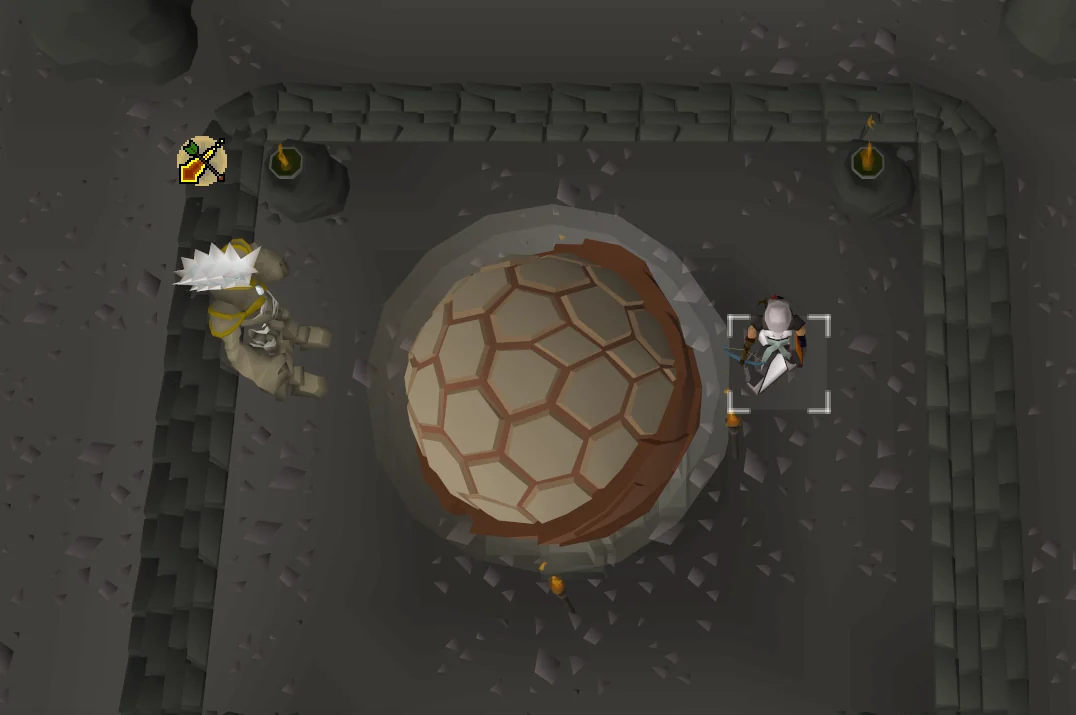
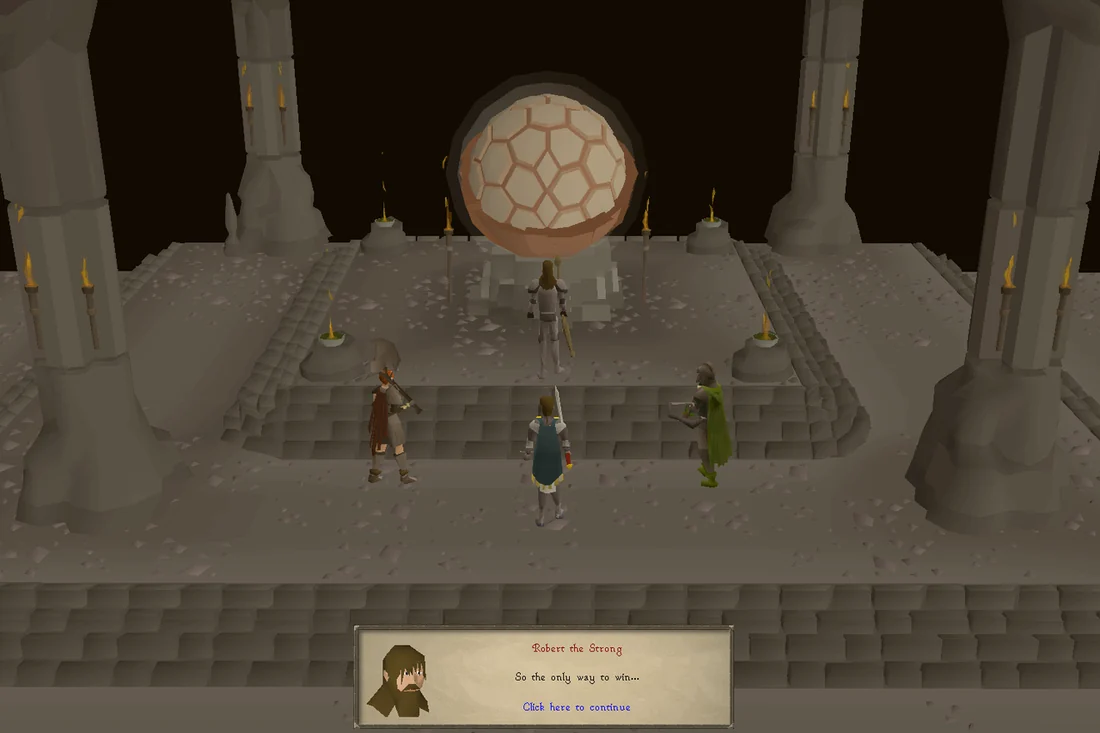
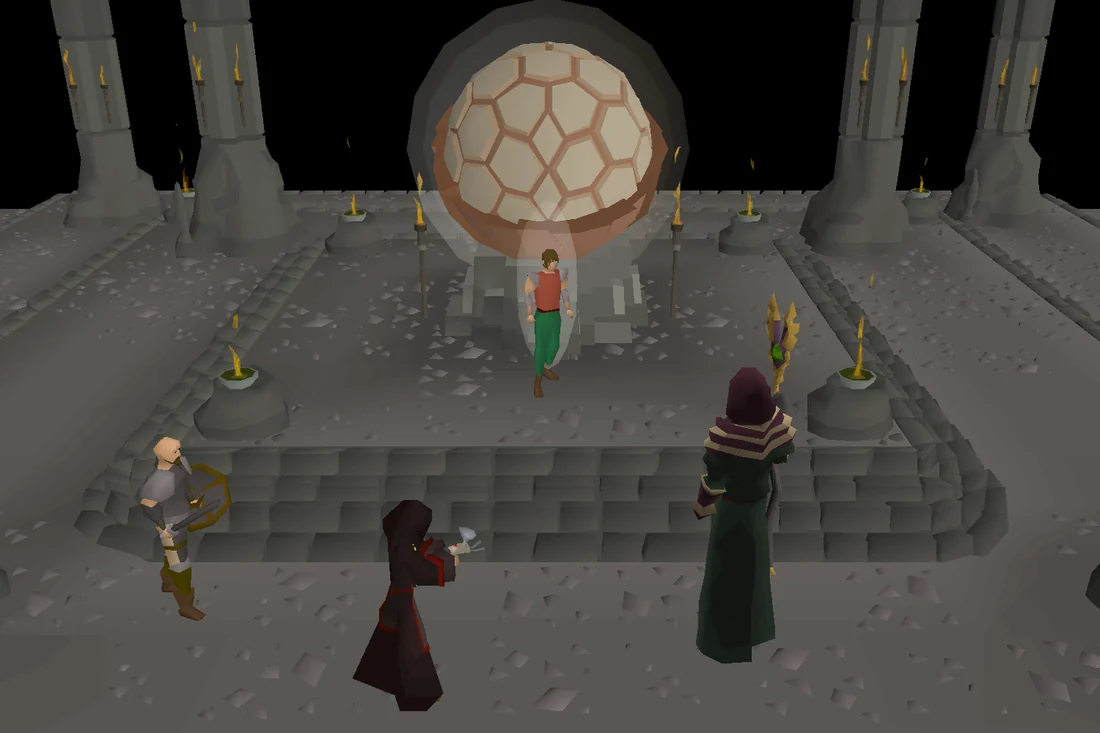
When ready, head beyond the huge door and run through the corridor until a cutscene begins. As you discover that the Stone of Jas is indeed here, energy begins to coalesce into the Balance Elemental, the Stone's guardian. You will tell it that Lucien is coming to take the Stone; while the elemental believes you, it still has a task to fulfil and will attack the player.
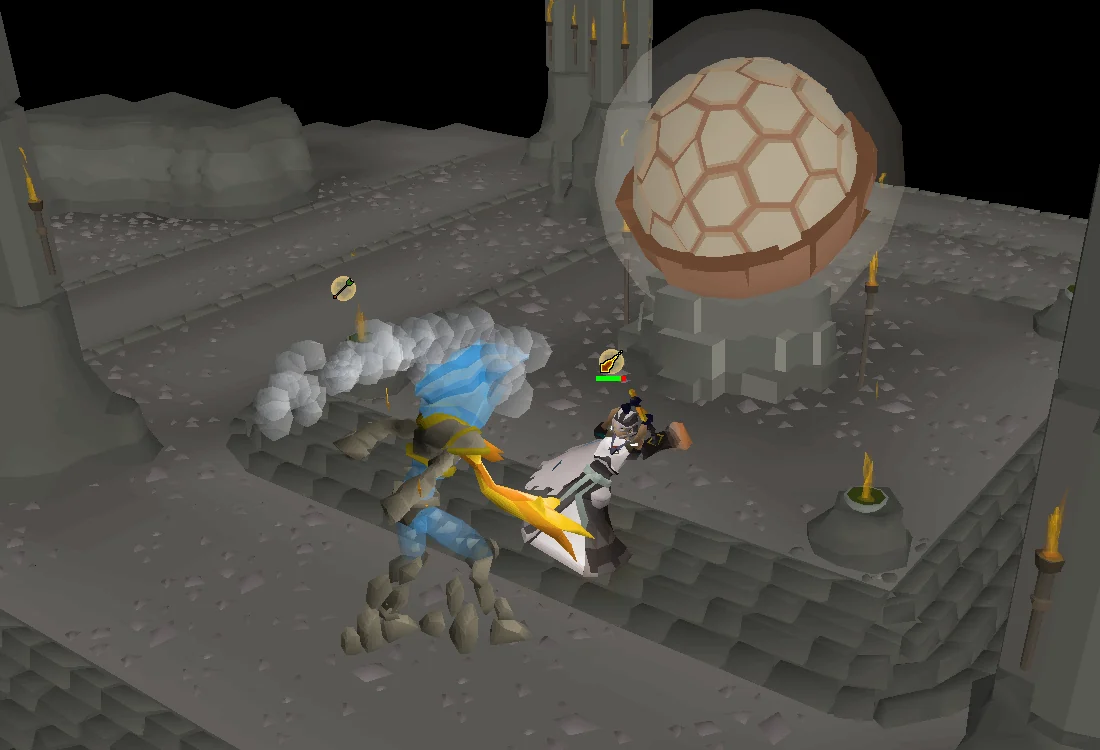
The Balance Elemental has 750 hit points and attacks with all three combat styles. It changes styles after four attacks, then uses a special attack that drains both combat stats and a large chunk of prayer, before repeating another four attacks. The first of the four attacks will always be a stat-lowering attack using its new combat style before attacking again normally. It also makes use of route-finding to avoid being safe-spotted in its melee form. The standard attacks have a max hit of 40, while the special attack can hit up to 89.
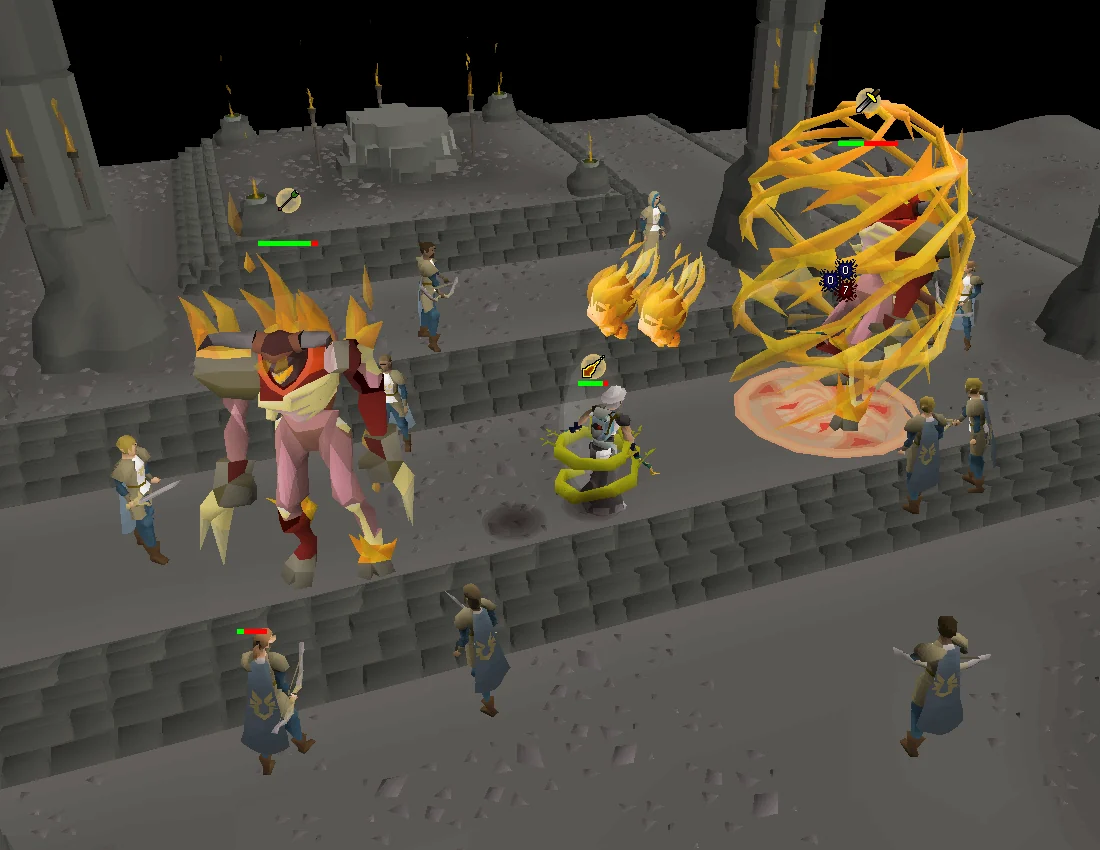
The Balance Elemental fights the player. Image credits →A possible tile to hide from the Balance Elemental. Image credits →
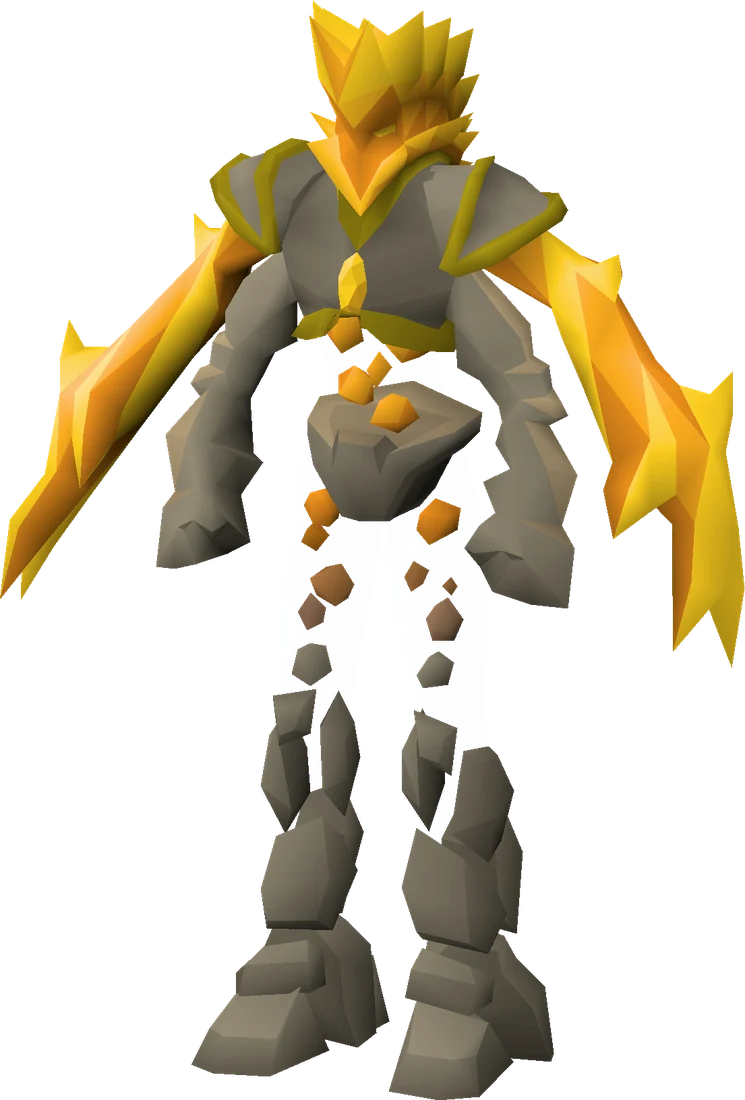
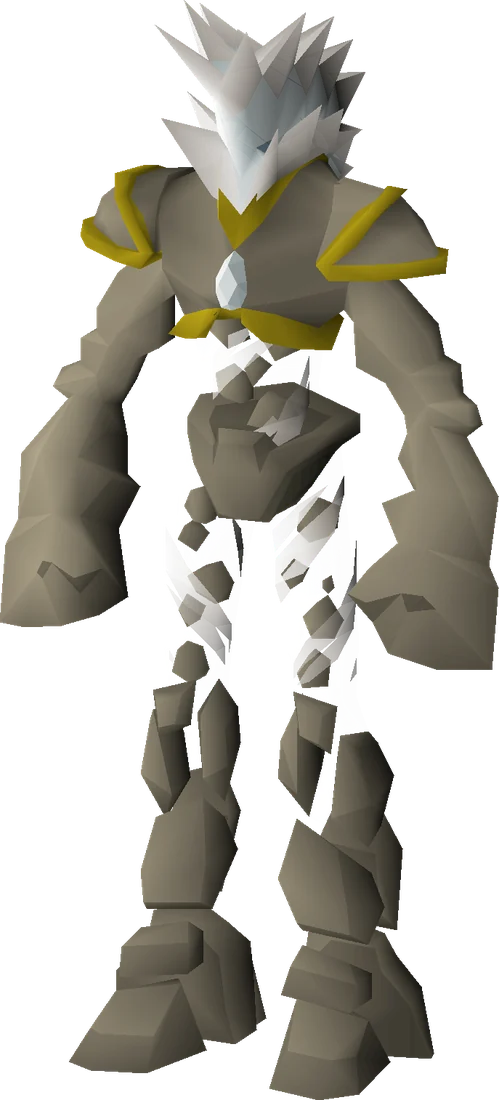
The colour of its head determines its primary combat style. Immediately switch prayers upon the elemental changing appearance to avoid taking heavy and rapid damage; when done correctly, this mitigates all of the damage dealt. The correct overhead prayer must be active before it starts the animation for the attack. When the elemental reaches lower health thresholds the animation may overlap with additional attacks. Above 50% HP you have a 2 tick window to react to change in attack style. Below 50% HP you have only 1 tick to react before damage is calculated. Be prepared to switch protection prayers as soon as you see the elemental change styles. Do not be fooled by the animation resembling a projectile — if the Elemental's head is white, it is still a melee attack.
After reaching certain hit point thresholds, it will begin to speed up its attacks and use protection prayers. The Elemental will not switch protection prayers until you deal a certain amount of damage to it.
Bringing a Menaphite remedy and running behind the pillars to hide from the elemental if a prayer swap is missed is an effective way to restore drained stats.
Appearance
Colour
Watery (blue)
Fiery (orange)
Airy (white)
Attacks with
Magic
Ranged
Melee
Prays against (<550 HP)
Health
Attack speed
Mechanics
<750
6
Standard attacks
<550
5
Standard attacks plus one protection prayer (see table above)
<200
2
Standard attacks plus two protection prayers (mostly vulnerable to its own style)
Players should be careful not to get overwhelmed by the fast attack speed and focus on correct defensive prayer switches first before restoring hit points and stats. Equipment switches are lower priority until the Balance Elemental falls below 200 HP. Without equipment switches, you will still deal damage a third of the time while taking no damage (if switching defensive prayers correctly). Offensive prayers are lowest priority. Once you reach the last phase, the Balance Elemental will protect against 2 attack styles and will not change prayers until taking damage. Therefore, it is necessary to bring all 3 attack styles for this phase, paying close attention to which style it is vulnerable to. Once damage is dealt, it tends to swap dual prayers each time it switches attack styles, but it will stop prayer swapping if it has not taken damage recently and continue to switch attack styles. Continue to prioritise your own defensive prayers above all else until you are comfortable with the rhythm of the fight, then begin incorporating equipment swaps to deal damage until the Balance Elemental is defeated.
If you find yourself getting overwhelmed, an option is to immediately run to the other side of the Stone of Jas when the fight starts, where the player is safe from attacks. After this, attack the Balance Elemental until it changes its attack style. When its attack style changes, quickly change your overhead Prayer accordingly and run back behind the Stone to sort out the rest. This will give you more time to set up everything for the next couple of attacks until the Balance Elemental switches attack styles again.
If you die, your gravestone will be placed by Movario and Darve in the Chasm of Tears; you will not need another sapphire lantern to retrieve your items, but you will need it to return to the bottom.
Facing your demons
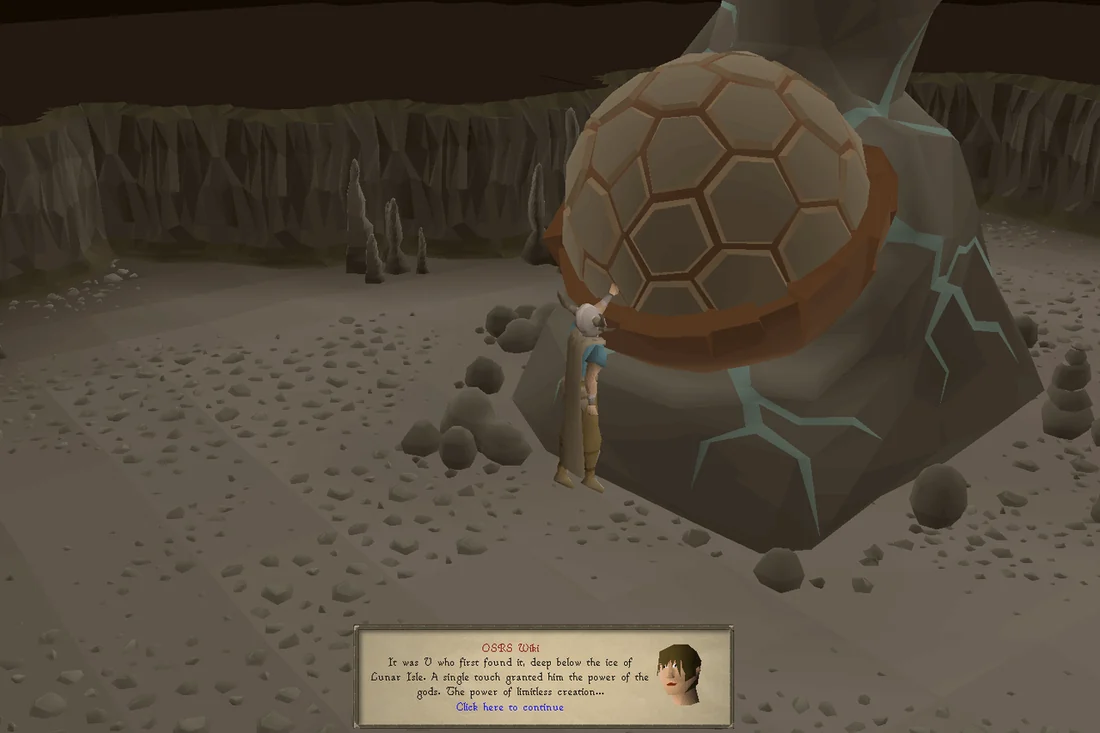
Once the elemental is killed, touch the Stone of Jas. This will cause the player to relive memories of the past with other stone-users, such as V. Movario and Darve will appear, thanking you for bringing them to the Stone of Jas. Suddenly, Lucien will teleport in and ask Movario why he did not inform him of the discovery, who defends himself by stating that he had just discovered it. Noticing the player, he proceeds to take the Stone of Jas before summoning two Tormented Demons to attack the player. Idria and the Guardians of Armadyl will then teleport in to assist.
The player's stats are temporarily increased to 255 due to touching the Stone of Jas, and stat drains (such as saradomin brews) will not affect the player. Kill off the two tormented demons, fighting them one at a time. The demons have a fire shield which reduces damage slightly, and can occasionally bind the player before launching fire projectiles around them which can be avoided by walking away from the targeted tiles, though the Stone of Jas' power means that the player will not have much issue dealing massive damage to them. The demons, like the elemental, make use of routefinding and can hit quite high if their attacks are not protected against.
If trying to avoid combat XP, you may hide behind the south-western column; the Guardians of Armadyl are capable of defeating the tormented demons without the player's assistance. This can take upwards of 10 minutes, and logging out will reset the fight, so make sure to not get logged out for idling if trying this. Flinching from behind the south-western column is another viable strategy, attacking whenever the demons begin to ignore you and walk away to gain some distance. If you are simply low on supplies from fighting the Balance Elemental, it is faster to teleport out to restock, as the fight will reset to when the tormented demons spawned and you will not need to fight the Balance Elemental again. When you return, you will immediately re-enter the fight with both demons likely to be targeting you. If this happens, it can be extremely difficult to avoid damage as they will each attack you with multiple styles, even at range. To correct this, run as far away from both demons as you can until they are no longer attacking you. After a few seconds, they will lose aggro and separate, focusing on the other NPCs in the area and giving you a chance to target one at a time.
After killing off the demons, Idria will be amazed at the strength you acquired from touching the Stone of Jas and will offer to teleport you back to the White Knights' Castle. Accept, and speak to the group, who will be dismayed that Lucien now has the Stone of Jas in his possession. Despite this, they plan to stop him no matter the cost.
The story kin-tinues
If you have completed Dragon Slayer II before completing While Guthix Sleeps, an extra cutscene will play before the quest is completed. Note: the introduction to this cutscene is about a minute long and not skippable, your account will stay logged in until it completes and the dialogue begins.
Meanwhile, back in the Lithkren Vault, three Dragonkin - Strisath, Sithaph, and Sakirth - will break free from their stasis chambers, noting that Zorgoth is dead and someone has used the Stone, and agree to bring terror to the mortals who wish to claim its power.
Congratulations, quest complete!
Quick checklist 142 instructions
Use this when you already know the route. The full walkthrough above includes explanations and diagrams.
The Crux Eqal
Speak to Ivy Sophista in Taverley, in the building where the crystal chest is found.
Say: Yes.
Climb up the ladder to the east and speak with Thaerisk.
Kill the two assassins that appear. Pray Protect from Missiles. Every few attacks the assassin that attacks you will say Now! and launch an arrow towards you; swap to Protect from Melee after the arrow lands, and then focus back on the assassin.
Note that there is currently a small glitch where the player may not be able to attack the second assassin, so let Thaerisk kill him off if this occurs. Thaerisk cannot die during this fight.
Finish the conversation with Thaerisk.
Monitoring Movario
Head to the Fight Arena just north of Yanille.
Speak to the Khazard Launderer at the laundry house, two buildings north of the Fight Arena Bar. Charm the launderer with either the ring of Charos(a) or bribe him with 500 coins for information on Movario.
Say: Would 500 coins change your mind?
Head to Feldip Hills (fairy ring code AKS), and talk to the Hunting Expert ().
Say: A creature to help track down a person. ( → A creature to help track down a person. if you're 99 Hunter)
Set up a pit trap to the west and bait it.
Dismantle the trap to receive an unconscious broav, then return to the expert to have her train it.
With the trained broav, head to the run-down house in the battlefield () where a broken table will be found. Drop the broav (not release) and use the dirty shirt on the broav; once it *squeals*, you will be able to right-click "Search" on the broken table.
Climb-down the trapdoor to Movario's base.
Run north-west, and search the open chest for a number of runes.
Climb down the stairs.
Inspect the old battered door, and pay close attention to the word "PROHIBITED"; one of the letters is stylised after a rune, which is the rune you must use to open the door, which is different for every player.
Warning: Using an incorrect rune will result in the door dealing 20+ damage to you. However, if you do choose incorrectly, the spell's colour indicates the correct rune:
Upon using the correct rune, open the door. NOTE: You must be above a certain weight. If you're wearing graceful/weight-reducing items, unequip them.
Once inside, search the bookcases until the chatbox indicates that you hear a click as you pull a lever (or an audible click sound).
From that initial bookcase, follow the floor wires that illuminate to search the subsequent bookcase, continuing to do so until the chatbox indicates the electric gate deactivating.
Open the gate which is no longer electrified. Right-click search the spiral staircase to disable the trap, and then climb the spiral staircase.
Search the desk to obtain Movario's notes (volume 1), and read through it (22 pages) (do not interact with the Treasure pile to the north west as it will deal 20+ damage to you).
Pick up the waste-paper basket next to the desk, then search it for a ruby key.
Use the key on the north-western most bookcase in the room, against the west wall.
Climb the staircase and search the bed, then use the ruby key on the bed chest.
Search the bed chest to disable the trap, then attempt to open the bed chest. If you don't do this you will get hit for 18+ damage.
Search the bed chest again, then open it for Movario's notes (volume 2); read through it.
Head back downstairs and head to the southern side of the room and inspect the painting on the wall, pull the lever and cross over the broken wall.
Inside, search the drawers to obtain some notes on pressure, and read through it.
Check the pressure gauge, which displays a number in the unit of "tickits"; this value represents how much you weighed upon entering the room with the wires in the beginning.
Check your weight in the Equipment Stats interface, and take from the pile of weights nearby with 1kg, 2kg, and 5kg being available.
Pick out the weights as needed to match the pressure gauge's value. If you weigh more than the required tickit, place weights on the statue in the room by the desk. If you weigh less, pick up weights and keep it in the inventory.
If you weigh 11 kg, and the pressure gauge says 9 tickits. You need to pick up a 2 kg stone and place it on the stone statue. If the pressure gauge says 13 kg and you weigh 11 kg, pick up a 2 kg rock and keep it in your inventory.
Exit via the eastern door and leave the base (you will be attacked by the Elite Khazard Guards again upon exit).
Forming a fellowship
Return to Thaerisk in Taverley with both volumes of Movario's notes.
Head to McGrubor's Wood (fairy ring code ALS).
Head to the building by way of the loose railing to the east to view a cutscene.
Defeat the mercenaries and speak to Idria.
Head to White Knights' Castle and speak to Akrisae who is on the ground floor to the east, until you receive a teleorb from him.
Speak to Akrisae to receive a one-time teleport to Draynor Village.
Say: Yes.
Use the teleorb on any shady strangers in the vicinity. One can be found just south of Diango's Toy Store.
After planting the teleorb, return back to White Knights' Castle and speak to Akrisae.
After the cutscene, finish the conversation with Thaerisk and *MAKE SURE* to obtain the snapdragon seed from him, before accepting his offer to teleport you to Port Sarim.
Say: Could I have that seed? → Yes.
Head west to Betty's Magic Emporium. Purchase a pink dye from Betty in exchange for 20 coins.
Say: Could I buy some more pink dye? → Sounds good.
Use the pink dye on the lantern lens for a rose-tinted lens.
Speak to Betty again.
Say: Could you help me make some enriched snapdragon?
Stand in the doorway of the shop and use the lens on the counter to enrich the snapdragon seed.
Take-from the counter to pick up the enriched snapdragon seed.
Travel back to Falador and climb up the westernmost stairs of the castle all the way to the top.
Plant the enriched snapdragon seed at the special patch.
Amassing the masters
Speak to Idria.
Cast Astral Contact and contact Turael, Mazchna, Cyrisus, and Duradel each; choose the option regarding Lucien. You can also go and visit Turael, Mazchna, and Duradel in person if necessary, though Astral Contact is needed for Cyrisus.
Return to the White Knights' Castle and harvest the enriched snapdragon.
Speak to Thaerisk and he'll give you some truth serum.
Use the enriched snapdragon on the serum to create the super truth serum.
You will now need to obtain charcoal and papyrus from the drawers just south of the jail cell.
Enter the jail cell and use the super truth serum on the shady stranger.
Once you create a suspect sketch, exit the jail cell and give it to Idria.
Head to the Warriors' Guild and recruit Ghommal, Harrallak Menarous, and Sloane (found north-east on the first floor) by asking about Lucien.
Ghommal and Harrallak can be found right by the guild's entrance, whilst Sloane can be found one floor above to the north-east through the heavy door.
Optional: If you do not already have a disguise to enter the Black Knights' Fortress, you can buy a bronze med helm and iron chainbody from the Warrior Guild Armoury on the first floor while here.
The Dark Squall
Return to Akrisae at the White Knights' Castle in Falador. Watch the ensuing cutscene with Hazelmere, then finish the conversation with Akrisae and accept his offer to teleport you to Black Knights' Fortress. If you didn't accept the teleport, Mind Altar Teleport, combat bracelet teleport to the Edgeville Monastery, and Lassar Teleport are the fastest ways to get there.
Equip the disguise you brought (bronze med helm and iron chainbody or a black armour set) to enter the Black Knights' Fortress.
Push the hidden wall directly ahead and climb down the ladder.
Head south towards the tiled flooring, and inspect the carved tile with an orb symbol on it.
Cast any charged orb spell on the carved tile, and enter the trapdoor to access the Black Knight Catacombs.
Head immediately north to the western, broken bridge whilst praying Protect from Missiles, then jump across it.
Pray Protect from Melee and kill the Elite Black Knight that is accompanied by Elite Dark Warriors until you have a full set of elite black armour.
Wear the armour, then run to the north-east path and climb up the wall to the second level.
Head north and around the barricades, then run north-west until you reach two solid doors. Use the western door to unlock a shortcut back to the Black Knight Catacombs' exit.
Enter the northern door to the Dark Squall's inner base.
Search the wardrobe north of the entrance for a second set of elite black armour to give to Silif.
Search the wardrobe to the south of the room for the Dark Squall's robes.
Search the table with the lobster and restore potion to obtain the two items. If you have an additional three inventory spaces, take the strange teleorb alongside the death and law rune; otherwise, you can take them later.
Search the key rack in the north wall for a cell key.
Head back and use the long, eastern path and attempt to open the gate to Silif's cell.
Use the lobster (any food works) and restore potion on Silif.
Talk to Silif until you give him the elite black armour. You can equip the Dark Squall's robes now if needed and simply give Silif your set.
With Silif following you, head back to the Dark Squall's inner base.
Go to the Map board to the south, few steps east of the entrance and Silif will notice the map boards on the wall. Finish the conversation for a teleorb.
With the Dark Squall's robes equipped, climb up the ladder at the eastern side of the room. Be prepared for a boss fight. (You can prepare and re-enter the Black Knights' Fortress by wearing the Dark Squall's robes and also prevent enemy aggression).
Defeat Surok with Magic (He CANNOT BE FOUGHT with other styles). He has 450 Hitpoints and is immune to powered staves, so you cannot use weapons such as the trident of the seas and warped sceptre. Pray Protect from Magic to reduce damage taken. He still does chip damage, so take some food. 10-15 karambwans and 1 prayer pot is enough. Surok follows the same attack pattern as Vorkath, performing 6 regular attacks before using one of the special attacks below for every 7th attack.
Henchmen: Surok will call in either a Strong Warrior or Agile Warrior to approach and bind you. The Agile Warrior must be bound via Bind and the Strong Warrior must be weakened via Weaken. Kill the warrior after using the proper counter spell. Stronger versions of each respective counter spell will also work. If the warrior reaches you, Surok will launch a spell that deals 40+ damage.
Explosive: Surok will throw an explosive orb around the player. This must be telegrabbed and then alched, or it will explode and deal 45+ damage. Picking it up will cause it to immediately explode.
Surge attack: Surok will cast 1-4 elemental surges at the player. To nullify these attacks, the player must cast a spell of the opposite element on the incoming attack (i.e. air for earth, water for fire, earth for air, and fire for water). Otherwise, they will deal significant damage (45+).
Once defeated, plant the orb on Surok.
Finish the conversation and return to Akrisae at White Knights' Castle.
Wear the Dark Squall's robes and enter the jail cell.
If you didn't do so earlier, take the strange teleorb alongside the death and law rune from the desks downstairs.
Run to the middle of the room and activate the strange teleorb whilst standing within the magic circle to teleport to Lucien's camp.
Run along the north-east path until you are across the Chaos Temple, then climb up the ice wall and jump to the ledge. This will not take you into the Wilderness, and your items are safe.
Walk towards the eastern side of the Chaos Temple's roof to view the cutscene.
After the cutscene, return to White Knights' Castle.
Into the Chasm
Talk to Idria.
Head to the Chasm of Tears and speak to Movario whilst wearing the Dark Squall's robes.
Use a lit sapphire lantern on a light creature to be transported into the chasm.
Search the nearby skeletal remains for the following items: a spade, a hammer, and a chisel.
Use the spade on the pile of rocks to uncover a brazier, then use the chisel on it to obtain a fire orb.
Head further west and do the same to the lone pile of rocks for an earth orb.
Head directly south, and use a chisel on the intact brazier there for an air orb.
Head east, and use a chisel on the intact brazier there for a water orb.
Head all the way south to reach three skull cavities.
Examine each recessed block and use the each of the three corresponding orbs on them for the matching elemental block. (The first three recessed blocks are found right next to the cavity entrances)
Climb up the walls next to the centre skull to find the last recessed block, and use the fourth orb on it for the block.
Head back down and unequip items from your weapon and shield slots.
Enter each of the skull nose cavities and crawl to the end, using the correct elemental block on each mechanism by matching the symbols. The specific positions are individual to each player.
Climb back up to the fourth skull. Use the fire block on the recessed block.
Inspect the stone cube and enter the cave opening in the skull. Drop the tools you obtained earlier if more space is needed.
Make your way south to the central chamber where the stone table is found, split into multiple forked paths leading to statues.
Search the skeleton to receive a silver sickle (b) and six druid pouches.
There are 13 possible statues, with 8 being found at the end of these paths, differing between players.
Along the paths, use the druid pouch on the druid spirits to receive herblore ingredients that are used for a statue. These are a one-off reward, so make sure to have plenty of inventory space to pick them all up. If you run out of charges, cast Bloom while standing on the vines to get vine flowers for more charges.
Examine the statues and use the corresponding ingredients on them, using the table below. The druid spirits should give you the exact amount of ingredients needed. NOTE: If you are using a third-party plugin that hides ground items based on value, you might miss an ingredient!
If you mess up or accidentally use the wrong working combination, teleport out to bank, teleport back to Tears of Guthix and finish the remaining statues.
Once you receive all eight dolmens, use them on the stone table to open the huge door. You may use them one at a time to free up inventory space.
Balance Elemental and Lucien's demons
Leave the temple and prepare for the last fight battles ahead. Bank the Dark Squall's robes and bring your best gear.
Bring:
Equipment for all 3 combat styles
3-4 super restores
1 Menaphite remedy (one dose before the fight begins and a second dose if you need more time)
10-12 combo food (sharks and karambwan are fine)
A sapphire lantern to attract a light creature to enter the chasm
An emergency teleport (not runes, as the Elemental can lower your magic to 1 if you run out of supplies)
Proceed past the huge door until you reach the Mysterious Stone.
Upon arriving in the room, a small cutscene will happen and the fight with the Balance Elemental will then begin. It can use a magical, stat-lowering attack after every 3-4 attacks, then proceeding to change attack styles based on the player's protection prayer.
Fight overview:
Fiery / Orange -> attacks with Ranged
Airy / White -> attacks with Melee
Watery / Blue -> attacks with Magic
The Elemental will start praying against your attack styles at 50% of its hitpoints.
At 25% the Elemental will attack faster, harder and have double prayers up. Be sure to correctly pray against the style it uses, since it can hit high 30s on a 2-tick speed attack whilst switching attack styles as well.
Make sure you drink your restores if the Elemental reduces your stats or bring a menaphite remedy and drink it before the fight starts so it will restore your stats when weakened.
It is recommended that you use one of the pillars at 25% since you can exchange hits 1:1 and take your time to have the right prayer protection up. Or focus on prayers first, and then your switches, as you only have 1 tick to react. If the attack hits you off prayer it will drain your stats and prayer. (You are able to use the pillar the entire fight if you are a lower level/hardcore who is worried about death)
If you die while fighting the Balance Elemental, your grave will appear at the top of the chasm at Tears of Guthix.
Upon defeating it, search the Stone again to view a cutscene.
Fight the two Tormented Demons alongside the Guardians of Armadyl.
They are surrounded by a flame shield that reduces damage done by non-demonbane weapons/spells and non-abyssal weapons by 20%, though this should not be an issue for this fight thanks to the extremely high boost from the Stone of Jas.
They can use protection prayers, switching prayers after taking a certain amount of damage.
They can also switch attack styles based on the player's protection prayers every 16 seconds or so.
Sitting behind the south-western column and waiting for the Guardians of Armadyl to finish off the demons is viable and completely removes any combat from the encounter if you do so wish. (Very slow, but completely safe for HCIM)
Upon defeating the demons, speak to Idria and have her teleport you to White Knights' Castle.
Speak to Idria again to complete the quest.
Congratulations, quest complete!
QUEST COMPLETE
Rewards
80,000 Thieving experience
75,000 Farming experience
75,000 Herblore experience
50,000 Hunter experience
Access to the Ancient Guthixian Temple and tormented demons
Duradel's notes, obtained from Kuradal, which grants Slayer experience equal to 15x the player's Slayer level when read, as well as the ability to craft the emberlight, scorching bow, and purging staff
100 death runes, 100 fire runes, 100 coal, and 100 magic logs can be looted from Movario's base
 5
5