2
2Requirements
- 85 Combat [required to start]
- Completion of the following quests:
- The ability to defeat 4 powerful monsters without the use of prayer
QUEST 125 · MEMBERS
Gielinor is not the safest place to live - dragons, trolls, demons... dangerous and despicable monsters of all sorts roam free. In this quest, you must help a fellow adventurer that doesn't do so well against these threats. With perseverance and the magical help of the Moon Clan, there should be no monster that can't be beaten. But is that really true? How about the monsters in your dreams? How about your own inescapable fears? How would you defeat them? Well, you'll soon find out as a tough and
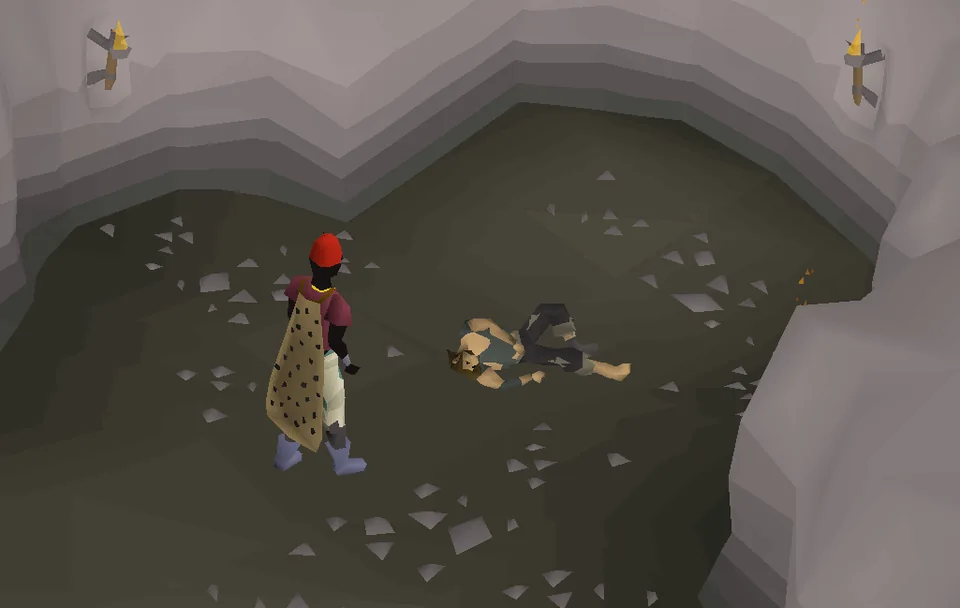
Talk to the fallen man in the small cave in the Lunar Isle mine.
STEP BY STEP
Follow the chapters below. Click any screenshot or diagram to view it at full size.
Travel to Lunar Isle. Changing spellbooks to the lunar set may help, as will carrying runes to teleport back to the bank.
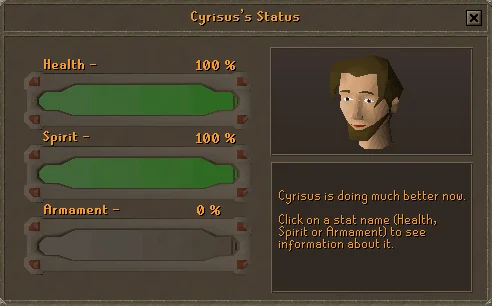
Use one food that you have seven of on Cyrisus to feed him, followed by the one that you have six of, then the third type. There will be four lots of dialogue to complete while feeding him.
Continue feeding him in the same order until the chatbox says he doesn't need any more. If you feed him a type you used recently, he will reject it; just try another type.
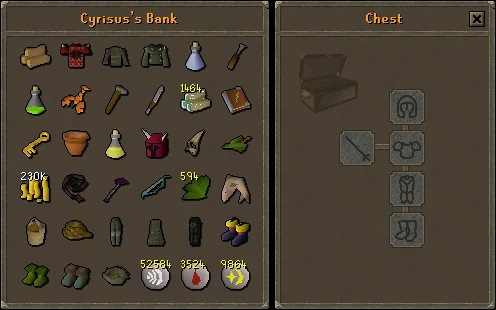
Now, you have to reach 100% in all of his remaining stats. Once Cyrisus has reached 100% in all stats, he'll tell you that he's afraid of Combat. Afterwards, you'll agree to accompany him to the Oneiromancer—exit the mine, and go southward.
Items required: Goutweed, a hammer, a pestle and mortar and an astral rune.
Items required: Dream potion, a tinderbox, armour, a weapon, and good food, seal of passage.
| This fight takes place in an instance. |
Using the lectern at the north of the arena is the only way to leave the following fight. Use of all teleports, including the ring of life and escape crystals, will not work. Players should prepare to use the right-click leave option during the fight. If you die you will always lose your seal of passage and will have to speak with Brundt to get a replacement.
In the upcoming fight, four bosses must be defeated in a row, without the use of prayers.
It is highly recommended to use magic for the fight. All four bosses have very low magic defence, and magic will hit consistently even if you wear melee gear to reduce incoming damage. An excellent strategy is to use a trident of the seas, but Iban Blast, Warped sceptre or Blood Rush are also very good options. Strong melee armour, a shield with high ranged defence, and plenty of high-healing food are recommended. A halberd can also be brought to safespot the second and third bosses if desired. Players may want to drink a dose of divine battlemage potion or super defence potion prior to entering. For Ironmen who lack access to high-healing food, it is possible to switch to a PvP World before starting the fight so as to be able to use blighted food, as it will be extremely unlikely that the player will meet a PKer upon switching, provided they do so within the Dream Hall.
Note: Remember to bring the seal of passage.
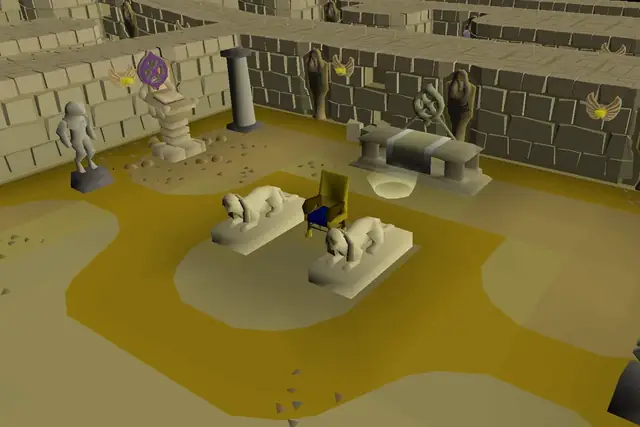
Go to the Dream Hall, the large building on the west side of Lunar Isle, where Cyrisus will be waiting for you. Light the brazier with a tinderbox and talk to Cyrisus to enter the dream world. During the fight, a bar showing Cyrisus' Courage will be shown and he will occasionally attack or use Vengeance Other on you.
You will then have to fight, in order, four monsters representing Cyrisus' fear:
After defeating the Illusive, Cyrisus will finally conquer his fear and stomp it to death.
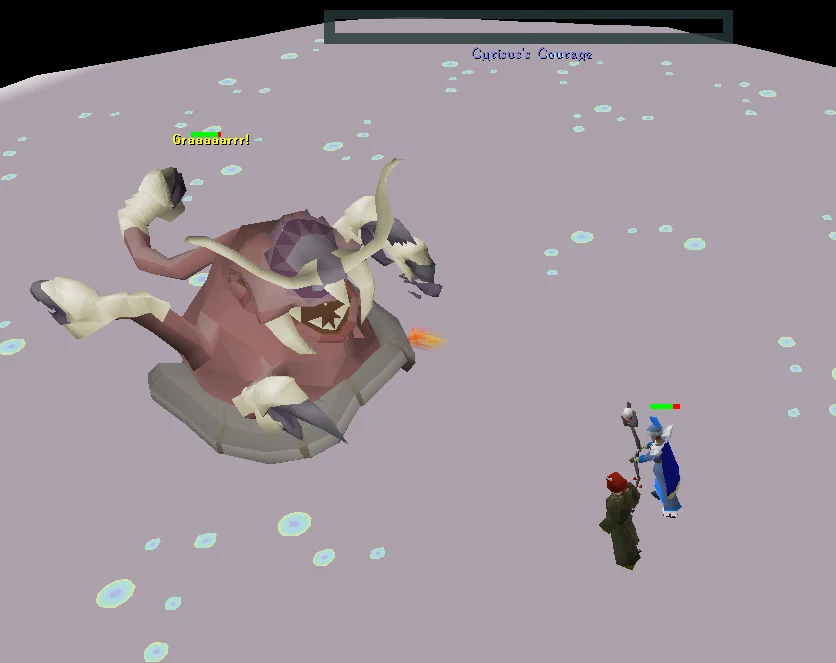
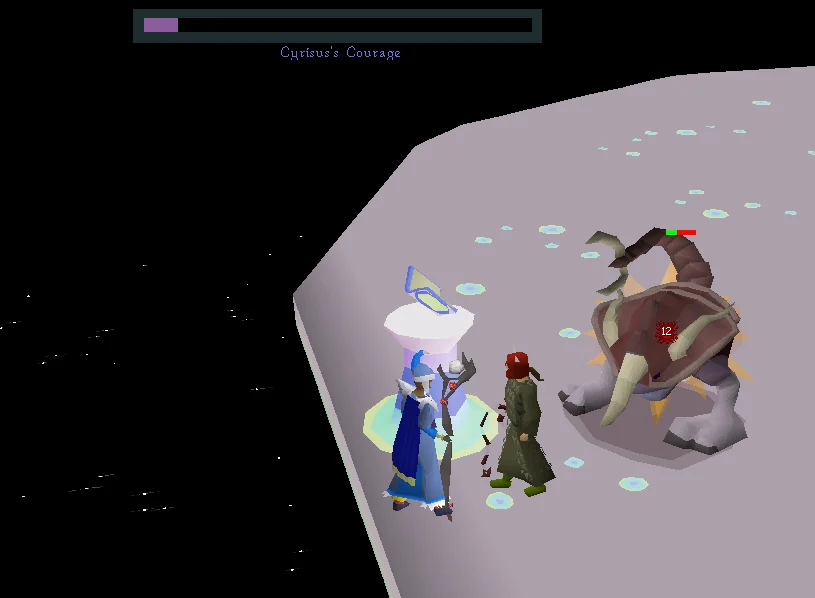
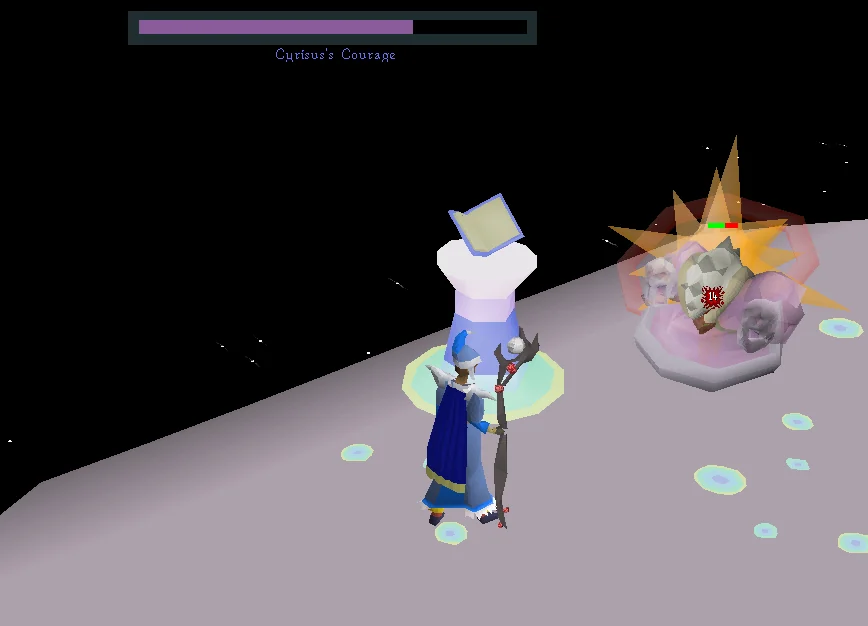
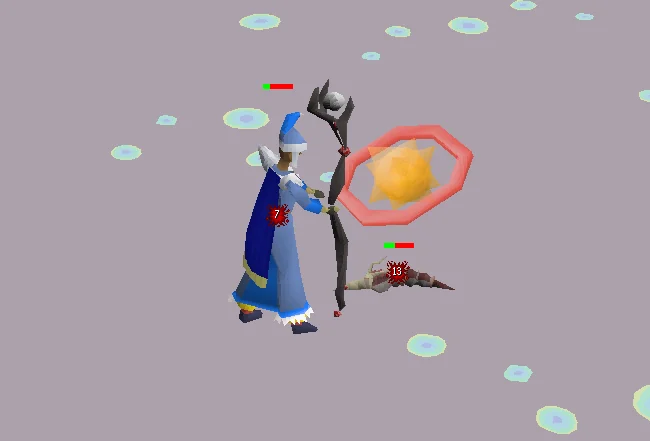
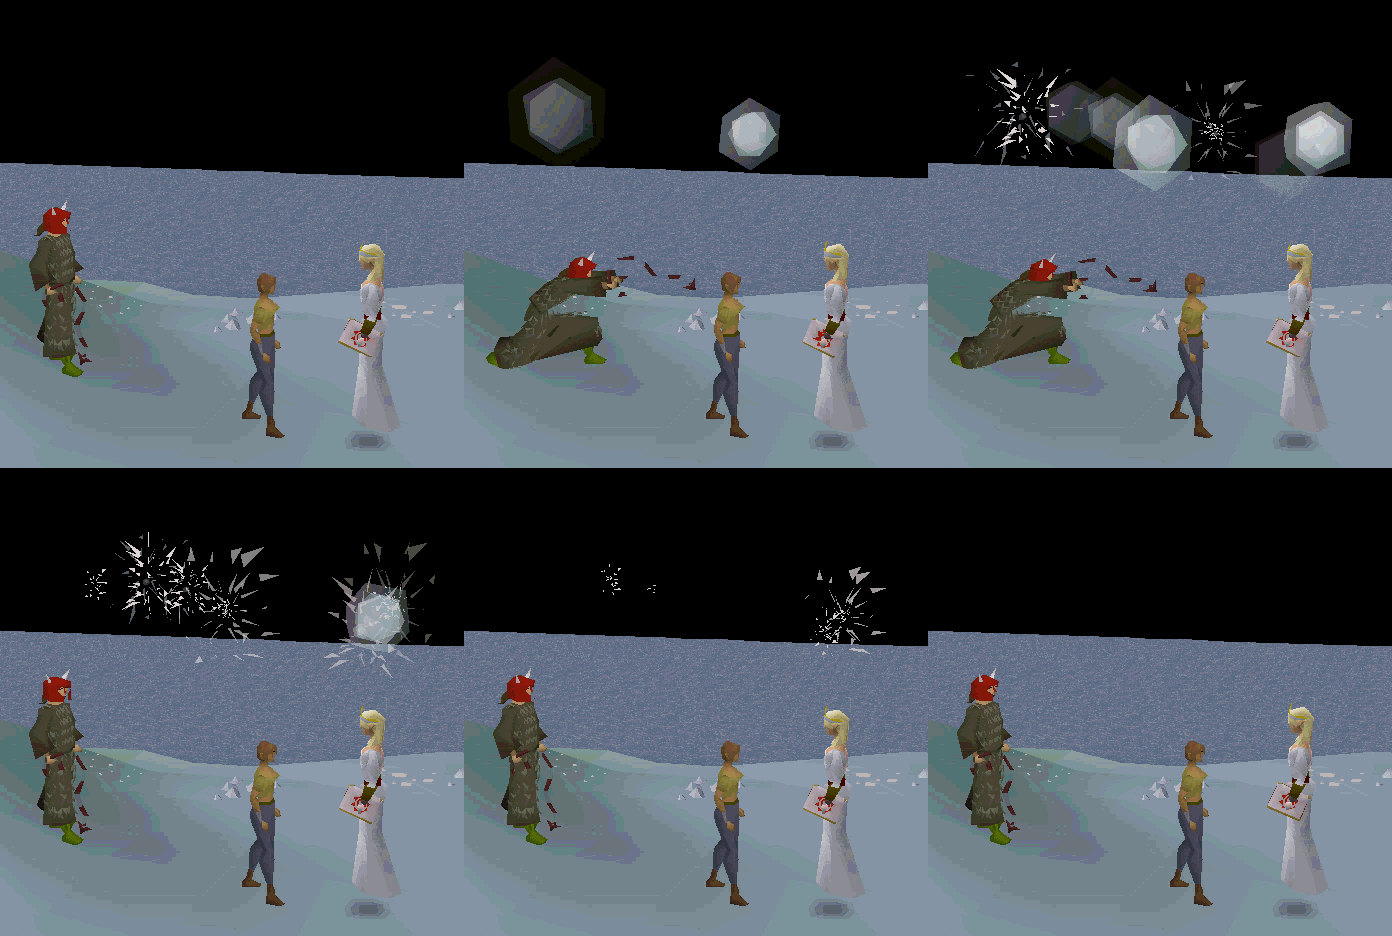
Note: Do not bank your seal of passage after the fight. You will need it to finish up the quest. Travel back and talk to the Oneiromancer on the south-east of Lunar Isle. Cyrisus will thank you for helping him, and in gratitude uses Lunar Magic to grant you some of his knowledge.
Congratulations, quest complete!
Use this when you already know the route. The full walkthrough above includes explanations and diagrams.
Travel to Lunar Isle.
Enter the mine in the north-east area of Lunar Isle.
Crawl through the cave entrance (Quest Quest minimap icon).
Talk to the fallen man, follow the dialogue and close the interface when it appears.
Feed him 4 food, starting with one you have seven of, while cycling through your different foods. Avoid using the same food twice in a row.
Talk to him again.
Say: Just don't worry. → Of course.
Feed him 4 more food as before.
Talk to him and keep reassuring him with positive responses until he sits up (cutscene).
Feed him 6 more food.
Talk again multiple times using positive responses until he stands up (cutscene), and once more after he stands up.
Talk to 'Bird's-Eye' Jack in the bank.
Say: Cyrisus in the mine
Select the following equipment (if your combat level is determined by your melee skills):
Dragon med helm
Abyssal whip
Ahrim's robetop
Ahrim's robeskirt
Ranger boots
Return and talk to Cyrisus for a cutscene.
Say: Talk about the Armament
Use food on him until his health is at 100%.
Talk to him again multiple times, giving positive responses until you receive a cutscene. If you don't receive it, feed him a couple more times.
Talk to the Oneiromancer at the Astral Altar for a dream vial.
Say: Cyrisus.
(Optional) Change your spellbook as necessary if you wish to use magic in the final fight.
Fill the vial with water, add a goutweed.
Use your hammer on an Astral rune, then grind the shards with a pestle and mortar.
Add your ground astral rune to the dream vial to complete the potion.
Prepare for 4 fights. Prayers and emergency teleports won't work. Do not bank your seal of passage; not even 'Birds-Eye' Jack will serve you without it yet.
Light the Ceremonial Brazier in the dream hall building.
Talk to Cyrisus.
Say: Yes, let's go!
During the fight, you can leave at any time by using the lectern, although this will force you to re-battle any defeated bosses.
Kill The Inadequacy
Kill The Everlasting - can be safespotted by the lectern to the north
Kill The Untouchable - can be safespotted by the lectern to the north
Kill The Illusive
Return to the Oneiromancer.
Say: Cyrisus.
Congratulations, quest complete!
QUEST COMPLETE
OSRS WIKI CONTRIBUTORS
Walkthrough text and preparation lists are adapted from Old School RuneScape Wiki contributors under CC BY-NC-SA 3.0. Game imagery © Jagex Ltd; individual image credits are available from their captions. This page is fan-made and not affiliated with Jagex.
KEEP QUESTING
Game icons © Jagex Ltd, via the OSRS Wiki. Interface icons by Lucide.