3
3Requirements
- Ability to defeat a level-69 Draugen
- Ability to defeat a fairly strong warrior without armour, weapons, or spells
QUEST 62 · MEMBERS
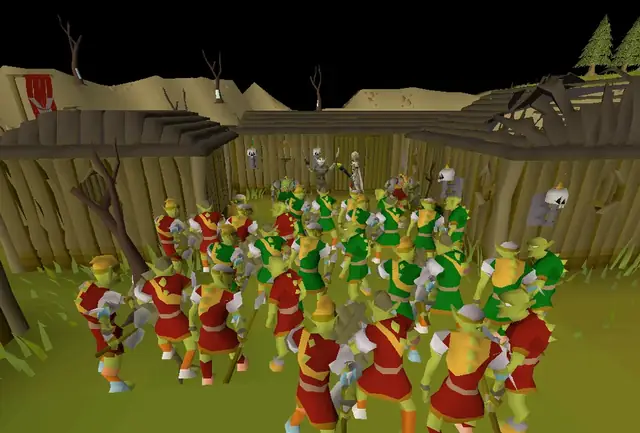
Council workmen have at last found the time to make repairs to the footbridge that connects Kandarin with the Barbarian town of Rellekka. Do you have what it takes to impress the barbarians who live there, and perhaps be welcomed as an honorary member of their clan?
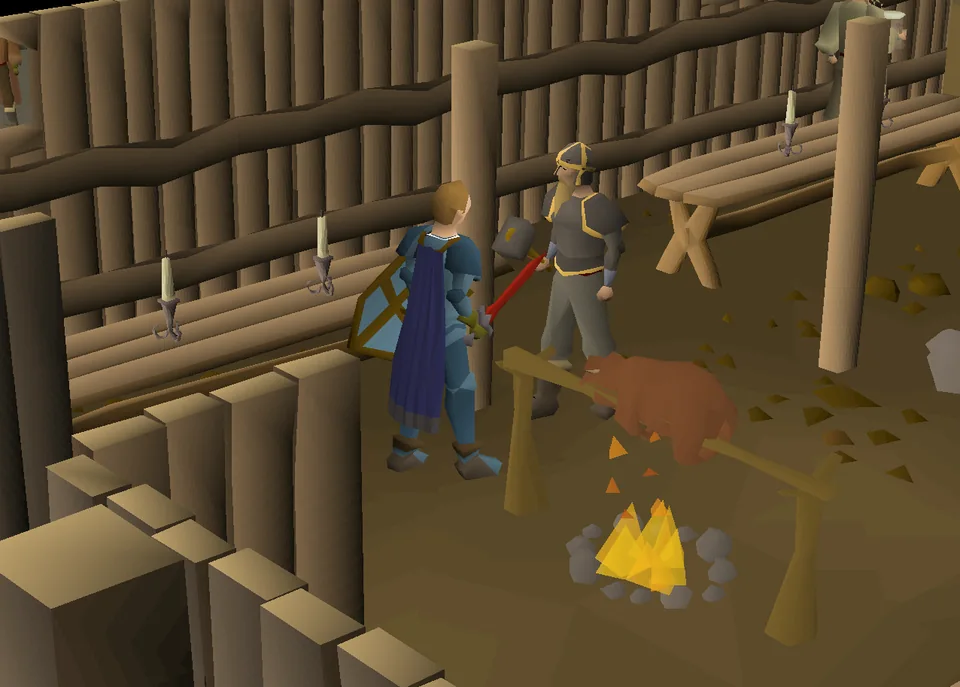
Talk to Brundt the Chieftain in the Rellekka longhall.
STEP BY STEP
Follow the chapters below. Click any screenshot or diagram to view it at full size.
Note: If you start the quest, you will not be able to use Peer the Seer to bank your items, unless the player completes the easy Fremennik Achievement Diary (requires completion of this quest), which re-enables his deposit box functionality. Before fighting Koschei the deathless, you are allowed to use the Peer the Seer to bank your forbidden items.
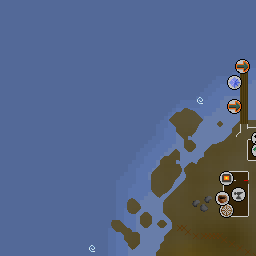
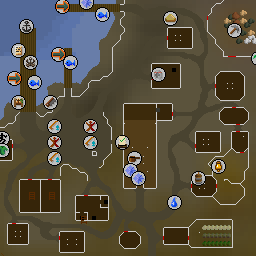
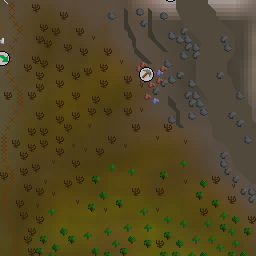
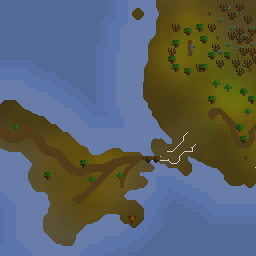
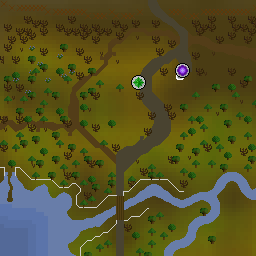
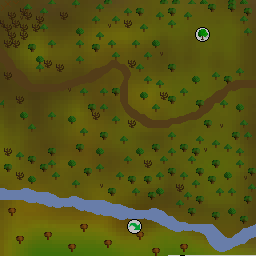
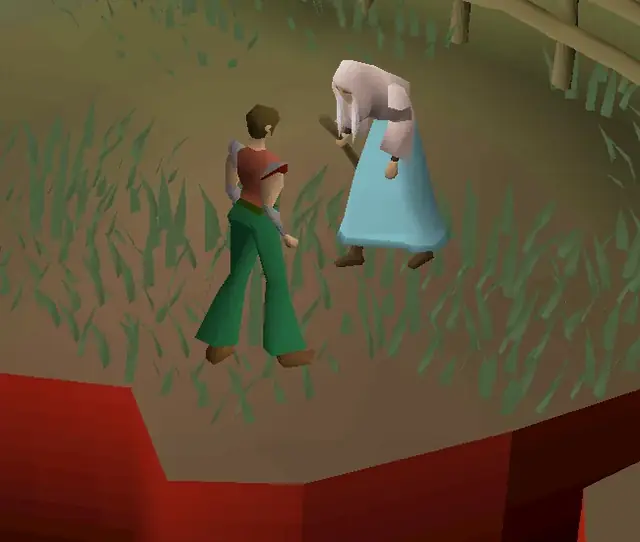
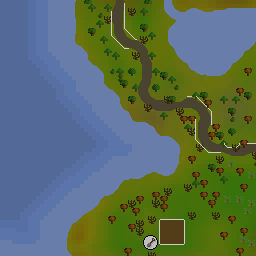
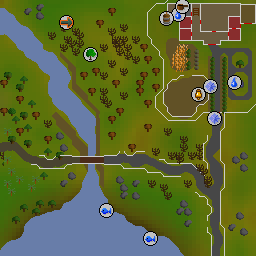
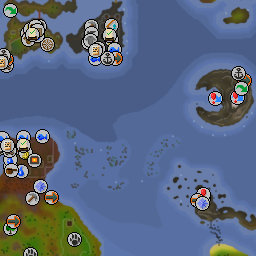
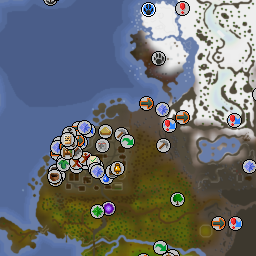
Begin the quest by speaking to Brundt the Chieftain, located north of the entrance of Rellekka, indicated by the quest icon. He explains that the only way to become a Fremennik is if you impress seven of the twelve members of the council of elders enough that they give you their vote.
Each of the seven that consider accepting you have a personal task for you to complete. The other five council members' votes are unattainable.
You can do the trials in any order.
You can find Manni in the bar right next to the chieftain. He can be found walking around drinking. Talk to him and challenge him to see who can drink more beer before getting drunk. Take the keg of beer and beer tankard, which can be grabbed off the bar in the longhall.

 1
1Talk to him again to drink. You will lose no matter what, while he'll hardly get drunk at all. Go back to Seers' Village and buy a Low alcohol keg of beer from a Poison Salesman by the bar for 250 coins. (Note: Buy a beer here if you didn't grab the beer tankard to save time getting the strange object.)
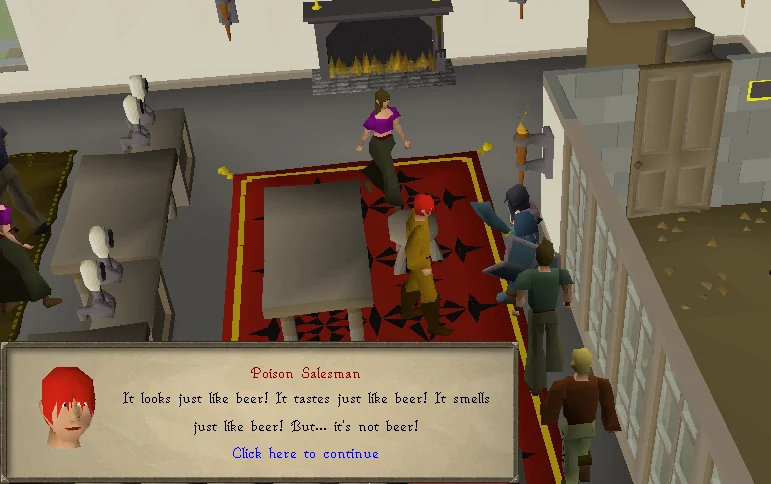
Use the beer or beer tankard on the council workman at the end of the bridge to Rellekka in order to give it to him and receive a strange object. You can do this while returning to Rellekka from the poison salesman.
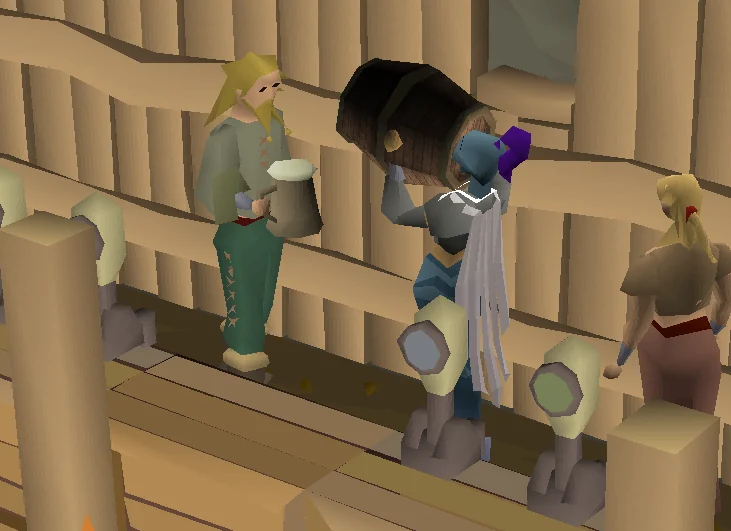
Go to the Rellekka bar and look on the outside of the longhall for a pipe. It should be on the east wall - the same side with Olaf the Bard. Light the strange object with your tinderbox to get a lit strange object; then, hide it in the pipe. Walk into the hall, grab another keg of beer (Note: If you stored the keg in your bank you will not be able to pick up another one from the table), and use the low alcohol keg on the normal keg of beer that is in your inventory. The lit strange object will then explode, distracting the Fremennik and allowing you to switch the contents of the two kegs.
Talk to Manni again once you have switched the contents of the kegs. After drinking the keg of beer, Manni will give you his vote after noticing that you drunk a whole keg of beer without any side effects.
(Return to Trials Map)Note: If obtaining the Lyre as a drop from Lanzig, Borrokar, Lensa or Freidir, you MUST start the trial by speaking to Olaf the Bard FIRST, otherwise the Lyre will not drop.
Items needed for Option 1: An axe, knife, raw shark/raw ray/raw turtle, potato, onion, cabbage, (requires 25 40 40 ; vegetables obtained for free in Rellekka).
Items needed for Option 2: Combat equipment and a raw shark/manta ray/turtle
You should see Olaf east of the bar building where you started the quest. He'll give you his vote if you can prove your worth as a bard by performing at the longhall. The first thing you need is a lyre.
There are two ways to get a lyre:
Note: You MUST start the trial by speaking with Olaf the Bard BEFORE speaking with Lalli or else he will not tell you about the other human.
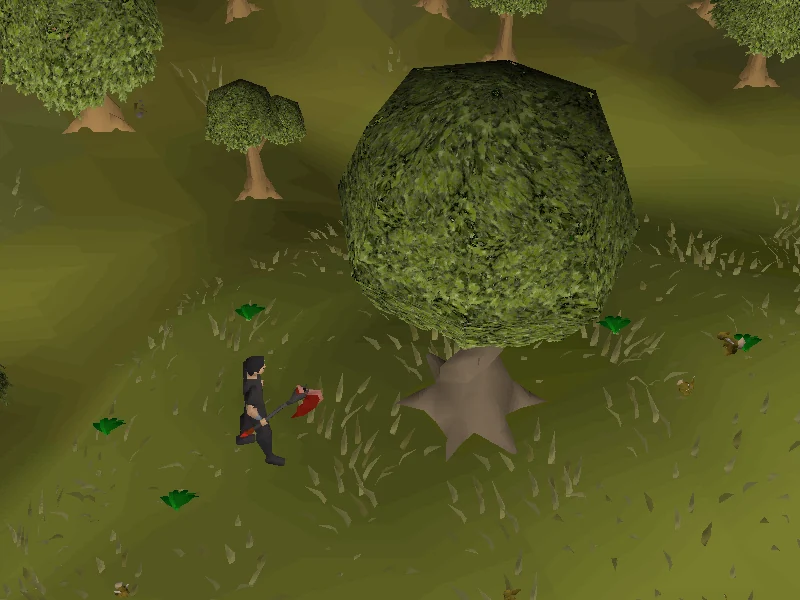
Make a lyre yourself. First, grab a potato, cabbage, and onion from the vegetable patch in Rellekka before you leave. Once you leave the gates, head east until you find a Swaying tree, and cut a branch off it. Then use a knife on the branch. If you forgot to bring a knife, there is a knife spawn a few tiles north of the mining area in Rellekka. You will need an axe (blessed will not work) and a Woodcutting level of 40 in order to cut the tree and a Crafting level of 40 to make the unfinished lyre.
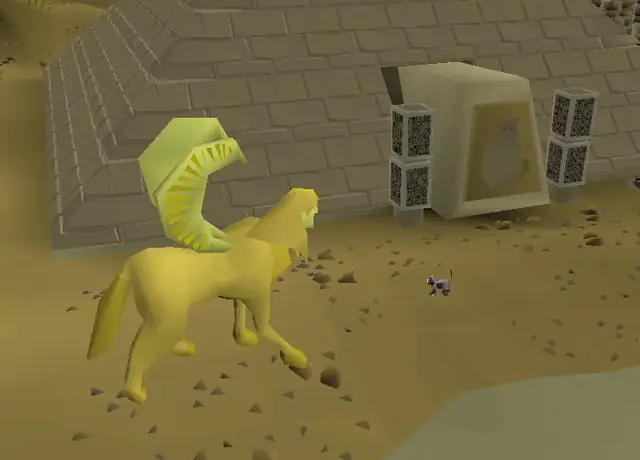
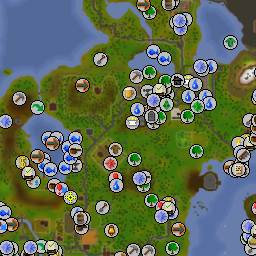
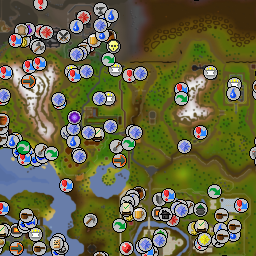
You will then need to string the unfinished lyre, but unfortunately only golden wool will work. Head south-east of the tree until you find several golden sheep and a golden tree. Near them will be a troll called Lalli, who will initially think you want the apples when you want the wool. He will tell you that he already gave it to another human, so go find him.
The other human is Askeladden, who is the child located at the entrance of the long hall in Rellekka. Talk to him and he will give you a pet rock which he fooled Lalli with. Return to Lalli with the rock, but he will refuse it because the rocks might have baby rocks, so tell him that you can make a delicious rock soup with it.
 123
123Use the potato, cabbage, onion, and pet rock on Lalli's stew, which is just outside Lalli's cave home. Ask Lalli to taste it; he will like it and give you some golden fleece. The fleece will need to be strung into a ball of wool; even though there is a spinning wheel in Rellekka, you cannot use that until the quest is finished, so you will need to go to Seers' Village instead. Use the ball of wool on the unfinished lyre, which will require 25 Fletching.
Note: If you plan to create multiple lyres, use the drop trick to collect multiple fleece before proceeding. Once Olaf the Bard's trial is complete, you will not be able to get more fleece from Lalli until the entire Fremennik Trials quest is complete, and Lalli will then charge you 1,000 coins per fleece.
Option 2: Kill Lanzig, Borrokar, Lensa, or Freidir in and around the buildings on the eastern side of Rellekka until they drop the lyre, each have a 1/17 chance to drop it. They all have a very quick respawn time and are located a short distance from each other. For mage and range users, you can use the fires in the centre of the buildings to safespot.
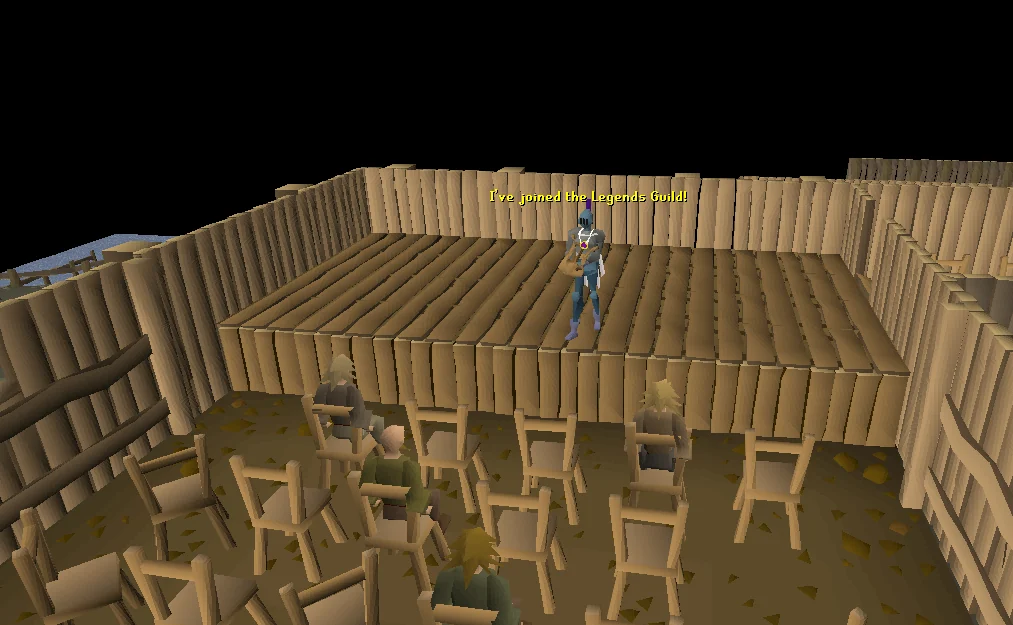
Once you've obtained the lyre, you need to get it enchanted. Bring a raw shark, raw manta ray, or raw sea turtle with you (if you have more than one lyre to enchant, then bring one fish for each lyre you wish to have enchanted; if using raw sharks, try to get raw sharks from Rufus' Meat Emporium in Canifis over a period of time). South-west of Rellekka is a strange altar located on a small peninsula. With the lyre in your inventory, use your raw shark/manta ray/sea turtle on the strange altar. A spirit named Fossegrimen will appear and enchant your lyre for you.
Enter the door the Longhall Bouncer is guarding to go onstage. (Note: Drop any extra enchanted lyres, or they will become unenchanted). Play your lyre in front of the crowd, then talk to Olaf a final time to get his vote.
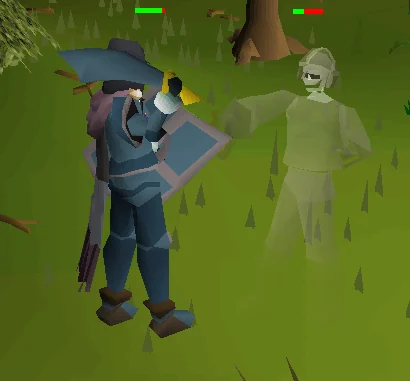
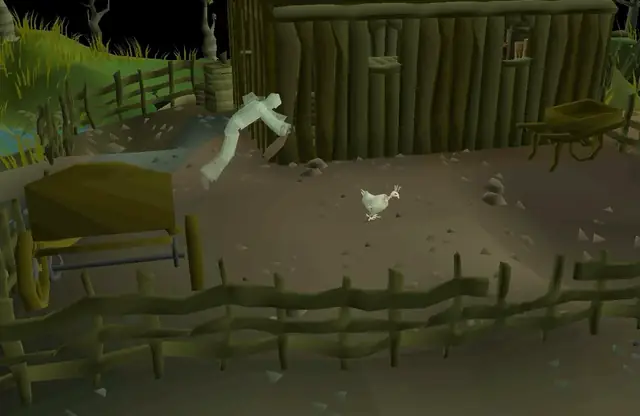
Sigli can be found near the entrance gate. Your task is to find the Draugen, an immortal spirit, and defeat it to weaken it. Keep using the hunters' talisman he gives you to find where to go. The talisman is used the same way you might use a Runecraft talisman; selecting locate gives a chat message in the direction to go. The Draugen moves around the Fremennik Province and can cross bridges. There is a small, transparent-looking butterfly that follows the Draugen. It can be used to help locate him. Use the talisman on the exact tile the Draugen is on to fight him. Level 48 Agility can help by allowing you access to the log balance shortcut, as the Draugen has a random location that changes frequently. One slow method to find the Draugen is to sit near the bridge to the east of the strange altar and camp in a spot. Eventually, the Draugen will appear, announced by a chat message, "The Draugen is here! Beware!" With the proper gear, a level-50 player should defeat him without problems. Despite having high magic defensive bonuses, the Draugen's Magic level of 1 results in spells being very accurate on it, and its 50% air weakness can be exploited for even better damage. Melee performs second best, with Ranged being the least effective combat style. When you defeat him, the Draugen's essence will be absorbed into the hunters' talisman. Return with the talisman to Sigli to get his vote.
(Return to Trials Map)You can find Sigmund in the market. He will want you to get him an exotic flower. This may sound easy, but you will end up having to get something or do something for another person, kind of like a miniature One Small Favour quest. Refer to the map above to easily locate the NPCs. DO NOT lose the items that the people give you; otherwise, you must start over and talk to Askeladden for the promissory note again.
Thorvald lives in the helmet store. His task is for you to fight a special warrior called Koschei the deathless. There are two rules:
There are also some things to note:
Stock up on the food and potions, then climb down to Thorvald's basement. When you enter the arena, Koschei is hidden. Simply roam around for a short while, and he will appear.
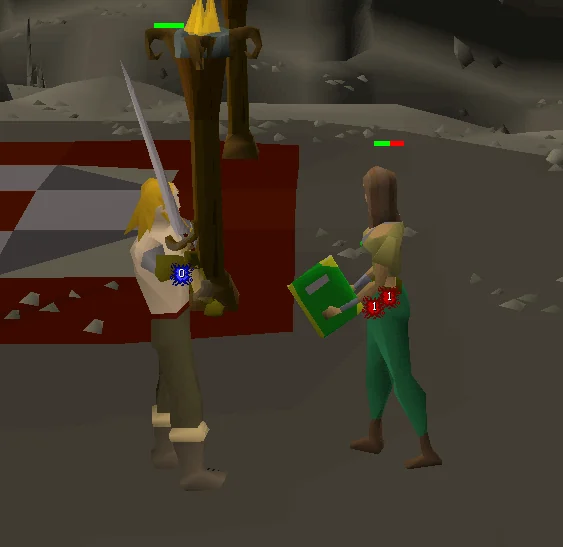
Koschei's first form is easy and should give you no problems. After you defeat him, he will regain all of his health and become stronger. There is no way to safespot him as you have no weapons, but you can trap him over the hole and wait a while for your health to regenerate. However, if you stay there too long, he will disappear and reappear after you run around, back in his first form. His level is not displayed.
His second form might give you a bit of trouble, and you might need to use food or Prayer.
His third form is fairly difficult, so you will most likely need to use food and/or Prayer here. You may need a prayer potion here as it is possible to run out of prayer points early. This is the last form required for you to defeat to complete the quest.
Note: Leaving after the 3rd fight resets your progress. Enter the 4th fight regardless and, should you lose, his fourth form may roam the area when you return.
The fourth form is the hardest. He will hit once every game tick, but can only hit for 1 damage at a time. It is recommended that the player use a Ring of recoil, but be sure to bring enough rings for the fight (7 minimum) as the ring breaks after 40 hitpoints of damage, and Koschei has 255 HP in this form. Some high level food will also be required to heal the damage taken using this method. In this form, Koschei will quickly drop your prayer points in intervals of 1-2 every second and will drop all of your prayer points as soon as the form starts. If you manage to beat Koschei in this form, you will be given a Fremennik blade. Otherwise, when Koschei leaves you at 1 hitpoint, you will kneel on the ground and find yourself upstairs. Regardless, Thorvald will give you his vote for your bravery in fighting a superior foe.
(Return to Trials Map)Peer is found south of the market. He'll give you his vote if you can simply enter the front door to his house, and then come out the other side. This is more difficult than it seems because you cannot take any items in, and you will encounter many puzzles inside. You can deposit all your items by completing the dialogue after Peer introduces his trial.
Note: Because Peer will bank all of your items in your inventory, this should be done last to save a lot of time walking to and from the bank.
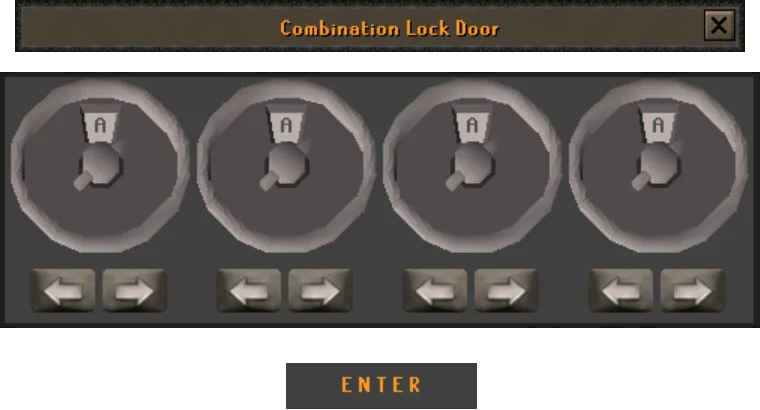
To get in, you need to answer a puzzle. The answer is a four-letter word and Peer will give you a clue for each letter and the word itself. All possible answers include: time, life, mage, fire, wind, mind, and tree.
| Riddle | Answer |
|---|---|
|
Mind |
|
Tree |
|
Life |
|
Fire |
|
Time |
|
Wind |
After you have solved the riddle, use the ladder.
You now need to open a chest with a balancing mechanism as a lock to get a vase. To open it, you must set exactly four litres of water on it.
To solve the puzzle, you will need some items found in the room; search and study everything until you find an old red disk, a wooden disk, a red herring, an empty jug, and an empty bucket.
Once you have all of the items, you can solve the puzzle by doing the following:
Once you have all seven council members' votes, head back to Chieftain Brundt, and speak to him to complete the quest.
Congratulations, quest complete!
Use this when you already know the route. The full walkthrough above includes explanations and diagrams.
Talk to Brundt in the longhall to start the quest. (Fairy ring DKS and run south-west to Rellekka)
Say: Do you have any quests? → Yes, I am interested. → I want to become a Fremennik!, or → Ask about anything else. → Do you have any quests? → Yes, I am interested. → I want to become a Fremennik! if started or finished Mountain Daughter
The trials may be done in any order, however this quick guide will show you the fastest order.
Talk to Manni the Reveller while in the longhall.
Say: Yes
Take the keg of beer and challenge Manni to a drinking contest. You will lose.
Say: Yes
If you did not bring a beer, grab the beer tankard now.
Talk to Sigli the Huntsman outside, near the entrance of the longhall, to obtain the Hunters' Talisman.
Say: What's a Draugen? → Yes
Talk to Olaf the Bard just east of the longhall.
Say: Yes
Talk to Olaf again.
Say: I don't need a reminder
To get a lyre, either make it yourself (Requires 25 Fletching 40 Woodcutting 40 Crafting and 6 free inventory spaces) or kill Lanzig (1/17 drop rate). Killing lanzig takes longer on average. You must enchant it either way.
Option 1: Making the lyre yourself (Items required: Axe of any kind, knife)
Walk to the Swaying tree that is east of the entrance to Rellekka (north-west of the Golden Apple Tree at AJR) at the rare trees icon. Chop a branch and fletch an unstrung lyre.
Talk to Lalli to the south-east of the Swaying tree, ask about the other human.
Say: Other human?
Talk to Askeladden just outside the longhall entrance to get a pet rock.
Pick a cabbage, potato, and onion from the farming patch in the south-east corner of Rellekka.
Return to Lalli, and offer the pet rock.
Use the cabbage, potato, onion, and pet rock on Lalli's Stew (cauldron).
Talk to Lalli again to get the golden fleece.
Spin the golden fleece on a spinning wheel and use it on the unstrung lyre. (See the next section to spin the wool)
Option 2: Killing Lanzig (takes a long time with bad luck)
Lanzig lives in a hut just east of the entrance to the longhall. Kill Lanzig until he drops the lyre (1/17 drop rate). Safespottable at the firepit or outside his door.
Teleport to Camelot or walk to Seers' Village.
If you are making the lyre yourself:
Spin the golden fleece into a ball of golden wool while in Seers' Village (upstairs in a house south-west of the bank).
Use the golden wool on your unstrung lyre.
Go to the Seers' Village pub and talk to the Poison Salesman to buy a low alcohol keg for 250 coins.
Say: Talk about the Fremennik Trials → Yes
Buy a regular beer if you forgot to take a beer tankard.
Say: Beer please.
Use a Rellekka house teleport to return, or simply walk back. If walking, left-click on your talisman to check if The Draugen is nearby on your way. If so, kill him.
Use the beer, or beer tankard, on the council workman by the bridge south of Rellekka to obtain strange object.
Go north across the bridge, then walk a bit west until you see a small narrow path heading south into the water. (The large rib cage sticking out of the water on the left side of the bridge)
Use your raw shark/manta ray/sea turtle on the strange altar to enchant your lyre.
Follow your talisman by left-clicking on it and kill The Draugen now if you haven't already. Appears as a grey butterfly before locating the correct tile.
Once done, head back into Rellekka and talk to Sigli at the entrance.
Head to the outside of the longhall to the pipe on the eastern wall. Use a tinderbox on your strange object and use the lit strange object on the pipe.
Enter the north-eastern back door of the longhall, walk onto the stage, and play your enchanted lyre.
Exit the back door, enter the main long hall, and take a keg of beer off the table.
Use your low alcohol keg on the keg of beer.
Challenge Manni to a drinking contest again.
Say: Yes
Talk to Sigmund The Merchant in the market west of the longhall.
Say: Yes
Talk to the Sailor on the docks to the north-west.
Say: Ask about the Merchant's trial
Talk to Olaf the Bard just east of the longhall.
Say: Ask about the Merchant's trial
Talk to Yrsa at the clothing store west of the market.
Say: Ask about the Merchant's trial
Talk to Brundt the Chieftain in the longhall.
Say: Ask about the Merchant's trial or → Ask about anything else → Ask about the Merchant's trial if you are doing or have finished Mountain Daughter
Talk to Sigli the Huntsman just south of the longhall.
Say: Ask about the Merchant's trial
Talk to Skulgrimen in the hut just north of the longhall.
Say: Ask about the Merchant's trial
Talk to the Fisherman north of the market.
Say: Ask about the Merchant's trial
Talk to Swensen the Navigator in the building south of the market.
Say: Ask about the Merchant's trial
Talk to Swensen again.
Say: Ask about becoming a Fremennik → Yes
Climb down the ladder and take the South, West, East, North, South, East, then North portals. Climb up the ladder.
Talk to Peer the Seer just north-west of Swensen.
Say: Ask about the Merchant's trial
Talk to Thorvald the Warrior in the hut just north of the longhall.
Say: Ask about the Merchant's trial
Talk to Manni the Reveller in the longhall.
Say: Ask about the Merchant's trial
Talk to Thora the Barkeep in the longhall.
Say: Ask about the Merchant's trial
Talk to Askeladden in front of the longhall, pay him 5,000 coins.
Say: Ask about the Merchant's trial → Yes
Head back and talk to (in order):
Thora
Manni
Thorvald
Peer
Swensen
Fisherman
Skulgrimen
Sigli
Brundt
Yrsa
Olaf
Sailor
Sigmund
Go to a bank (The Seers' Village bank is close) and deposit all of your items (you cannot have any weapons, armour, or runes).
Bring equipment for the fight:
A dramen branch (Note: Requires 31 Crafting and must have started Lost City), celastrus bark (requires 40 Fletching), or a goblin paint cannon
A knife (optional - only bring if you are not using a goblin paint cannon)
A stat boosting amulet
A Combat bracelet
Plenty of food, potions, and rings of recoil
Talk to Thorvald just north of the longhall.
Say: Yes
Climb down the ladder. If you have a knife and dramen branch, cut it into a staff and equip it. You can also use celastrus bark to fletch a battlestaff.
Fight the first 3 forms of Koschei the Deathless without weapons, armour, or runes. (You can pray flick him for the first 3 forms. Dying in the room is safe, even for regular Hardcore Ironmen). Do not go up the ladder after completing the 3rd form - it is safe to die from the 4th form.
You can choose to let the 4th form kill you (this is safe for Group Hardcore Ironmen as Koschei will not actually finish you in this form; the player will faint and wake up upstairs rather than being killed), or you can kill it (slower and is not necessary).
Talk to Thorvald again.
Talk to Peer the Seer south-west of the market.
Say: Yes → Yes
He will deposit all your items except anything that is unbankable. (you cannot progress through this part of the quest if anything in your inventory is unbankable).
Open the door to his house, south-west of the market (with a green bed), and read the riddle.
Each line of the riddle gives you one letter of a four-letter word. See the table below for the first riddle line and the related answer.
Open the door again and climb-up the ladder.
Search/study these objects to get a bucket, red disk, wooden disk, jug, and red herring:
South-western cupboard (bucket)
Unicorn head (red disk)
Bull head (wooden disk)
Southern chest (jug)
Northern bookcase (red herring)
Use the red herring on the cooking range.
Use the sticky red goop on the wooden disk.
Open the trapdoor on the east side, climb-down the trapdoor, and use the two red disks on the abstract mural.
Return upstairs and use the bucket on the tap by the cooking range.
Use the full bucket on the jug.
Use the jug on the drain.
Use the 2/5ths bucket on the empty jug.
Refill the bucket.
Use the full bucket on the 2/3rds jug.
Use the 4/5ths bucket on the northern chest with the scale.
Fill the vase with water and add the lid.
Use the sealed vase on the frozen table.
Use the frozen key on the cooking range.
Climb-down the eastern trapdoor, and you can now open the door to leave.
Talk to Brundt the Chieftain.
Congratulations, quest complete!
QUEST COMPLETE
OSRS WIKI CONTRIBUTORS
Walkthrough text and preparation lists are adapted from Old School RuneScape Wiki contributors under CC BY-NC-SA 3.0. Game imagery © Jagex Ltd; individual image credits are available from their captions. This page is fan-made and not affiliated with Jagex.
KEEP QUESTING
Game icons © Jagex Ltd, via the OSRS Wiki. Interface icons by Lucide.