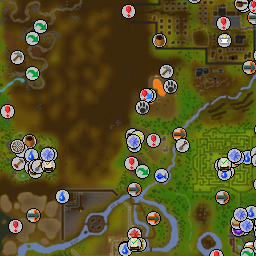
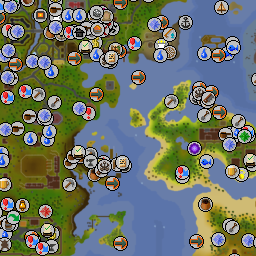
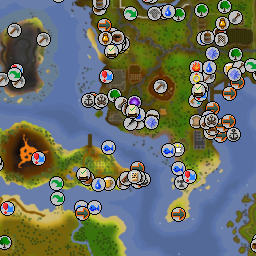
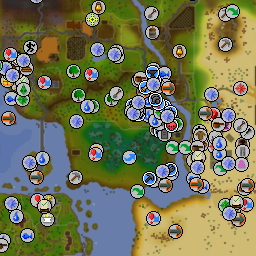
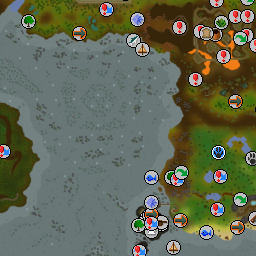
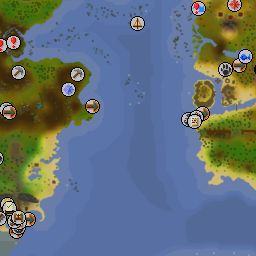
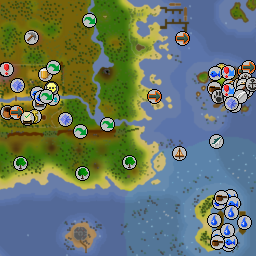
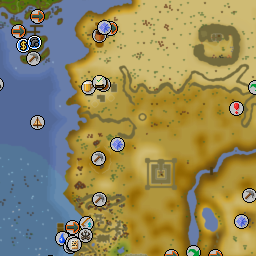
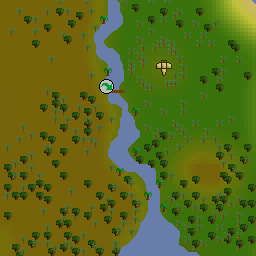
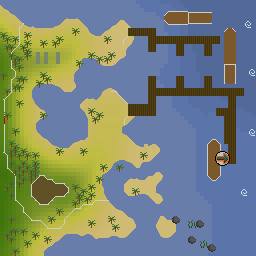
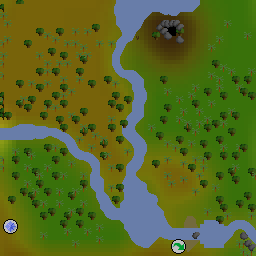
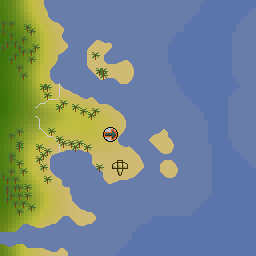
Quick access to fairy rings and/or gnome glider is highly recommended - you may consider using a ring of dueling for quick access to a glider at Emir's Arena, and the Ardougne cloak 1-4 for quick access to a fairy ring
Ensure you have one free inventory space, then speak to Mosol Rei outside of Shilo Village, who tells you to run. Ask why, and he will say Rashiliyia has returned. Ask who she is, and he will explain she is the Queen of the dead that has brought a plague of undead upon the village. Ask what you can do, and he will ask you to talk to the shaman Trufitus in Tai Bwo Wannai Village about something called the Legend of Rashiliyia, which may be to blame. Agree to go see the shaman, then agree to take the Wampum belt to Trufitus. (Chat 1•1•1•4•2)…
1
Why do I need to run?
1
Rashiliyia? Who is she?
1
What can we do?
4
I'll go to see the Shaman
2
Yes, I'm sure and I'll take the Wampum belt to Trufitus.
Ensure you have the belt in your inventory before continuing! The quest will not officially start until you give it to Trufitus.
03
The search for the temple of Ah Za Rhoon
1
1 <a href="/w/Ah_Za_Rhoon" title="Ah Za Rhoon">Ah Za Rhoon</a>
Head to Trufitus at the most north-eastern house in Tai Bwo Wannai and use the wampum belt on him. Ask about the legend, and he will say that any information regarding it was lost in the vanished temple of Ah Za Rhoon. Ask if he knows anything more about the temple, and he will mention that the priest Zadimus built the temple, and it is rumoured that Rashiliyia destroyed it after he rejected her affections. Ask him to tell you more, then tell him you will search for Ah Za Rhoon, and he will be skeptical but agree to help you if you are serious. Say you are serious about looking for Ah Za Rhoon and the quest will officially begin. (Chat 2•2•1•3•1)…
2
Mosol Rei said something about a legend?
2
Do you know anything more about the temple?
1
Tell me more.
3
I am going to search for Ah Za Rhoon!
1
Yes, I will seriously look for Ah Za Rhoon and I'd appreciate your help.
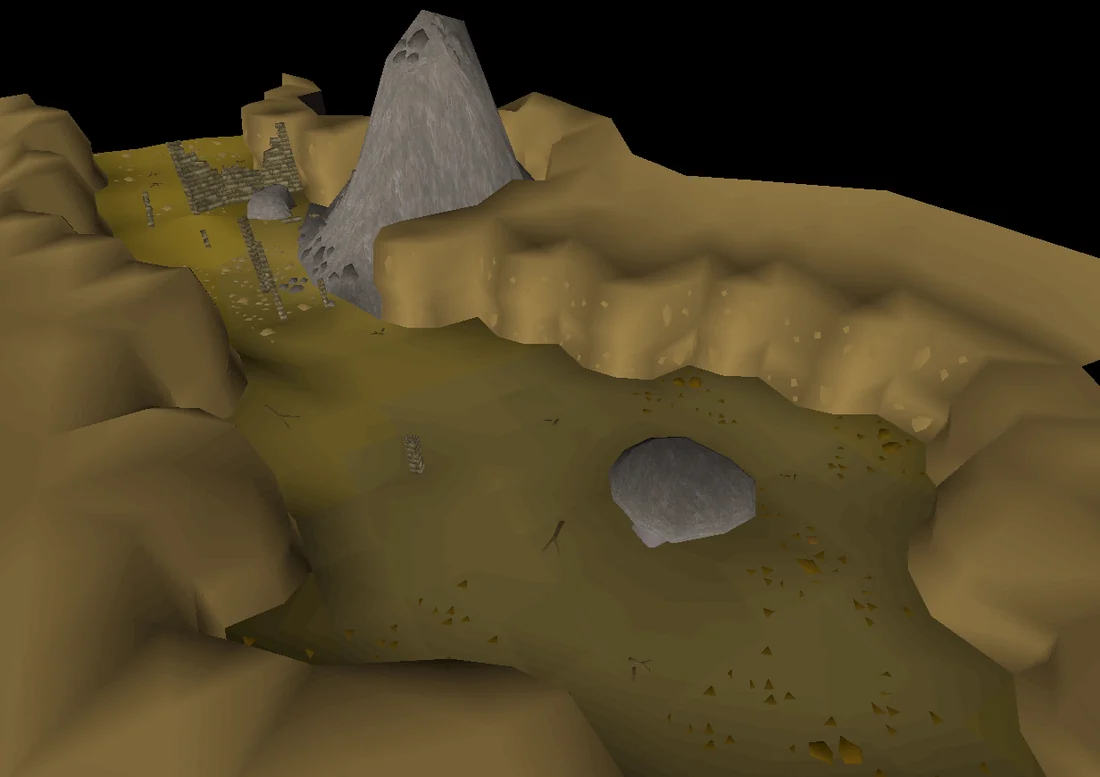
The temple of Ah Za Rhoon is located on eastern Karamja, south-west of the Shipyard and east of Shilo Village across the River Amja (the pile of rocks on the minimap). Use a gnome glider or fairy ringDKP, or walk there by crossing the wooden log to the east, then head south until you reach a mound of earth surrounded by rocks.
Search the fissure and climb down into the dungeon below ( 32 ).
Note: The dirt mound may respawn if you take too long, but you may right click and search it twice to still enter (torch and rope not required).
In the cave are undead ones (level 61 - 73) who may attack you. Killing them occasionally causes a cloud of shilo mist to appear and deal damage to you.
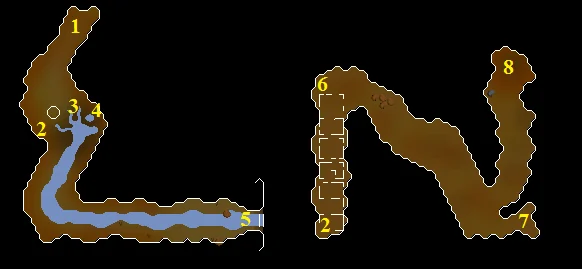
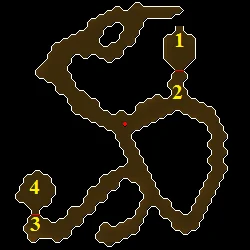
In this cave system, you will need to find four items. Consult the following map to aid in finding them.
Go west past the column and search the Cave in (2 on the map) to crawl through and into some ruins.
Head north until you reach the end of the ruined buildings. Search the loose rocks (6 on the map) near the north-west wall to find the tattered scroll. If you fail, you will get hit for 4-7 (possibly more) damage.
Now head south-east until you come to a small dead-end branch. Search the sacks next to a smashed table (7 on the map) to obtain the crumpled scroll.
Finally, head north to the far end of the cavern, where you will find the ancient gallows (8 on the map). Search it and remove the corpse to obtain the Zadimus corpse.
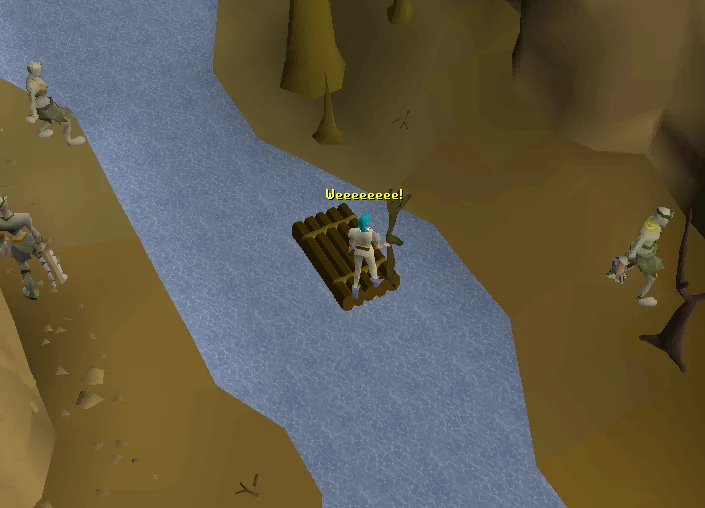
After acquiring all four items, you can teleport out. Otherwise, to exit the dungeon, return to the smashed table (3 on the map). You can craft the smashed table into a raft and use it to leave. This does not always work; it is possible to get the message that there isn't enough wood left. In this case, you will have to leave by other means. If you want, you can continue south, then east to the end of the cave. Search the rocks you find there to leave via the waterfall. You will take around 20 damage if you fall while leaving this way. You will find yourself near the stepping stones to the east of Shilo Village.
04
Tomb of Bervirius
Items needed:bronze wire, A chisel, 3 free inventory spaces Items recommended:food for players with low agility Skills needed: 32 [boostable] to enter the Tomb of Bervirius
Read both the scrolls and the plaque, then use both scrolls, the plaque, and the corpse on Trufitus. He will tell you about the tomb of Bervirius and instruct you to bury the corpse.
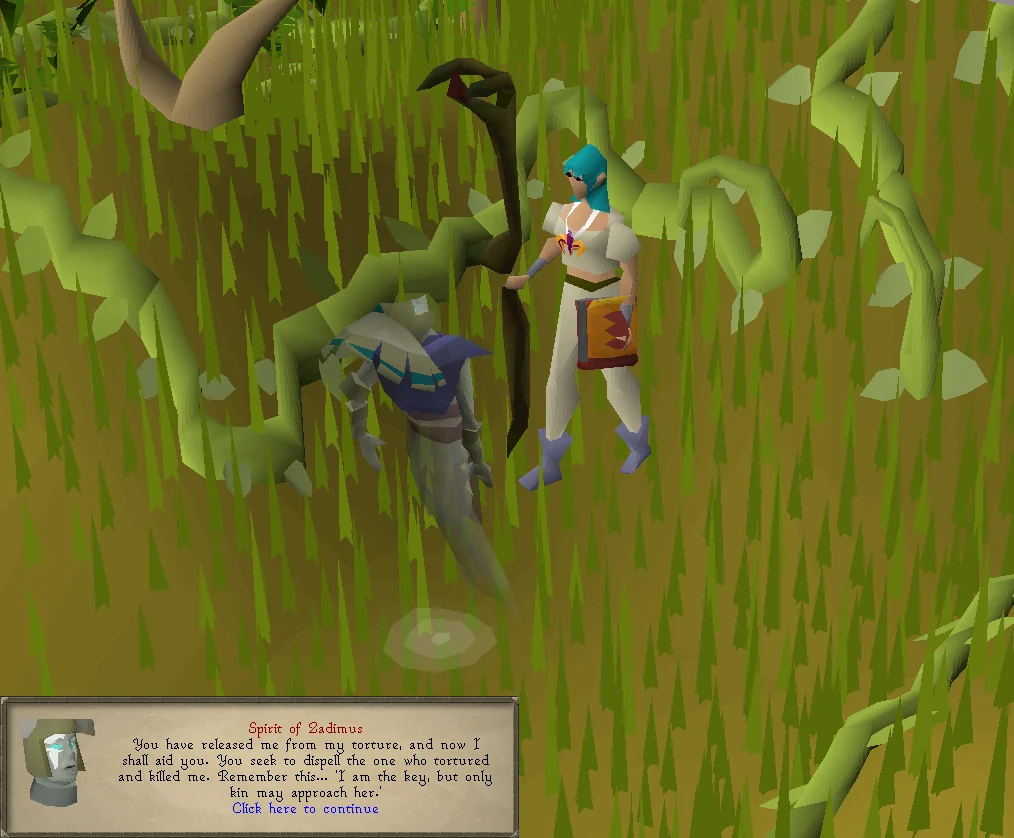
West of the hut is the Tribal Statue, bury the corpse there and the Spirit of Zadimus will appear, giving you a bone shard after some cryptic words. Use the bone shard on Trufitus, and tell him it appeared when you buried the corpse, that the spirit said something, and that it was about keys and kin. He'll tell you to look for Bervirius' tomb. (Chat 1•1•1)…
1
It appeared when I buried Zadimus' corpse
1
He said something after he gave it to me.
1
The spirit said something about keys and kin?
If you didn't bring bones with you, you can obtain the three required bones from the chickens that spawn inside the village south of Trufitus (beware of the poisonous tribesmen) or from the snakes in the surrounding area now for a future section .
Head towards Cairn Isle attached to the south-western coast of Karamja by either walking south or teleporting to a fairy ring and using code CKR. Climb the rocks and cross the bridge to reach Cairn Isle. You may fall and take damage, keep trying until you succeed.
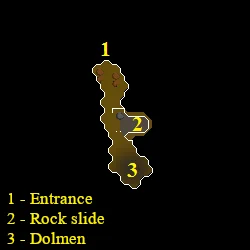
Search the well-stacked rocks (i.e. the cairn) on the north side of the island. Enter the crawl-way ( 32 ) to enter the Tomb of Bervirius. You may become stuck many times, but keep trying. Head south to the dolmen, and search it to get a sword pommel, a locating crystal, and Bervirius notes.
Warning: If you drop the sword pommel or the bone beads, they will turn to dust and you will have to go back and get new ones. If you drop the locating crystal, you will take 10 damage.
Read the scrolls. You need to make a new necklace. Use a chisel on the sword pommel to make bone beads. Use the bronze wire on the beads to make the Beads of the Dead necklace.
You now need to head to eastern Karamja. If walking there, climb up the nearby rockslide to exit the tomb (you may fall and take up to 10 damage). Otherwise you may teleport out to use fairy ring DKP or a gnome glider.
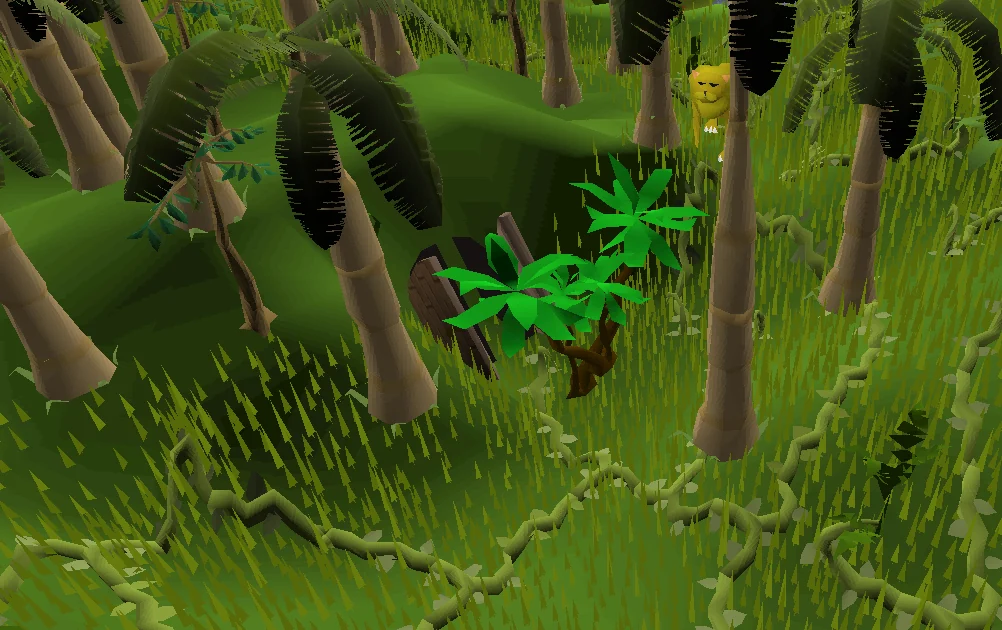
Rashiliyia's Tomb is north of the crashed gnome glider, accessible east of Trufitus across the log or south of fairy ring DKP. Look for a searchable palm tree. Avoid the nearby The Shaikahan enemy which cannot be harmed. The entrance is hidden behind a hill and is most visible if you are facing south. Search the palm trees to find two doors. Search these doors to find the shape of the keyhole, and then use your chisel on the bone shard to make a bone key ( 20 ). Put on the Beads of the Dead necklace before entering or you will be unable to continue and will take constant damage! Use the key on the door to enter.
1 - Entrance
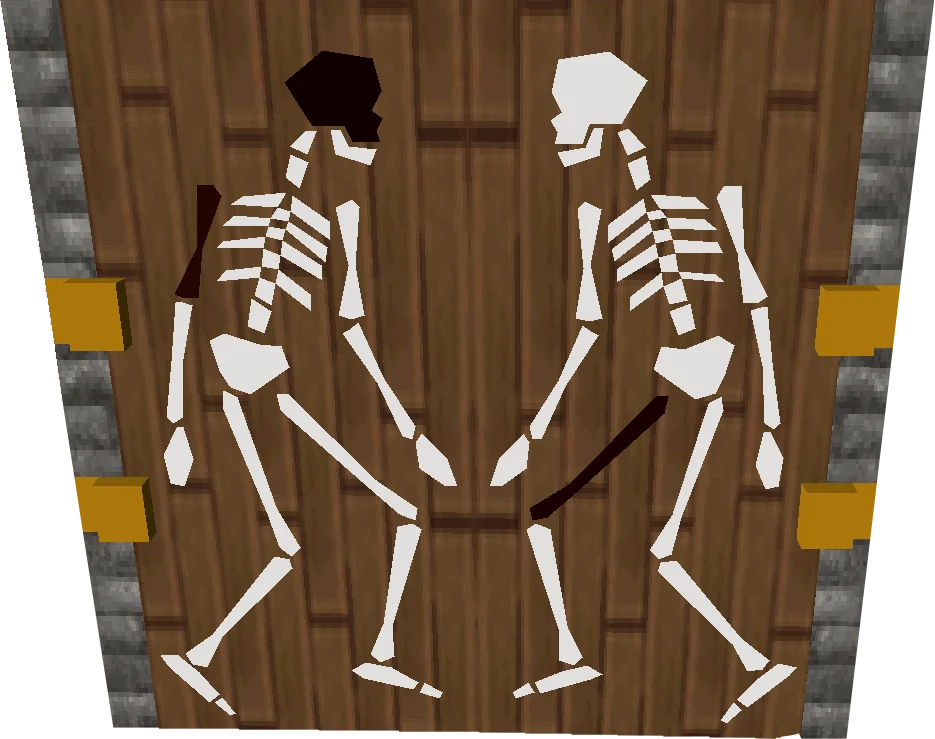
3 - Skeleton door
2 - Rock slope
4 - Dolmen
Once inside, open the ancient gates, then climb down the rocks once you are ready to run past several aggressive undead ones.
Warning: In the next section you may be attacked by undead ones while trying to open the tomb doors by using your bones. The door will remember the amount of bones you have used, so if you die you can return and use the remaining bones.
Head west until you find a stack of coins (do not pick them up or more undead ones will be summoned), then south, and then south-west at the first fork. At the end of this corridor will be a set of doors. Other sets of dummy doors exist if you take a wrong turn, so make sure you're in the right place. Right-click the bones to use them on the door. While still wearing the necklace, enter the room.
06
Nazastarool
Lure Nazastarool to the northern part of the dolmen to safespot him. Image credits →
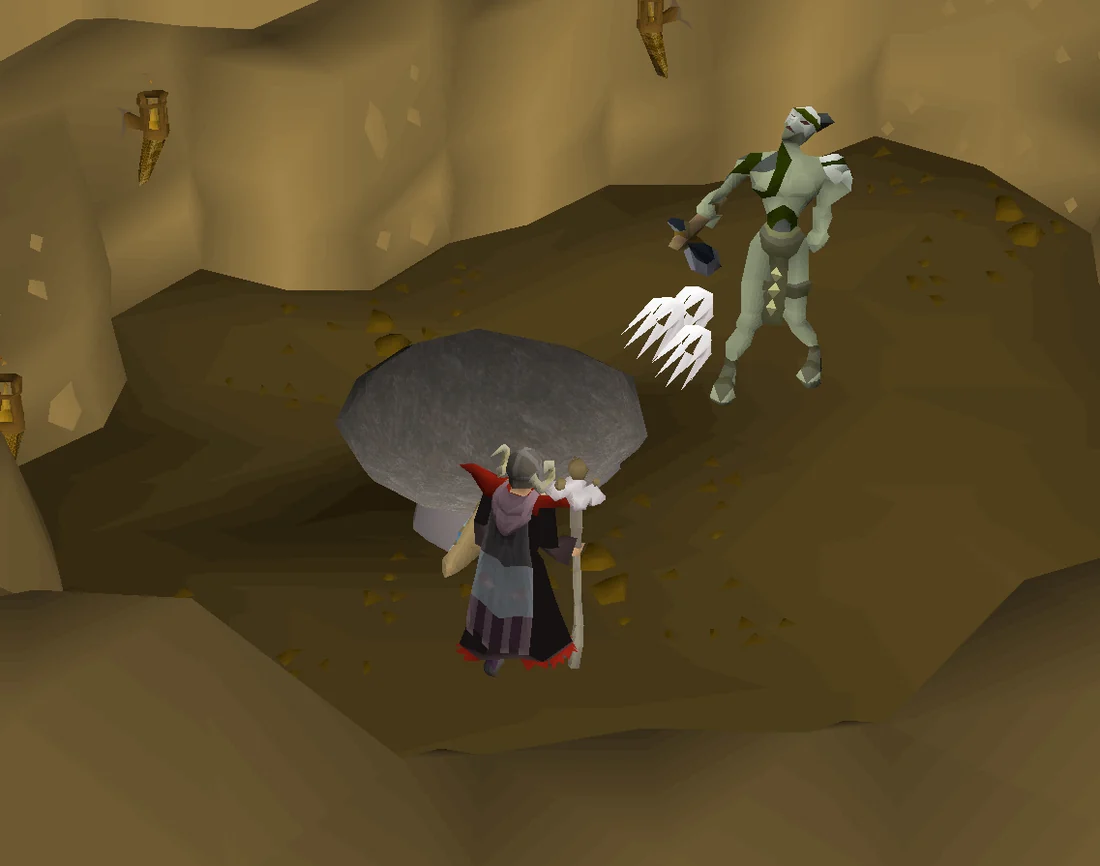
While still wearing the Beads of the Dead, search the dolmen in the room. You will be attacked by Nazastarool, a level 91 zombie that attacks with Melee. After you defeat him, he will turn into a level 68 skeleton and then a level 93 ghost. You can safespot all three forms by running around the dolmen after each form spawns until he gets stuck (see image). Each form has a 5 minute despawn timer. He has a weakness to Fire spells and Crumble Undead, and is not resistant to any combat style. A salve amulet can be worn once the first form has spawned. A dwarf multicannon may be used.
Note: If you try to leave the cave the way you came in, the door will be locked and Rashiliyia will summon three Undead ones to kill you. You can however still leave by using the bone key on the doors. If you leave and return, you won't need to fight the forms that you already defeated, and you won't need bones to open the tomb door.
Note: A friend may attack the boss for you, but you must be the last person to attack it to progress in the quest (0s count but not poison/venom).
Once you have defeated the ghost, you will get the corpse of Rashiliyia. Teleport out towards Cairn Isle or leave from where you entered (using your key on the door).
Use this when you already know the route. The full walkthrough above includes explanations and diagrams.
Starting out
With one free inventory space, talk to Mosol Rei outside of Shilo Village. A gnome glider is nearby, as well as fairy ring CKR.
Say: Why do I need to run? → Rashiliyia? Who is she? → What can we do? → I'll go to see the Shaman → Yes, I'm sure and I'll take the Wampum belt to Trufitus.
Use the wampum belt on Trufitus, found in the most north-eastern house in Tai Bwo Wannai (quest icon on minimap). Fairy ring CKR is nearby.
Follow the chat options once you've used the belt on him.
Say: Mosol Rei said something about a legend? → Do you know anything more about the temple? → Tell me more. → I am going to search for Ah Za Rhoon! → Yes, I will seriously look for Ah Za Rhoon and I'd appreciate your help.
Ah Za Rhoon
Head to the temple of Ah Za Rhoon south-west of the Shipyard and east of Shilo Village across the River Amja (the pile of rocks on the minimap). Use a gnome glider or Fairy ring DKP, or walk there by crossing the wooden log to the east, then head south until you reach a mound of earth surrounded by rocks.
Use your spade on the mound of earth.
Use a lit torch or candle on the fissure, then use your rope on the fissure. You will lose the item.
Search the fissure (32 Agility) to climb down and follow the cave south until you reach the stream.
Search the cave-in at 2 to enter a new cave.
Say: Yes, I'll wriggle through.
Search the loose rocks at 6 to find a tattered scroll.
Say: Yes, I'll carefully move the rocks to see what's behind them. Read the scroll.
Search the sacks at 7 to find a crumpled scroll. Read the scroll.
Search the ancient gallows at 8 to get the Zadimus corpse.
Say: Yes, I may find something else on the corpse.
Teleport out, or head back to the first area via the Cave in at 2.
If you went back to first area, leave by crafting the broken table at 3 into a raft, or by searching the rocks at 5. You will take heavy damage if you fail the search rocks at 5.
Head to the Tribal Statue near Trufitus' hut and bury the corpse.
Tomb of Bervirius
With your bronze wire and chisel, head south-west to Cairn Isle, west of Shilo Village, near fairy ring CKR. Climb the rocks (15 Agility) and then cross the bridge.
Search the well stacked rocks on the northern side of the island, and then enter the crevice, requiring (32 Agility). If you can't get in the cave you didn't read the Tattered Scroll.
Head south and with at least 3 empty inventory spaces search the dolmen. If you had no space you'll have to return with charcoal and papyrus to get the notes. Do not drop the locating crystal or you will take 5-10 damage.
Use a chisel on the sword pommel to craft the bone beads.
Use bronze wire on the bone beads to create the Beads of the Dead necklace. You must read the Crumpled Scroll before you can create them.
Teleport out or climb up the rockslide nearby to escape the cave (may take up to 10 damage if you fail).
Tomb of Rashiliyia
Prepare for the fight against Nazastarool. Crumble Undead is useful alongside Protect from Melee.
With your three regular bones, bone shard and chisel, head south-east from fairy ring DKP to the north-eastern dot on the Karamja map above.
Search the unique bright green palm tree from the north side to find two doors.
Search the doors to find the keyhole.
Use your chisel on the bone shard to make a bone key.
Equip the Beads of the Dead then use the key on the doors.
Open the ancient gate (while wearing the Beads of the Dead necklace), then climb down the rocks.
Run west, south, then south-west through the dungeon to reach a pair of doors.
Use (don't bury) 3 regular bones on the doors (can kill skeletons, not zombies for the bones if you forgot).
Search the dolmen, then defeat Nazastarool in his 3 forms. If you click away from the dialogue at the end of each form, click on the dolmen again to resume the other phases.
Use Protect from Melee or stand behind the dolmen to safespot him.
Take the Rashiliyia corpse.
Finishing up
Return to Cairn Isle (fairy ring CKR).
Go through the well-stacked rocks.
Use the corpse on the dolmen.
Congratulations, quest complete!
QUEST COMPLETE
Rewards
3,875 Crafting Crafting experience
Access to Shilo Village
Ability to quick travel to Shilo Village using the cart near the Brimhaven docks
After completing the quest, you can sell every item you obtained during the quest to Yanni Salika in Shilo Village for a total of 2000 coins — 100 each for the stone-plaque, tattered scroll, crumpled scroll, Bervirius notes, and the bone key; 500 for the locating crystal; and 1000 for the Beads of the Dead.
Ability to charter the Lady of the Waves west to Shilo Village to Port Khazard or Port Sarim
 2
2