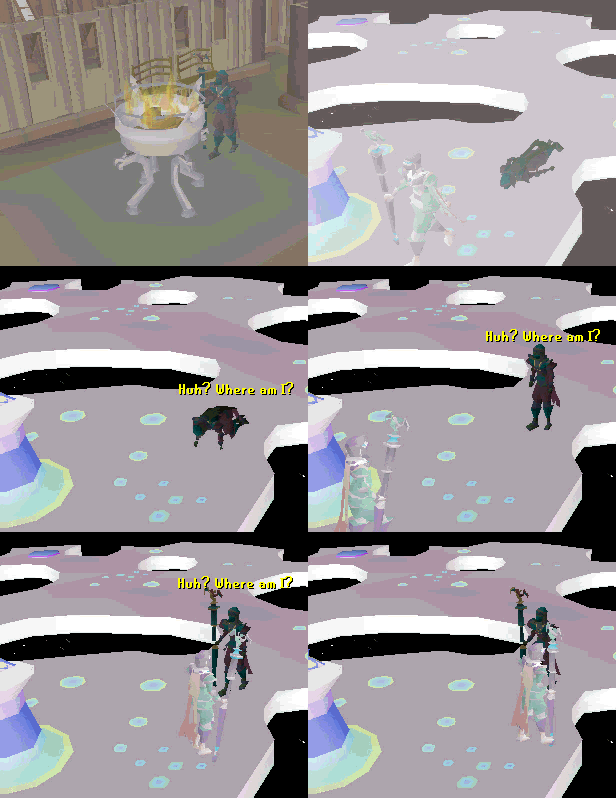
This is expensive but to save time you can also bring Ring of the elements to teleport to all of the altars as well as use an Elemental tiara to save 8 inventory slots.
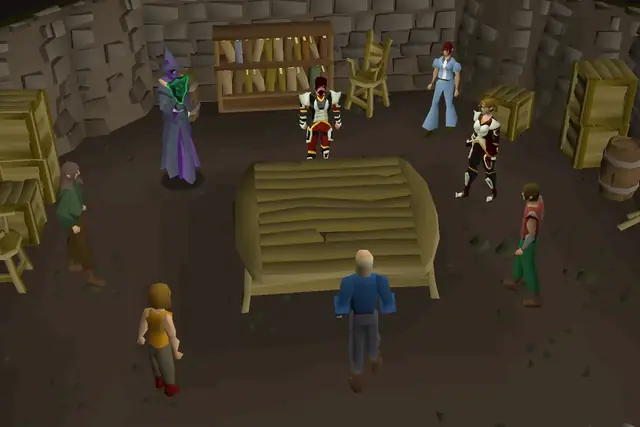
He will send you to Brundt the Chieftain in the central hall. Speak to him and ask about a Seal of passage and he will give you one. You must keep your Seal of passage, once obtained, on you at all times while on the Lunar Isle. If you do not, you will be teleported off of the isle if you try to talk to any NPC, including when banking.
The lantern given during the quest does not come with oil in it, so bring a lightable regular bullseye lantern. If you put the emerald lens in the given lantern, drop it and ask for a new lens, which you then use on your working brought bullseye lantern.
Talk to Brundt the Chieftain in the longhall, and get a seal of passage. Keep it with you at all times when you're on the Lunar Isle or any related areas, or else you'll get teleported back to Rellekka, even when the quest is over. Note: If you lose or destroy the seal and have a placeholder for it in your bank, Brundt won't give you a replacement until you remove the placeholder.
Talk to Lokar again to sail to the Pirates' Cove. Climb the ladder on the dock you arrive at in order to board the Lady Zay.
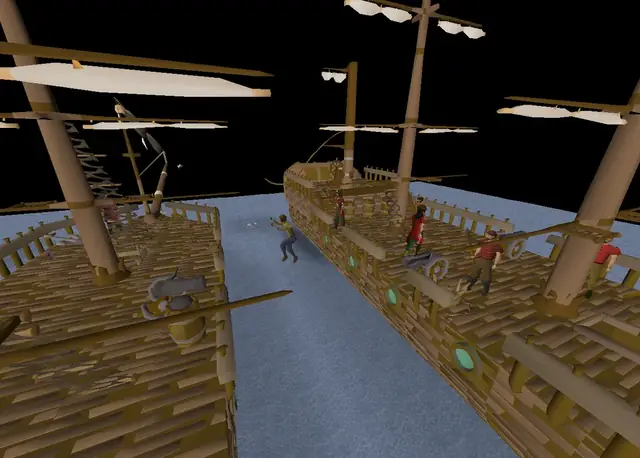
Talk to Captain Bentley on the ship and ask him to sail you to the Lunar Islands. The ship will proceed to only sail around the island in a circle, befuddling the captain. Talk to the Captain again. Note: You and the captain must be on the boat and not the docks in order for the story to progress.
Talk to the navigator 'Birds-Eye' Jack, found at the rear of the lower deck.
Talk to the captain again to ask what happened, and suggest it was the navigator's fault.
Talk to the navigator again — he will mention a jinx being put on the ship.
Talk to the captain, and he will tell you to talk to members of the crew for help. You must talk to them in the sequence below.
Talk to 'Eagle-eye' Shultz, located on the same deck as the captain at the far northern end of the ship. He will tell you about jinxes.
Talk to the Cabin Boy up one deck from the captain (south).
Talk to 'Beefy' Burns on the lowest most deck (go down two decks to where the navigator is. Then, go north and climb down the stairs and south to the galley (kitchen) area to find him).
Talk to 'Lecherous' Lee next to the cabin boy on the uppermost deck.
Talk to the cabin boy, who will now confess to placing the jinx. (Make sure you have two empty inventory spaces.) You should now have received an emerald lantern lens and an unfinished lantern (if the cabin boy didn't give an unfinished lantern, one may be in your bank)
Use the lens on the working lantern you brought, not the bullseye lantern (unf) the cabin boy gave (if you accidentally use it on the unfinished lantern, drop it and talk to the cabin boy to receive another emerald lens), to get an emerald lantern. Use a tinderbox on the lantern to light it.
If you couldn't bring a functional bullseye lantern, you will have to fuel the lantern yourself by doing the following:
Pick up swamp tar from a tar barrel. You can find one in 'Birds-Eye' Jack's room. Another one is located on the dock, right next to the gangway.
Combine the emerald lens with the lantern the cabin boy gave, and use the emerald lantern on the lamp oil still to fill it with lamp oil.
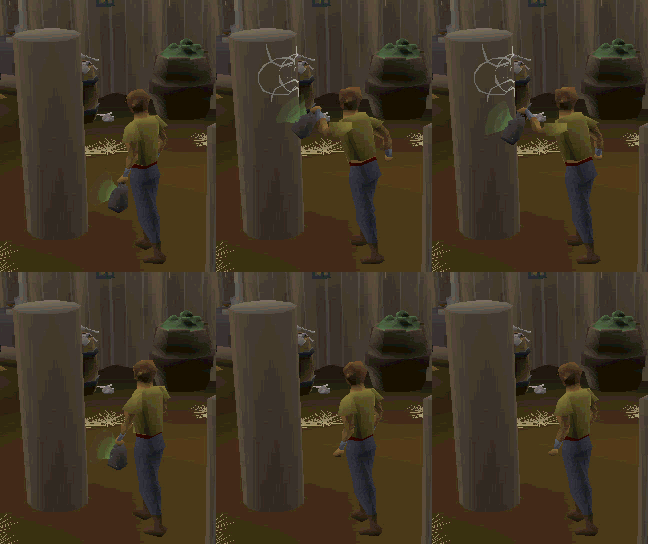
Show animation: A player finds a jinx.A player finds a jinx. Image credits →
Next, you need to find five symbols and wipe them all away. The seals are on the following locations (use your lantern on the object to reveal the symbol):
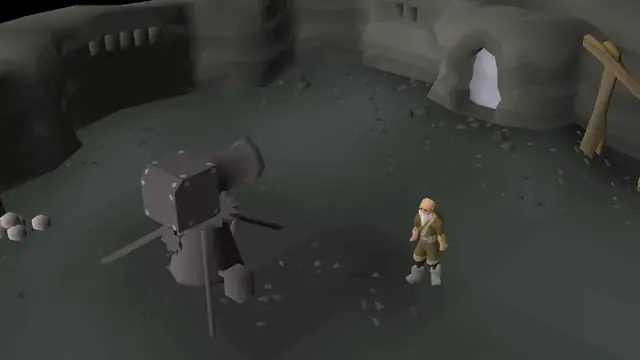
Big and metal: The eastern cannon by the cabin boy (if this didn't work, try the other cannon).
Wallchart: Same floor as Captain, towards the rear of the ship in the First Mate's cabin. Use your lantern on the north-western wallchart.
Chest: Northern Chest on the lowest deck, near the stairs.
Crate: Two stacked crates on the lowest deck, near the cook.
Support column: Support column on the lowest deck, near the cook.
When all the seals are wiped, talk to the captain again, and sail to Moonclan Island!
The jingle that plays upon entering the moon clan.
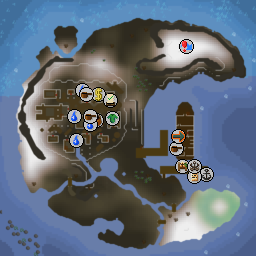
Be cautious of the aggressive level 111 Suqah while on Lunar Isle, especially the north side of the island, which features Suqah that can use dangerous magic attacks as well as melee. There is a bank and a general store on Moonclan Island, so you can get items here.
Find Meteora in the village; she is on the south-western side of the village by the wall. She will tell you that although they don't have a leader, the Oneiromancer will be able to help you more than anyone. Walk to the south-eastern part of the island, and find the Oneiromancer (near the Astral Altar), who tells you that you will need three things (which must be done in the following sequence).
Talk to Baba Yaga in the chicken house in the village (north of the bank in the fenced area — it walks like a chicken). She will give you a special potion bottle, and tell you that you need a guam leaf, marrentill and a crushed Suqah tooth.
First, fill the empty vial from a nearby water source (using a bucket of water does not work); then travel to the south-east again, and kill a Suqah (level 111). Suqah can be safespotted using the tree on the path to the Oneiromancer. The tooth does not drop every time, but it's fairly common. Make sure to also pick up their hides, as you will need four of them later on (note that you do not need to get all four hides now, as you will be killing more Suqah to obtain the amulet later). They also drop guam and marrentill herbs. Once you have a tooth, add the guam leaf and marrentill to the vial, and then crush the Suqah tooth with the pestle and mortar to get a ground tooth. Add the ground tooth to the vial.
Show animation: A player enchanting the Dramen staff.A player enchanting the Dramen staff. Image credits →
Talk to the Oneiromancer to give her the potion before starting the staff. You won't be able to make lunar staves after this next part (and must pay 30,000 coins for more), so it is advisable to make more than one. Take your dramen staff (or staves) to all four elemental altars in this order: Air, Fire, Water, and Earth. Once there, 'use' the staff on each of the four altars.
The air altar is located in the mysterious ruins south of Falador. The quickest method to reach it is to teleport to the Crafting Guild via a skills necklace then run east, alternatively teleporting to Falador and running south-west from the southern gates.
The fire altar is located in the mysterious ruins north-east of Al Kharid. The quickest method to reach it is to teleport to Emir's Arena via a ring of dueling then run north, alternatively, running east from Lumbridge or north-east from the gnome glider.
The water altar is located in the mysterious ruins south-west of Lumbridge. The quickest method to reach it is by using a Fairy Ring to enter Zanaris then exiting via the ring next to the chicken shrine and running west to the altar from the shack; alternatively teleporting to Lumbridge and running south-west from the graveyard exit or teleporting to the Wizards' Tower via a necklace of passage and running east.
The earth altar is located in the mysterious ruins north-east of Varrock, just south-east of the lumberyard. The quickest method to reach it is to use a lumberyard teleport and run south-east, ring of dueling to Castle Wars and using the hot air balloon (willow logs), teleporting to the Digsite and running north-west, or teleporting to Varrock and running out the east gate and then north.
The lunar staff or staves you create will change names depending on which step you are currently on in enchanting it. Only enchanting it with the air element labels the staff 'Lunar staff pt 1', with air and fire 'Lunar staff pt 2' and so on and so forth. After the fourth enchantment of earth, it becomes a lunar staff that you are unable to equip until you are able to wear clothes of the Moon Clan.
If you want to have more than one lunar staff, turn all of the dramen staves into lunar stavesBEFORE turning in one of your lunar staves to the Oneiromancer for the quest.
If using fairy rings to transport yourself, bring one regular dramen staff with you to use for fairy rings, as you will be unable to equip the Lunar Staff after you make them. However, once you give a lunar staff to the Oneiromancer, any extra you previously made will become equipable AND can be used to access fairy rings.
Take the staff to the Oneiromancer to proceed. The Oneiromancer will keep one of your lunar staves until you have made a set of lunar clothing.
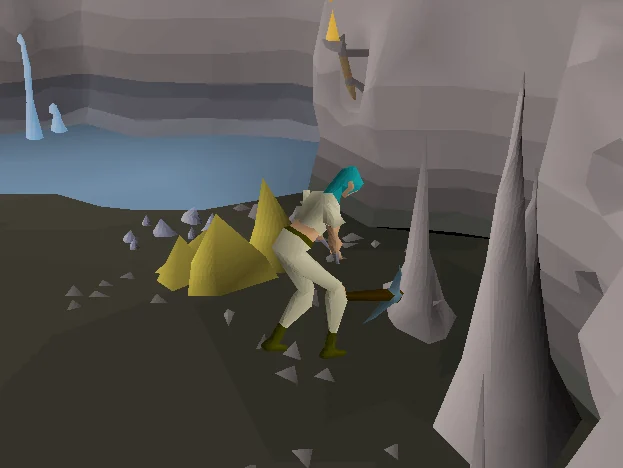
Helm - Take your pickaxe and hammer, and travel north-east of the island, and you should find a dungeon. You must run past some Suqah, which may cast Ice Barrage, to reach it. Once inside, mine any stalagmite to get some lunar ore. Only one lunar ore is needed to craft the Helm, but if you plan to do The Fremennik Exiles later, you can save some time by getting three additional ores now. There is a furnace and anvil in Rellekka where you can smith the helm. You can return to Rellekka quickly by destroying the Seal of passage, and speaking to any of the lunar citizens. (Remember to speak to Brundt for another seal, before you return to the island.)
Cape - Talk to Pauline Polaris to the north-western side of the village. You have to guess her name; first guess Pauline and then after receiving a clue, choose Jane Blud-Hagic-Maid.
Amulet - Talk to Meteora in south part of the village. She'll tell you that she'll swap her amulet for her tiara that she lost to one of the Suqah. Kill Suqah to get it back (it can take five or more Suqah kills to get the tiara) and keep the hides until you have four (you will need them for the next step), and then exchange the tiara for the amulet.
Torso, Gloves, Boots and Legs - Speak to Rimae Sirsalis at the clothes shop; she will tell you that she can tan Suqah hides for 100 coins each. Collect four Suqah hides if you haven't already, get them tanned, and with some thread, use a needle on the Suqah leather to make the four items. (She sells needles and thread.)
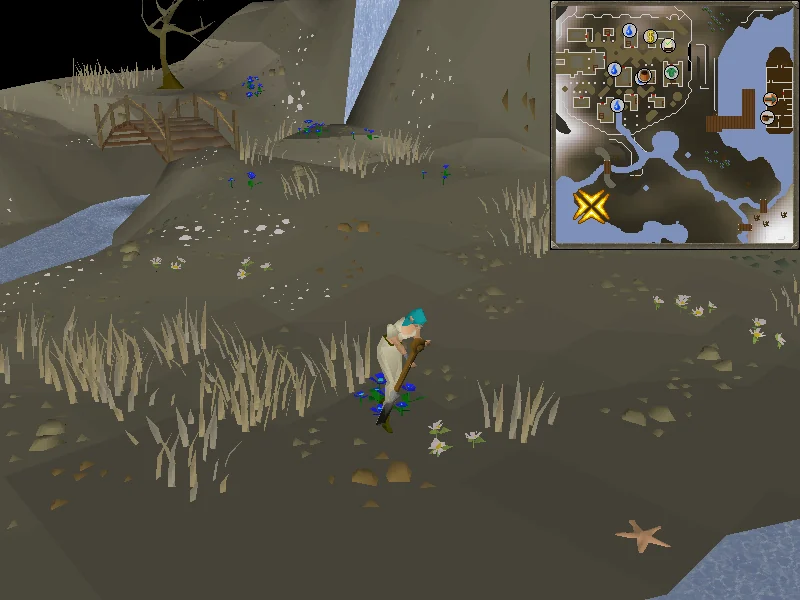
Ring - Speak to Selene near the centre of the village; she will give you a riddle. Take a spade, and travel round outside the southern side of the village to the west until you come to a bridge. Dig on the blue flowers to the very south-west of the island, as shown in the picture. Make sure you complete the dialogue or else you will not receive the ring.
Take all items back to the Oneiromancer, and she will give you all your obtained items back (make sure you have 11 free inventory spots) plus some kindling that was obtained from the first ever magic tree and a waking sleep vial.
Note: You can use the vial on the kindling, drop the soaked kindling, and talk to the Oneiromancer again to obtain a second vial and kindling. It is recommended to obtain a few spares because logging out or losing connection in the Dream World means another kindling will be required to re-enter.
The jingle that plays upon entering the dream world.
Note: you cannot use any other combat equipment (including staves, armour, or potions) in the Dream World. However godbooks and the Tome of Fire are allowed, as well as the mind shield from Elemental workshop II.
Head to the bank and stock up. Do not bank the seal of passage or you will not be able to use the bank again and will have to go get it from another bank. At level 65 Magic, runes for about 40 casts of Fire Bolt will be enough.
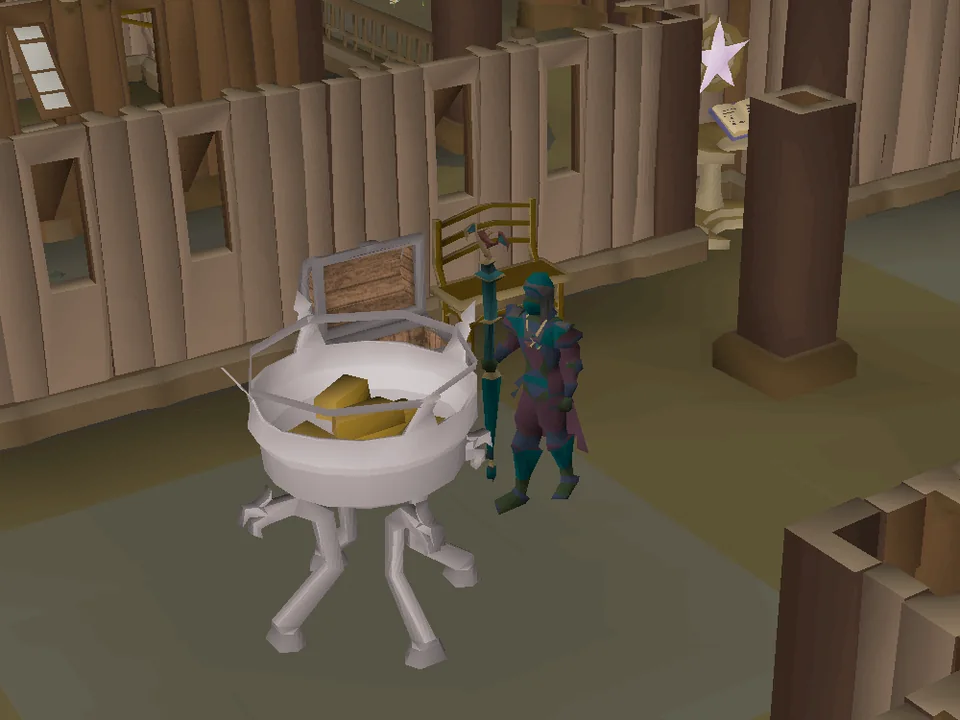
Enter the long building on the western side of the village that has a ceremonial brazier and a staircase inside. Equip all of the lunar items that you acquired, including the lunar staff, or else the kindling will not work and will be lost. You can get another by talking to the Oneiromancer. Light the brazier with your tinderbox and use the soaked kindling on the brazier.
Show animation: A player entering the Dream World.A player entering the Dream World. Image credits →
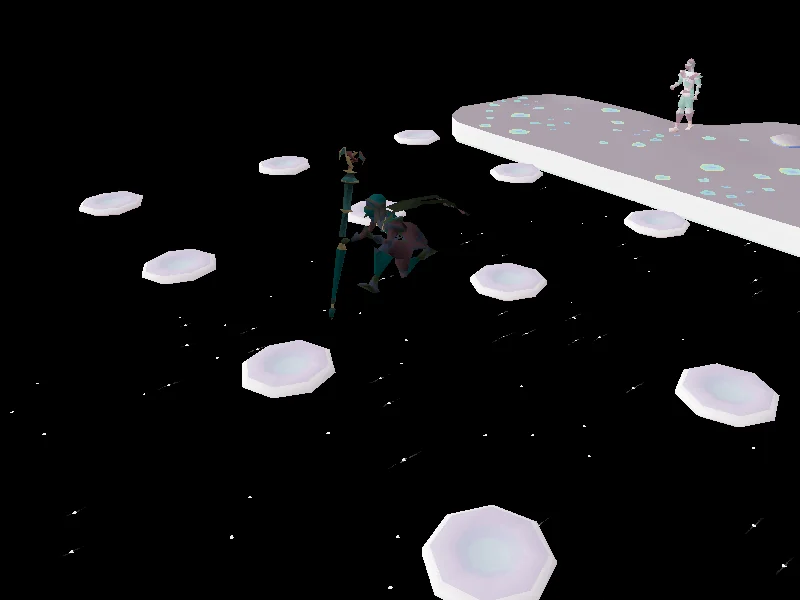
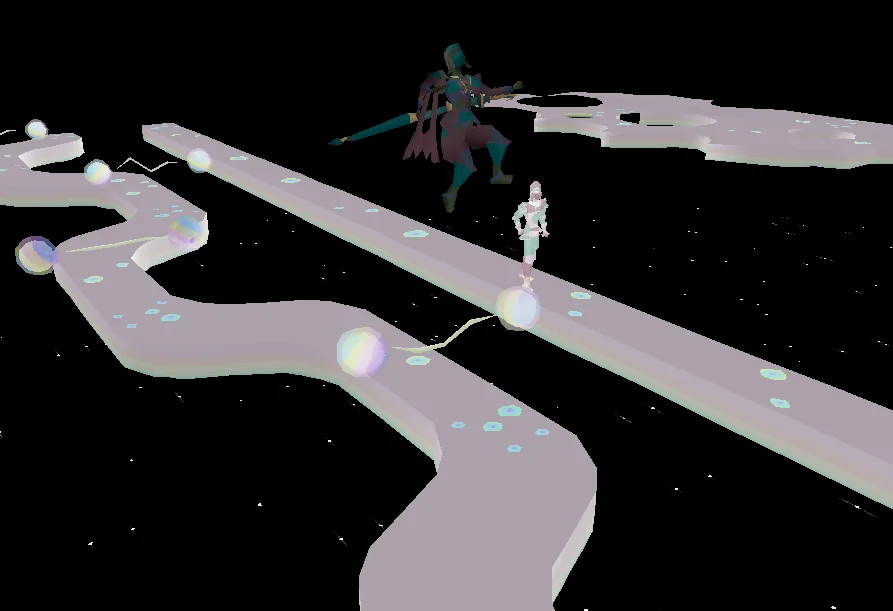
You are now in the Dream World. If you log out or lose connection in the Dream World you will have to enter again using more soaked kindling, but any progress made in the Dream World will be saved. Talk to the Ethereal Being on the central platform, where they will tell you that you need to face six puzzles. At the edges of Dream World are stone portal-like things; step into them to attempt each puzzle. After completing each puzzle, talk to the being in the centre again to discuss what the challenge has taught you.
The jingle that plays upon completing a puzzle in the dream world.
1. A game of chance (green/yellow south-western platform)
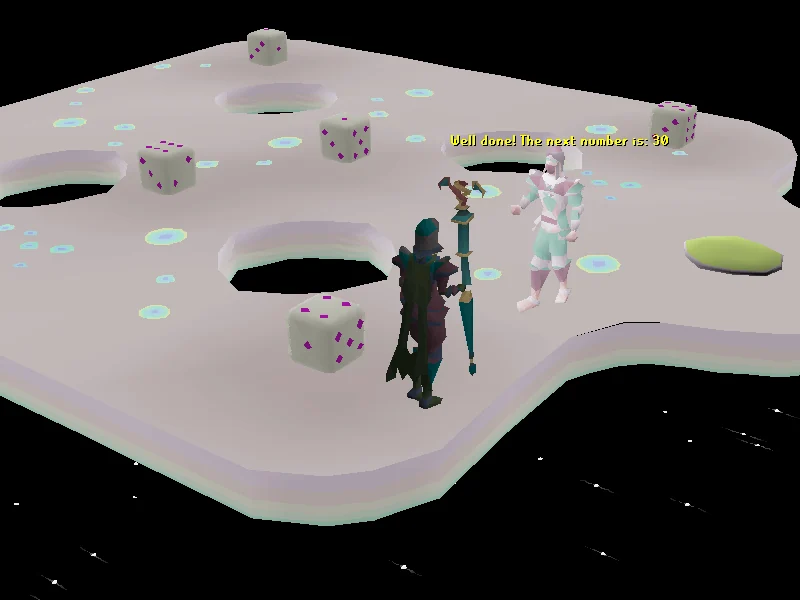
The Ethereal Fluke's challenge involves dice. You need to get the dice to add up to the numbers that the Ethereal Fluke calls out, but it's not as random as it seems; the dice only have two possible combinations when you roll them, corresponding to the number opposite them on a die. Opposite sides of a die always add up to 7, meaning the following:
Centre dice are worth either 1 or 6
East dice are worth either 4 or 3
West dice are worth either 5 or 2
When the puzzle resets, the initial value will always come out to 21. Based on this, one can easily solve this puzzle with a little addition or subtraction.
Example solve: the Ethereal Fluke asks for 20, so flip a 4 over to reach the goal.
Dice Possibilities
2/5
3/4
1/6
1/6
2/5
3/4
Number
Answer
12
1, 1, 2, 2, 3, 3
13
1, 1, 2, 2, 3, 4
14
1, 1, 2, 2, 4, 4
15
1, 1, 2, 5, 3, 3
16
1, 1, 2, 5, 3, 4
17
1, 1, 2, 5, 4, 4
18
1, 1, 5, 5, 3, 3
19
1, 1, 5, 5, 3, 4
20
1, 1, 5, 5, 4, 4
21
1, 6, 2, 5, 3, 4
22
1, 6, 2, 5, 4, 4
23
1, 6, 5, 5, 3, 3
24
1, 6, 5, 5, 3, 4
25
1, 6, 5, 5, 4, 4
26
6, 6, 2, 5, 3, 4
27
6, 6, 2, 5, 4, 4
28
6, 6, 5, 5, 3, 3
29
6, 6, 5, 5, 3, 4
30
6, 6, 5, 5, 4, 4
Once finished, you'll be taken back to the centre. Tell the Ethereal Being what you've learned and enter the next puzzle.
2. Communicating in numbers (pink south-eastern platform)
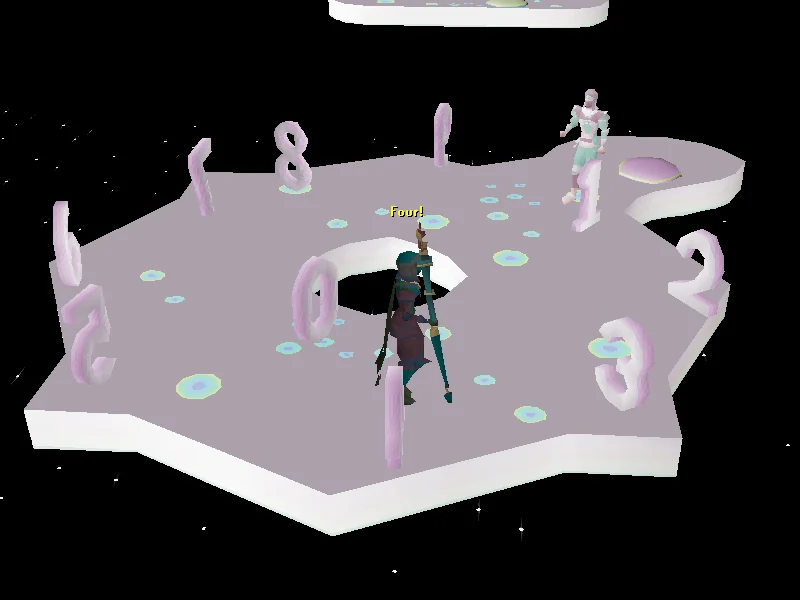
The Ethereal Numerator's challenge is to complete mathematical sequences by pressing the correct floating numbers. The Ethereal Numerator will call out a sequence, and you must figure out the pattern and press the next two numbers. For example, if the sequence is 1, 4, 2, 5, the first answer is 3 (1, 4, 2, 5, 3) and the next answer is 6 (1, 4, 2, 5, 3, 6).
It is possible to get the same sequence more than once. A list of possible sequences follows:
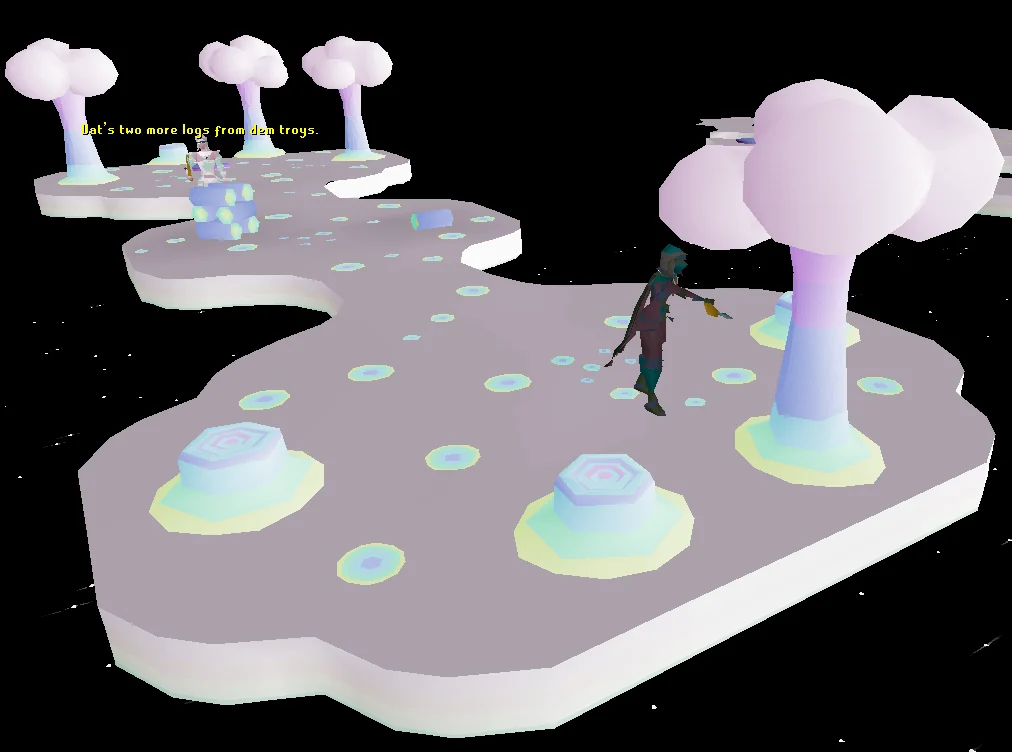
This is a simple Woodcutting game, wherein all you must do is chop more logs than the Ethereal Perceptive. The goal is to be the first one to stack 20 logs in the centre on the "Deposit Log pile". If you're limited on inventory spaces, simply chop a few at a time and then stack them and continue cutting, but note that once you have deposited 20 logs, you'll be unable to pick up your items. The Ethereal Perceptive supplies a bronze axe if you don't have an axe of your own. This is one of the easier challenges.
4. Where am I? (white north-western platform - pink on iOS)
This challenge tests your memory. Speak to the Ethereal Guide, you have to jump between platforms hoping not to find the false platforms that will collapse and return you to the start.
A simple Agility test. Beat the Ethereal Expert to the end of the passage by jumping four hurdles whilst he walks a straight path. This is fairly easy, though an Agility potion (or Summer pie) and some food might help because failing a hurdle will cost you 8 Hitpoints.
6. Anything you can do... (teal south-eastern platform)
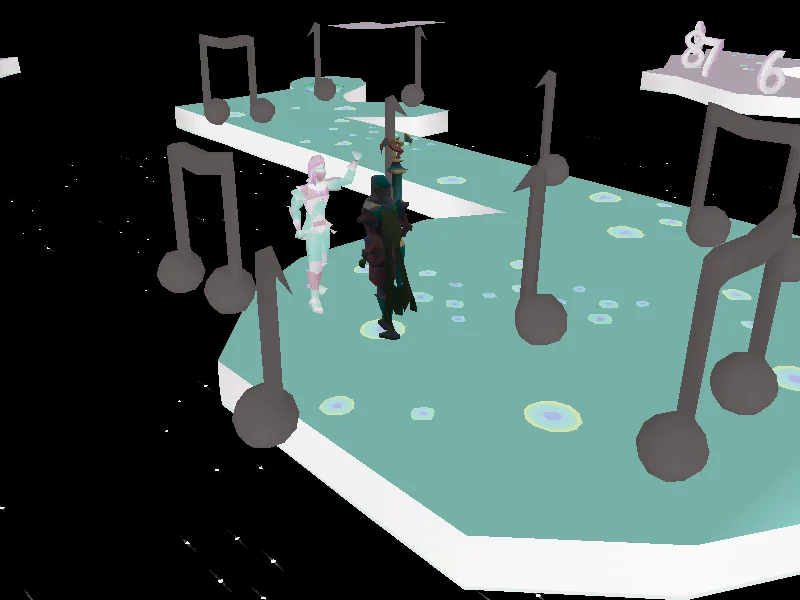
A mime-copying game, very similar to the mimerandom event. Simply copy the emotes the Ethereal Mimic uses. After each emote, the mime will teleport to a different location. Talk to them again for the next.
Note: If the fight doesn't start after the white screen, you will need to try again for a few times, it will eventually let you in. Also, try dropping your axe and then talking to the guide, or dropping your axe and picking it up again before talking to the guide.
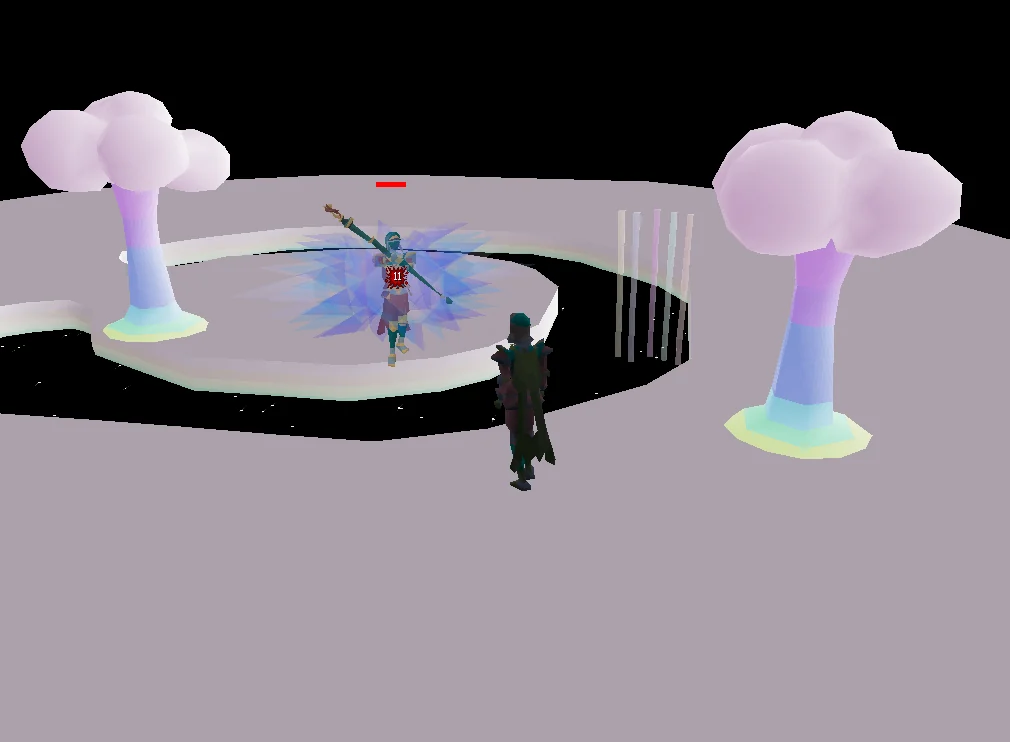
Once you've completed all the challenges, talk to the guide in the centre, and they will ask if you are ready to face the ultimate challenge. Say that you are, and you get to face "Me", a level 79 opponent who attacks with melee and is easily defeated. You will occasionally be teleported around this arena, but this is more annoying than dangerous. The chats are quite amusing from "Me", so listen out!
Once you have defeated "Me", talk to the guide at the centre of the Dream World, then exit via the lectern, and go and talk to the Oneiromancer again.
Congratulations, quest complete!
Tip: Before leaving Lunar Isle you can unlock the Ourania Teleport spell. If you intend on doing this, switch spellbooks to the Lunar spellbook at the altar next to the Oneiromancer before going to Baba Yaga.
Quick checklist 94 instructions
Use this when you already know the route. The full walkthrough above includes explanations and diagrams.
Starting out
Talk to Lokar Searunner on the western most Rellekka docks. D*K*S closest fairy ring.
Say: You've been away from these parts a while? → Why did you leave? → Why not, I've always wondered what the state of my innards are!
Speak to Brundt the Chieftain in the Longhall for a seal of passage.
Say: Ask about a Seal of Passage.
Return to Lokar Searunner.
Say: Arrr! Yar! Let's be on our way, yar!
Climb the ladders, and board the pirate ship. Talk to Captain Bentley about sailing to Lunar Isle.
Say: Can we sail to Lunar Isle now?
Speak to Captain Bentley again.
Climb down the nearby south stairs through the door, talk to 'Birds-Eye' Jack.
Climb back up the stairs and talk to Captain Bentley again.
Say: Perhaps it's the Navigator's fault?
Climb back down the stairs and return to 'Birds-Eye' Jack again.
Talking to the crew
Talk to 'Eagle-eye' Shultz at the very front (north-end) of the ship.
Talk to the Cabin boy up one deck from the captain (south).
Talk to 'Beefy' Burns on the lowest level of the ship.
Talk to 'Lecherous' Lee at the very top-rear of the ship.
Talk to First mate 'Davey-boy', on the deck level, south room.
Climb back up to the top, talk to the Cabin boy (2 inventory spaces required).
Searching for clues
Use the emerald lens on the bullseye lantern you brought. Light it with your tinderbox.
If you didn't bring a lightable lantern, you can make lamp oil in Rimmington and add it to the bullseye lantern (unf) given by the Cabin boy, after using the emerald lens on it. If you lose your emerald lens for any reason, you can ask the Cabin boy for another one.
If you still own a sapphire lantern from the Tears of Guthix quest, you can use the emerald lens on the sapphire lantern.
Use the lantern on the following objects, and rub away the symbols:
Cannon: Eastern cannon a few steps away (same level as Cabin boy).
Wallchart: Climb down the stairs, southern-most room (on the wallchart north of the long wooden table).
Chest: Lowest level of the ship, northern chest.
Support pillar: Also lowest level, just north of Beefy Burns, the cook.
Crate: Directly east of the cooking range.
Talk to Captain Bentley.
Lunar Isle
Climb down the ladders and walk into the city (there will be a small cut-scene).
Run out of the city to the south-east part of the island. Talk to the Oneiromancer.
Kill Suqah (safespottable), until you've received a suqah tooth. Keep any hides you get as drops (you will need a total of 4 hides later in the quest, which you can also collect later).
Return to the city, northern section. Enter the chicken house and talk to Baba Yaga (1 inventory space required).
Say: The Oneiromancer told me you may be able to help...
Exit the house and use the vial on a nearby water source.
Add the Guam leaf and marrentill to your vial.
Ironmen: If you have guam and marrentill to get rid of, now is a good time do so for Herblore experience (~10,000 xp/hr). Destroy the vial after creating the guam-marr vial, reobtain one from Baba Yaga, and repeat.
Grind the Suqah tooth and use it on the vial to complete the potion.
Return to the Oneiromancer with the potion.
Lunar Staff
Use your Dramen staff/staves on the following altars in order:
Air Altar (south of Falador).
Fire Altar (north of Al Kharid entrance of Emir's Arena).
Water Altar (Lumbridge Swamp).
Earth Altar (north-east of Varrock).
Travel back to Lunar Isle and give the Lunar staff to the Oneiromancer. Do not forget to bring your seal of passage.
Ceremonial clothes
In the north-eastern part of the isle, climb down ladder to the Lunar Mine.
Mine a stalagmite for 1 lunar ore. Grab three extra ores to save time during The Fremennik Exiles quest.
Smelt the ore at a furnace or superheat the ore to receive a lunar bar (closest furnace and anvil is in Rellekka).
With a hammer, use the bar on an anvil to make the helm.
Go back to the Lunar Isle.
North-west in the city, talk to Pauline Polaris (1 inventory space required) Note: The chat options appear in a random order when guessing her real name. First guess must be Pauline. Pick the option that says "Jane Blud-Hagic-Maid."
South in the city, talk to Meteora.
Kill Suqahs until one drops a special tiara. Keep up to 4 hides the Suqahs drop. Make sure you have at least 4 hides.
Give Meteora the tiara.
South of the bank, talk to Rimae Sirsalis about ceremonial clothes.
Say: You know the ceremonial clothes?
Talk to Rimae Sirsalis again, she will tan your hides.
Say: You know the ceremonial clothes? → That seems like a fair deal.
Craft a Lunar torso, trousers, gloves and boots from your hides.
Centre of the city, talk to Selene.
Say: I'm looking for a ring.
Exit the city and run south then west past the two bridges. With your spade, dig up the blue flowers furthest west to receive the lunar ring. (You must click continue on the chatbox!)
Give the Oneiromancer all your lunar gear. She will then give you all the items back. You will need to have 11 inventory spaces free (8 for your lunar gear and 3 other spaces) or you cannot continue.
Dreamville
Use the Waking sleep vial on the kindling you received.
Get your combat runes and supplies and wear all your lunar items (but do NOT bank your seal of passage). 4 inventory spaces are required.
Enter a long building on the western side of the village that has a ceremonial brazier and a staircase inside.
Light the ceremonial brazier then use the kindling on it.
Talk to the Ethereal Being.
If you logout during the dream state you will have to speak to the Oneiromancer again to retrieve the Waking sleep vial and kindling.
Dicing
Step on the south-western yellow platform.
Talk to Ethereal Fluke.
He will call out a number, you need to make the dice add up to the number he called. Roll the dice for the numbers in the answer that are not on the dice. E.g. for number 12, roll any dice that are numbers 4, 5 or 6.
He will teleport you back to the centre area after 5-6 correct answers.
Talk to the Ethereal Being.
Number sequence
Step on the south-eastern purple platform.
Talk to Ethereal Numerator.
Click on the numbers to complete the patterns:
He eventually teleports you back to the middle.
Talk to the Ethereal Being.
Logging race
Step on the north-eastern blue platform.
Talk to Ethereal Perceptive. If you don't have an axe, he'll give you one.
Say: Ok, let's go!
Run west and chop 20 logs, depositing them on your log pile. (Warning: Pick up any items you dropped before handing in last log or you will be teleported away without time to grab them.)
He will teleport you once you've won the competition.
Talk to the Ethereal Being.
Memorization
Step on the north-western grey platform.
Talk to Ethereal Guide.
Cross the chasm by jumping on the correct combination of Dream Puffs. Keep a note of the correct steps!
Once complete, talk to the Ethereal Being.
The race
Step on the eastern grey platform.
Talk to Ethereal Expert and start the race.
Say: Ok.
Turn on run, and keep it on while jumping the hurdles.
Jump over the Hurdles. If you fail 3 times you will lose the race.
After you have won talk to the Ethereal Being.
Copy cat
Step on the south-eastern green platform.
Talk to Ethereal Mimic.
Say: Suppose I may as well have a go.
Click on him, then copy the emote that he performs. He teleports after each correct emote.
After 5 correct emotes, he'll teleport you back.
Defeating Me
Talk to the Ethereal Being to begin the final fight.
Say: Of course. I'm ready.
Kill Me (level 79, safespottable). (Cannot tele from this area, must kill Me or log out.)
You cannot equip any different equipment when fighting Me, however you can bring combat runes to make the fight drastically easier. A tome of fire or any shield slot item can be used if equipped before entering the dream.
Finishing up
Read the lectern to return to Lunar Isle.
With the seal of passage equipped or in your inventory talk to the Oneiromancer.
 2
2