The Fremennik bards often sing tales of the past. Of great battles, deadly foes and heroes long gone. However, in recent years, things have been much quieter in the Province, as there's increasingly less to sing about. All that is about to change though, as what starts off as a simple investigation soon leads to one of the greatest threats the Fremennik have ever seen.
To start the Fremennik Exiles, speak to Brundt the Chieftain, in the Rellekka Longhall, and ask for a quest. Brundt will request the player to investigate a minor disturbance that occurred the previous night near the sand pit.
While here, also buy 2 kegs of beer from Thora the Barkeep. This saves time and effort later, unless you already have some in a bank.
Go north to the house next to the sand pit and speak to Freygerd. Freygerd will retell the terrifying events of the previous night and how she was spooked by a pair of red eyes staring at her from outside the window. Go outside and investigate the surrounding area for clues.
Investigate the following three clues to progress:
Search the rockslide, directly west of Freygerd's house, to obtain a venomous fang.
Search the boxes outside the house to obtain the venom gland.
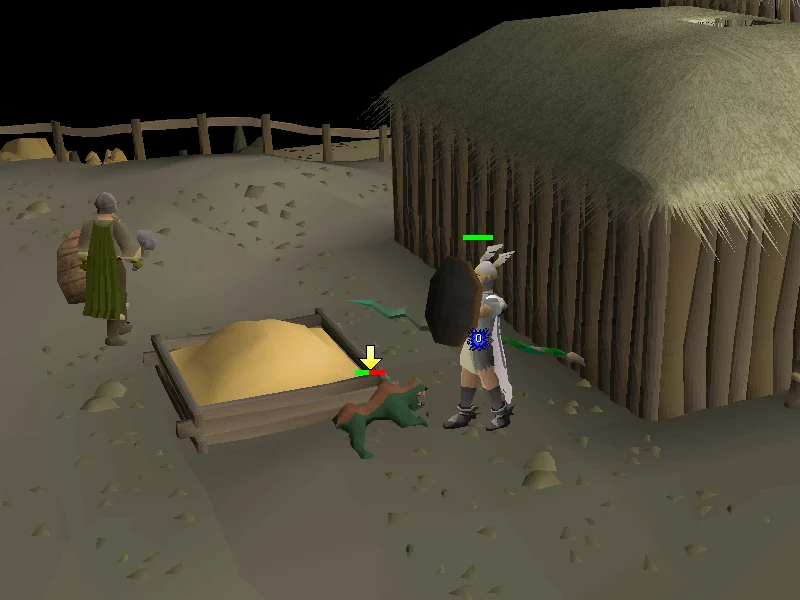
Finally, search the sand pit to uncover an aggressive level 57 Basilisk Youngling which will immediately attack you.
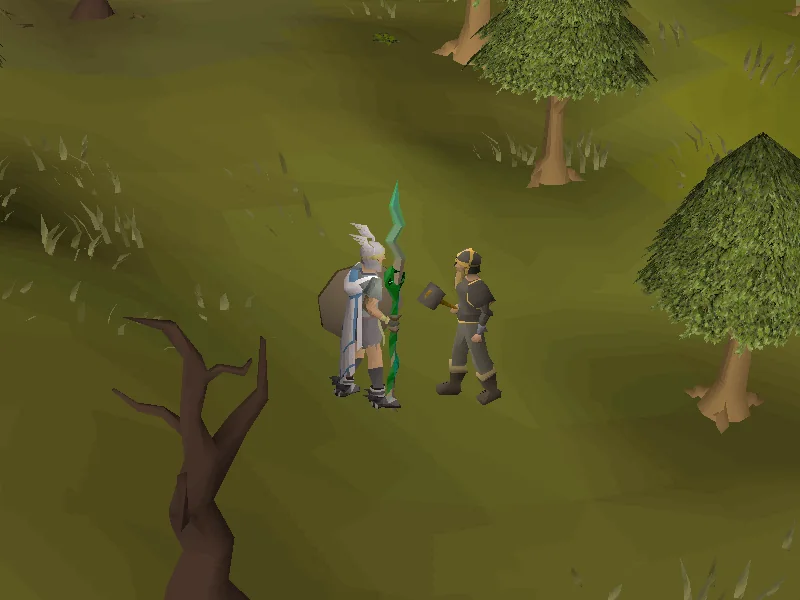
The Basilisk Youngling will consistently do 6 damage rapidly and drain the player's stats unless a mirror shield is equipped. An unsealed letter will be dropped upon killing the basilisk. Read the letter which contains information about an approaching basilisk invasion and the re-emergence of the Jormungand. Return to Freygerd and either tell her the truth or a comforting lie (it's random for each player), after which you should head back to Brundt the Chieftain to report.
Note: Chieftain Brundt mentions talking to Reeso near the sandpit in his dialogue. If you cannot progress the quest using the directions above, try talking to Reeso as well.
Chieftain Brundt is horrified of the news of the basilisk invasion. Brundt reveals the history of Jormungand enslavement of the Fremennik people. The Jormungand, also known as the Serpent King, was the leader of the Basilisk army. His army, along with the three generals, Typhor, Vritra, and Bakuna brought terror to the lands. Freedom was restored after the hero, V, confronted and magically sealed the Jormungand on the Island of Stone. Chieftain Brundt begins to panic at the powerlessness of the Fremennik army against the upcoming attack. You start reassuring Brundt and begin to plan a strategic countermeasure.
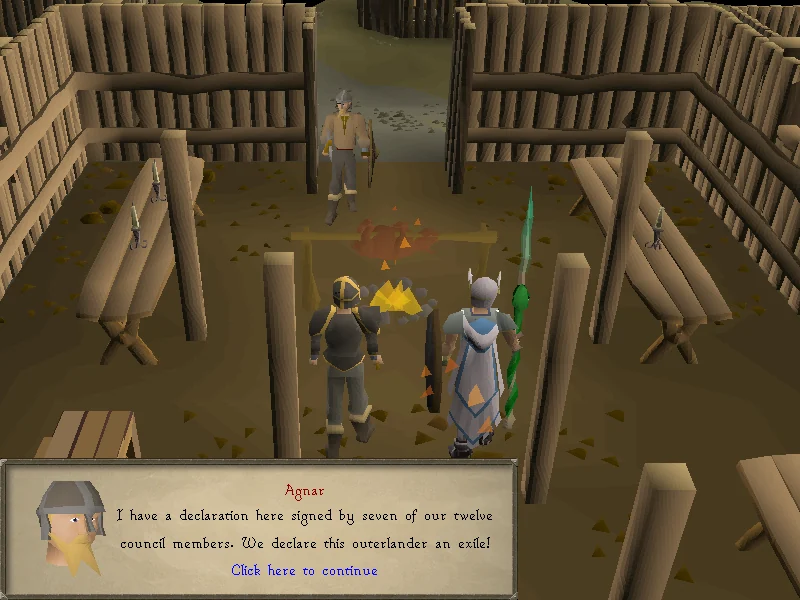
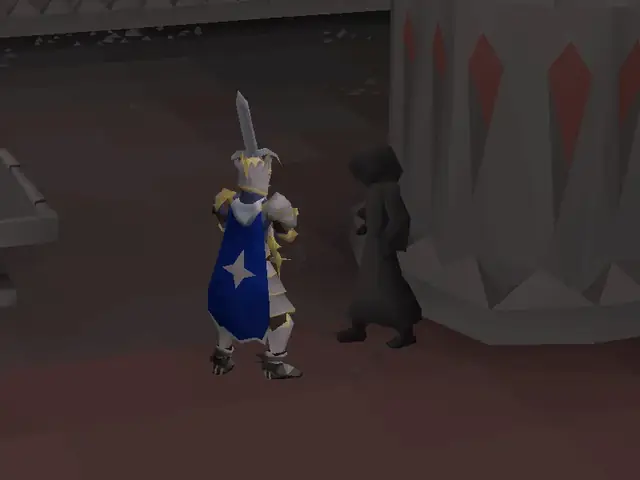
The player is exiled from the Fremennik Province. Image credits →
A cutscene will play where the Council member Agnar arrives and inquires about the basilisk found in the town. Brundt informs Agnar that the situation will soon be resolved by you and Brundt. The enraged Agnar begins to blame you, the outerlander, for the disasters that have fallen upon the city ever since The Fremennik Trials. Agnar refuses to acknowledge you as a Fremennik and declares that seven of the twelve members have voted to exile you from the province. Brundt disagrees with the decision but is honour bound to follow the instructions of the council. Brundt, reluctantly, exiles you from the province while gesturing to the south-east.
The citizens of Rellekka will no longer view you as one of their own; attempting to interact will result in hostile warnings like prior to completion of The Fremennik Trials. However, all boat travel from the Rellekka port remains available. Interactions on the islands (Lunar Isle, Jatizso, Neitiznot, Miscellania) as well as the Mountain Camp are unaffected.
02
Redeeming the exile
Exit Rellekka from the southern entrance and head south-east along the dirt path. You will find Brundt the Chieftain nearby. Brundt apologises for the situation and explains why you were exiled. He requests that you forgive the Council members as they are being irrational due to the End of Things prophecy. The End of Things was foretold to begin after the Jormungand is freed. Brundt suggests you restore V's shield to regain the Council members trust and worth.
Brundt will explain how to obtain the four components required to recreate V's shield. The shield was constructed with the assistance of the Moon Clan to create a shield that could reflect the Serpent King's gaze.
Items needed:Rune thrownaxe (bring 5-10), Pet rock for reaching Bardur if you don't have 85 agility or unless you already have a Fremennik shield or wish to kill market guards to obtain one Items recommended:Stamina potions, Combat equipment, Food, Ring of Charos(a) unless you already have a Fremennik shield or wish to kill market guards to obtain one
Alternatively, the player can go find Bardur, located deep within the Waterbirth Island Dungeon, to obtain a shield, either by paying 150,000 or for free by charming Bardur while wearing the Ring of Charos(a) (this is a one-off exchange). It is possible to take Jarvald's boat to Waterbirth Island despite being in exile.
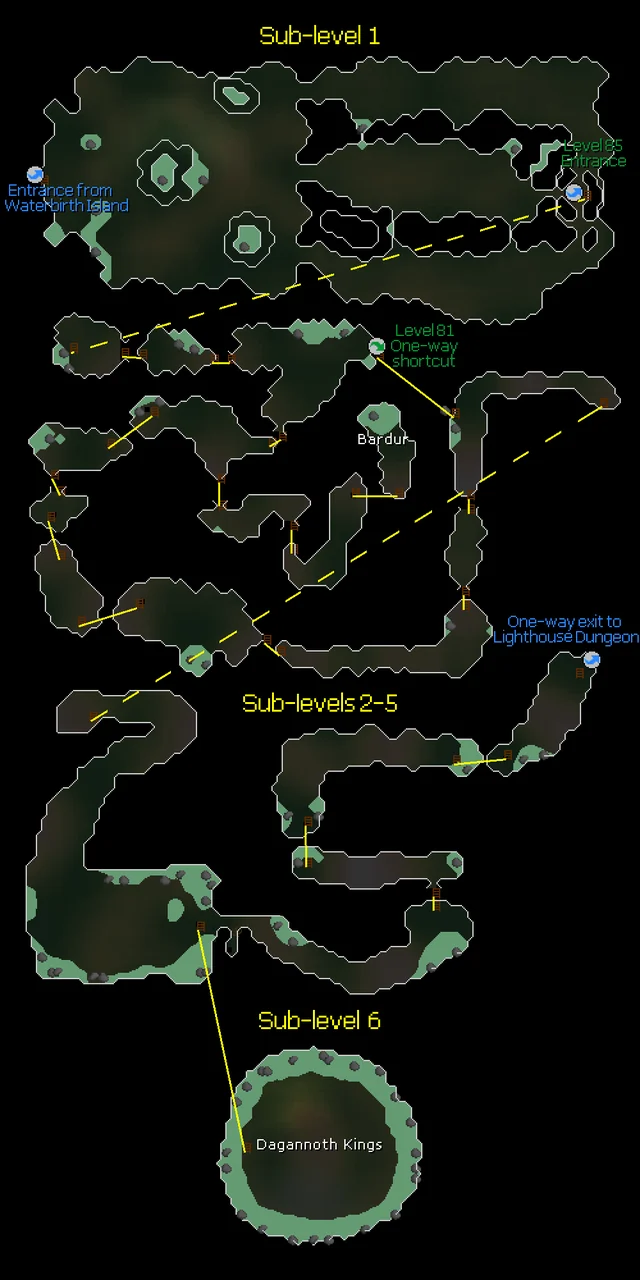
Should the player choose to find Bardur, the dungeon contains enemies with all three attack styles, so bringing combat equipment, food, and using protection prayers is advised. (If you have 85 agility for the Waterbirth Island rock-climb shortcut you can bypass the pet rock and rune throwing axe steps and take the ladder down to sublevel 2). To reach Bardur, the player should make their way through the first level of the dungeon by unlocking any of the three gates. This is done by dropping the pet rock on one floor button, standing on the other button, then interacting with the gate. At the end of the floor, the player must then use the special attack of the rune thrownaxe on the door supports to access the ladder leading down to the lower levels (if you're standing at the north or south door, target the west door, not the door directly across from you). From there, follow the ladders, down until the room with 2 ladders. Take the southern one there, and follow the ladders to end to find Bardur. The dungeon map shows a clear route to reach Bardur. A more comprehensive walk-through of the dungeon can be found on its wiki page.
Return back to Rellekka and head to the furnace and anvil in the south-west part of the city. Smelt the three lunar ores into lunar bars using the furnace. Then, use the three lunar bars and a hammer on the anvil to create the V sigil. After doing so, the sigil must be brought to Fossegrimen, who can be summoned from the strange altar on the small peninsula south-west of Rellekka (the same place you make offerings to enchant your lyre). Fossegrimen will need to be summoned by interacting with the strange altar. She will happily oblige to enchant the sigil in gratitude to V.
To obtain a polishing rock, Brundt suggests submerging a rock in the hot springs in the mountains east of Rellekka. (Interaction with Brundt about the polishing rock is optional.) Go to the Mountain Camp with your pet rock (which can be obtained from Askeladden) and attempt to put it into the large geyser, which is on the south side of the lake, near the climbable tree. The player can not bring themselves to submerge their pet rock, due to their fond memories with their pet rock, and thus believes the only solution is to ask Peer the Seer to wipe their memory of the pet rock.
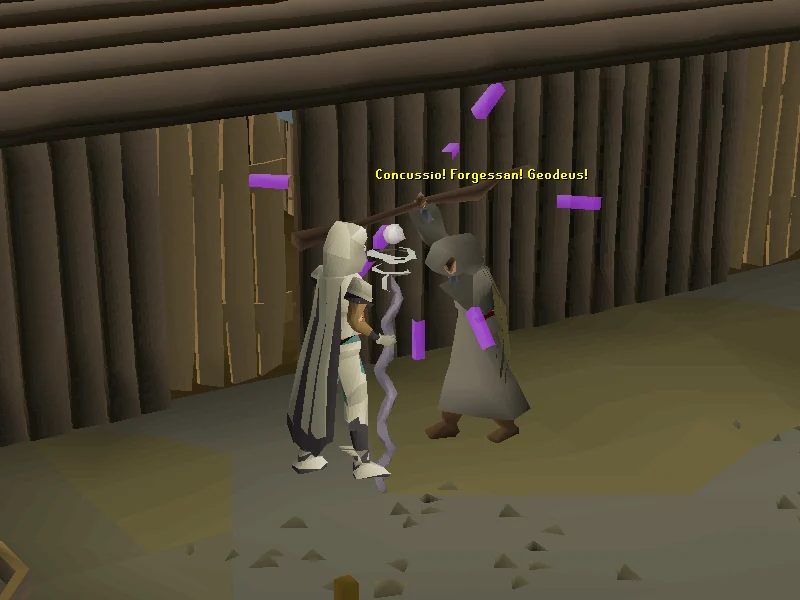
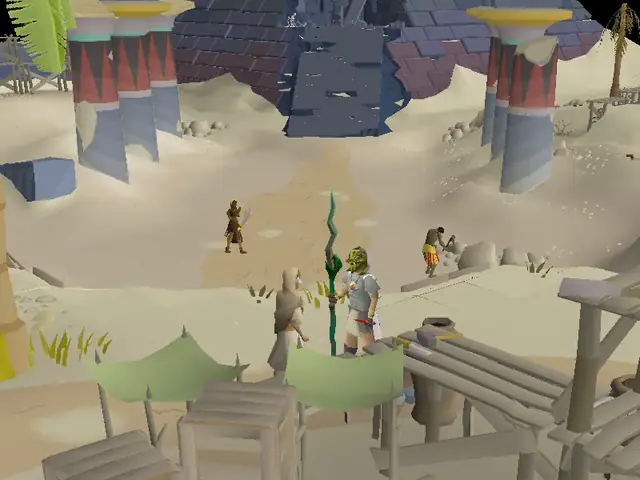
Peer the Seer erases your memories of you and your pet rock Image credits →
Return to Rellekka and ask Peer the Seer to make you forget about your pet rock, which he will oblige to. Head back to the large geyser in the Mountain Camp with your emotionally unattached pet rock, a fishing rod (a fly fishing rod or barbarian fishing rod also work), and a pair of ice gloves. Wear the ice gloves, put the pet rock into the geyser and retrieve it again with the fishing rod to obtain the polishing rock. (If you forget to put your ice gloves on and you drop the rock into the geyser, simply pop them on and use the rod on the geyser to fish the rock out)
With all four components and a glassblowing pipe, V's shield is recreated by using the V sigil on the Fremennik Shield and your pet rock is returned. Return to Brundt the Chieftain south-east of Rellekka, who will be astonished by your craftmanship, and asks you to wield the shield in the upcoming battle against the basilisks. However, Brundt will have to return to Rellekka, end your exile and declare you as part of the Fremennik force against the basilisk invasion.
Before returning, he will ask you bring him two kegs of beer (if you forgot to buy them before starting the quest, buy them from Rasolo or on the Grand Exchange). The undrinkable keg of beer from the table in the Longhalldoes not work. After giving both to Brundt, you'll find out he needs them to get drunk enough to have the courage to declare ending your exile and rejoining the Fremennik. Before drinking the second keg, he will ask that you return to the Longhall. Market Guards and Warriors also drop kegs, so if you choose this method to get the shield rather than going to the dungeon, you will also get the kegs you need.
On death, all unprotected items will be moved to a grave outside the instance. Any items left on the ground will be lost.
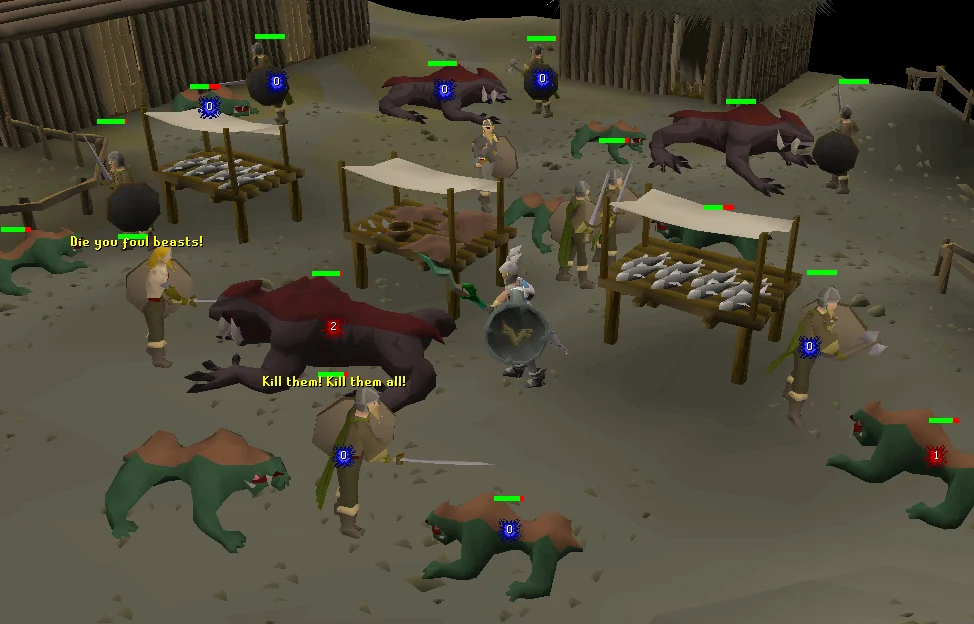
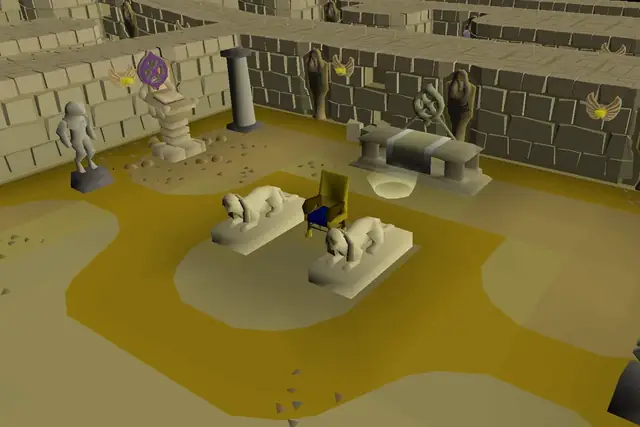
Fighting the basilisks in the market alongside Brundt and Koschei Image credits →
Return to the Longhall and talk to Brundt again, who has sobered up. He will tell you that the Council has decided to end your exile after your success of recreating V's shield, and will declare you a Fremennik once more. He will ask that while the basilisks invade the town, you and he will travel to the Island of Stone to ensure The Jormungand's prison remains sealed. However, as you ask when you'll be leaving, the basilisks invade the marketplace.
Wield V's shield and fight the basilisks until you reach 100%. You have to hit a basilisk at least once to make its death count towards completion.
Once you have defeated enough basilisks, Brundt will direct you to the north-westernmost Fremennik Boat. Board it to travel to the Island of Stone.
Once you've travelled to the Island of Stone, you can freely travel back and forth by speaking to Haskell. You can leave to recuperate for the next battles.
On death, you can pay Brundt the Chieftain 50,000 to retrieve lost items. Any unsafe death will delete all items left inside the deathbank. Any items left on the ground will be lost.
Upon arriving on the Island of Stone, Brundt discovers that The Jormungand's prison has already been breached, and that the basilisks have resealed the door. The door puzzle is similar to the real-life game of Mastermind, but uses six different rune symbols instead of coloured balls (air, water, earth, fire, astral and cosmic):
Each green check means one of the runes is perfect.
Each red check means a rune is correct but in the wrong position.
A rune can appear more than once in the solution.
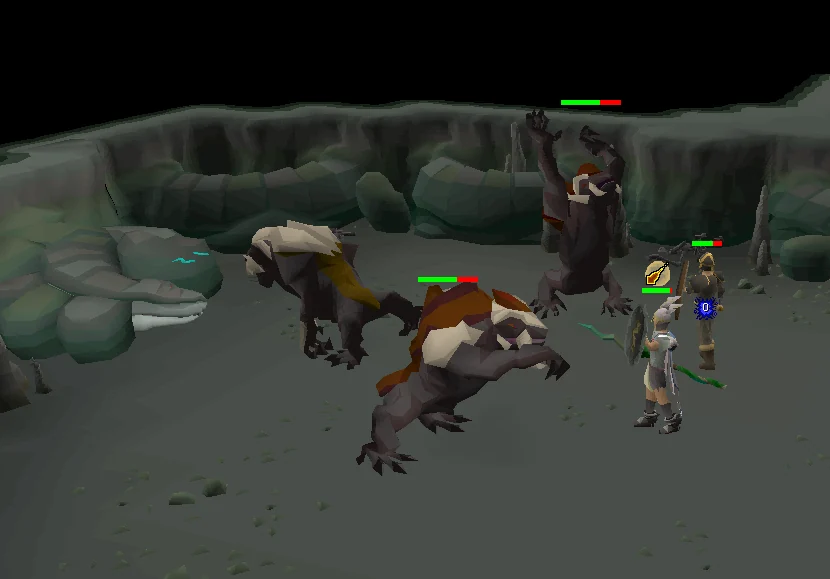
The player and Brundt fight the Jormungand's basilisk generals. Image credits →
If you fail to solve the combination 9 times (8 guesses displayed on the board followed by one last attempt), the puzzle will reset and the solution will change. If you're struggling, try guessing a random combination of runes and close the puzzle if it's not mostly correct on the first guess; the puzzle will be different when you try to open the door again. Repeat until you get a helpful first guess. The puzzle can also be solved using this tool; enter the string "Air, Water, Earth, Fire, Astral, Cosmic" for the colours, and check "Allow duplicate colours."
Once you solve the puzzle, the door will open. The door is a checkpoint; once opened you will not have to solve the puzzle again. You will see Bakuna, Typhor, and Vritra attempt to awaken The Jormungand. Brundt will fight Vritra, while you will fight Typhor. As Typhor may attack with either magic or melee, players with high melee defence and/or low magic defence (i.e. most melee armour) will find it more helpful to pray protect from magic for the entire fight as it blocks all damage from his magic attack. This fight is a checkpoint, meaning that if you slay Typhor but die to the Jormungand, when you return to battle you will not have to fight Typhor again.
Note: Prayer is turned off upon re-entry to the cave.
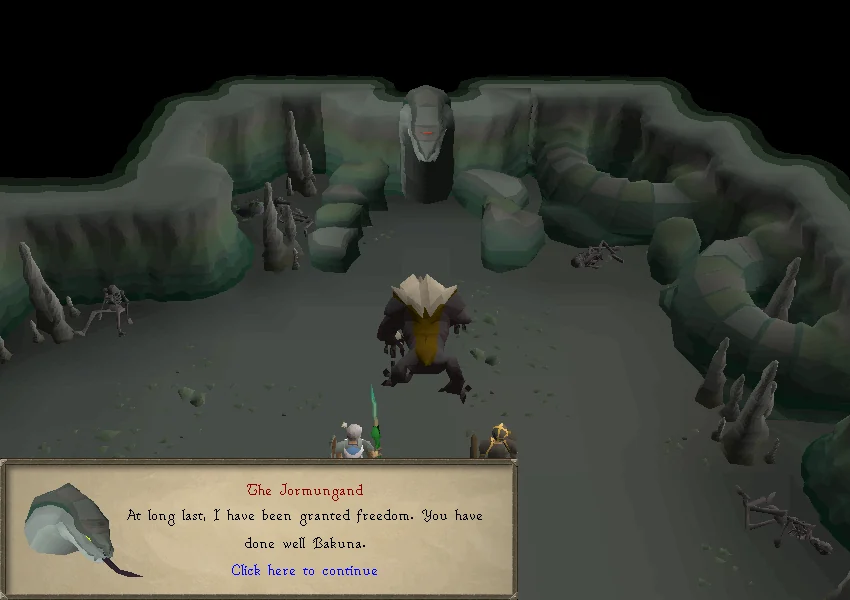
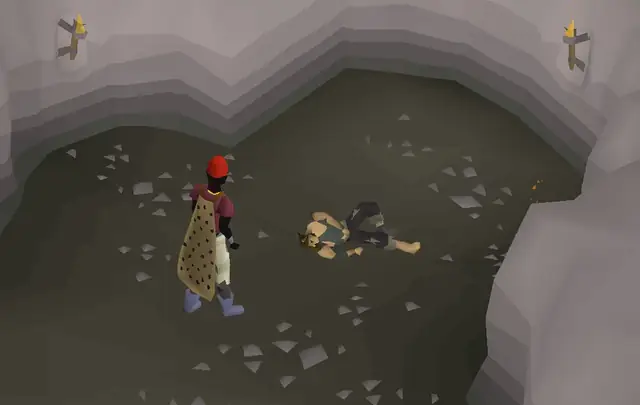
Bakuna frees the Jormungand from his imprisonment. Image credits →
The Fight
Despite your efforts, Bakuna successfully awakens The Jormungand, who consumes Bakuna in order to restore his strength. You and Brundt now must battle the Jormungand. It is level 363, and primarily attacks with magic, making Protect from Magic very useful (it won't block all damage from his magic attack, but it will significantly reduce it to a maximum hit of 7). If you die or teleport away from the Jormungand before killing it, you must restart the fight, but you will not have to kill Typhor again. On death, items can be retrieved from Brundt on the island, for a cost of 50,000 coins (can be from your bank).
The fight can take a few minutes depending on your levels and gear. Because of this, at least one prayer potion or super restore potion is advised (more if using Piety, which is highly recommended). The Jormungand is slightly weak to crush attacks; however, it still has very high defence, so a strong crush weapon such as a Zombie axe, leaf-bladed battleaxe, or dragon mace is recommended. The Jormungand is immune to poison, so poisoned weapons are not recommended.
Using Magic is very viable, and in this way the fight is actually much easier than the fight with Typhor, as the Jormurgand will deal damage much more slowly, as long as the player is using Protect from Magic. The strongest Earth spell the player can cast is recommended. Don't forget to bring a stat restore potion, given that if the player gets hit by the "red screen" special attack (see below) their Magic will be drained and they will likely be unable to cast further strong spells.
Players must wield V's shield for the fight otherwise Typhor and The Jormungand will drain the player's stats and hit 18s repeatedly.
The Jormungand has two special attacks that players should note:
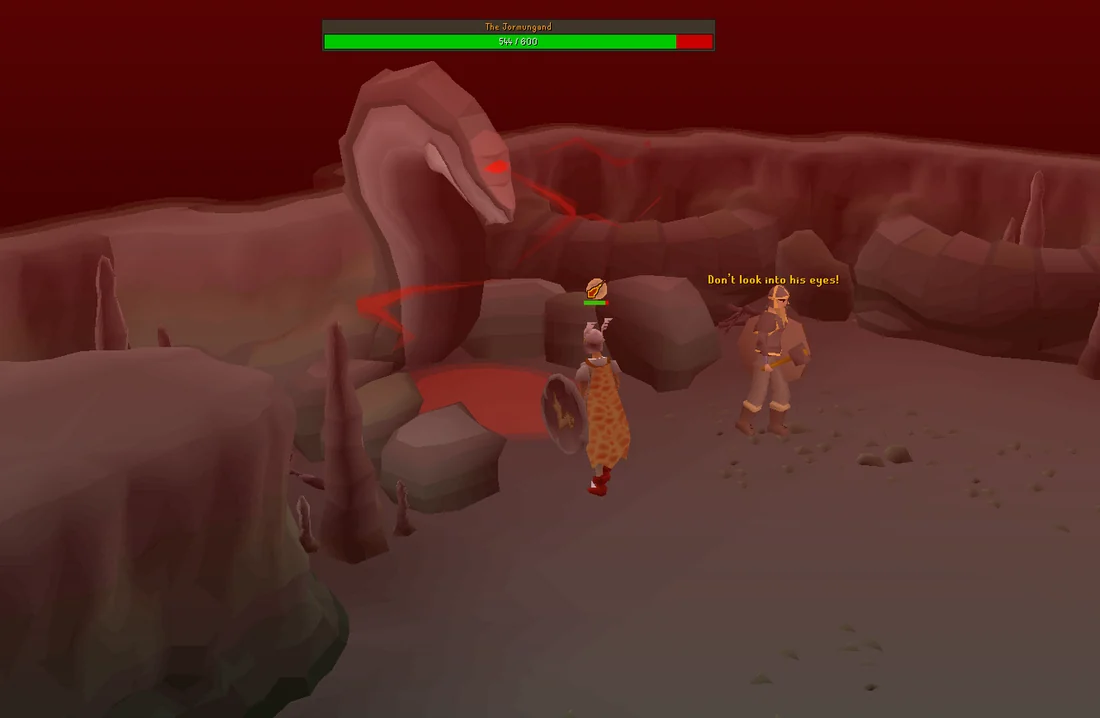
The Jormungand uses one of his special attacks, which can be negated by walking away from him. Image credits →
The Jormungand will prepare a powerful attack indicated by the player's screen turning red. Face away from the Jormungand to avoid it, otherwise players will take up to 50 damage and have their stats drained by 20.
The Jormungand will launch a projectile that encases the player in stone. Repeatedly attempt to attack the Jormungand to quickly break free. If players take too long to try freeing themselves, the stone will violently break, dealing over 40 damage. The mechanic is virtually identical to the vines used by the Hespori.
Once the Jormungand is defeated, the player will wonder whether the End of Things had already begun; Brundt will refute this by saying that if it had begun, they would have already noticed. Content, you and Brundt will return to the longhall to drink and celebrate.
From now on, the Fremennik will refer to you by your Fremennik name followed by the honorific Dräpare.
The jingle that plays upon defeating the Jormungand.
Congratulations, quest complete!
Quick checklist 49 instructions
Use this when you already know the route. The full walkthrough above includes explanations and diagrams.
A disturbance in Rellekka
Buy 2 kegs of beer from Thora in the Longhall before you start the quest to save time later. (bank them when you have the chance to reduce weight while running around)
Talk to Brundt in the Longhall to start the quest.
Say: Do you have any quests? → Yes. or → Do you have any quests? → Yes.
Go north and talk to Freygerd in the house south of the sandpit.
Equip your mirror shield (to avoid taking damage and stat drain), then search the sandpit (to the north) and kill the Basilisk Youngling (level 53).
Pick up the Unsealed letter and read it.
Search the rockslide west of the house to get the Fang.
Search the boxes south of the house to get the Venom gland.
Talk to Freygerd to give her the items.
Return to Brundt to receive a note, read it, then talk to him again for a cutscene.
Say: Ask about the investigation. or → Ask about the investigation.
Go south-east of Rellekka, following the dirt path, and talk to Brundt. Go through all chat options to learn how to restore V's shield.
Say: Where can I find a Fremennik Shield? → Where can I get Lunar Glass? → How do I make the Polishing Rock? → How do I make V's Sigil?
Fremennik shield
Obtain a Fremennik shield (this is not the tradeable Neitiznot shield).
Option 1: Go to Waterbirth Island and kill dagannoth until they drop the shield (uncommon drop).
Option 2: Go to Rellekka and kill Market Guards or Warriors until they drop the shield (rare drop).
Option 3: Travel to Bardur deep in the Waterbirth Dungeon and wear a Ring of Charos(a) to get the shield for free. Without the ring it will cost 150000 coins.
Lunar glass and V's sigil
Go to Baba Yaga on Lunar Isle to turn your molten glass into molten glass (i).
Say: or → if using lunar spellbook and Ourania teleport is not unlocked.
Head north-east of the town to Lunar Isle mine and mine stalagmites for 3 lunar ore.
Leave the mine and travel to the Astral Altar with 100 astral runes in your inventory and craft on the altar to obtain Lunar glass. Then return to Rellekka.
Optional: Destroy the Seal of passage and talk to the Oneiromancer to be teleported there. This guide will remind you later to re-obtain it at a convenient moment.
Smelt 3 lunar bars in a furnace (Rellekka is convenient) or you can use Superheat Item.
Smith the V sigil on an anvil (Rellekka is convenient).
Talk to the Fossegrimen to enchant the sigil. (Found by summoning at the Strange altar south-west of Rellekka)
Say: Ask about V's Sigil..
Polishing rock
Head east of Rellekka to the Mountain Camp
Follow the path north of the Mountain Camp and inspect the Large Geyser. Use your pet rock on the Geyser.
Say: It's for the good of the Province!
Go to Rellekka and talk to Peer the Seer found south-west of the Rellekka market.
Return to the geyser and wear the ice gloves, if you forget you may re-equip them and try again.
Inspect the large geyser to the west to get the polishing rock.
Use any of the components together while having a glassblowing pipe in the inventory to create V's shield.
Basilisks in the Market
Talk to Brundt south-east of Rellekka.
If you destroyed your Seal of passage to return to Rellekka quickly, now is a good time to ask for another one
Say: Ask about a Seal of Passage. and then talk to Brundt again.
Return to the Longhall and talk to Brundt again.
Wield V's shield and fight the basilisks until you reach 100%. You have to hit a basilisk at least once to make its death count towards completion.
Monstrous Basilisk (level 135) counts for 10% completion.
Basilisk (level 61) counts for 3.33% completion.
Travel on the Fremennik Boat to the Island of Stone.
Island of Stone
Speak with Brundt to explain the cave door puzzle.
Solve the cave door puzzle (Mastermind).
Each red check means one rune is correct but in the wrong position.
Each green check means one rune is correct and in the right position.
Equip V's shield and keep it equipped for the full fight.
Enter the cave.
Fight Typhor (level 218)
Pray against either Magic or Melee, depending on which attack style you are weaker against.
There is a checkpoint after Typhor is defeated. You may wish to teleport out between fights to resupply. If you do, you can return to the Island of Stone by talking to Haskell on the western-most pier in Rellekka (the same one the Waterbirth Island boat is on)
Fight The Jormungand (level 363). There are two special attacks to avoid:
When the screen turns red, click to face away from the attack (can hit for 50+ damage and drains your stats a little).
When frozen in rock, click to attack the snake repeatedly to break free (otherwise take 30+ damage as the rock explodes).
Pray Protect from Magic.
It is weak to crush attacks.
Congratulations, quest complete!
QUEST COMPLETE
Rewards
50,000 Slayer Slayer experience
50,000 Crafting Crafting experience
30,000 Runecraft Runecraft experience
V's shield
Access to the Island of Stone
Ability to kill a Basilisk Knight as a Slayer task
A Fremennik honorific, Dräpare, added to the player's Fremennik name
Ability to create and equip the Neitiznot faceguard (with 70 Defence)
 2
2