2
2Requirements
- 32 Quest points to enter the Champions' Guild [required to start]
- The ability to defeat a level 83 dragon
QUEST 17 · FREE-TO-PLAY
Prove yourself a true champion. Kill the mighty dragon Elvarg of Crandor and earn the right to buy and wear the Rune platebody.
Talk to the Guildmaster in the Champions' Guild.
STEP BY STEP
Follow the chapters below. Click any screenshot or diagram to view it at full size.
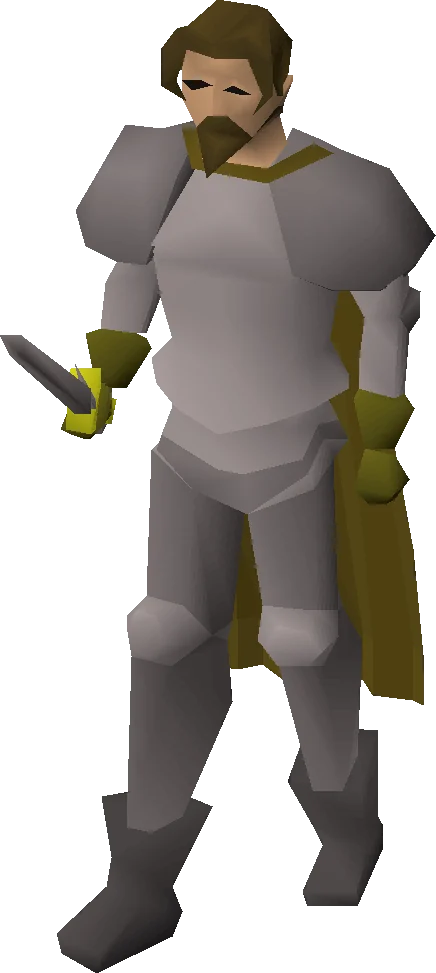
Head to the Champions' Guild immediately south of the southern gates of Varrock and ask the Guildmaster for a quest. He will tell you to visit Oziach, the maker of rune platebodies, who sets the tasks that champions must complete to earn the right to wear one.
Oziach can be found in the north-west corner of Edgeville, near the Wilderness ditch and the Edgeville Monastery. Speak to him, and he will set the player the task of killing the dragon of Crandor.
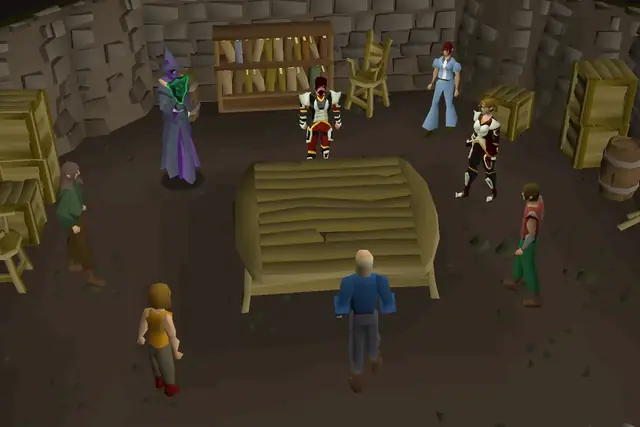
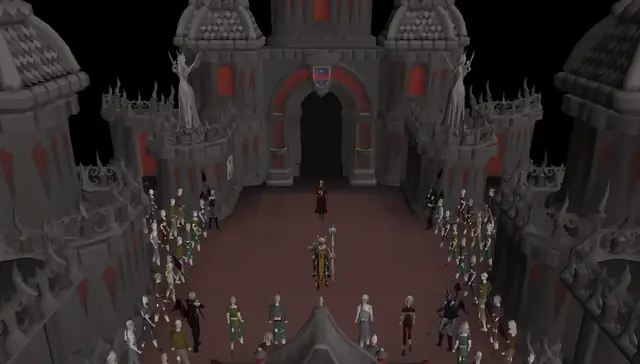
Return to the Guildmaster, who will recount the tale of Elvarg, the dragon that laid waste to the whole of Crandor, leaving a trio of wizards as the sole survivors. To reach Crandor, the player will need a ship capable of getting through dangerous reefs, a map to show the way, and protection against the dragon's breath.
Important: Ask him all the follow up questions below; each one unlocks a stage of the quest. You will need to return later if you do not.
Ask him how you can find the route to Crandor, and he will tell you that only one map exists - it was split into three pieces, each held by a wizard.
Ask him where to find each map piece, and he will give you information about each piece, as well as give you a Maze key (requires free inventory space).
Ask him where you can find the right ship, and he will suggest looking in Port Sarim.
Ask him how to protect against the dragon's breath, and he will mention that Duke Horacio has a special shield which is enchanted against dragon's breath.
Non-ironmen may purchase the Anti-dragon shield on the Grand Exchange for 115. Alternatively, you can obtain one for free from Duke Horacio on the 1st floor (UK) of Lumbridge Castle. The drop trick can be used to obtain several shields, which may be useful if you die during the dragon fight and need to return, as Elvarg shoots dragonfire immediately upon entering her arena.
The three map pieces may be collected in any order. After collecting all three, use any piece on another, and all three pieces will combine to form Crandor map.
Items required: The Maze key, food, and combat equipment. (The most difficult enemy is the lesser demon; you can safespot it with Magic/Ranged and with melee as well.)
Head to Melzar's Maze for the first map piece, located north-west of Rimmington, south of the Crafting Guild, and west of Port Sarim, with your Maze key and combat equipment. Food is recommended for lower level players.
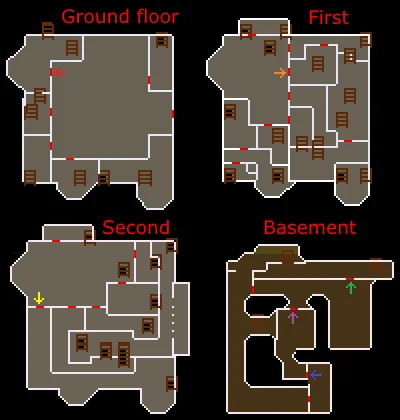
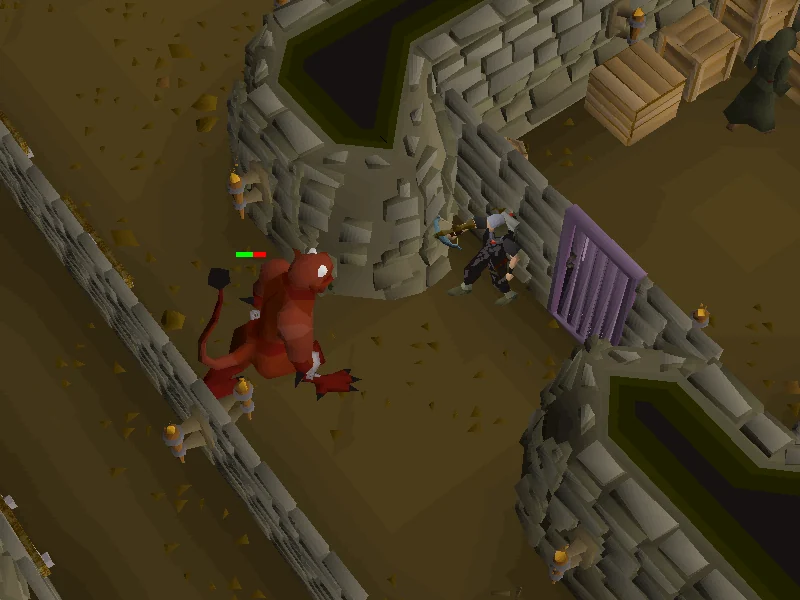
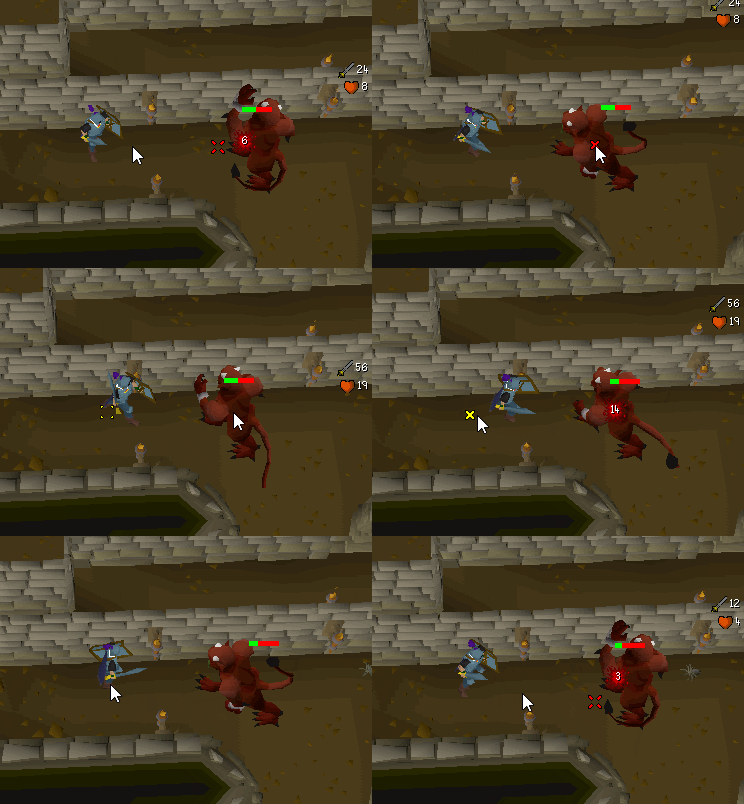
Enter the maze, where you will be required to identify monsters which look slightly different to their counterparts:
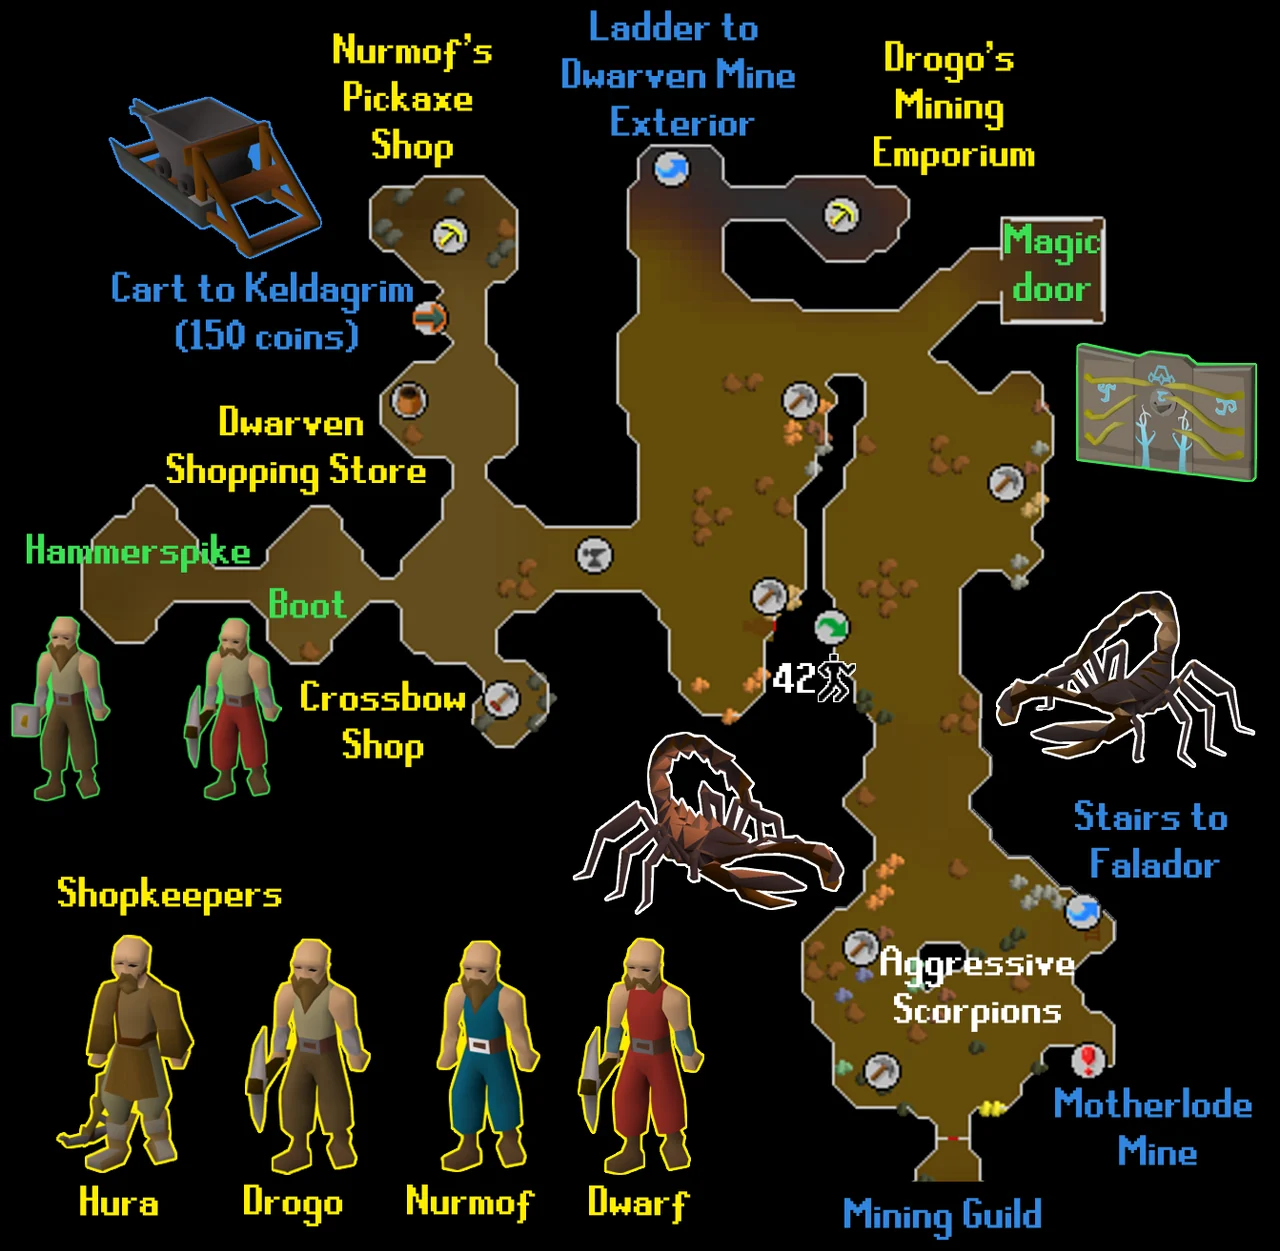
Bring an unfired bowl, Wizard's mind bomb, silk and lobster pot to the Oracle, located on top of the northern end of Ice Mountain, south-west of the shabby tent. The mountain is directly west of the Edgeville Monastery entrance. Tell her you seek a piece of the map to the island of Crandor, and she will explain through riddle that the map piece is behind a door below, and that you require the items you have brought to open it.
Note: If you didn't ask the Guildmaster about Thalzar's map piece, you won't have the option to ask the Oracle about the map.
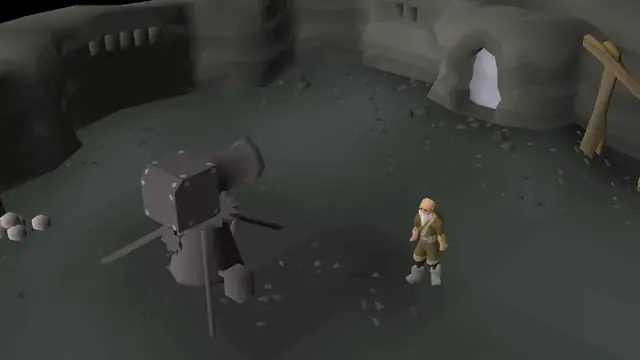
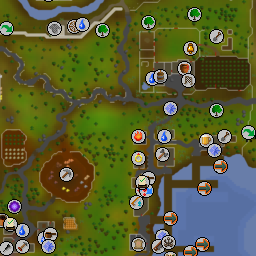
Descend the mountain and head slightly south, to enter the Dwarven Mine (using the ladder, under the canopy where all the dwarves are standing).
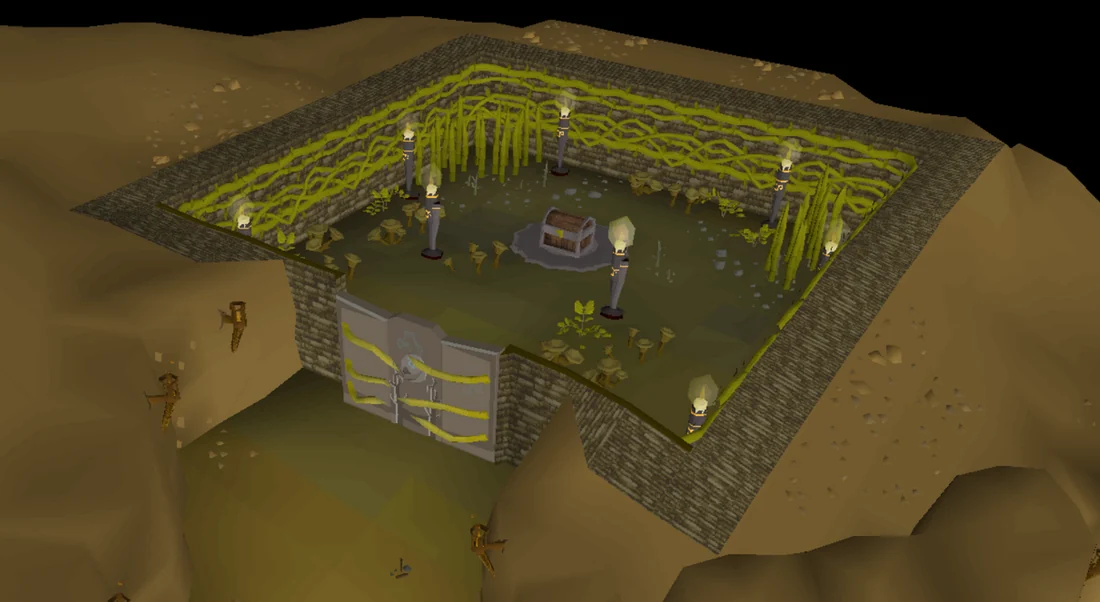
Head to the square room at the north-east corner where you will find the magic door (see the attached map.) Use your silk, wizard's mind bomb (Be careful to not drink it!), unfired bowl and lobster pot on the door to open it. Open the chest and search for the second map piece.
Note: Using an incorrect item on the door will not affect the process. If you forgot an item, you may leave and return to the door - your progress will not be lost.
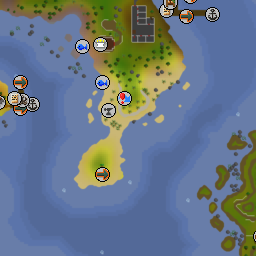
For the third and final piece, the Guildmaster mentioned that one of the goblins from Goblin Village probably has the map piece, after Lozar was slain by goblins. It is possible to skip visiting Goblin Village - General Bentnoze would have told you that Wormbrain the thief was caught.
Head to Port Sarim jail, which is in the south of the port. Wormbrain is in the third cell from the entrance - you can either talk to him and pay 10,000 in exchange for the map piece, or attack him using Ranged or Magic if you want to use Telekinetic grab to obtain it. Once his health reaches zero (he has 5 Hitpoints), he will say Ow! and drop the map part for you to telegrab.
Note: If you didn't ask the Guildmaster about Lozar's map piece, you will not be able to attack Wormbrain.
Now that you have all three pieces, combine them to make the Crandor map.
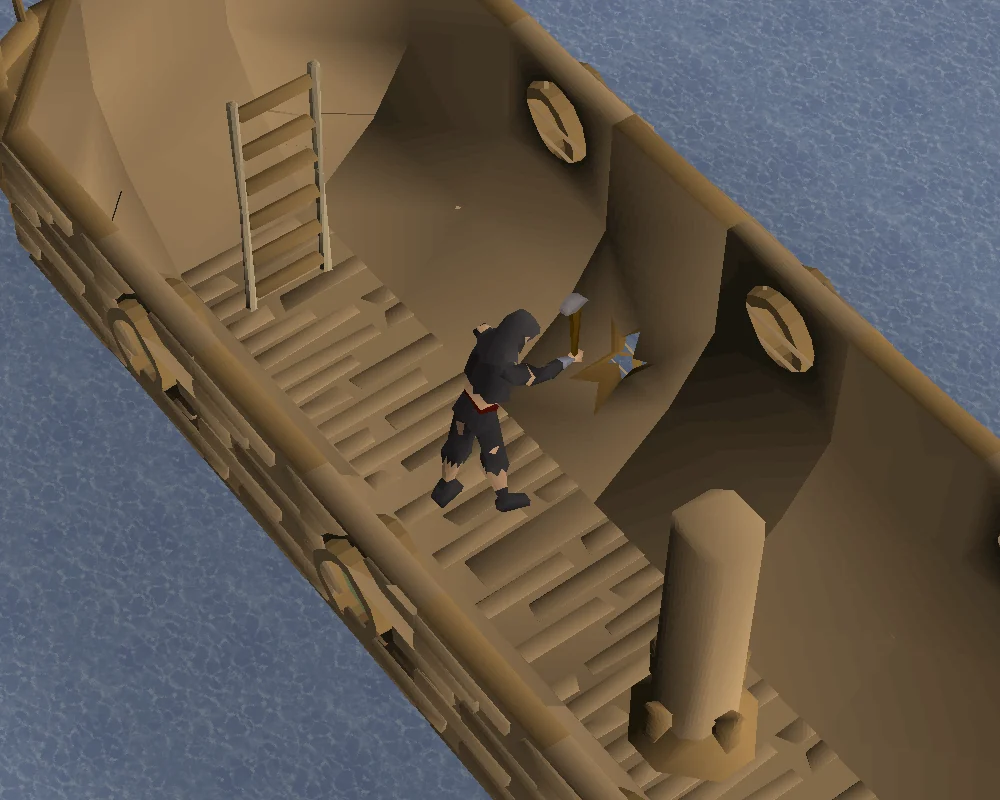
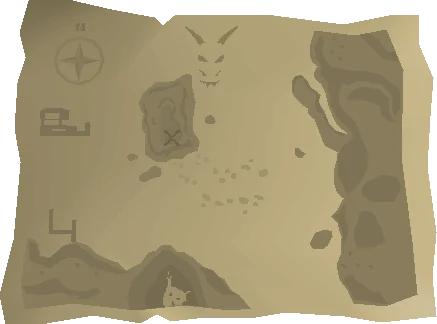
Take your nails, planks, hammer, and 2,000, and head to Port Sarim. If you do not yet have a hammer, you can buy one from a Trader Crewmember on the dock to the south (Members only). Nine planks can be made at the sawmill in free-to-play, but only once. The Sawmill operator will only talk to you after you have purchased the ship.
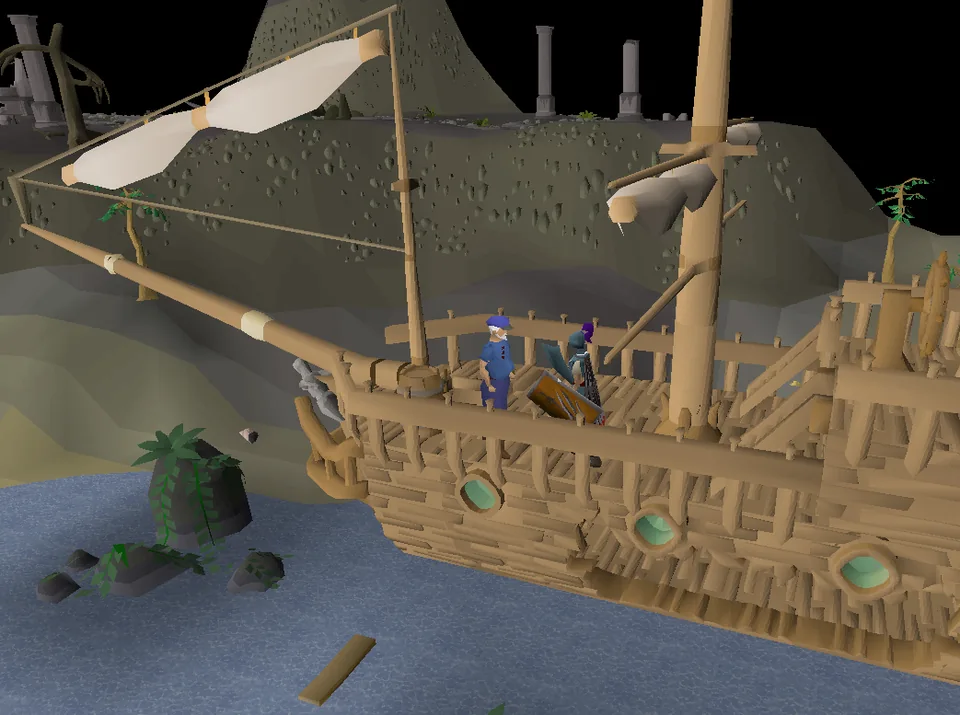
Look for Klarense, a sailor, who is located on the second-most southern dock. Talk to him and he will ask if you are interested in buying his ship, the Lady Lumbridge. Reply that you'd like to buy her, and he will sell you the ship for 2,000.
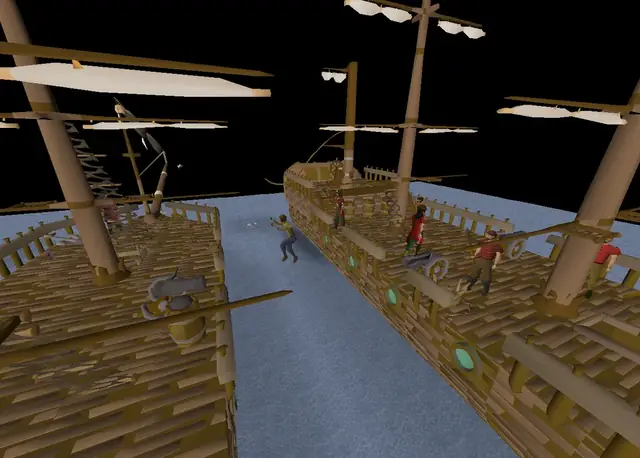
The boat is not yet seaworthy, and you will need to fix it first. Board the ship and climb down the ladder. Patch the hole in the ship's hull by clicking it three times, and the ship will be seaworthy again.
You now need to find a captain to sail it. Go to Draynor Village and talk to Ned, located in the house just north-east of the Wise Old Man's home. Ask him if he will take you to Crandor, and he'll agree to sail you to Crandor if you have already repaired the ship and hand him the Crandor map.
Without the use of dragonfire protection, Elvarg's dragonfire can deal up to 70 damage at range. Equipping an anti-dragon shield is highly recommended to mitigate this at a minimum; Protect from Magic will also reduce some of the damage. Members may also drink an antifire potion or super antifire potion in combination with the other two methods.
See the below table for the maximum damage Elvarg will deal based on your combination of dragonfire protection used.
| Protection used | Maximum damage | ||||||
|---|---|---|---|---|---|---|---|
| Elvarg | |||||||
| Yes | |||||||
| Unprotected | 70 | ||||||
| 10 | |||||||
| 55 | |||||||
| 55 | |||||||
| 40 | |||||||
| 7 | |||||||
| 7 | |||||||
| 4 | |||||||
| 0 | |||||||
Note that every dragonfire attack from Elvarg will also drain 10% of your remaining Prayer, rounded down.
As well as dragonfire protection, consider taking prayer potions or restore potions with you for when Elvarg drains your prayer, if you plan to use it during the battle.
Lower levelled players may find it useful to use rings of recoil to deal additional damage, as Elvarg's fast hits make it particularly useful in dealing back damage.
The rest of your inventory should be filled with food - lobsters (12 HP) should be enough for most players with a combat level of around 40 and appropriate gear, but swordfish (14 HP) or higher would be useful.
You may also consider taking a teleportation method with you, either to escape death or to leave the island after killing her.
Note: While it will allow you to set up a cannon in the area, it will not attack Elvarg.
Before fighting Elvarg, you'll need to choose a combat style: melee, ranged or magic.
Melee
This is the preferred style, as Elvarg will not solely use her dragonfire attack but also melee attacks when standing next to her, and the latter are less powerful. You may also consider using flinching (see the tips section below for more information).
Equip good-quality armour; preferably adamant armour or better.
Like all dragons, Elvarg is weak to stab attacks; see the page about Attack types. As such, consider wielding a stab weapon: a sword or dagger instead of a scimitar. Adamant or better is recommended. For free-to-play players, a rune sword is recommended as it possesses the highest stab bonus in F2P, with its aggressive style the optimum for most players. A rune longsword, rune scimitar, battleaxe or mace are less effective but may still do decent enough damage.
Elvarg is not immune to poison, so adding weapon poison would turn the battle even more in your favour; thus a poisoned dagger would be effective.
Ranged
Elvarg is also weak against ranged attacks, but as you should be using an Anti-dragon shield, you must use a one-handed weapon such as a crossbow. This may be trickier for Free-to-play players who only have access to the weakest types and bronze bolts. For Members this is more viable, and they should use the best crossbow with the best bolts they can use (preferably poisoned).
Make sure you have Auto Retaliate on and select the Rapid firing style.
Magic
While Elvarg, like many other dragons, has somewhat strong defences against magic, she has a 30% elemental weakness to water spells. This means that water spells have their accuracy and damage increased by 30% against her. As such, mages should use the strongest water spell they have available.
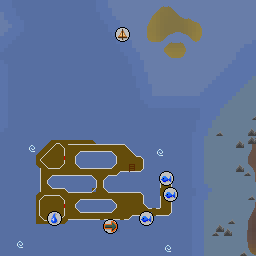
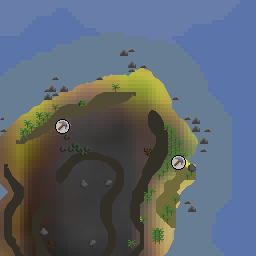
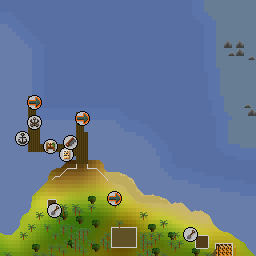
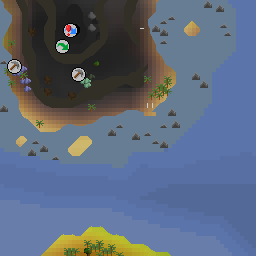
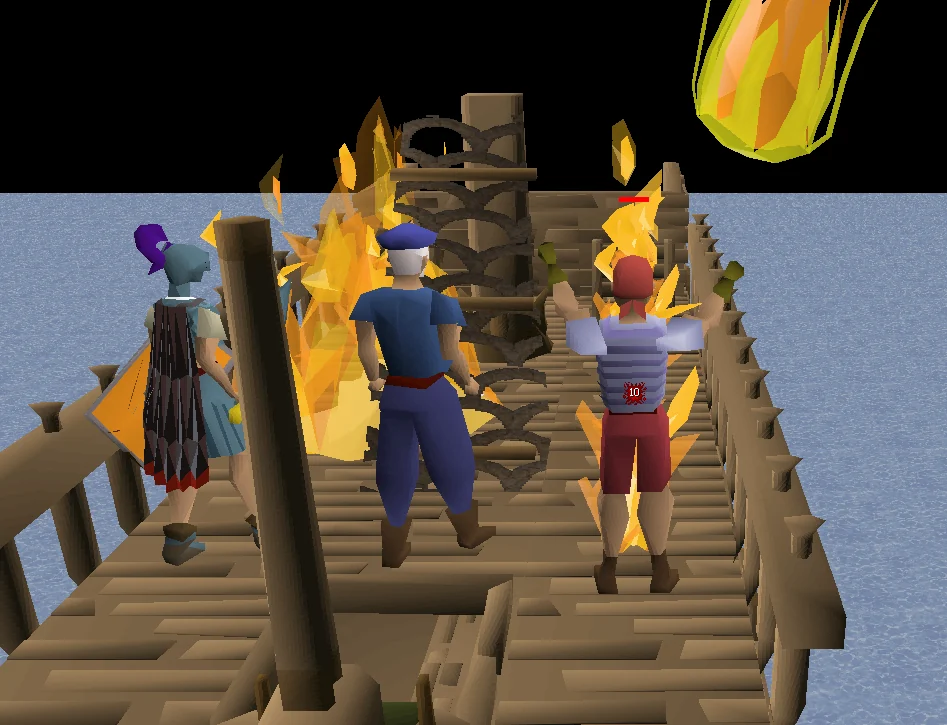
Head back to and board your ship to meet up with Ned and Cabin boy Jenkins. Speak with Ned to depart and a cutscene will begin...
After crashing on the southern side of the island, make your way to the top of the volcano (the dungeon marker on your minimap), avoiding aggressive skeletons, moss giants, hobgoblins, and lesser demons. Enter the hole and a short cutscene plays, followed by abruptly finding yourself surrounded by skeletons (level 25). Down the corridor you'll find large skeletons (level 45), and you'll see Elvarg in the main chamber behind stalagmites and stalactites.
Note: If you are a Member, you can climb back up the rope to complete a medium task in the Karamja Diary, then climb back down.
Note: Before fighting Elvarg, there is a wall to the south you can open. Once opened, it will allow you to travel back to Crandor from the Karamja Volcano, by climbing down the rocks on the eastern side of the volcano, then heading north. If you die during the fight, you would otherwise need the materials to repair the boat again (90 steel nails, 3 planks and a hammer). Once you have unlocked this shortcut, trying to repair the ship will result in the message You don't need to mess about with broken ships now that you have found the secret passage from Karamja, and you will be unable to use it to return to Crandor. After the quest has been completed, you will be able to return to Crandor via the Karamja Volcano regardless of whether you opened it during the quest or not.
Now, go back to the main chamber, climb over the low stalagmites, and fight Elvarg (see section below for tips).
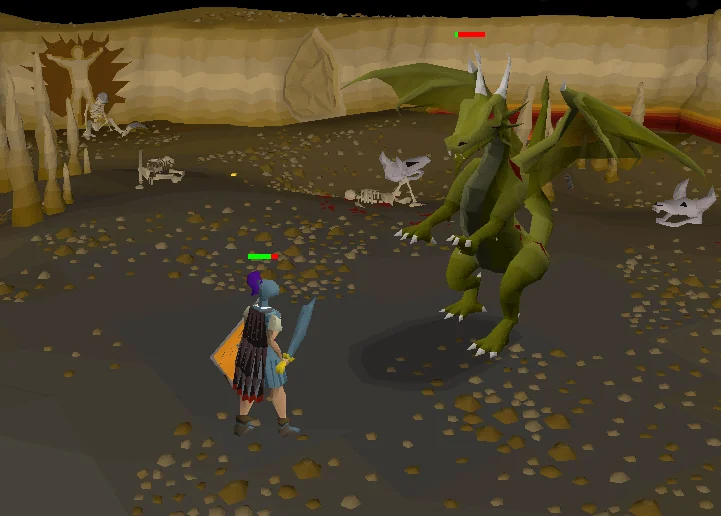
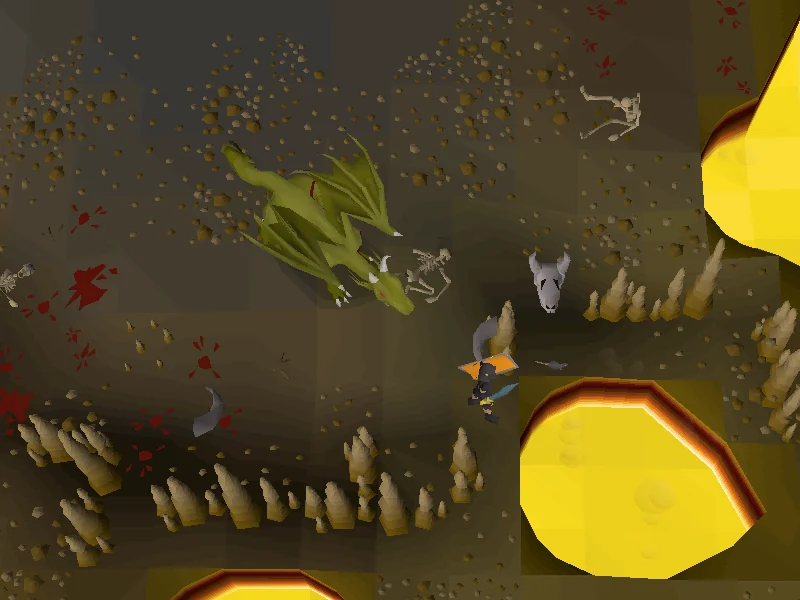
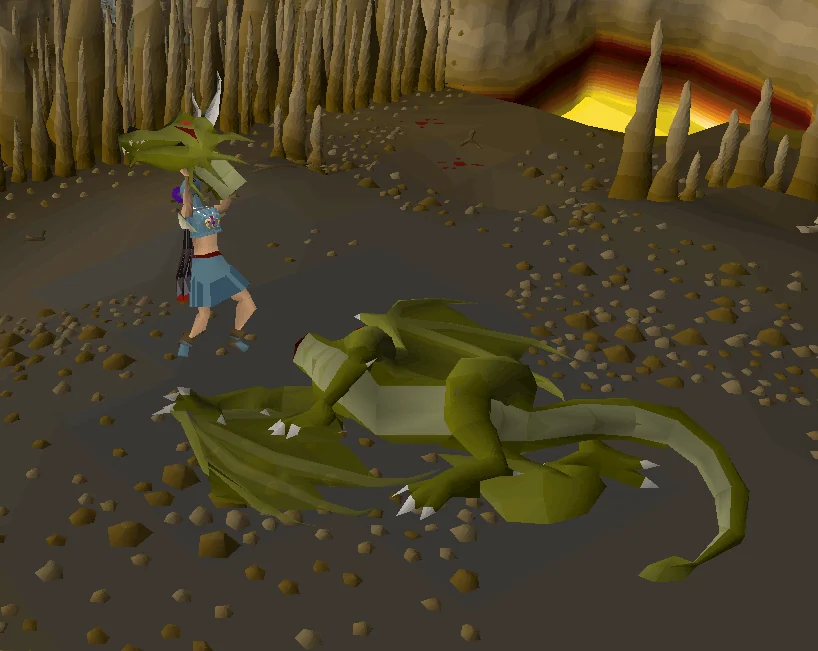
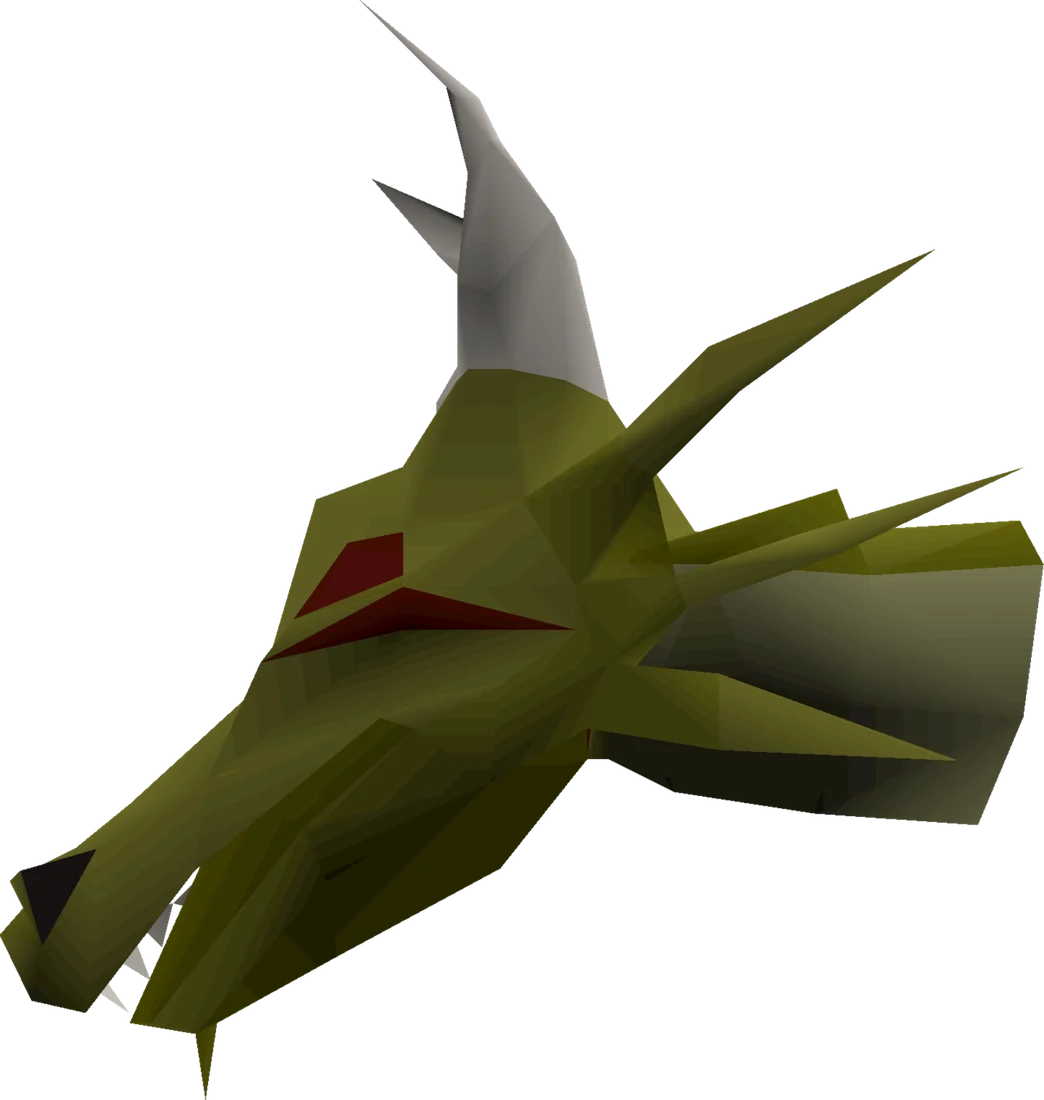
Once Elvarg is defeated and you have triumphed, you will automatically collect Elvarg's head if you have a free inventory slot (not required to complete the quest).
| A Slayer's Feat | |
| The jingle that plays upon claiming Elvarg's head. | |
You will need to return to Edgeville; either teleport out, or go through the shortcut and past the deadly red spiders, to the south-east of the dungeon where the skeletons are, and climb up the hanging rope to arrive on top of the Karamja volcano.
Talk to Oziach and the player will inform him that they have slain the dragon. Impressed, Oziach will agree to sell you rune platebodies.
Congratulations, quest complete!
Use this when you already know the route. The full walkthrough above includes explanations and diagrams.
Talk to the Guildmaster in the Champions' Guild.
Say: Can I have a quest?
Talk to Oziach in Edgeville.
Say: Can you sell me a rune platebody? → The Guildmaster of the Champions' Guild told me. → I thought you were going to give me a quest. → A dragon, that sounds like fun.
Talk to the Guildmaster in the Champions' Guild. Make sure you get the maze key by asking about Melzar's map piece, and also ask about Thalzar and Lozar's map pieces as well as where to find the right ship.
Say: I talked to Oziach... → How can I find the route to Crandor? → Where is Melzar's map piece? → Where is Thalzar's map piece? → Where is Lozar's map piece? → Where can I find the right ship? → How can I protect myself from the dragon's breath? → Okay, I'll get going!
If you don't already have an anti-dragon shield, speak to Duke Horacio on the first floor of the Lumbridge Castle.
Say: I seek a shield that will protect me from dragonbreath. → Elvarg, the dragon of Crandor island! → Yes → So, are you going to give me the shield or not?
Map pieces can be obtained in any order.
Talk to Oracle on Ice Mountain. Make sure you have talked to the Guildmaster about where the Thalzar's map piece is.
Say: I seek a piece of the map to the island of Crandor.
Enter the Dwarven mine and use silk, lobster pot, unfired bowl, (make sure to right click) wizard's mind bomb on the magic door at the north-east side of the mine. You should automatically enter the door.
Enter the magic door, open the chest, and search the chest to receive a map piece. Press space or ensure that you finish the dialogue. (Re-entry doesn't require the re-use of the items if you make a mistake.)
Once you've gotten the Maze key from the Guildmaster head to Rimmington.
Enter Melzar's Maze.
Kill the small zombie rat with a long tail to get the key and enter the north-western door and climb up the ladder.
Kill the ghost wearing a hood, a tube top, and no cape to get the key and enter the second door from the north on the eastern wall and climb up the ladder.
Kill the skeleton with the round shield to get the key and enter the westmost door on the southern wall and climb down the ladder 3 times.
Kill the zombies to get the key and enter the blue door.
Kill Melzar the Mad to get the key and enter the purple (magenta) door.
Kill the lesser demon to get the key and enter the green door. (Can be safespotted by luring him to the magenta door)
Open and search the chest to receive a map piece.
Go to the jail in Port Sarim.
Either kill Wormbrain with ranged/magic/halberd and telegrab the map piece or pay him 10,000 coins for it. Make sure you have talked to the Guildmaster about where the Lozar's map piece is.
Say: I believe you've got a piece of map that I need. → I suppose I could pay you for the map piece... → Alright then, 10,000 it is.
After obtaining all 3, combine them by using them on each other.
Grab 3 wood planks, 90 steel nails, a hammer, and 2,000 coins out of the bank.
Talk to Klarense in the southern docks of Port Sarim by the Void Outpost boat and pay him 2,000 coins.
Say: I'd like to buy her. → Yep, sounds good.
Go on board, climb down the ladder and repair the hole 3 times.
Talk to Ned in Draynor Village with the map in your inventory.
Say: You're a sailor? Could you take me to Crandor?
Prepare for the fight. Make sure you have your Antifire potion and Anti-dragon shield with you.
Return to the boat you previously repaired in Port Sarim. Board the ship and talk to Captain Ned.
Say: Yep, sounds good.
Climb on top of the volcano and enter the hole. (After the cutscene climb back out of the hole for a Karamja medium task.)
(Optional) Before teleporting out, head south from Elvarg's cave and open the wall to unlock another Karamja medium task.
Head south and kill Elvarg. Depending on your level, you may flinch Elvarg in the south-east corner of her cave for a long, but safe fight. You will automatically collect her head as proof of your victory.
Talk to Oziach in Edgeville.
Congratulations, quest complete!
QUEST COMPLETE
OSRS WIKI CONTRIBUTORS
Walkthrough text and preparation lists are adapted from Old School RuneScape Wiki contributors under CC BY-NC-SA 3.0. Game imagery © Jagex Ltd; individual image credits are available from their captions. This page is fan-made and not affiliated with Jagex.
KEEP QUESTING
Game icons © Jagex Ltd, via the OSRS Wiki. Interface icons by Lucide.