Great Kourend: a land of wealth, comfort and security. Across its five cities, the people of this Kingdom work to bring peace and prosperity. However, all is not as it seems. Beneath this delicate façade lies an uncomfortable truth: the kingdom of Great Kourend is A Kingdom Divided. Since the death of the last king, Great Kourend has been ruled by the Kourend Council. Under the watchful gaze of the Council, Kourend has enjoyed a golden age of progression. But not all of its citizens are happy, a
Follow the chapters below. Click any screenshot or diagram to view it at full size.
01
The Disgraced Councillor's Escape
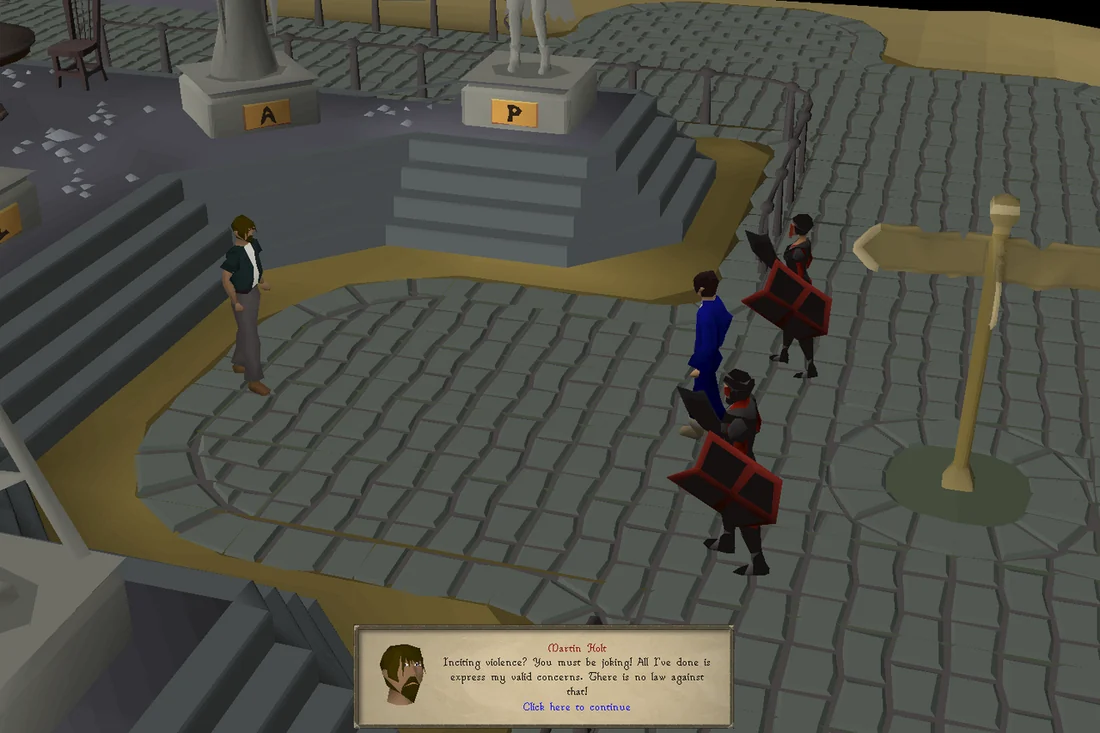
Start out by talking to Martin Holt, just east of the Kourend Castle in Kingstown. He can be found on a platform near the protesters. He will explain that the previous king's daughter was supposed to take over the throne, but the Kourend Council seems to have taken control for themselves; agree to help him to start the quest and Martin will explain what needs to be done. He tells you to talk to Commander Fullore on the ground floor of the castle.
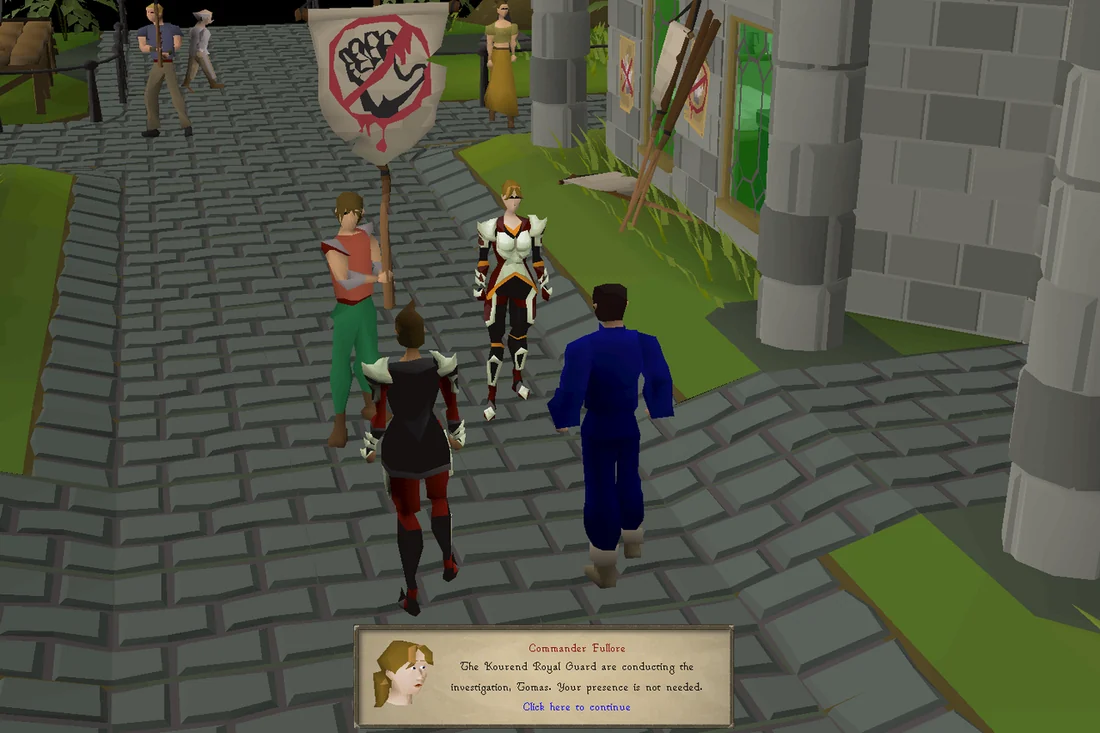
Tomas Lawry arrives to take over the investigation. Image credits →
Talk to the Commander and she will explain that the council is actually very beneficial to Kourend. She will agree to have you help find Sophia Hughes, given that you follow her orders. Say "Let's get going" and you will see a cutscene, where Tomas Lawry will claim to have the authority to lead this investigation. After the cutscene is finished, enter the house just north of you and search the scenery around the house to find clues where Hughes may have gone. The objects that can be searched are:
Note: Watch out for the lesser demon (level 82) on the top floor.
Note: You do not need all of the clues to continue with the quest. You only need to search the drawers by the door to the bedroom on 1st floor (UK) to get the receipt.
Inspect the receipt and it will indicate that there is an order for a bed at The Deeper Lode. Talk to Tomas Lawry by the roses in the house where you searched for clues and tell him you have found something that might be useful. Due to his incompetence, you will tell him that Sophia may have gone to Mount Quidamortem and he goes there without question. Talk to Fullore again and you will tell her that you suspect Hughes may have gone to the Deeper Lode.
Go to the Deeper Lode, the pub in Lovakengj, and talk to Fuggy. The fastest way to get there is by using the Jewellery of Jubilation teleport on Kharedst's memoirs and running east, but players can also take the minecart just east of Kingstown to Lovakengj. Ask him if he has had any councillors stay there recently; he will say he's had only one human customer lately, a woman who did not look like a councillor. He will mention that he overheard her saying she was going to catch a ship in Port Piscarilius. Upon asking which ship it was, the ground will shake briefly, after which he will say she was going to catch Veos' ship.
02
Standing before the Judge
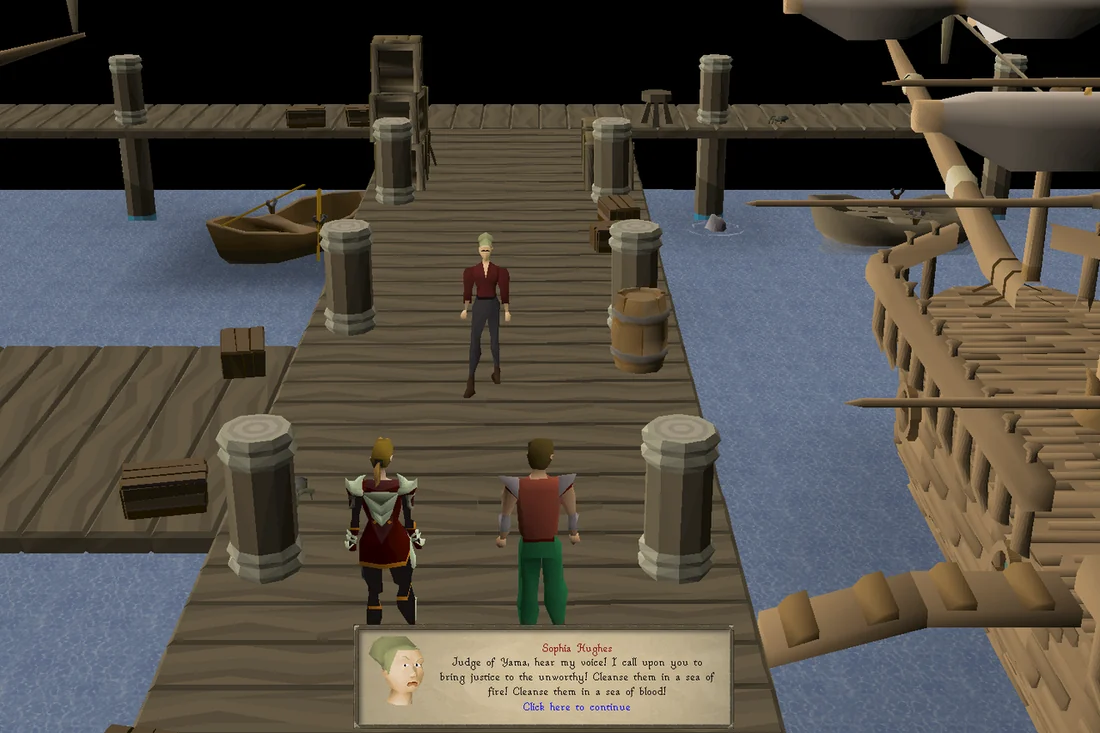
The player and Commander Fullore confront Sophia Hughes. Image credits →
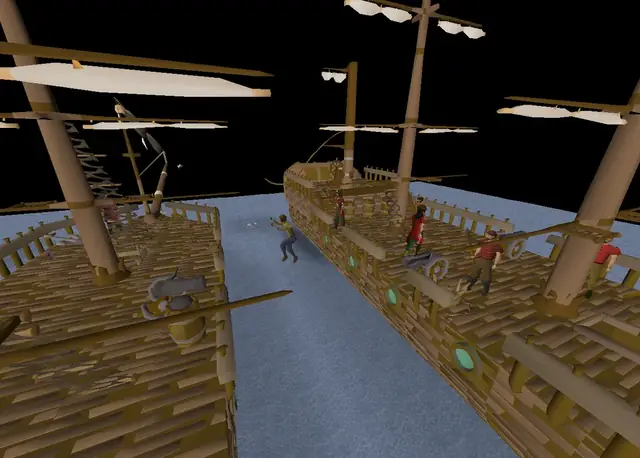
Go to Veos' ship in Port Piscarilius and talk to Cabin Boy Herbert, who has taken Veos' place. He will say Veos just wandered off in a trance right after the earthquake. Ask him if he has seen the councillor, and he will tell you that the ship is about to leave soon. A cutscene will start where you confront Hughes, who will claim that all her crimes were coordinated with the rest of the council and that she is being betrayed by them to save themselves. She will hint at playing a role in getting rid of the old king and his daughter. She will then summon a Judge of Yama to eliminate the two of you, but because she had "taken advantage" of Yama's generosity, the demon incinerates her before focusing on the two of you, also deeming you a threat to Yama. You will challenge the demon, who will agree to remove the "sins" you committed if you defeat it in combat.
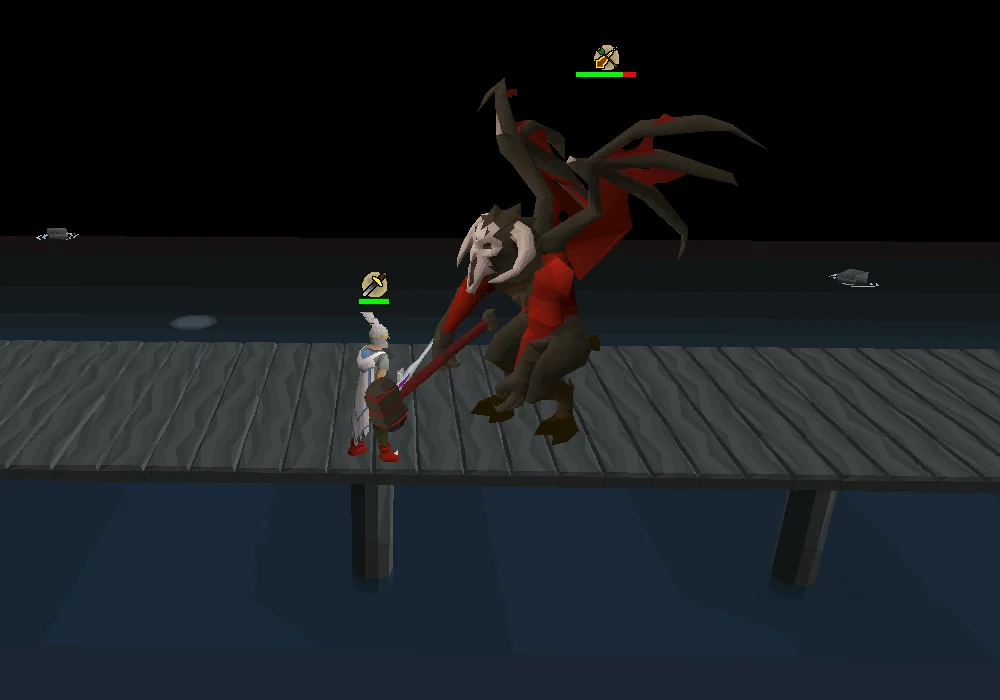
The player is challenged to a fight by the Judge of Yama. Image credits →
The Fight
The Judge of Yama is immune to magic and ranged damage, meaning it is only vulnerable to melee. The demon itself also only attacks with melee when up close, but it will occasionally teleport you further on the docks, and cast waves of fire towards you; since it can only be damaged with melee, you need to pass through the waves to reach the boss.
The battle takes place on a thin pier of 4 squares wide, where the demon will cast three waves of fire towards you. This leaves a single square without a wave, which can be used to dodge the attack completely. Use these gaps to walk closer towards the demon and then attack it. If you run into a wave of fire, you will take moderate damage and be inflicted with a minor burn. Repeat this if you get teleported back away from the demon, until it dies. Players with decent Hitpoints (70+) may find it easier to simply run through the waves back to the Judge and tank the damage.
If you die or have to teleport for any reason throughout the fight with the Judge of Yama, there will be a portal to re-enter the battle near Veos' ship in Port Piscarilius. If you die, the gravestone appears by this portal.
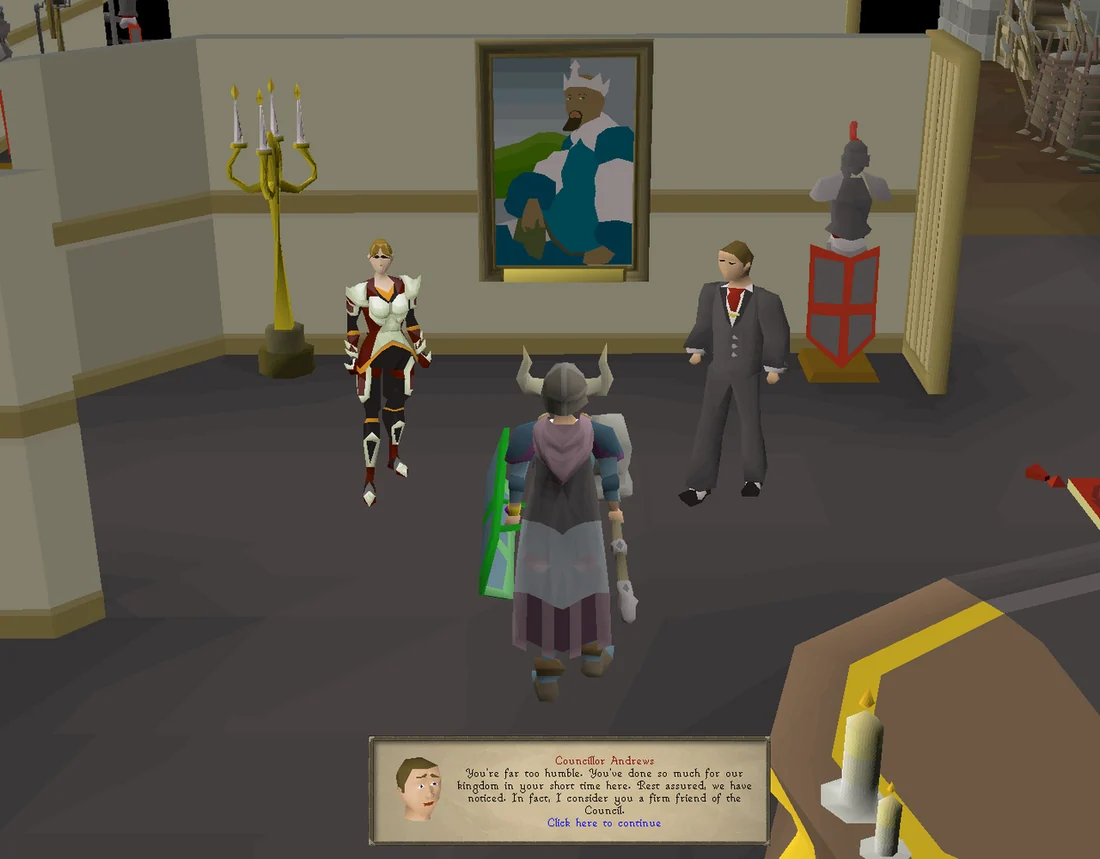
Councillor Andrews expresses his gratitude for dealing with the demon. Image credits →
A cutscene will play where Councillor Andrews will thank you for your help, and tell you they will be investigating how Hughes managed to escape. Meanwhile, he will ask you to tell Martin Holt that the issue with Sophia Hughes is resolved, so he and the other protesters should go home. Before doing that, however, Commander Fullore will ask you to meet her outside the castle. She will be standing just south of the castle, directly north of the Shayzien mine (accessible through the small door in the south wall of the castle).
Talk to the commander, and she will discuss the things Hughes said on the docks. She will give some backstory regarding the old king, and his daughter called Rose. Fullore will ask you to investigate the council's conspiracy against the royalty, and recommends you start by talking to Martin Holt. Martin is the leader of the Kourend Royal Society, and the expert on the old royal family. He may know where Rose is. Talk to him to ask him about Rose's whereabouts. He will mention that Rose wrote Kharedst's memoirs, which were recently auctioned off. However, Rose's personal diary is still in the Library Historical Archive. He will ask you to talk to Archeio in the Arceuus Library (A minecart south-east will take you straight there), who will teleport you to the Archive.
In the Archive, pickpocket Istoria to obtain a bluish key. Use it to open the purple display case in the eastern wall of the south-eastern corner of the room to obtain Rose's diary. Read it, and you will not find anything of note. Go back to Martin, and talk to him while holding Rose's diary. He will find a note in the cover of the book, and read through it. After that he hands it to you. Read it, to find some instructions on where to find more information. Talk to Martin again, and he will tell you to split up from him and figure out what the location is the note is hinting at.
Grab an axe from your bank, and head to the Forthos Ruins. Talk to Martin on the west side of the northern entrance, and he will explain what the note meant, and why this must be the location. After giving some explanations on his past involvement with the Council, his relationship with Commander Fullore, and the corruption that goes on inside the current government of Kourend.
Search the four stone piles around the ruins to figure out the number combination. Write these down. Each stone pile has an inscription where a letter is mapped to a number. For example, a tile may say "S - 9", which means the letter S maps to the number 9. The combination required is random for all players, so note down the numbers. Chop the vines just south of Martin Holt, and squeeze through them. On the east wall of this small room, check the panel. Fill in the number combination that matches the numbers for "ROSE". Doing so will give you another note. Read it, and talk to Martin again. You will split up again, and meet at the next location.
The player and Martin are ambushed by an assassin. Image credits →
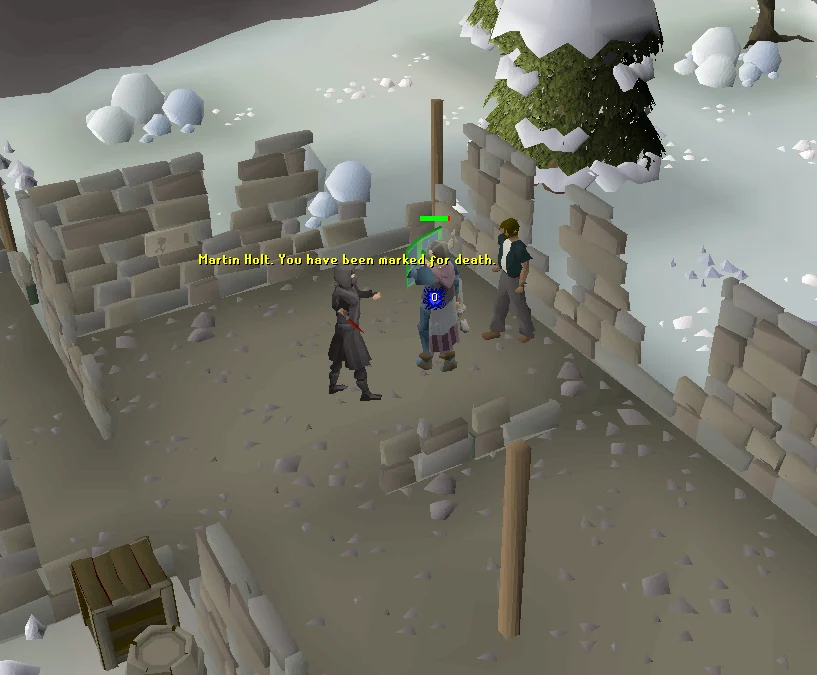
Grab runes to cast a fire spell, Fire Bolt or higher works. Head to the Settlement Ruins, just south-west of the Wintertodt Camp. Beware of the aggressive ice wolves, giants, and spiders. Martin can be found in the north-western building in the ruins. Talk to him and you will be attacked by a level 132 Assassin. He will exclaim that he is there to kill Martin. Kill him. The assassin will attack with a dragon dagger and dragon darts, so protection prayers will not be able to block all damage. You can use range and safespot the assassin using the short wall in the room while praying Protect from Missiles to negate all damage. Regardless, this fight should not be too difficult compared to the fight with the demon.
Martin will believe that the Council had hired assassins to kill him, but you quickly point that the assassin only mentioned Martin, thus ruling the decision out.
You now need to find a key to the panel in the ruins. Cast Fire Bolt or a higher fire spell on the Ice chunks in just west of the southern part of the building you're in. This melts the ice, which means you can retrieve the cold key from it by searching the chunks. Check the panel on the western wall of the building near Martin. You will find another note. Read it, and talk to Martin again to move on to the next location.
Travel to The Legless Faun, the pub on the southern edge of Port Piscarilius. Speak to Martin again, and he will give some more information about the situation. You will have to climb the pillar just west of Martin, to reach the upper floor of the pub building. Search the panel on the northern wall of the building, and take note of the order the cities are listed in. Climb down the wall again, and inspect the statues in the same order as given on the panel; press it in for each of the statues. If you did it right, you will hear a click nearby. Climb back up the pillar and check the panel to receive the final note.
A cutscene will play of you looking over the balcony, observing Lawry arrest Martin for inciting protests against the Council, leaving you on your own. Read the note to find the final location in the hunt for Rose. This is located at the small house just south of Mount Karuulm, and can be easily reached by travelling west of the Fairy ringCIR or teleporting to the Farming Guild with a skills necklace and running north-east. Search the bed to find a tatty note. Read it to discover it's a letter to Rose from a certain "L.O." Inspect the crates in the north-western corner of the shack, and climb down the hidden trapdoor. (Note: The option to inspect the crates will not appear until you've read both notes.)
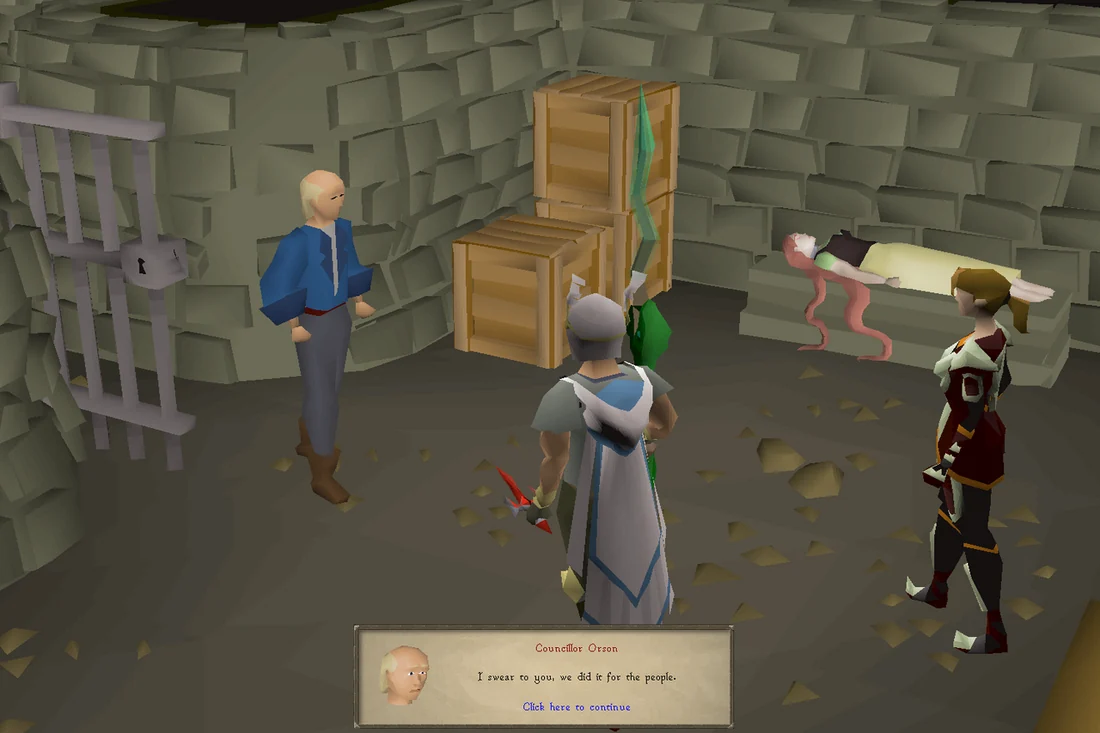
A cutscene will play of a woman − presumably Rose − lying on a large stone on the side of the underground room. A man will walk in, identifying himself as Councillor Liam Orson, of the Kourend Council. After a short conversation you will bring in Fullore, and together you get Orson to confess, where he reveals that he and the others killed the King to save the kingdom and that Rose is being kept alive by potions from a mysterious mage that resided with the lizardmen.
If you accidentally click anywhere other than the chat box during the cutscene it will end and put you back in the shack. You can inspect the crates again to resume.
Gear up for the fight against a level 239 enemy that uses several special mechanics. Using a ranged weapon such as a Toxic blowpipe will make the fight much easier, though armour with good magic defence such as Dragonhide armour should be brought even with melee. For melee bring an Abyssal whip or better if possible, though a Dragon scimitar will also suffice. If you are a low combat level (~80), bring at least 3-4 Prayer potions and 20+ high-healing food such as Sharks. You should also bring an emergency one-click teleport such as a Teleport tab.
Head to the Lizardman Temple in Molch - use a skills necklace to teleport to the Farming Guild and head south-east. Enter the temple via any of the Lizard dwelling entrances and head east through the middle hallway. Enter the room to the north, where you will find Kaht B'alam. Talk to him and ask him if he can help you find a mage, or as they call him, Yo'kal ahk. He will help you get to the mage, but in exchange he wishes to escape from the war against the humans. To do that, he wants to take his last egg with him, and asks you to retrieve it for him.
Exit the temple through the strange hole at the west end of the hallway and head west in the swamp and go south across the stone bridge, to find several piles of Lizardman eggs. Search them until you find the right pile, at which point you will be attacked by a level 75 Lizardman brute. You do not need to kill the brute, but you may choose to complete a medium Kourend & Kebos Diary task by killing it.
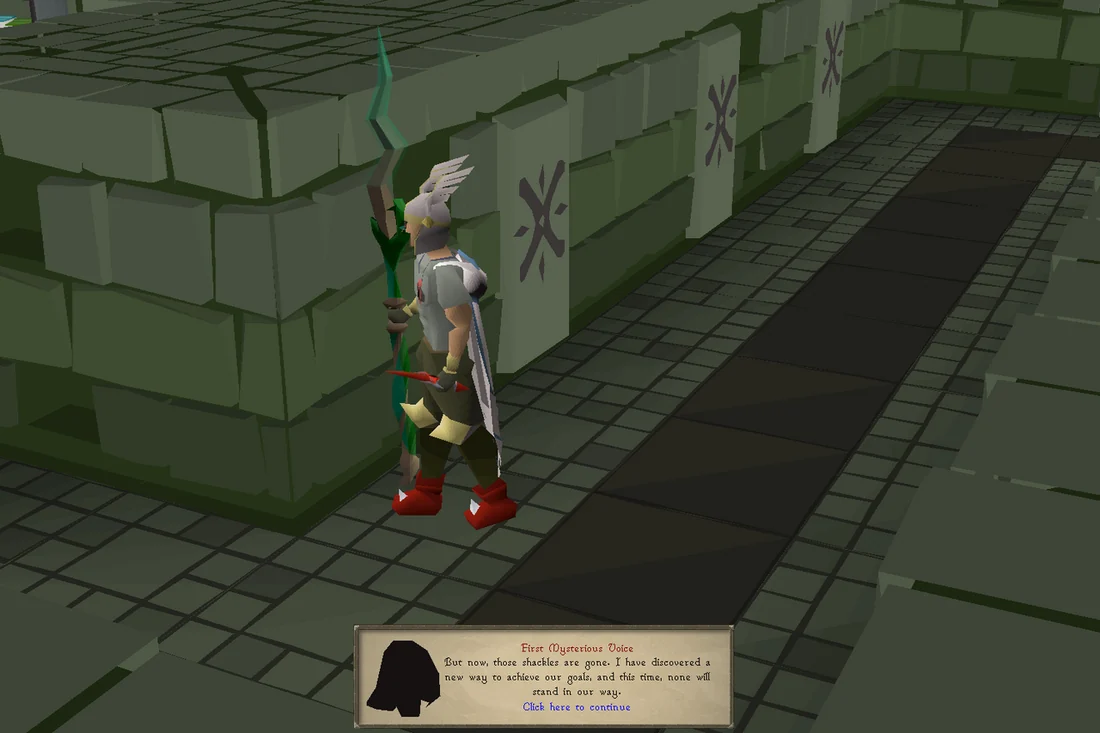
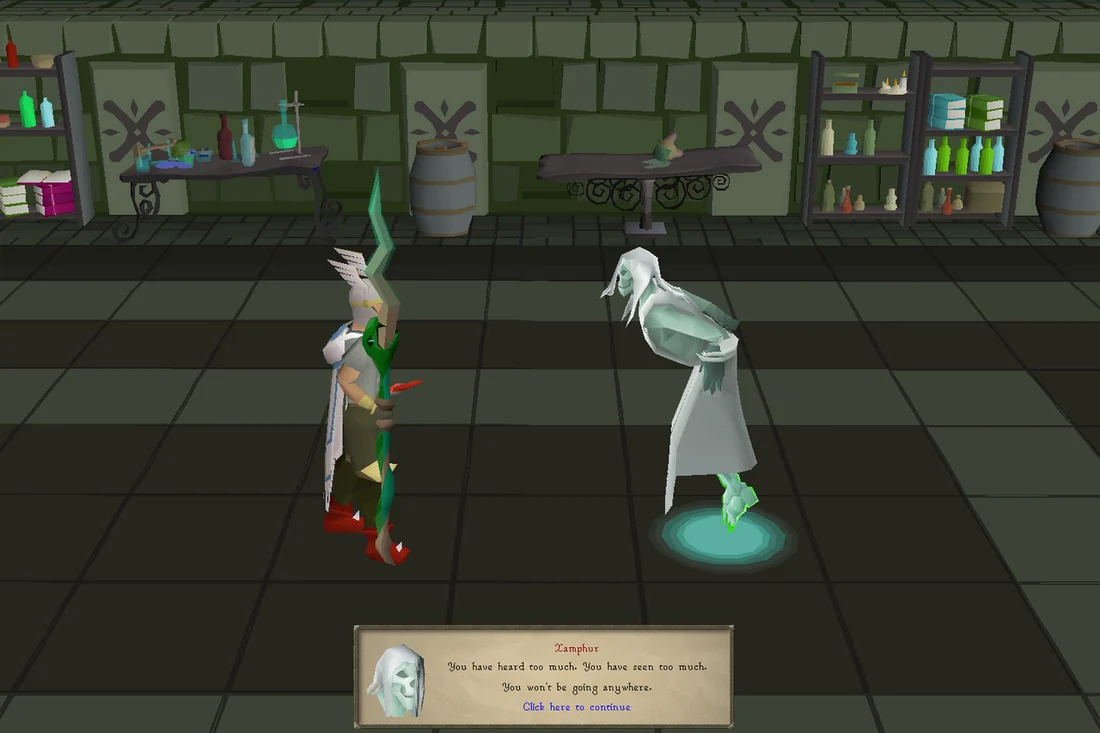
Return to Kaht with his egg, who will give you a damp key to unlock the small door on the northern wall in the corridor of the temple by the bones, close to Kaht. Through the door is a small room that leads to a gate. Open the gate to start a cutscene, after which you will enter the boss fight with Xamphur. In the cutscene you will see two mysterious voices discussing the past events in the Kourend quest line. After some time, one of the voices will be revealed to be Xamphur, and the other voice turns out to be Veos. Veos will sense your presence and order Xamphur to eliminate you, at which point Xamphur will forcibly teleport you into his chamber and attack.
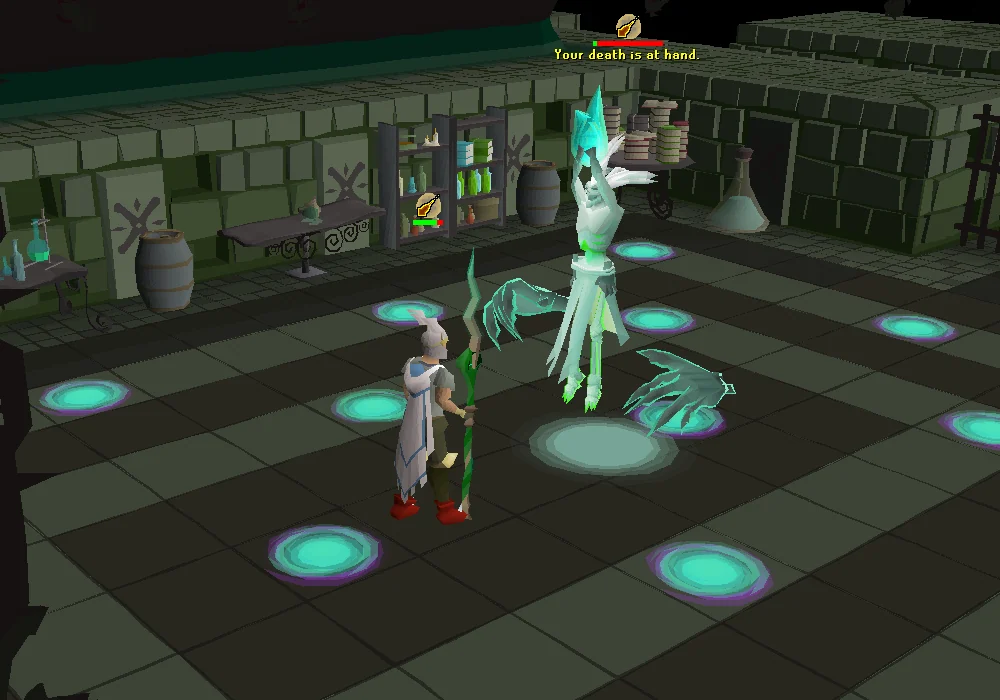
The player fights against Xamphur, one of Xeric's closest comrades. Image credits →
Xamphur is immune to Magic attacks, and attacks primarily with magic; praying Protect from Magic will greatly reduce damage done by Xamphur's basic attack. It is recommended to use range against him if you are low level.
Around the room, there are several Marks of Darkness on the floor. Walking over these will inflict a Mark of Darkness effect on you, causing his basic attack to become twice as effective, and cause corruption to happen twice as often, if you get corrupted by one of the other mechanics. Avoid these marks to fully avoid this effect; be aware that he can also bind you in place, so for this reason, it's critical to ensure that you're never standing on a Mark of Darkness.
The best method is to turn off auto retaliate and running, pick a row of tiles that you can move on, and only walk along that plane throughout the fight. This will also allow you to more easily avoid his hand crushing attack later in the fight.
Other than the basic attack, he has two special mechanics, which he uses every ten attacks.
Mechanic
Action
Pray
Hands will fall from ceiling, dealing up to 10 damage every tick, for 5–10 seconds
Walk around the room, avoiding Marks of Darkness.
Stepping between two tiles, when timed correctly, will also work.
Magic
Two Phantom Hands spawn
Kill the hands as soon as possible. They have 12 Hitpoints
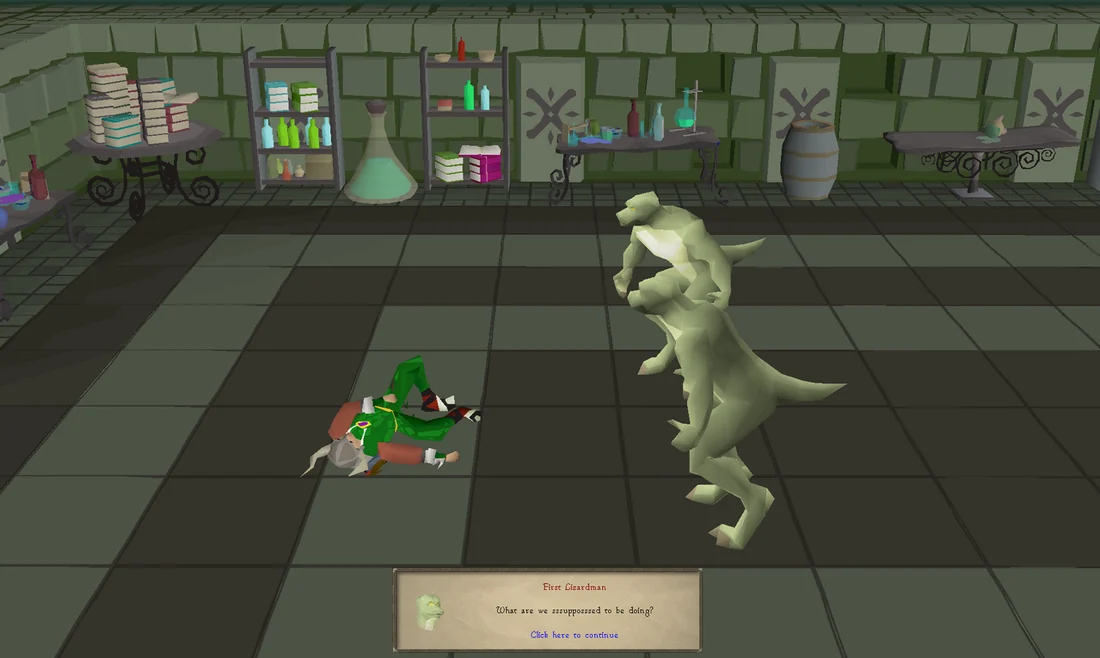
Lizardmen arrive to deal with the player's 'corpse'. Image credits →
If you leave the fight, whether by dying or by teleporting away, entering the door again will immediately put you back into the fight. If you died, your gravestone will be outside the door.
After you have defeated Xamphur, he will state that your efforts to defeat him are amusing as he unleashes a powerful bolt of magic that seemingly kills you. There is then a short cutscene where two lizardmen come to dispose of your body, but run away when they hear you groan and think you are a zombie. After standing back up, search the table in the north wall of the room to read a note. The note reveals that Xamphur was responsible for the events that occurred during the quest The Ascent of Arceuus. After reading it, return to Fullore in the basement of the shack where you found Rose, near fairy ring code CIR, by inspecting the crates again.
05
The Houses of Kourend
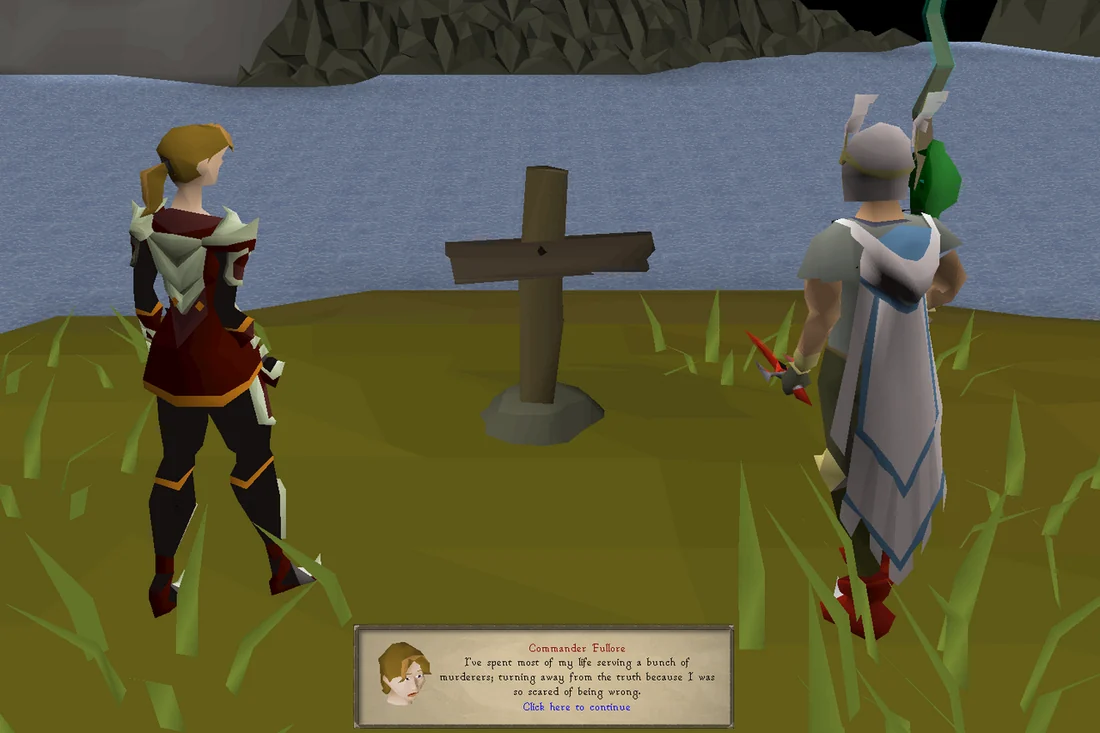
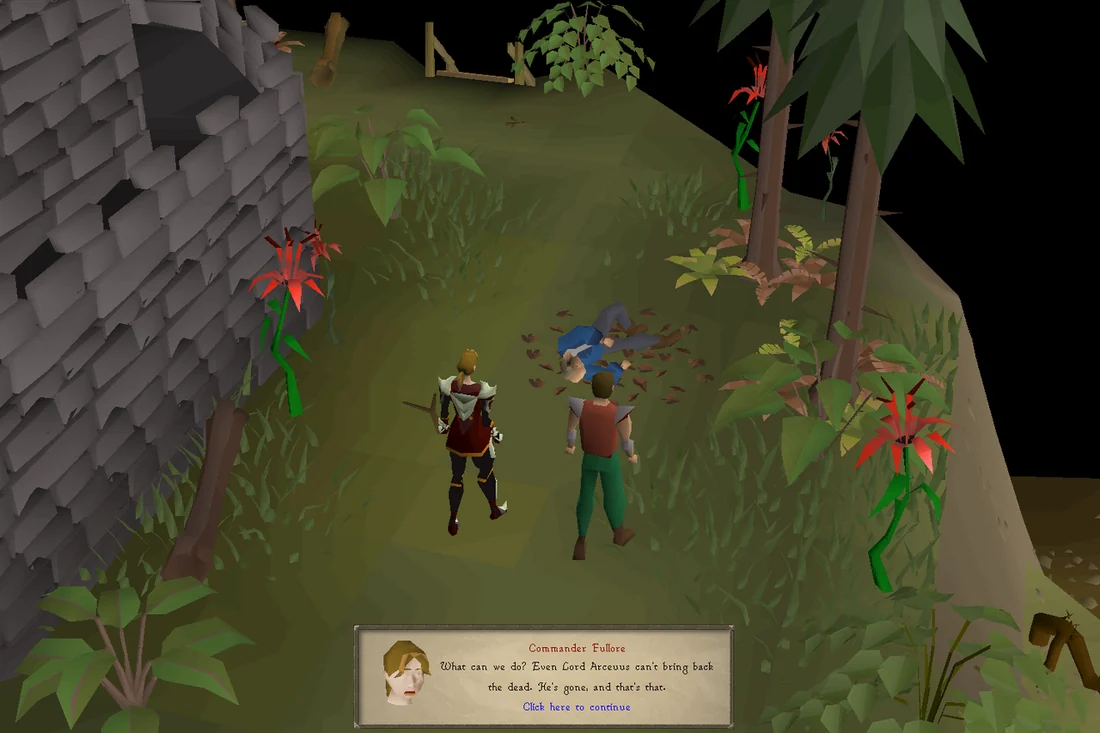
Return to the basement and a cutscene will play where you explain to Fullore what just happened. Fullore will tell you that she researched the potions and confirmed Orson's statement that the potions were the only thing keeping Rose alive, and adds that Rose has been braindead since she was originally poisoned twenty years ago. She decides to mercy kill her to put her out of her misery before the two of you bury her outside the house. With the truth known, Fullore suggests that you speak to the leaders of the five Houses as they have the power to overthrow the council. Go past each of the five cities to ask their leader to come to Xeric's Lookout.
The player and Commander Fullore bury Rose, the last princess of Great Kourend. Image credits →
Lord Arceuus is found in the upper level of the Tower of Magic, north-west of Arceuus. Players can use the Arceuus Library Teleport spell or tablet and run west, or using a fairy ring (code CIS) and running south-west. Players can also use Kharedst's memoirs ("A Dark Disposition" teleport) and run north-west past the Library.
Lord Hosidius is found in the family mansion in Hosidius, north-west of the vinery. Xeric's talisman ("Xeric's Glade" teleport) brings players a short distance from the mansion; players can also use Kharedst's memoirs ("Lunch by the Lancilliums" teleport) and run south, east across the bridge, and south again.
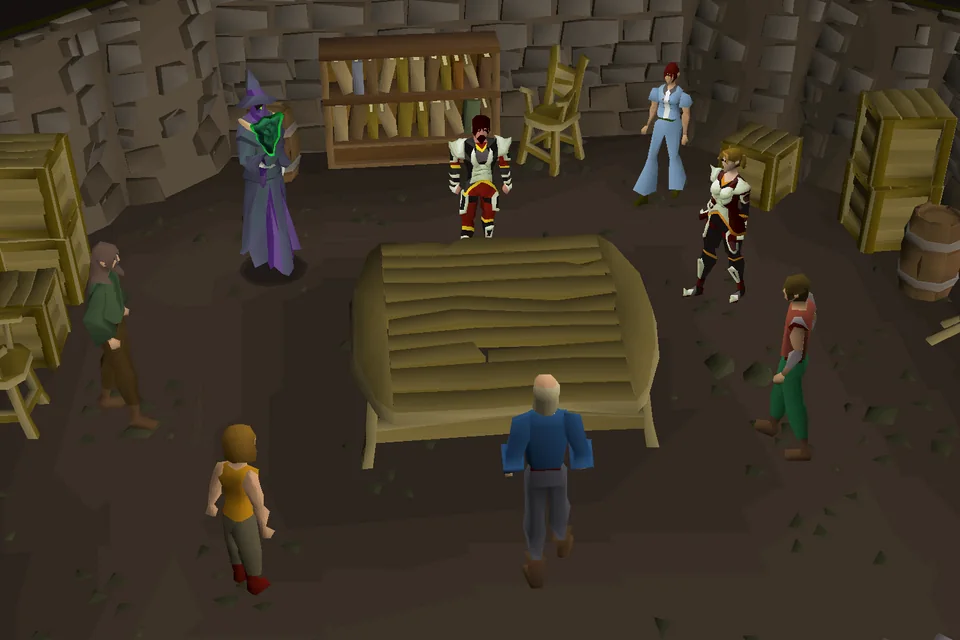
The leaders of the Five Houses of Kourend meet. Image credits →
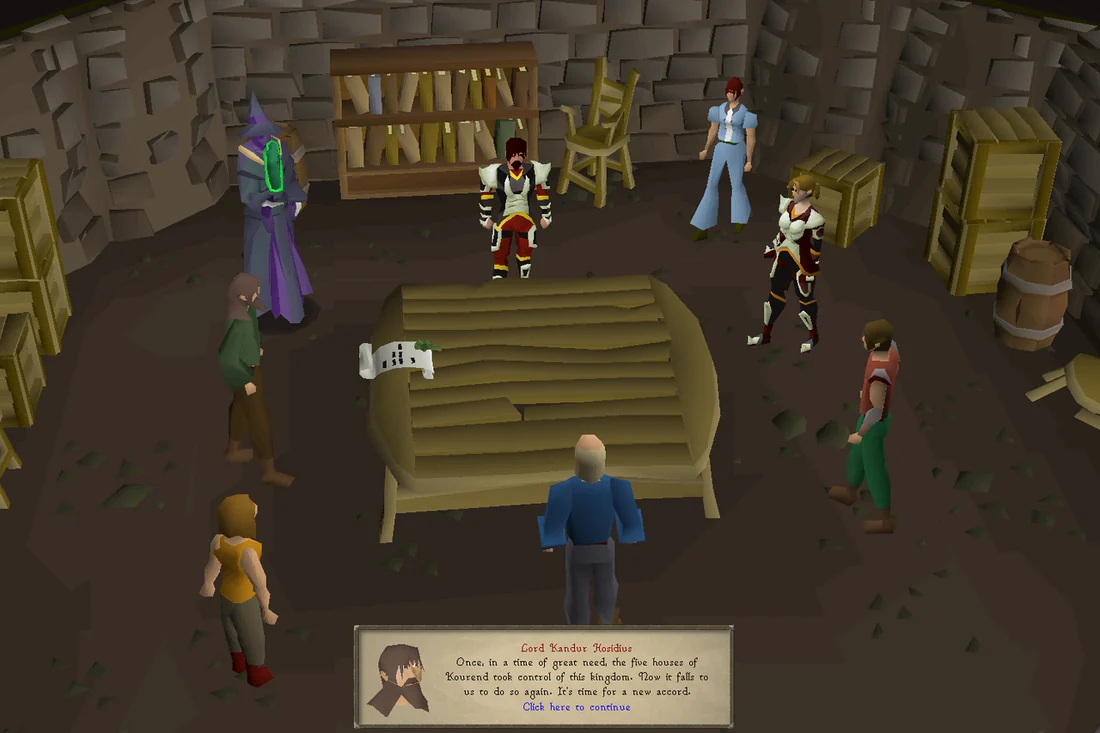
After talking to them all and asking them to meet you at Xeric's Lookout, go to the lookout (shortcut via Xeric's Talisman, or west-north-west of the Woodcutting Guild entrance) and talk to Fullore. A cutscene will play of the five leaders, Fullore, Orson and the player discussing what has happened, and confronting Orson with what he has done. After some discussion regarding what should happen after the council is deposed by the leaders of the five houses, Lord Kandur Hosidius will show the Royal Accord of Twill as a proposed solution to the issue.
Visit the different floors of the lookout, including Lord Arceuus outside at the entrance, and talk to each of the leaders before doing any of their tasks in order to be able to do them all in one go. Each of them will share their opinions on following the Royal Accord. After speaking with Lady Lovakengj, you must speak with Commander Fullore and tell her you need help with Lady Lovakengj. After that, the tasks may be completed in any order.
Speak to Lady Lovakengj, who is now on the 2nd floor (UK) of the lookout. She will wish to replace Councillor Andrews with Councillor Unkar, so she must be convinced that Councillor Unkar is not innocent in this conspiracy. Talk to Commander Fullore and ask about Lady Lovakengj. She will recommend talking to Martin Holt to find Unkar's connection to the conspiracy. Martin can be found in the Shayzien Prison, just west of the Graveyard of Heroes. Make sure you have spoken to Commander Fullore or you will not be able to speak with Martin Holt.
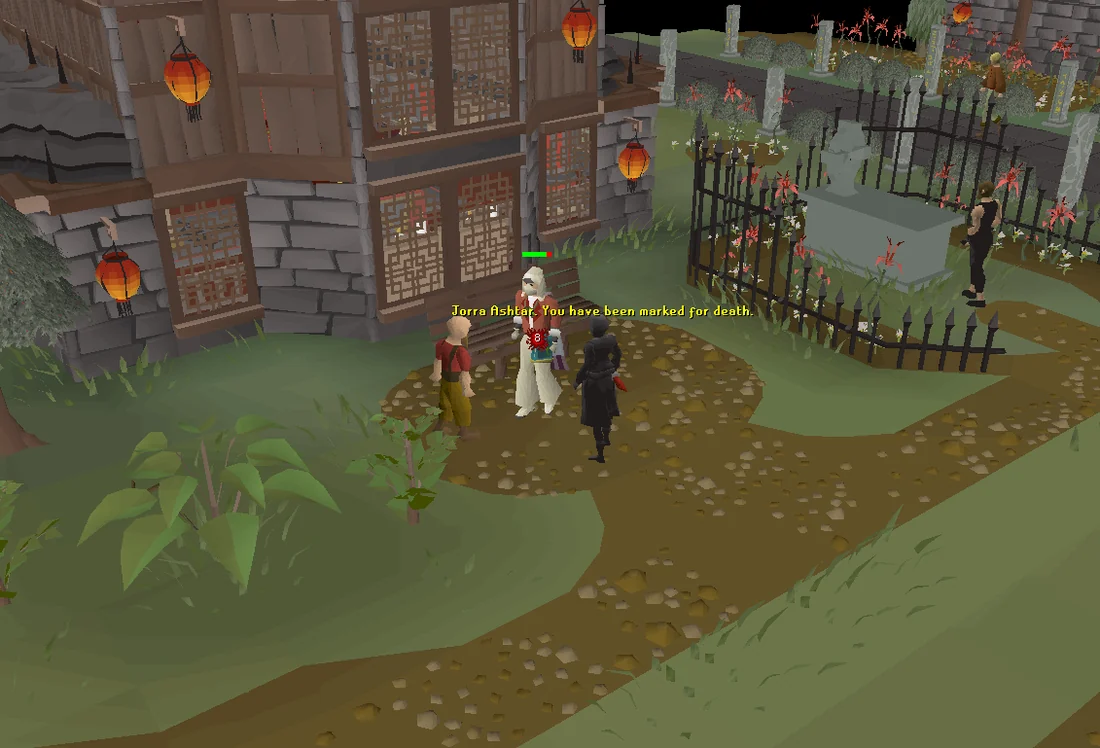
Go west of Shayzien, to the Shayzien prison, very close to the Kharedst's memoirsHistory and Hearsay teleport and just south-west of the southern Shayzien bank. Climb down the staircase and talk to Martin, who is in one of the four cells of the prison. A guard will initially stop you from talking to Martin, but relents when you claim to be on a task for the Council. Martin will say that he has no direct proof of Councillor Unkar's involvement, but he will tell you to go to the Royal Society's meeting, and tell them the passphrase 'Evil only triumphs when the good do nothing.' to talk to Martin's contact, who is a dwarf. Go to the Graveyard of Heroes just east of the prison's entrance and talk to Jorra, Vulcana's assistant. Tell him the passphrase and Jorra will start to give some information he found out. However, you will be attacked by an assassin again. Defeat the assassin and continue the conversation to receive a declaration. Read it to learn that there was a plan to overthrow Lady Lovakengj.
Return to Lady Lovakengj with the note, who will be shocked that Unkar had secretly tried to remove her. She will agree to sign the new accord.
Phileas Rimor is discovered to have been imprisoned, and the Barbarian Warlord attacks. Image credits →
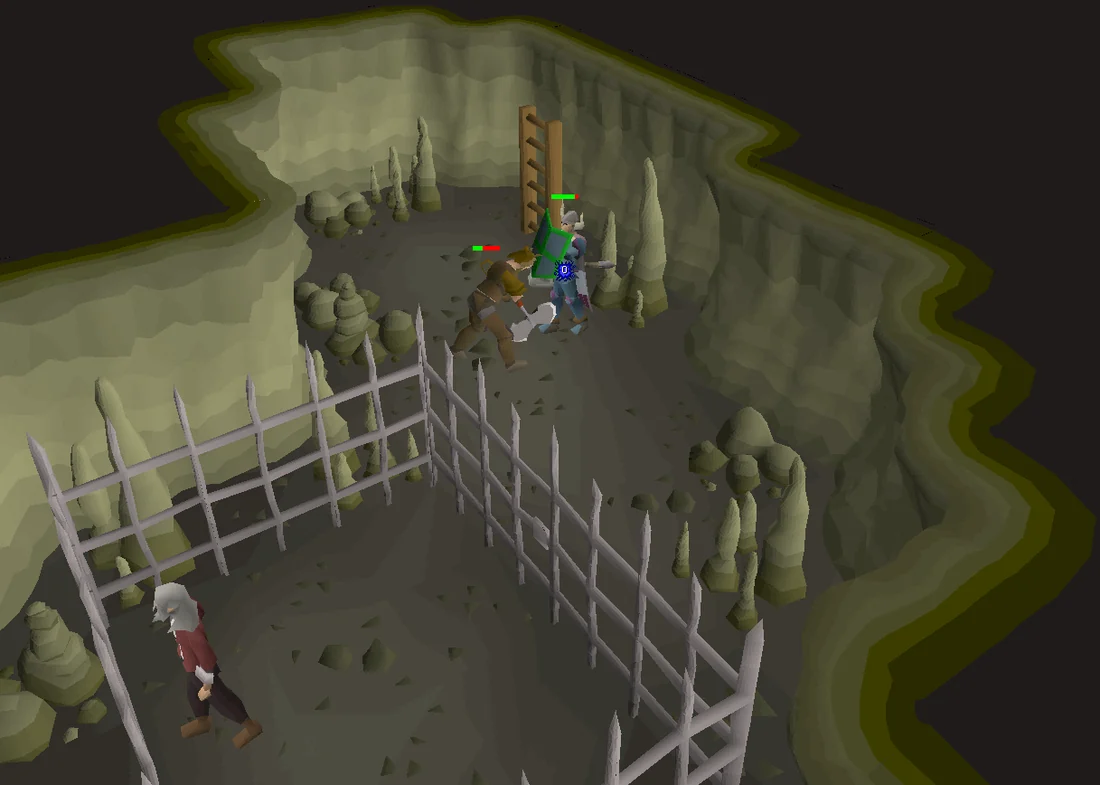
Speak to Lord Hosidius in the basement of the lookout. He needs your help investigating Lord Shayzien's involvement in a barbarian camp just south of the lookout (he's located downstairs). Go to the barbarian camp in the Kourend Woodlands, just south-east of the Rada's blessing Kourend Woodland teleport destination. Go down the ladder next to the southern wall and Phileas Rimor will talk to you from a cell. A level 91 Barbarian Warlord who had Phileas captured will attack you. Kill him, and talk to Phileas again. He will say that he was captured by the barbarians, who said they were doing this as a task from someone. The barbarians also stole his package, King Shayzien VII's journal.
Return to Lord Hosidius, who will theorise that Shiro wanted to hide information that would link his house to Xeric. He will agree to sign the new accord.
Lord Shayzien
Speak to Lord Shayzien on the 1st floor (UK) of the lookout. He will ask you to find King Shayzien VII's journal in Lord Hosidius' private office, which is hidden at the southern end of the Hosidius Vinery. You can use the Xeric's Talisman 'Glade' teleport and head east to the vinery, Tithe Farm mini game teleport and head north, or fairy ring AKR and head west. Inspect the eastern wine barrel to find a hidden trapdoor. Climb down, and picklock the chest in the corner of the room. You will obtain a Shayzien journal. You will need to bring this back to Lord Shayzien, who will agree to sign the accord.
Speak to Lady Piscarilius on the 3rd floor (UK) of the lookout. She will wish to have the cult of Yama stopped by having an Arceuus mage named Mori attempt to stop the disciples of Yama's connection to Yama himself. To find Mori, head to the Arceuus church - you can use the Kharedst's memoirs teleport 'A Dark Disposition' and walk north (look for the Altar icon on the Worldmap). Mori can be found on the very top floor of the church.
Mori will explain her plan to disconnect the Voice of Yama's connection to Yama himself, by using a connection to the Dark Altar. To do this, she needs some molten glass and a Dark essence block. Hand the items over to Mori, and she will give you a Dark nullifier. You must hide it somewhere in the Chasm of Fire to prevent the cult from contacting Yama. Go to the Chasm (fairy ringDJR) and try to climb down. However, the Disciple of Yama standing outside will interrupt you, taking the device and casting a memory-altering spell on you. You will wake up in the forest just south of the chasm, falsely believing the device has been planted. Return to Shauna, who will agree to sign the accord despite insisting that it's a bad idea.
Speak to Lord Arceuus just outside of the lookout. He will ask you to investigate whether Xamphur is indeed the same mage as the one that served Xeric long ago. To do this, you must visit the Tasakaal in Mount Karuulm (to get there, teleport with Rada's blessing or fairy ring CIR) and show them the broken redirector for help.
Enter Mount Karuulm (Boots of stone are not needed in this area), and talk to any of the Tasakaal sitting in the middle of the first room. The Tasakaal will analyse the broken redirector, and they will trace the history of the object. Many humans and people of Arceuus have used it, but also two others: one touched by fire, and one touched by darkness. The one touched by darkness was indeed one who served Xeric, and the player concludes that the one touched by fire must be the pyromancer who damaged the Doors of Dinh.
To prevent further damage to the Doors of Dinh, the Tasakaal will offer to create a potion that will reinforce the Dark Altar's power on the Doors of Dinh. Use the Volcanic sulphur on a defence potion with at least 3 doses to create a sulphur potion, and talk to the Tasakaal again to have them enchant it, turning it into a shielding potion.
Return to Lord Arceuus, who you will inform that the Xamphur you met is the same as the Xamphur from back then, giving him much worry. You will also inform him that one of the Pyromancers colluded with Xamphur to sabotage the Doors of Dinh. While the information is of great importance, Lord Arceuus states that dealing with the Council comes first and will agree to sign the accord.
06
The Council's End
Councillor Orson's body is discovered outside Xeric's Lookout. Image credits →
Return to the lookout and talk to each of the five leaders again to finish up their task. Some of the leaders will provide their insights on your discoveries. After that, talk to Fullore again, who reveals Orson's body being found at the bottom of the lookout tower, after he fell down from it, either from jumping, or being pushed. After that, all of the leaders will convene again in the basement, and they will all sign the accord. All leaders, including a reluctant Lord Shayzien, will agree to make Lord Hosidius the new king of Kourend. The accord is named Rose's Accord, in the honour of the unfortunate demise of Rose.
After the cutscene, Commander Fullore will talk to you about the decision that was just made. She is confused that Lord Shayzien did not want to take up the leadership, and notes that Lord Hosidius wishes to talk to you. Go down the ladder again to speak with him, and he will explain the details of how he managed to convince Lord Shayzien not to make a bid for the throne. Lord Shayzien's attempted cover-up of the journal of King Shayzien VII, and his eventual capturing of Phileas Rimor, would be too humiliating for him to be confronted with, so he decided to withdraw his attempts to become king.
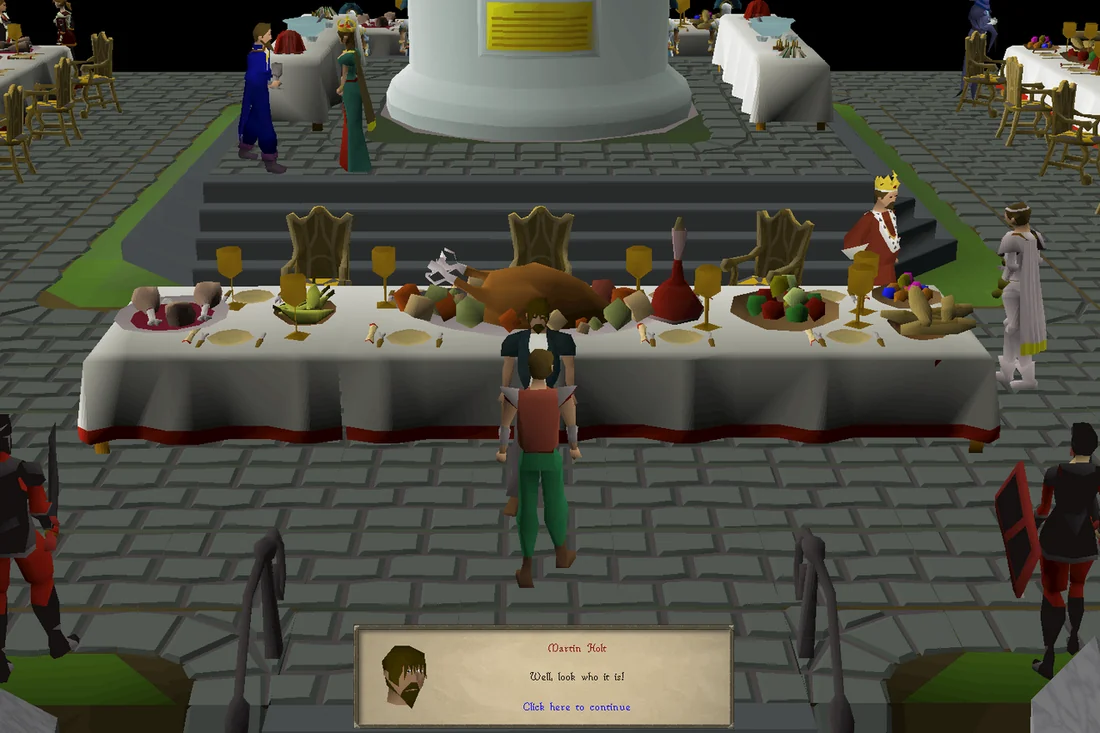
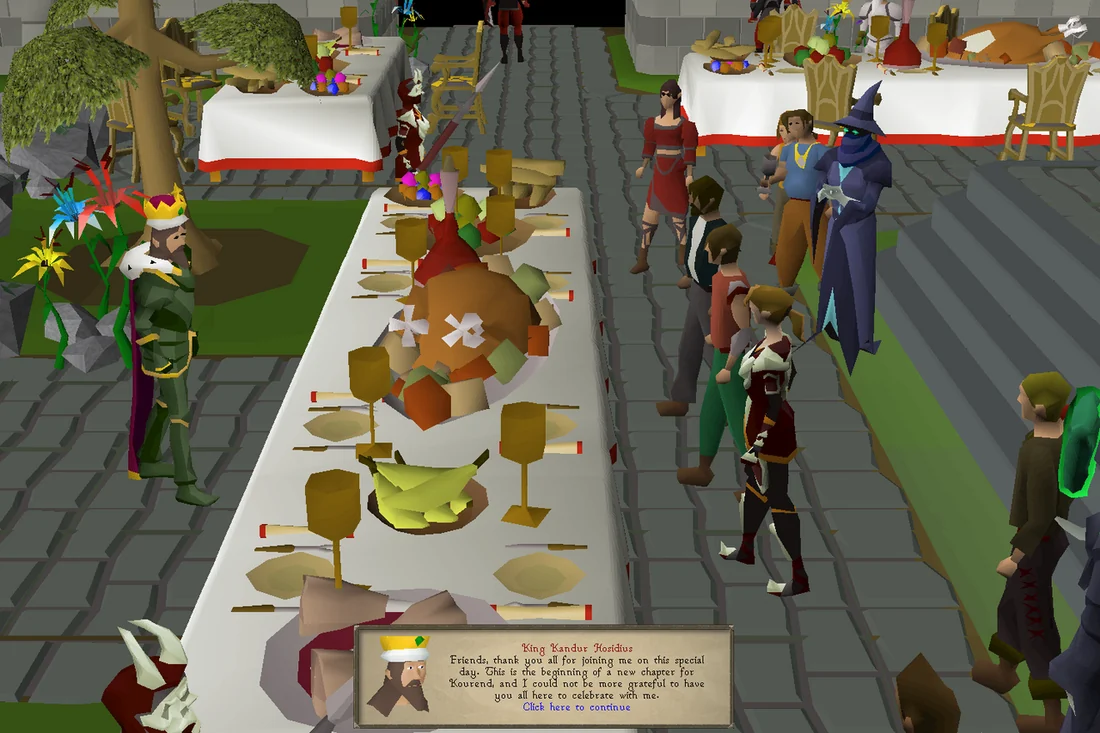
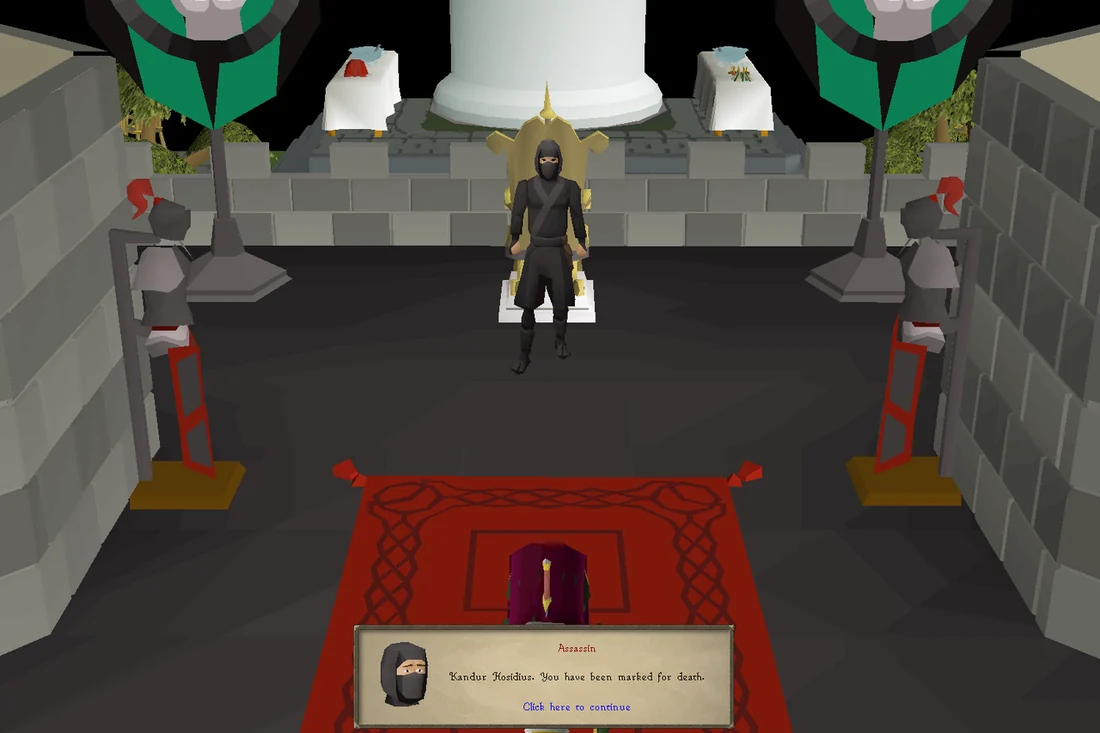
After this reveal, talk to Fullore again to start a long final cutscene. The remaining council members get arrested, and Lord Hosidius being crowned the new King of Kourend. A banquet is held to celebrate, with prominent guests from Great Kourend, Misthalin, Asgarnia, Kandarin and Varlamore. You will have a talk with Lord Arceuus, who teaches you some spells discovered in Xamphur's hideout. After that you'll have a short chat with Fullore, who points out the guests from Varlamore. After a coronation speech by the new king, you will have a private conversation with him in which he wishes to call on your services once more when they have enough information on Xamphur, but before the two of you can do anything, another assassin appears and assassinates him, claiming he has been marked for death and teleports away.
After the cutscene concludes, speak with Commander Fullore a final time. She will express surprise that they buried a king just as fast as they crowned one, and that they commenced another crowning ceremony for his son, now king. She then hands you a reward for your work, as well as the book Lord Arceuus mentioned he would give you.
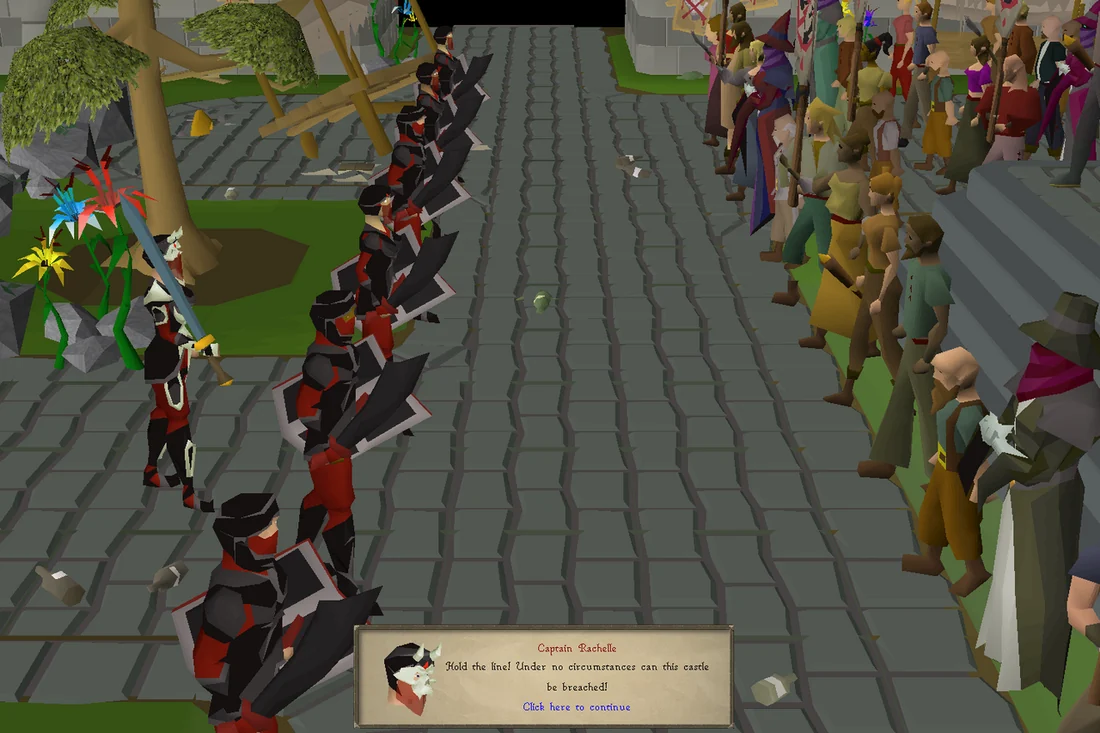
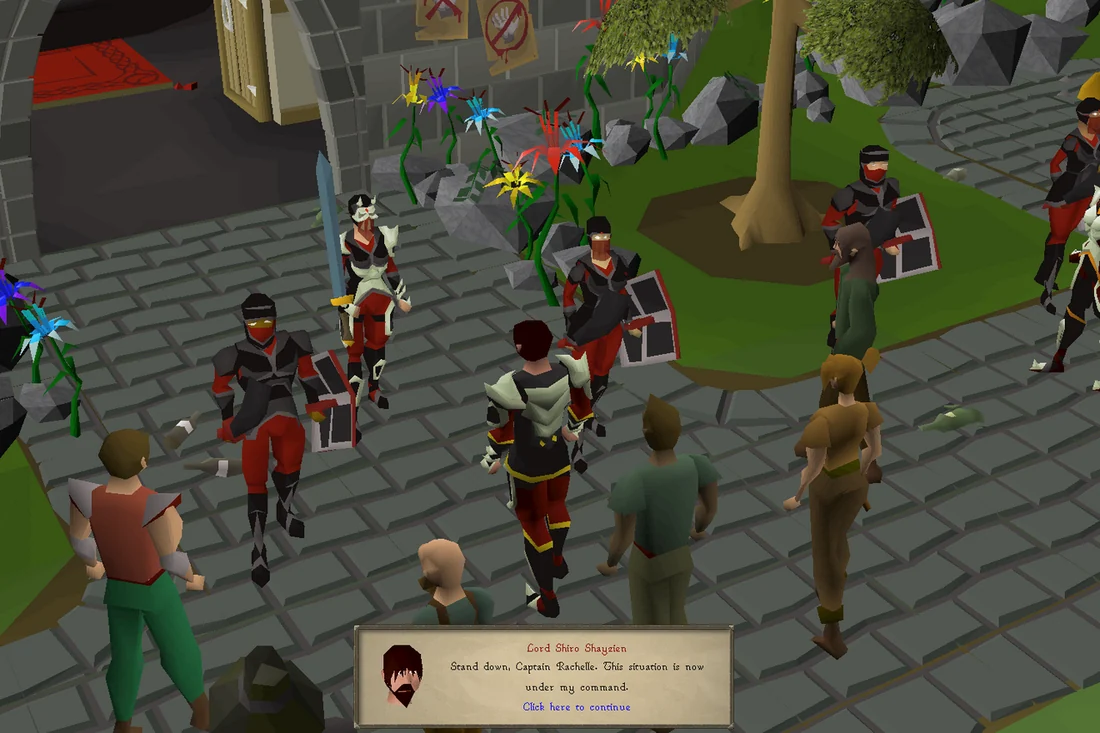
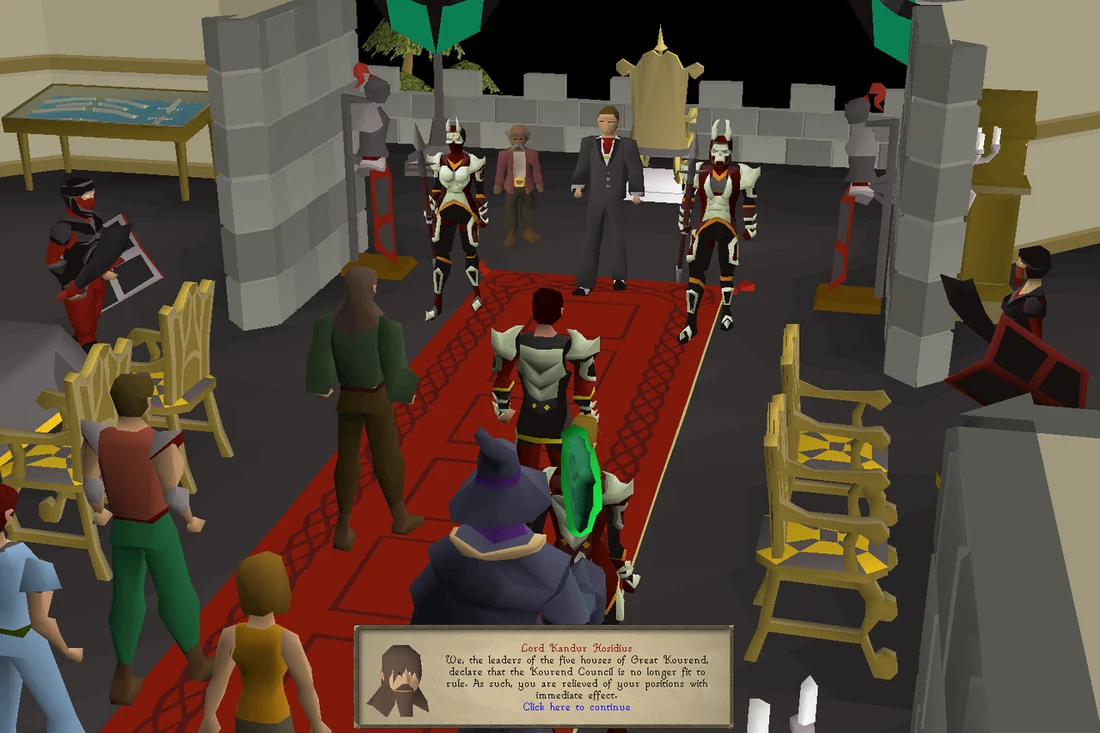
The protests approach a breaking point. Image credits →Lords Shayzien and Hosidius arrive to control the situation. Image credits →The Five Houses of Kourend declare the Council unfit to rule. Image credits →The coronation of King Kandur Hosidius commences. Image credits →The King thanks the attendees for coming to his coronation, and toasts to the player, Martin, and Lydia for their efforts. Image credits →The king is killed by an assassin. Image credits →
Congratulations, quest complete!
Quick checklist 78 instructions
Use this when you already know the route. The full walkthrough above includes explanations and diagrams.
The Disgraced Councillor's Escape
Go speak to Martin Holt east of the Kourend Castle and start the quest.
Say: Yes.
Go to the ground floor of the Kourend Castle and speak to Commander Fullore. A short cutscene will occur.
Say: Let's get going.
Once the cutscene is over, you will be south of a little house that you will need to investigate.
Go in the house, go up the stairs, and search the drawers in the eastern room. Read the receipt.
Go down the stairs and talk to Tomas Lawry by the roses
Say: .
Go to the Lovakengj pub north-west of the Kourend Castle and speak to Fuggy.
Say: Had any councillors stay here recently?
Go to Veos's boat in the south-eastern corner of Port Piscarilius and talk to Cabin Boy Herbert close to the quest and travel marker.
Say: I'm looking for a councillor. A short cutscene will occur.
Warning: Combat will immediately follow the cutscene.
After the cutscene you will need to defeat the level 168 demon Judge of Yama. Dodge the fire waves like Galvek by standing away from the fire and running to the boss to melee him. He will have protect from magic & protect from missiles overhead during the entire fight.
A good tactic is to use protect from melee and dodge the flames until you get in melee range. Tanking the flames to get into melee range is also a viable option.
After the boss has been killed a cutscene inside Kourend Castle will occur.
Go south-west to speak to Commander Fullore outside of the castle after the cutscene. She will be standing just south of the castle, directly north of the Shayzien mine.
Speak to Martin Holt again a bit east of Kourend Castle entrance where you started the quest.
Head to the ground floor of the Arceuus Library and Right-click teleport on Archeio.
Pickpocket Istoria for a Bluish key.
Search the pink case in the south-east corner of the room to retrieve Rose's diary.
Go back and speak to Martin Holt again with Rose's Diary. A note will fall out of the diary.
Read the note and speak to Martin again.
Kourend's Last Princess
Go to the Forthos Ruins, north-east of Woodcutting guild.
Speak to Martin Holt.
Say: I'll get searching.
Search the Stone Piles around the ruins to find a combination of numbers for the panel. Take note of these (unique to each player).
Cut the vines to the west, squeeze-through the vines, and use the unique combination for 'ROSE' on the panel on the wall.
For example, if the piles tell you the following: R - 1, O - 3, S - 3, E - 7, your code will be '1337'.
Read the note then show it to Martin Holt.
Say: Alright. I'll see you soon.
Go to the Settlement Ruins, south-west of Wintertodt.
Speak with Martin Holt in the north-west building after running past the Ice Spiders, Ice Giants, and Ice Wolves.
Kill the assassin that spawns.
Cast fire bolt (or above) on the ice chunks south-west of Martin, search the melted ice chunk and open the panel on the western wall.
Read the note and speak to Martin.
Go to The Legless Faun, in southern Piscarilius, on land, speak to Martin and climb the southern pillar.
Check the panel upstairs. Note the order of each house.
Go back down the wall and push the statue panels on the statues in the order specified from the panel.
Check the panel upstairs again.
After the cutscene, read the note.
Head to the shack north-east of the farming guild, directly west of fairy ring CIR, and search the bed.
Read the tatty note, then inspect the crates in the north-western corner and climb down the trap door.
Say: Climb through it.
The Mysterious Mage
Exit the shack and go south to Molch.
Go east to the furthest dwelling in Molch and enter the Lizard dwelling.
Go north and talk to Kaht B'alam.
Say: Do you think you could help me find a mage?
Exit the temple by jumping in the hole to the west.
Go south-west into the Kebos Swamp and cross the stone bridge.
Search the south-eastern Lizardman eggs, and you will be attacked by a level 75 lizardman brute. You do not need to kill it.
Go back into the temple and give the Lizardman egg to Khat B'alam for the key.
Say: So, about the key to that door...
Open the door that is located on the north wall of the main corridor, south-west of Khat B'alam. The door is indicated by a keyhole on the wall.
Say: Yes.
Kill the spirit boss Xamphur.
Pray Protect from Magic throughout the fight.
Kill summoned hands to avoid corruption and avoid the falling hand mechanic by walking in a straight line back and forth, similar to Vorkath mechanics.
Search the northern table in the lab.
Return to the shack north-east of the farming guild, directly west of fairy ring CIR, and go downstairs by inspecting the crates again.
After the cut-scene, go and talk with:
Lord Trobin Arceuus - first floor of the Tower of Magic, west of the Arceuus Library (Kharedst's memoirs - Arceuus or Arceuus Library Teleport).
Lord Kandur Hosidius - In his home in Hosidius, south-east of the bank (Xeric's talisman - 2. Xeric's Glade)
Lady Vulcana Lovakengj - South-western Lovakengj, in the Lovakengj Assembly at The Forsaken Tower quest icon (Kharedst's memoirs - Lovakengj or Xeric's talisman - 3. Xeric's Inferno)
Collect a Volcanic Sulphur from the Sulphur Mine to the north-west if you haven't already.
Lady Shauna Piscarilius - In The Warrens under Port Piscarilius (Kharedst's memoirs - Piscarilius)
Lord Shiro Shayzien - first floor of the War Tent in the Shayzien Encampment, by the northern bank icon (Kharedst's memoirs - Shayzien)
Go to Xeric's Lookout and talk to Commander Fullore (Xeric's talisman - 1. Xeric's Lookout)
After the cut-scene, speak with Commander Fullore again then talk with all 5 Lords again. They are on different floors of the lookout house, including the basement. Lord Arceuus is just outside (make sure you receive the broken redirector from him).
The Council's End
Talk to Commander Fullore at the Lookout and ask about Lady Lovakengj.
Say: I need some help with Lady Lovakengj.
Go to Mount Karuulm, go down the elevator, and speak with Kaal-Mej-San.
Create a sulphur potion (mix a defence potion with volcanic sulphur).
Speak with Kaal-Mej-San again. They will enchant the sulphur potion into a shielding potion.
Go to the Doors of Dinh at the Wintertodt Camp and pour the potion onto them.
Go to the Barbarian camp in the Kourend Woodland (south-east of the Rada's blessing teleport), and go down the ladder to the south.
A level 91 Barbarian Warlord will attack you. Kill him, and then talk to Phileas Rimor.
Go to the prison just outside the Shayzien wall, west of the Graveyard of Heroes, and go down the staircase. (Kharedst's memoirs - Shayzien, then west down into a dungeon icon on the map)
Talk to Martin Holt.
Go to the Graveyard of Heroes in Shayzien and go to the south of the church. Talk to Jorra
Say: Evil only triumphs when the good do nothing. and kill the level 132 assassin that spawns (he attacks with melee and ranged). Speak to Jorra again to receive the declaration.
Go to the Arceuus church (get the dark essence block beforehand if you don't already have it), climb up either of the two staircases, run all the way east, climb the stairs, and then talk to Mori. Bring her molten glass and dark essence block. She will give you a dark nullifier.
To obtain a dark essence block: bring a pickaxe and a chisel (chisel obtainable at the location) east of the Dark Altar. Chip off the dense runestone to receive a dense essence block, then use it on the Dark Altar to receive a dark essence block.
Go to the Chasm of Fire (north-west of fairy ring DJR). Try to go inside and complete the dialogue.
Go to the Hosidius Vinery (fairy ring AKR) and inspect the eastern Wine barrel (west of the fairy ring). Go inside
Say: Climb through it. and picklock the chest to get a Shayzien journal.
Go back to Xeric's Lookout and talk to all five of the lords.
Talk with Commander Fullore. A cutscene will follow.
Speak with Commander Fullore again.
Go down the ladder and speak with Lord Hosidius.
Return to Commander Fullore. There will be another long cutscene.
Say: Let's do this.
Congratulations, quest complete!
QUEST COMPLETE
Rewards
The Book of the Dead
Two antique lamps giving 10,000 experience to any skill level 40 or above.
If players claimed the antique lamp from the Architectural Alliance miniquest before 10 January 2024, they will only receive one lamp.
Ability to set your respawn point to Kourend Castle. Talk to Asteros Arceuus, now found on the first floor of Kourend Castle, to change your respawn point at any time.
24 new spells made available in the Arceuus spellbook (all combat spells with the exception of Ghostly Grasp and Inferior Demonbane, and all utility spells with the exception of Resurrect Crops and reanimation spells).
 2
2