1
1Requirements
- Completion of the following quests:
QUEST 117 · MEMBERS
The High Priest of Icthlarin has problems again - this time with the inhabitants of Menaphos. Sophanem is recovering from the plague, yet most of its citizens are still trapped on the other side of the river. Diplomacy has failed and subterfuge beckons. Clearly, this is the sort of job that a shifty adventurer could excel in.
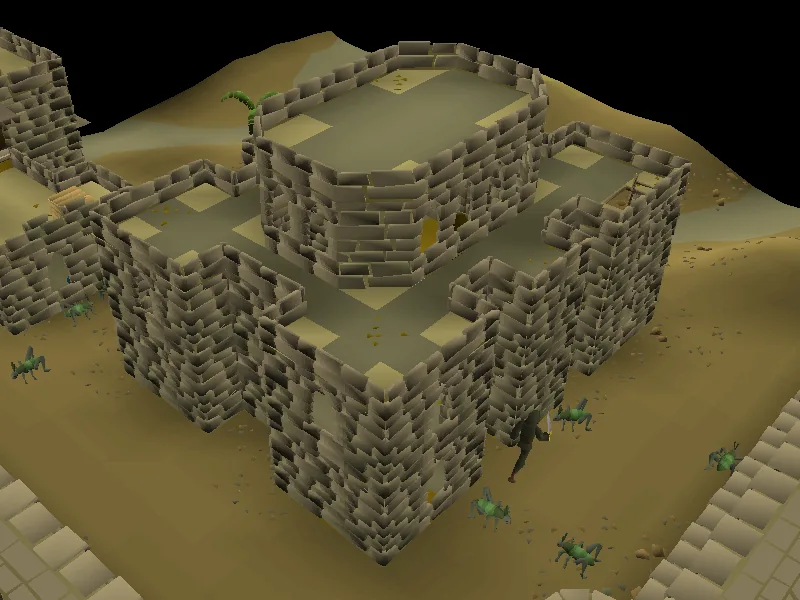
Talk to the High Priest of Icthlarin in Sophanem.
STEP BY STEP
Follow the chapters below. Click any screenshot or diagram to view it at full size.
| Fire! | |
| The jingle that plays once menaphite forces open fire. | |
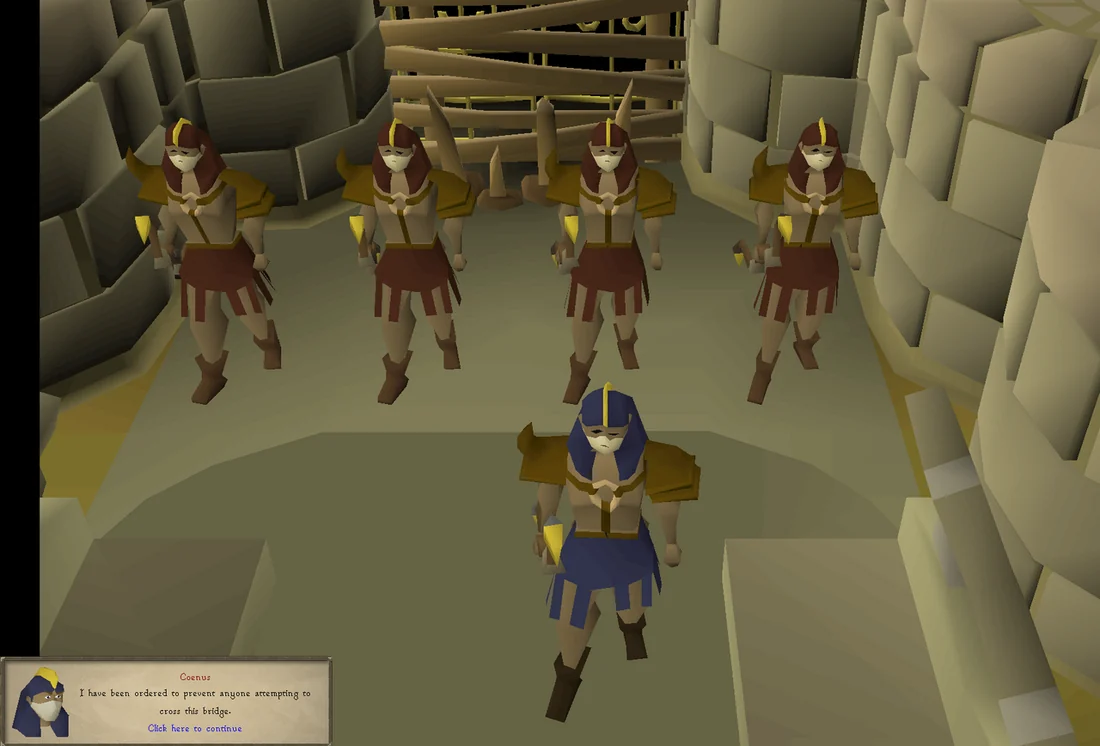
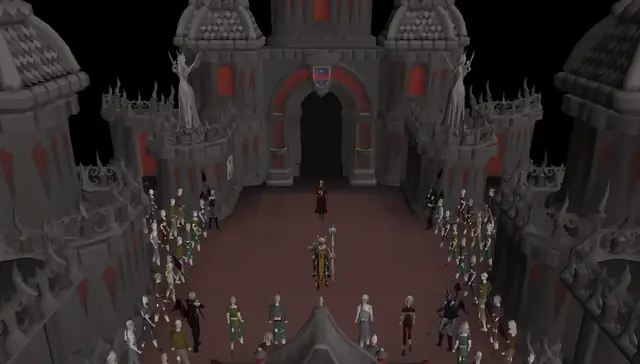
Travel to Sophanem and speak to the High Priest in the Great Temple in the south-west of the city. He will explain that the nearby city of Menaphos has refused to open its gates for fear of the plague, trapping citizens of Sophanem inside. A short cutscene will play, showing the moment where the Menaphos gatekeeper Coenus opened fire on the Sophanem delegation.
After the cutscene concludes, the High Priest will ask for ideas on how to rescue his citizens. Ask whether there is any way into Menaphos from below, and the High Priest will mention that the followers of the god Scabaras were known as great architects of the subterranean. The sect was destroyed, but may have left tunnels beneath the area. He suggests that you visit Jex, an expert on the sect.
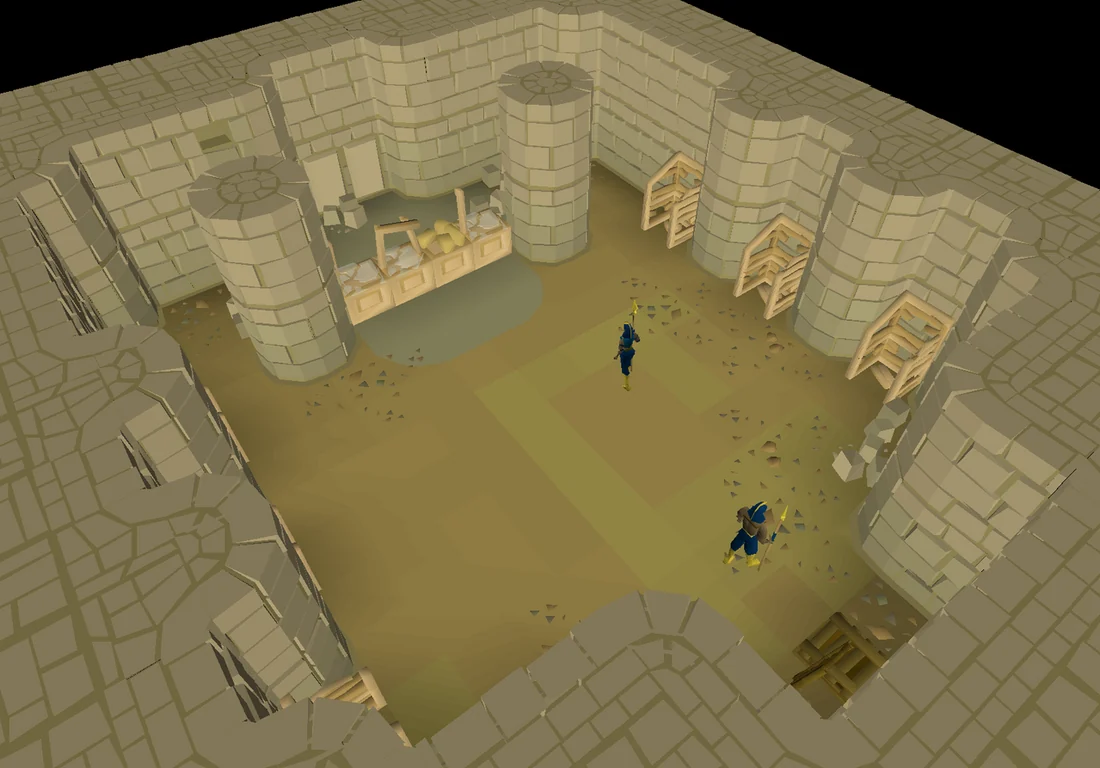
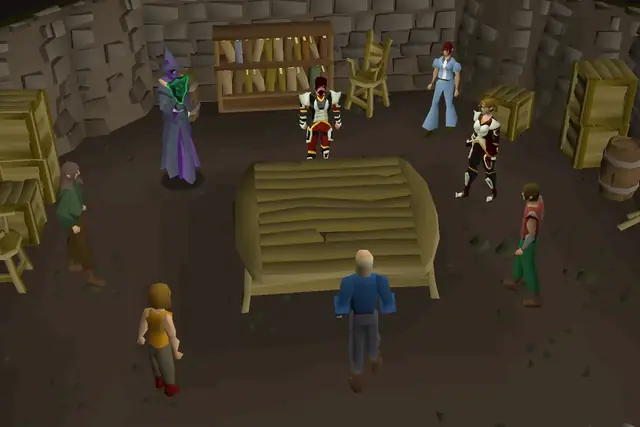
Find Jex in the temple in the north-eastern corner of the city; it has a broken altar inside. He will mention that just before the plagues started, some unknown assailants burst up from underneath the temple cellar and trashed the place, revealing a network of tunnels below in the process. He advises you to be careful and bring a light source when exploring the tunnels.
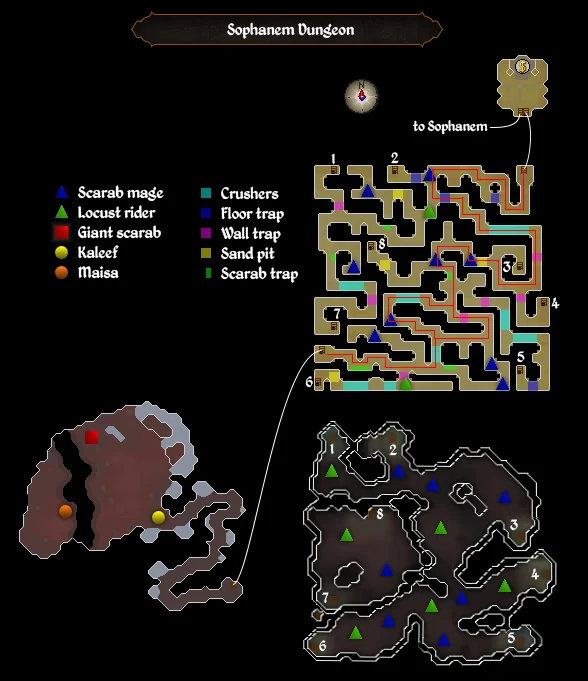
| Tile markers |
|---|
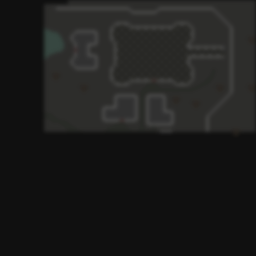    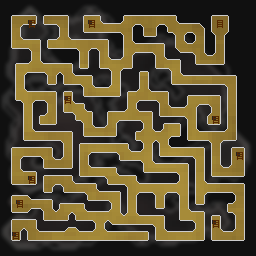     |
| Tile markers guide • Data |
Climb down the ladder inside the temple. You may choose to purchase a torch for 200 coins and a tinderbox for 50 coins from a nearby guard if you didn't bring a light source.
It is strongly recommended that you take good food, a tinderbox, a light source, an antipoison potion, and an emergency escape teleport such as the ectophial for the following section. As the next step after completing this section requires travel to Al Kharid, bringing a Ring of dueling is also prudent. It is best not to bring any valuables in case of death.
Once fully prepared to navigate the following dungeon, enter the nearby trapdoor. Make your way through the multicombat maze to the other end and go down the right ladder. Most ladders lead to even more dangerous caves below containing more Scabarites.
The dungeon is riddled with various types of traps, which should generally be avoided or bypassed.
You will also encounter scarab mages, scarab swarms, and locust riders. These can be very dangerous, and it is recommended you use Prayer against these foes. Scarab swarms can poison and will only appear if you step on a sand pit trap.
The provided tile markers give a short route that is as safe as possible to the ladder required for the quest.
The markers additionally indicate when specific other actions should be performed (e.g. swapping protection prayers or right clicking on particular tiles).
| Image | Description |
|---|---|
|
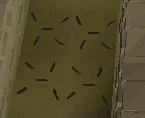
Floor trap: Similar to the floor traps found in the Rogues' Den (but easier to see - "X" markings on floor), these can be avoided using Agility by selecting "Evade Trap". If you run over them, you will be hit for 10% of current hitpoints, rounded down, plus 10 hitpoints. At level 84 Agility, players no longer run the risk of triggering these traps when using the "Evade" option.[1] |
|
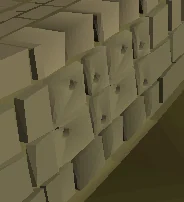
Wall trap: Similar to the wall traps in Rogues' Den, these can be disabled by Thieving by selecting "Disable Trap". If you run through them, you will be hit for 10% of current hitpoints, rounded down, plus 10 hitpoints. At level 84 Thieving, players no longer run the risk of triggering these traps when using the "Disable" option.[1] |
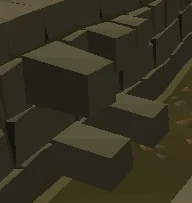
|
Wall Crusher: These are also found in the pyramid in Icthlarin's Little Helper. Simply, move diagonally carefully around them. If you run into them, you will be hit for 8 hitpoints of damage. (Note: You can run through these without taking damage by just clicking past them with run enabled). |
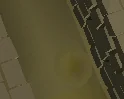
|
Sand pits: Barely visible circles on the ground. If you step on these, the ground will crack open and a Scarab swarm will come out. This can be avoided by walking around the pit. |
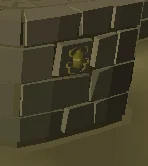
|
Scarab trap: Similar to the pits in Desert Treasure I, these pits appear if you stand next to a wall spot with a scarab symbol on it. This will extinguish your light source and cause you to fall down to the bottom level. |
In the Combat Options tab, turn Auto Retaliate off in order to avoid unnecessary use of food or prayer points; accidentally retaliating against an attack may cause you to run into a trap if you are hit at an inopportune moment. Go down the trapdoor and follow the dungeon around until you get to the ladder north of the south-west corner using the Protect from Magic prayer. When following the route to the right, you will only encounter scarab mages. Therefore, use Protect from Magic and keep auto-retaliate off. The mages hit high but attack very slowly; it is therefore possible to only pray against one attack with ample time to run past. The locust riders use ranged and likewise hit high but attack slowly.
The ladders in the dungeon all lead to a much more dangerous lower level of the dungeon. If you go down the wrong ladder or fall down a pit, you will be placed in the lower portion of the dungeon. There are level 98 and 106 locust riders and lots of Scarab mages. It is a multicombat area and your hitpoints will be reduced very quickly. Find a ladder and get out fast or use an emergency teleport. If you have enough protection, this level could be a shortcut going from the north middle ladder (2) to the south-west ladder (6). Then, go up, east, north, and west to the exit ladder.
Warning: Unless you have an inextinguishable light source, such as a piece of Kandarin headgear, a bruma torch, or the Firemaking cape, your light source can be extinguished at any time (even bullseye lanterns). If this happens, use a tinderbox to light it again.
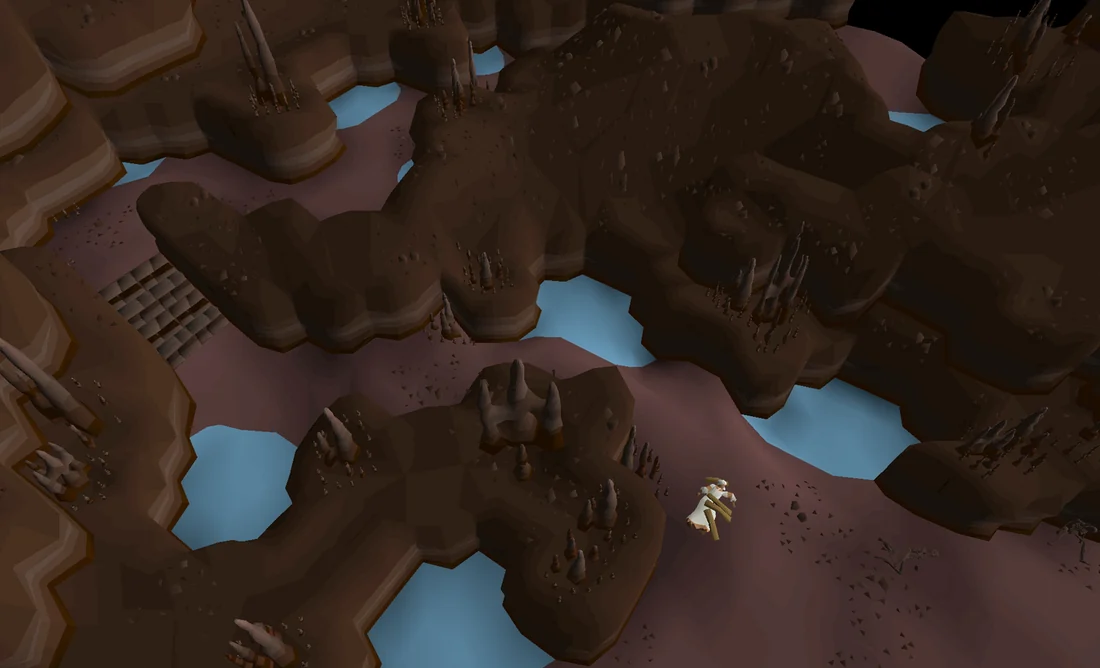
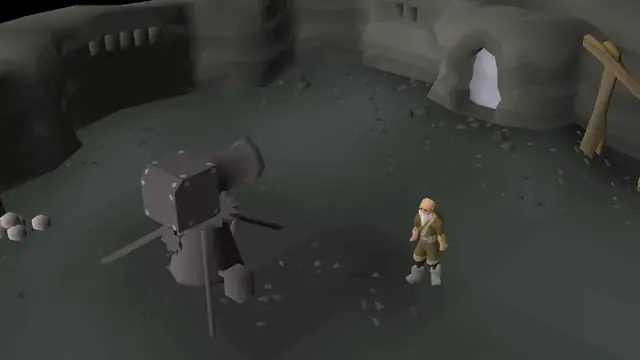
Once you have found the correct ladder directly north of the south-westernmost one, follow the passage around until you come to the corpse of Kaleef. There are no more dangers here. Search Kaleef's body to get his notes and read them. They are orders from 'Os' to Kaleef to contact an agent inside Menaphos using the Scabarite tunnels beneath the Temple of the Lesser Gods.
Go slightly west and speak to Maisa, a woman stood at the other end of a gaping chasm. She explains that she is one of Osman's agents, the spymaster of Al Kharid, and that Kaleef was meant to relieve her of her duties in Menaphos. She will ask the player to prove that they were the one to rescue Prince Ali during the events of Prince Ali Rescue. Answer that the Prince was held in Draynor Village, and that Leela assisted you, and she will agree to help the citizens of Sophanem for you, provided you can convince Osman to meet with her.
Travel to Al Kharid and speak to Osman outside the palace. After explaining the background behind a long-running conflict between Al Kharid and the Menaphites, he will initially refuse to meet with Maisa. The player will need to convince him by suggesting it could drive a wedge between the Menaphite cities to help rescue the citizens of Sophanem. He will then agree to meet you outside the gates to Sophanem.
Before travelling back, equip yourself for a big fight and another journey through the tunnels. Bring good food and some prayer potions as well as previous supplies to traverse the maze, such as your light source. Super potion sets are recommended if you're using melee, as the monsters may hit over 20 and the final boss is fairly resistant to melee and Ranged. Iban Blast and fire spells are quite effective.
Return to Sophanem, where Osman will be just outside the gates. Osman will be unsure of how to sneak into the city, with the player suggesting that he could use the secret entrance just north of the city, discovered during the events of Icthlarin's Little Helper. A short cutscene will play in which Osman sneaks into the city, knocking the hapless Jex unconscious in the process.
| This fight takes place in an instance. |
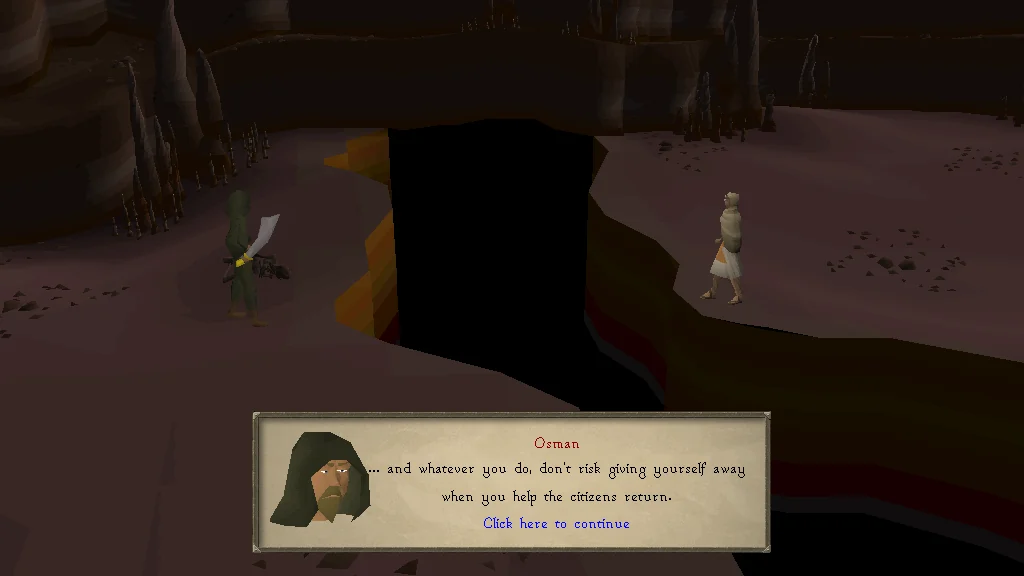
Return to the Sophanem Dungeon through the temple, and head to where you found the body of Kaleef. As soon as you go down the ladder, you will see another cutscene. The boss fight will begin as soon as this cutscene concludes!
Osman is seen talking to Maisa about the plan when suddenly the cave begins to shake. While Maisa flees, Osman is surrounded by scarab swarms appearing from cracks in the ground, merging into one giant scarab that attacks Osman, who vanishes.
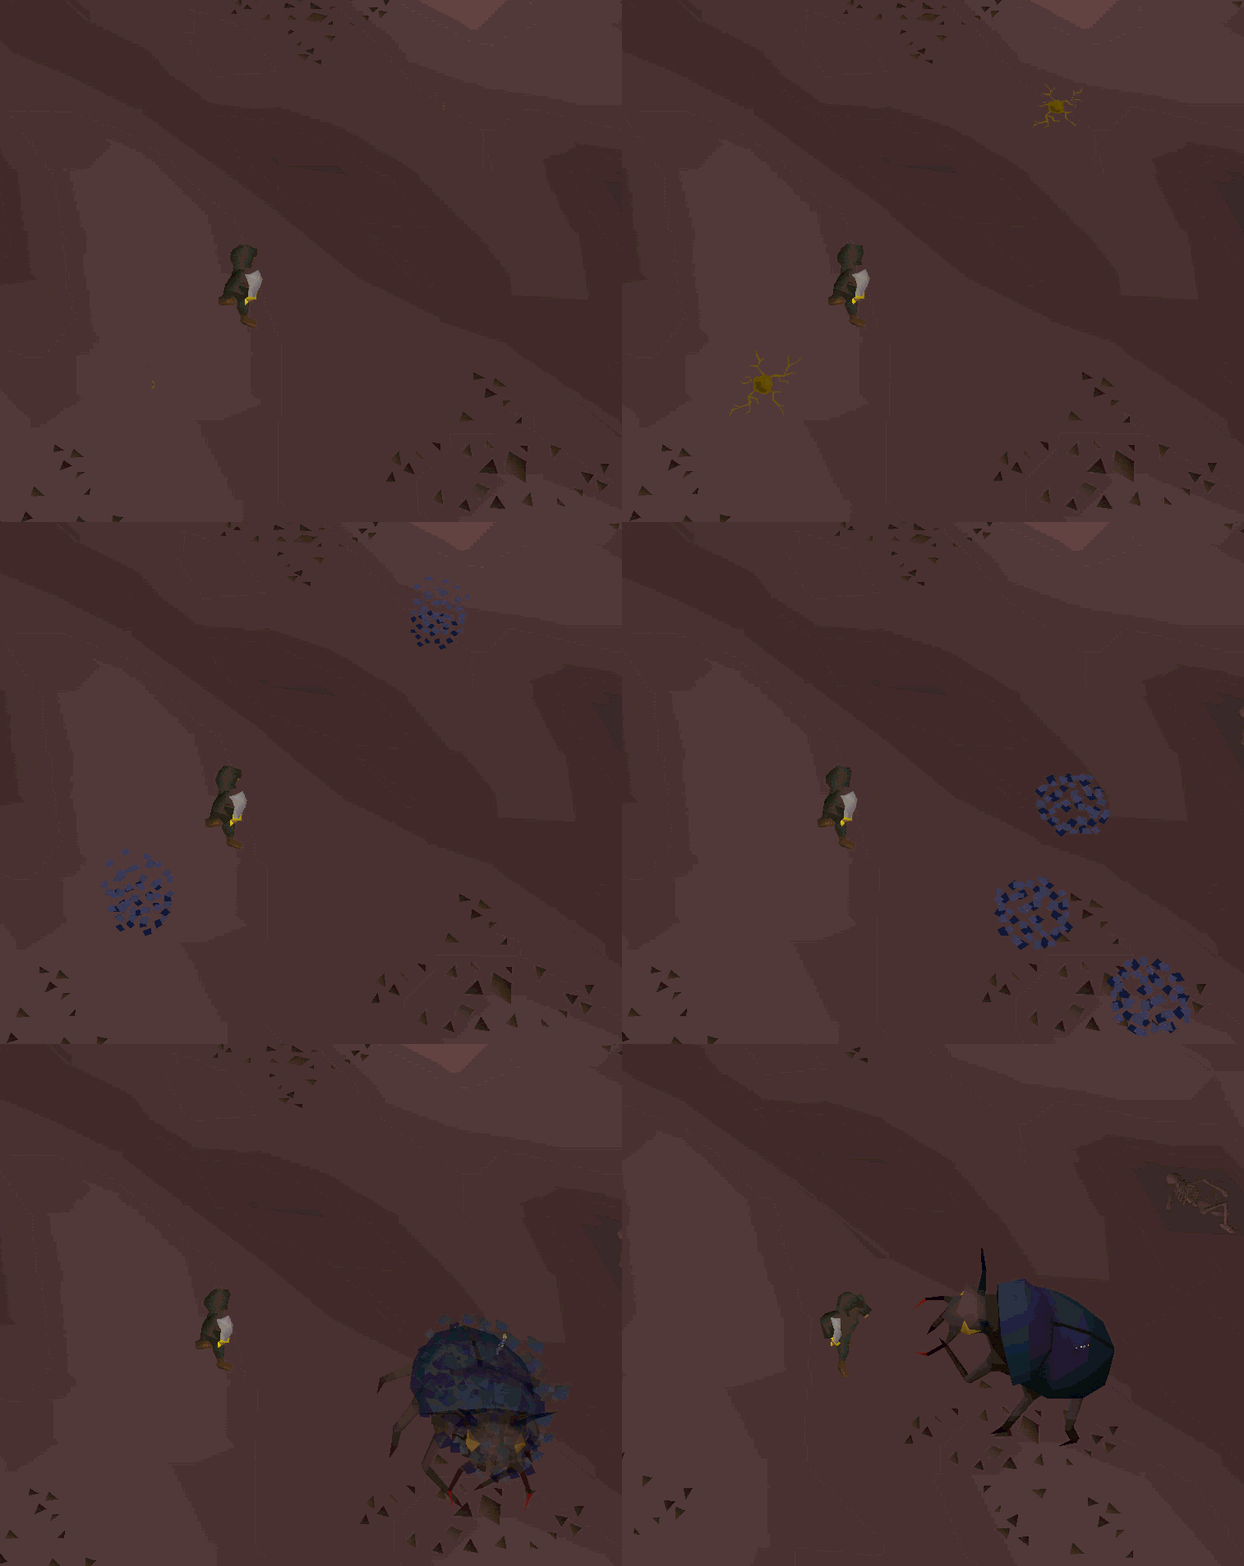
Head into the cave and fight the level 191 giant scarab, which hits up to 20 with melee and ranged (the ranged attack looks like earth blast). Keep an eye on your hitpoints or game messages, as the scarab can poison you through anti-poison, negating your poison timer. It can also summon level 68 Locust riders and Scarab mages (which can also do 9 damage with poison) to aid it, which will attack at the same time. The riders will attack with ranged or melee and the mages will attack with slow but powerful magic, so you are being attacked by all three combat styles at once. It is recommended to focus on the scarab, unless you find that you are taking too much damage, in which case defeat the minions as soon as they spawn depending on which style you pray against. Note that a cannon cannot be used during this fight.
If you're using melee, you will require pretty high stats (70 or better). Protect from Melee is recommended against the scarab, and having plenty of good food such as sharks is recommended, you may also need a prayer potion as the scarab has incredibly high defence and drags out the fight. Wearing dragonhide armour alongside mid-tier melee boots, gloves and helmet (such as a Helm of Neitiznot) will help protect against both Magic and Ranged - anything lower than this will lead to relying on good hits to win the fight. You should kill the ranger or mager as soon as they spawn, as more will continuously spawn throughout the fight. Simply hit the scarab in-between spawns.
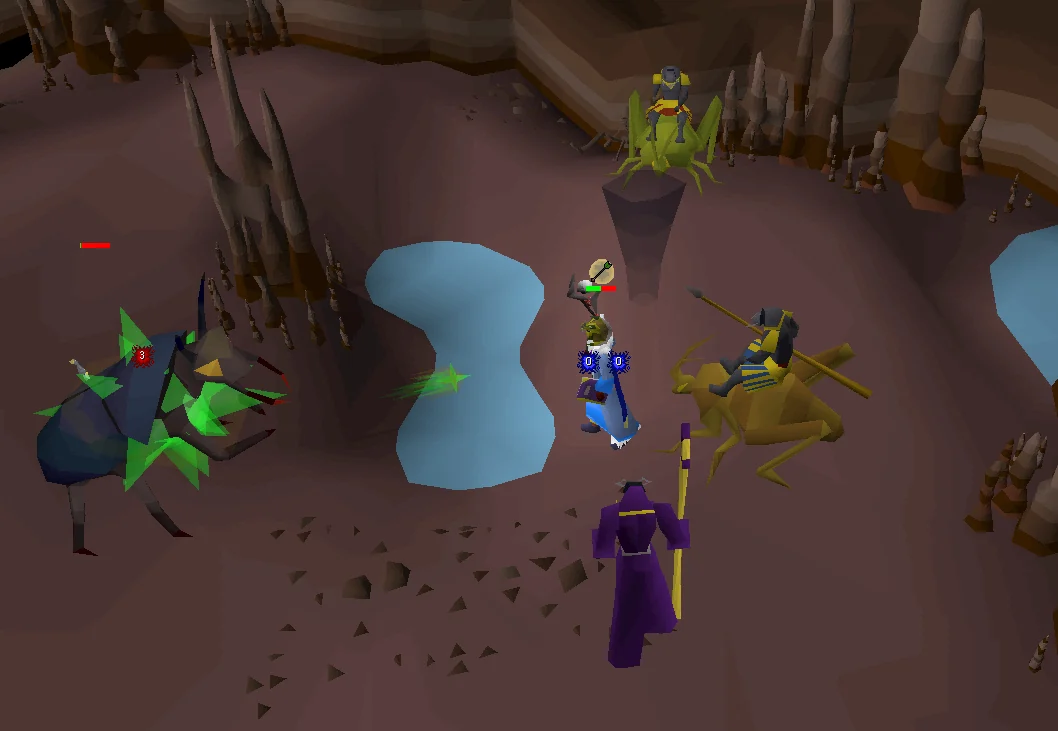
If you're using Ranged, use a rune crossbow with broad bolts or higher, or use a crystal bow. Anything lower will cause problems, due to the scarab's high Defence. Use Karil the Tainted's equipment or black dragonhide armour, and use the safespot also listed in the mage tips below. Doing range any other way is not very effective in this battle. Use Protect from Missiles, if you cannot get to the safespot, get the Scarab mage and the Locust riders to spawn. Trap the Scarab Mage on either side of the wall, that is on your right, when passing Kaleef's body. The Locust Rider, and the Giant Scarab shouldn't be able to melee you, on either side of this wall, so just turn on your protect from range. This takes more setup than the mage option, but once you have it set up, it is just as easy.
If you're using Magic, there are various safespots in the cave; hide there and use Protect from Missiles. For example, one may safespot from the entrance, near Kaleef's corpse. Using mystic robes or better in tandem with the Iban Blast spell is an effective approach, due to the scarab's low Magic level. Fire spells are also effective, dealing an extra 50% damage due to the scarab's elemental weakness. With a magic-focused setup and use of protection prayers, it is an extremely easy fight for players with decent stats.
Once the scarab is defeated, any remaining Scabarites will die and the three scarab swarms disappear. Osman will reappear, claiming he had the situation all under control. He reveals that Maisa has agreed to help the citizens of Sophanem return home. He also suggests that you take Kaleef's Keris dagger lying on the ground nearby, which was lodged in the scarab. If you do not claim it now, you may reclaim it from Osman in Al Kharid later.
Return to the High Priest in Sophanem (it may be easier to teleport out than return via the dungeon), who will inform you that Menaphos sent over some of their dead, and the trapped citizens were found hiding amongst them. After thanking the player, he will reward them.
Congratulations, quest complete!
Use this when you already know the route. The full walkthrough above includes explanations and diagrams.
Talk to the High Priest in Sophanem.
Say: Sounds like a quest for me; I can't turn that down! → Is there any way into Menaphos from below?
Go to the most north-eastern building in Sophanem and talk to Jex.
Say: Better get down there.
Climb-down the ladder in the building, then the trapdoor.
Follow the red line on the map to the ladder and/or use the provided tile markers for guidance. Protection from magic is recommended. It is also recommended to turn off auto-retaliate in the combat tab.
You will encounter one scarab trap via this path. BE HIGHLY CAUTIOUS as triggering it would drop you to a multi combat lower level.
Green markers indicate the correct direction to travel when the path forks.
Yellow markers indicate the correct tiles to stand on carefully, when dealing with traps or other threats.
Red markers contain other warnings.
Search Kaleef's body.
Read the parchment.
Talk to Maisa to the west.
Say: Draynor Village → Leela
Speak to Osman in front of the Al Kharid palace.
Say: I want to talk to you about Sophanem → It would drive a wedge between the Menaphite cities.
Travel to Sophanem and speak to Osman again outside the gates.
Say: I know of a secret entrance to the north.
Navigate the tunnels to the ladder again.
Kill the level 191 Giant scarab.
If you decide to mage the Giant Scarab, it can be safespotted by standing near Kaleef's body, use Protect from Missiles. Note: The Giant Scarab can still spawn mages and riders that can attack you which you should be highly careful of. The Giant Scarab CAN extinguish bullseye lanterns; bring a tinderbox.
Talk to Osman.
Pick up Keris if you wish (needed for Desert hard diary).
(Tip: Do not teleport out if you wish to complete a task for Desert hard diary, instead return to the maze and kill a Locust rider with the Keris.)
Return to Sophanem and talk to the High Priest.
Congratulations, quest complete!
QUEST COMPLETE
OSRS WIKI CONTRIBUTORS
Walkthrough text and preparation lists are adapted from Old School RuneScape Wiki contributors under CC BY-NC-SA 3.0. Game imagery © Jagex Ltd; individual image credits are available from their captions. This page is fan-made and not affiliated with Jagex.
KEEP QUESTING
Game icons © Jagex Ltd, via the OSRS Wiki. Interface icons by Lucide.