2
2Requirements
- Completion of Gertrude's Cat
- The ability to defeat a level 91 monster.
QUEST 78 · MEMBERS
In the deep south of the desert, unrest is brewing... The cities of the Menaphites have barred their gates to all. An unsettling desert wanderer may know of a secret entrance though, to Sophanem - the city of the dead. Will you become Icthlarin's Little Helper by entering? Enter into a titanic struggle for the soul of the high priest of Icthlarin in a land where the cat is top dog.
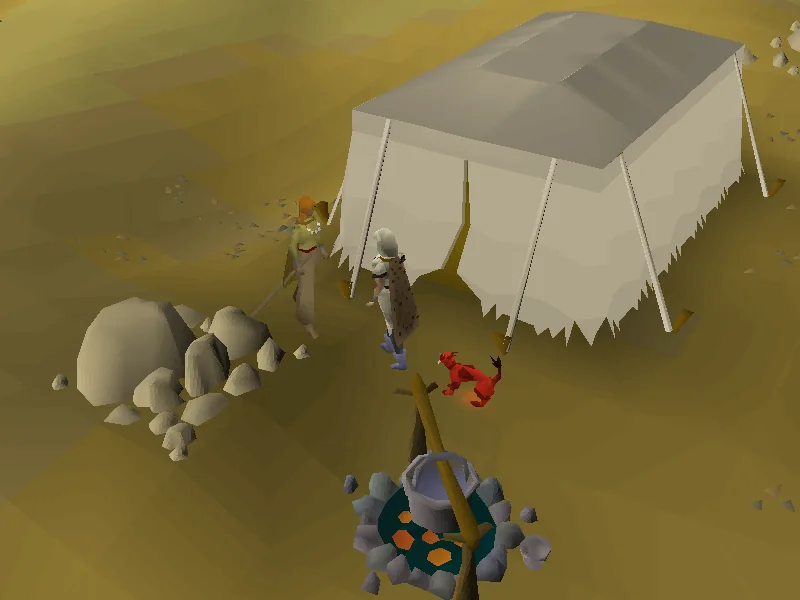
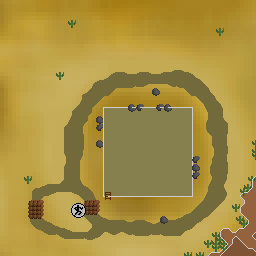
Talk to the wanderer in the camp west of the Agility Pyramid.
STEP BY STEP
Follow the chapters below. Click any screenshot or diagram to view it at full size.
Note: If you need to leave Sophanem at any point during the quest, there is a hole you can crawl through on the eastern wall. To get back in, enter the rocks on the east side of the Wanderer's tent.
Note: For the pit jump, 20% run energy is required, and it will be drained. Higher agility increases the chances of success.
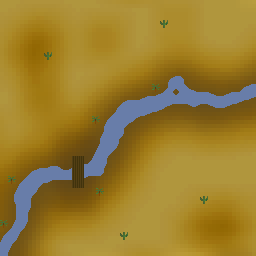
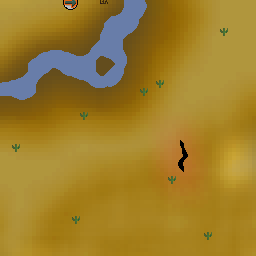
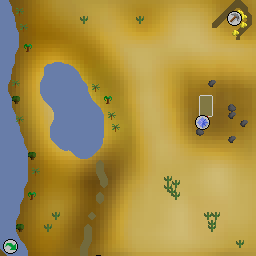
Warning: Throughout this quest, you will encounter several flashbacks where you remember what you did while you were hypnotised. You must play through these in order to progress through the quest. Prior to triggering each flashback, make sure you are prepared as once you begin a flashback, you will be unable to teleport away until you either finish the flashback, or die. Dying will cause your cat to be lost. During a flashback, to leave the pyramid you are expected to walk back to the entrance. You may also log out and back in, which will place your character outside of the pyramid entrance.
Collect all the supplies needed for the quest, including your cat. You will not have access to your bank after you start this quest, and will face multiple relatively high-level enemies before you can access it again. The closest bank to the Wanderer is in Nardah.
Use the Nardah teleport if you have one or use a magic carpet ride to Pollnivneach, then south to Nardah (or fairy ring code DLQ) and head to the Wanderer (north of Sophanem) in the desert. If you brought an empty bucket to get a pile of salt, go to the pond west of the Wanderer, prior to talking to her. Use the collect water option to get a bucket of salt water.
Note that when you first speak to the wanderer and begin the quest, the game will check your Attack, Strength, Ranged, and Magic levels, as well as the Strength, Ranged strength, Magic strength, and defence bonuses of any items you have equipped or in your inventory. The highest of these influences which canopic jar you are most likely to obtain, which affects which apparition you fight and which potion drop you will receive from the quest's final boss. While your stats and items make getting a certain jar more likely, note that there is still a chance to get a different one regardless.
| Stats | Equipment bonuses | Jar | Apparition | Potion |
|---|---|---|---|---|
| Attack & Strength | Strength, Stab defence, Slash defence, Crush defence | Lid shaped like a man, contains a liver | Het apparition (fights with melee) | Defence potion(4) |
| Ranged | Ranged strength, Ranged defence | Lid shaped like an ape, contains intenstines | Apmeken apparition (fights with magic) | Attack potion(4) |
| Magic | Magic strength, Magic defence | Lid shaped like a bug, contains a stomach. | Scabaras apparition (fights with melee) | Agility potion(4) |
| Unused, unless the quest was started prior to 27 April 2022 | Unused | Lid shaped like a crocodile, contains lungs | Crondis apparition (fights with magic) | Magic potion(4) |
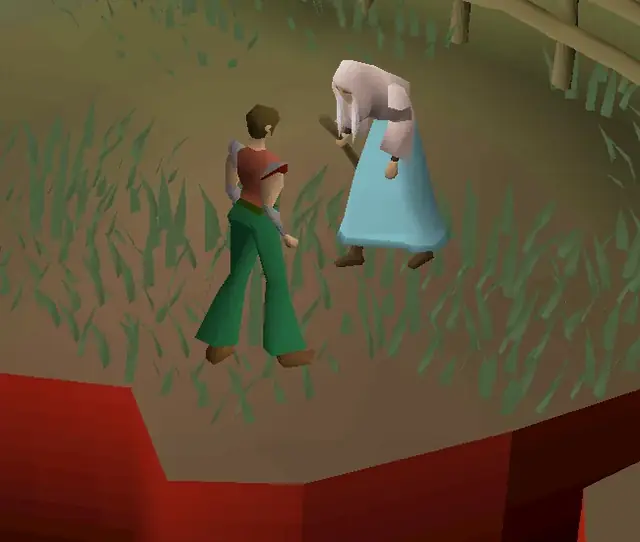
The Wanderer will have a strange reaction to your cat. Ask her why she has a problem with the cat. She will tell you that if you get your cat away from her, she would tell you about the secret entrance to Sophanem. Wait, and you will automatically pick up your cat. She will then ask for a tinderbox and full waterskin. Talk to her again and say Yes, I have them all here (4th dialogue option). Once you give them to her, she will hypnotise you and you'll enter a small cave just north-east of her tent. You can now use this passage to enter the city at any time, including if you die, which will give you the quest items back.
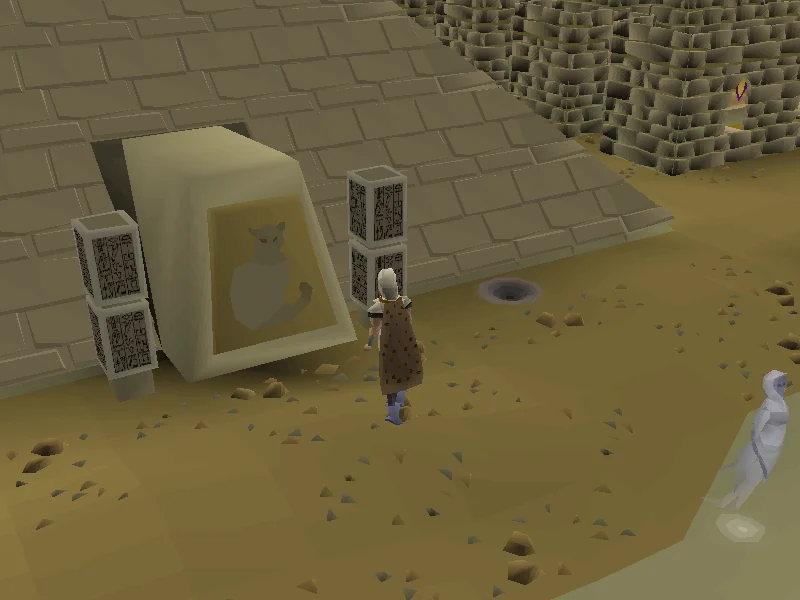
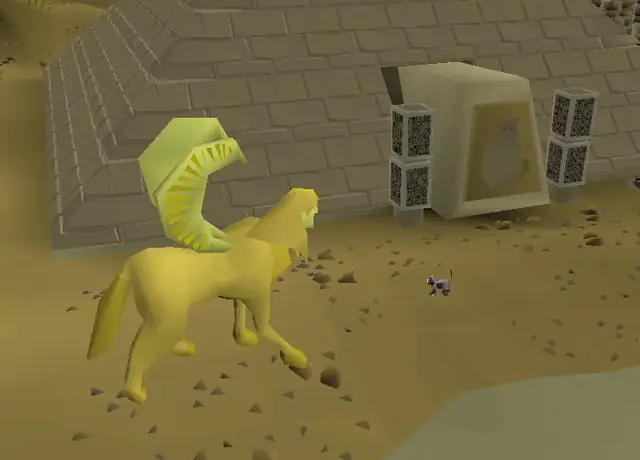
You will end up just outside a pyramid in Sophanem, and a canopic jar will appear in your inventory. The door to the pyramid is immediately to your south, with a picture of a cat on the door. Proceed to the first Flashback. Note: If you take too long, a spectre will attack you and steal some of your gold or deal damage.
Warning: Prior to proceeding, ensure you are prepared and familiar with the Flashback mechanics outlined at the start of this walkthrough.
Important note: Using the mini-map to navigate the pyramid will automatically avoid the traps (both the wall-crushers and pit traps) and is much more time efficient than manually navigating it.
Touch the door of the pyramid to begin the first flashback. During the flashback, you will need to go through the pyramid. You'll see some wall crushers. Stand on the opposite wall and don't go next to them, as they will damage you if you do. Once you're past the crusher blocks, you'll find pit traps in the next hallway. If you step on the wrong spot, you'll fall into a pit and end up at the beginning of the pyramid. You can move forward by clicking on the map, and your character will avoid the traps automatically. To avoid traps, stay along the left wall until you pass the whitish rectangle on the wall, and then go to the right side. Continue walking until you are opposite a square. Go back to the left side until you pass a candle. Switch to the right wall once more.
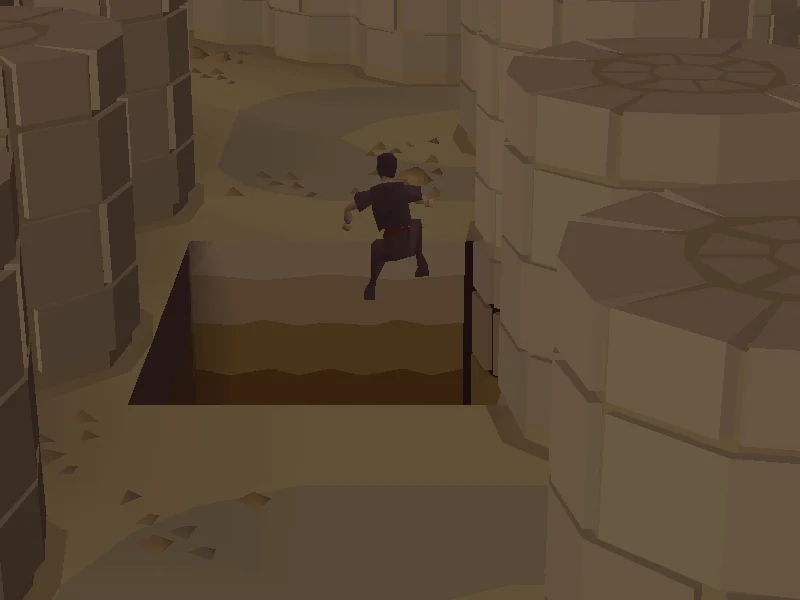
You'll see mummies (level 84). They will attack you; simply go past them. You'll also see Scarab swarms (level 96) crack out of the ground. They can rapidly hit you for 2 damage and can also inflict a poison condition which hits you for another 2 points of damage, and they very obnoxiously stop you in your tracks, regardless of whether or not you have auto-retaliate enabled. Continue to some more wall crushers. Past these—you'll eventually find a large pit. Jump over it. (You'll need 20% run energy. If you fail, you'll reappear near the second set of wall crushers.)
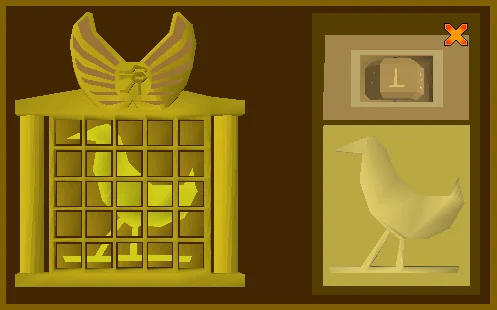
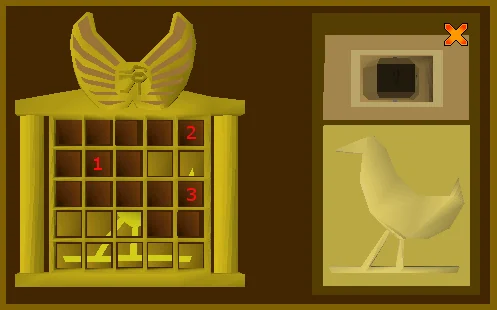
Go to the west door (double-check your compass) and try to open it. Now, you need to solve a puzzle. The objective is to flip all of the tiles onto their gold sides. There is no required number of flips that you must make, nor is there any limit of tries. Each time you flip a tile, the nine tiles in a 3x3 grid will also flip. To solve this puzzle click on the squares in the order shown on the image below (make sure the puzzle is in the default position as shown below. To get to the default position, right click on the gold solution to reset. Keep hitting the "reset puzzle" button until the puzzle looks as shown in the picture below). Once you've solved it, you'll wake up fully healed outside the pyramid.
After you finish the flashback, talk to the Sphinx with your cat out. Ask for help and the Sphinx will ask you this question: "A husband and a wife have six sons and each son has one sister. How many people are in the family?" The answer is 9 (6 brothers + 1 sister + 2 parents = 9; while a naive reading might assume that each brother has a separate sister, since every member of the family is related, if that was true each brother would have six sisters, not one sister). If you guess wrong, you will lose your cat and have to obtain another one from Gertrude. Before making your guess, the Sphinx will ask you to confirm your answer; if you are about to choose the wrong answer, your cat will shake its head and scratch your leg as a warning. Once answered correctly, you will receive the Sphinx's token, so you can speak to the High Priest.
Go to the High Priest, located in the south-west corner of the city, and ask him about the remains. He will tell you to put them back in the burial chamber.
Return to the pyramid, and select open door. Your cat will help you get back inside. Go through the pyramid using the same steps as in the first flashback. Before you jump the pit examine the canopic jar in your inventory! so that you can know in advance which attack style the apparition you must fight will use, and thus be able to bring the appropriate equipment to fight it. When you jump across the pit, you'll enter the second flashback.
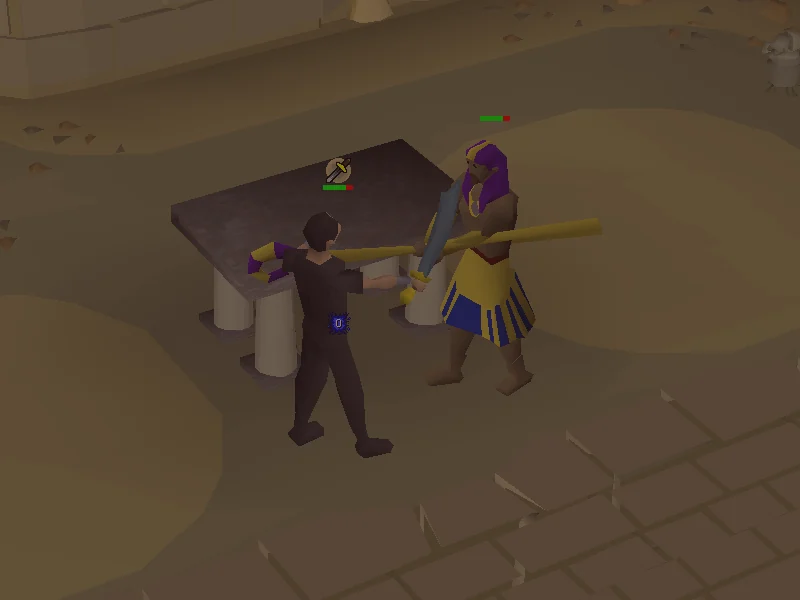
The second flashback begins where the first one left off—on the other side of the pit. Open the unlocked door of the west room. Examine the four jars to find which one you used to have in your inventory. If you don't remember, you can open your quest journal to figure out which jar you need to pick up, which will be stated by the major organ inside of it, or just try them all. The player will only take the correct one. As soon as you try to pick up your jar, one of four apparitions will attack you, which can range in Level between 75 and 81 and which uses a specific attack style. Two of the apparition types attack with Magic and the other two with Melee, and which one will appear depends on which specific jar you have, as follows. Protection prayers offer full protection against their attacks.
Dying during this fight will send you to your respawn location with the canopic jar in your inventory. Any other items are subject to normal death rules, while Ultimate Ironmen will have a death pile next to the pyramid entrance in Sophanem. Your cat will be gone. Re-entering the pyramid will return you outside of the west room in the flashback state.
Once you've defeated the guardian, pick up the jar. Leave the room and jump across the pit again. The flashback ends. (If you forgot to pick up the jar before jumping the pit, leave the pyramid and enter it again to return to just outside the jar room.)
| Icthlarin's Little Puzzle | |
| The jingle that plays upon solving the puzzle. | |
After the flashback is over, you will feel regret, and you will say to yourself that you think you should put the jar back. Jump the pit and go to the west door (remember you need to have 20% run energy to successfully jump the pit). You will need to solve the same door puzzle to enter the room. Click on the large golden bird to reset the puzzle until it lands on the solution shown in the image to the right. Then click the tiles indicated on the picture. Once you turn all of the tiles to their gold side; you will automatically enter the room. Drop the canopic jar where you found it and go back through the pyramid, across the pit, past the monsters, and past the traps to the High Priest. Alternatively, you can log out and back in, which will return you to the entrance with the objective still completed.
Talk with the High Priest. He will ask you to prepare a ceremony. You will need to help the Embalmer and the Carpenter. If you used a Protection prayer during the fight, recharge your prayer points at the altar here.
Then, head to the city's eastern side to find the Carpenter, who can be found directly East of the Southern pyramid. He needs a willow log to make a holy symbol. Talk to him again to give him your willow log. After a short wait, the carpenter will give you the symbol.
Note: You can skip the "short wait" by turning in the bucket of sap, linen, and bag of salt to the Embalmer and then going back to the Carpenter to collect the holy symbol immediately.
Talk to the Embalmer in the building south of the High Priest, near the water symbol. He will ask for a bucket of sap, linen, and a bag of salt. Tell him you will get the items later. To get a pile of salt, use the bucket of saltwater on the suntrap east of the embalmer. A bucket of sap can be obtained by using a knife with an evergreen tree or a pointy regular wood tree with the description "A commonly found tree" while you have a bucket. If you didn't bring sap, you can get some from the latter kind around Lumbridge or the Grand Exchange. The linen can be bought from Raetul for 30 coins. He is located in the north-east part of Sophanem, near the silk stall. Note: You will not be able to buy the Linen from him before you have spoken to the embalmer, as your player character will decline his offer.
The Carpenter or the Embalmer (whoever you helped last) will tell you that the High Priest began the ceremony without you. To find him, go back into the pyramid past the traps and the pit. As you cross the pit, the third flashback will begin.
You will now have an unholy symbol in your inventory. Your character tells you that your mistress wants it inside the pyramid so she can teleport there. Enter the east room and use the symbol on any sarcophagus around the walls. The flashback will end once you're done; if not, leave the room.
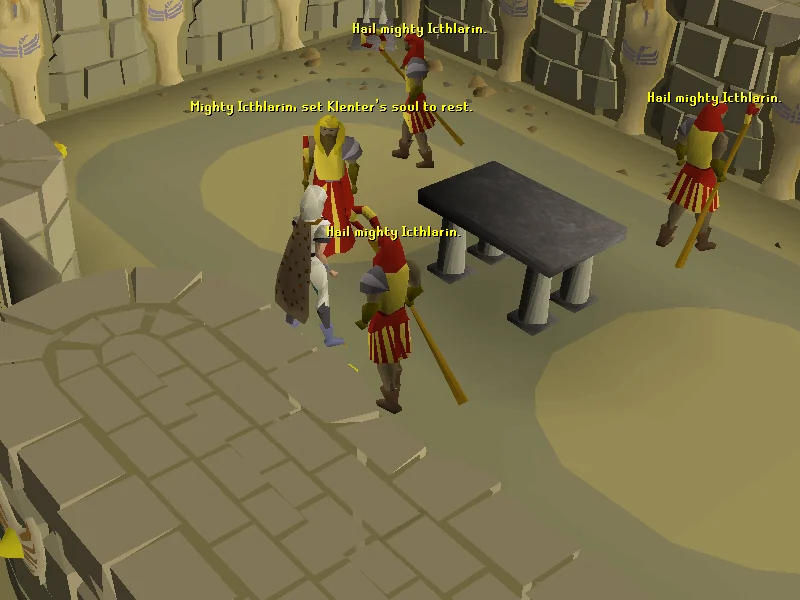
You will speak to yourself again showing your regret for causing harm to the town. Jump across the pit again and re-enter the eastern burial chamber. After a cutscene, you'll learn that the Wanderer was behind it. She is really the Devourer, an evil goddess, and she'll possess one of the priests.
You will fight a level 91 Possessed Priest. You can use Protect from Magic and kill him. Once you have dealt with him he drops a four-dose attack, magic, agility, or defence potion (Ironmen may wish to keep the agility potion if they plan on doing Tai Bwo Wannai Trio, should they receive it). Talk to the High Priest again, and he will tell you to meet them back above.
Note: If you take too long to defeat him, the message "The priest seems to have recovered from the Devourers spell" will appear, and you will have to exit the door and re-enter to face him again with full Hitpoints.
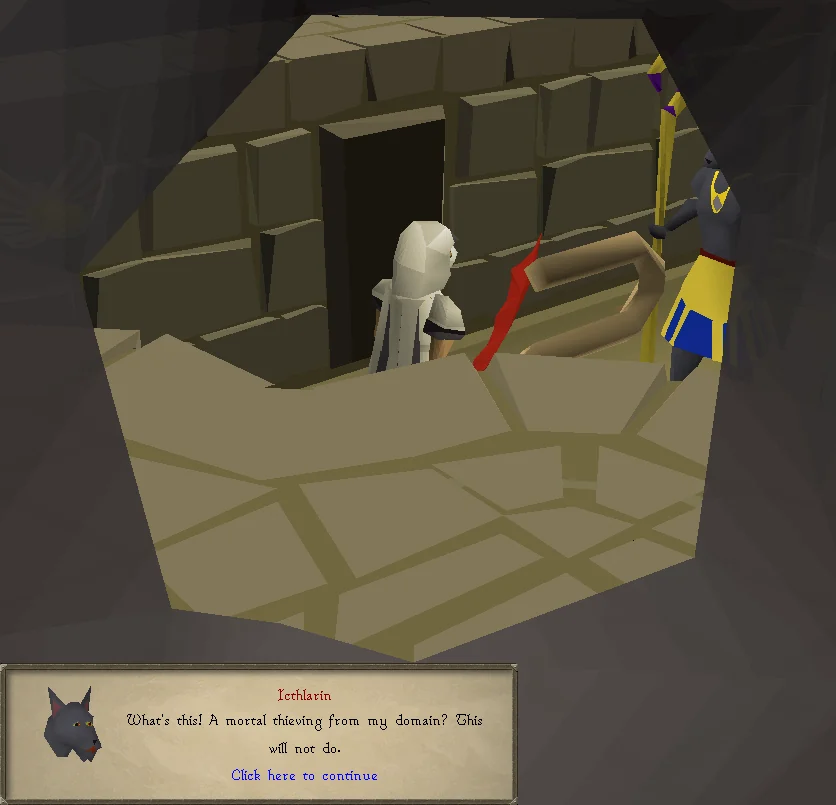
After talking to the High Priest, leave the room, and you will see the final flashback as a cut-scene. You will be escaping from the pyramid, and Icthlarin, god of the dead, will dehypnotise you.
You will find yourself outside the pyramid. Talk to the High Priest to complete the quest.
Congratulations, quest complete!
Use this when you already know the route. The full walkthrough above includes explanations and diagrams.
Talk to the Wanderer north-east of Sophanem (see picture) and ask why she has a problem with your cat.
Say: Why? What's your problem with it? → Ok I'll get your supplies.
Talk to the Wanderer again to give her a tinderbox and waterskin(4).
Say: Yes. I have them all here.
Touch the door of the pyramid where you wake up.
Navigate by clicking the minimap to automatically avoid the traps.
Jump the pit (20% minimum energy required, higher Agility increases your chances).
Go west and open the door.
Click on the large golden bird to reset the puzzle until it lands on the solution shown in the image on this page. Then click the tiles indicated on the picture.
Drop your cat and talk to the Sphinx, ask for help.
Say: I need help. → Okay, that sounds fair.
Riddle answer: 9.
Say: . → Totally positive.(if you give the wrong answer your cat will disappear)
Talk to the High Priest to the south-west.
Return to the pyramid (right-click door and open) and jump the pit again to trigger the next flashback.
Open the western door (directly south of you) and take the canopic jar back (you can only pick up the correct one).
A level 75 or 81 enemy (see the guardians in the info box above) will appear, kill it and take the jar.
Leave the room and jump across the pit.
Jump back across the pit.
Solve the western door puzzle and drop the jar where you found it.
Leave the room again and jump across the pit once more.
Exit the pyramid via the entrance ladder.
Talk to the High Priest.
Say: Sure, no problem.
Go to the house south of the church and talk to the Embalmer to give him the linen, salt, and sap.
If you don't have a linen, go north-east to the Spinning Wheel and talk to Raetul to buy linen for 30 coins. (Must need to ask the embalmer where to find linen befor Reatul let you buy linen)
If you need a pile of salt, it can be found by using an empty bucket on the pond north of Sophanem and then using the full bucket on the suntrap east of the Embalmer.
Go east and talk to the Carpenter. He will take your willow logs and give you a holy symbol.
Enter the pyramid (right click, open door).
Jump the gap again to trigger the 3rd flashback.
Enter the east door and use the holy/unholy symbol on any sarcophagus. Exit the room.
Jump back across the pit and enter the eastern room again.
Kill the level 91 Possessed Priest.
Talk to the High Priest.
Exit the pyramid.
Talk to the High Priest in the temple.
Congratulations, quest complete!
QUEST COMPLETE
OSRS WIKI CONTRIBUTORS
Walkthrough text and preparation lists are adapted from Old School RuneScape Wiki contributors under CC BY-NC-SA 3.0. Game imagery © Jagex Ltd; individual image credits are available from their captions. This page is fan-made and not affiliated with Jagex.
KEEP QUESTING
Game icons © Jagex Ltd, via the OSRS Wiki. Interface icons by Lucide.