1
1Requirements
None
QUEST 54 · MEMBERS
Recently contact has been lost with the temple to Saradomin on Misthalins' Eastern border. King Roald would be very interested to know what has caused this lack of communication, and seeks an adventurer willing to report back to him on the situation.
Talk to King Roald in the Varrock Palace.
STEP BY STEP
Follow the chapters below. Click any screenshot or diagram to view it at full size.
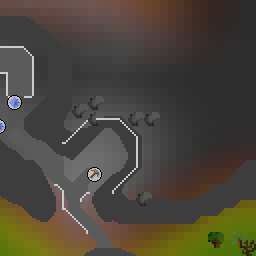


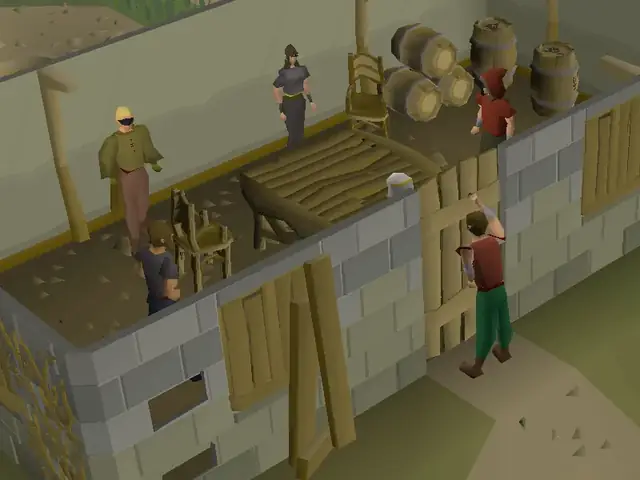
Talk to King Roald in the south-easternmost room of the Varrock Palace near the main entrance, and ask him for a quest. He will ask the player if they are aware of the Paterdomus Temple, which guards Misthalin from the only passage into the deadly vampyre-infested lands of Morytania. After the player responds that they've heard of it, the King will tell them that it has been some days since he heard from Drezel, the priest who lives there. He wants the player to check in on them.
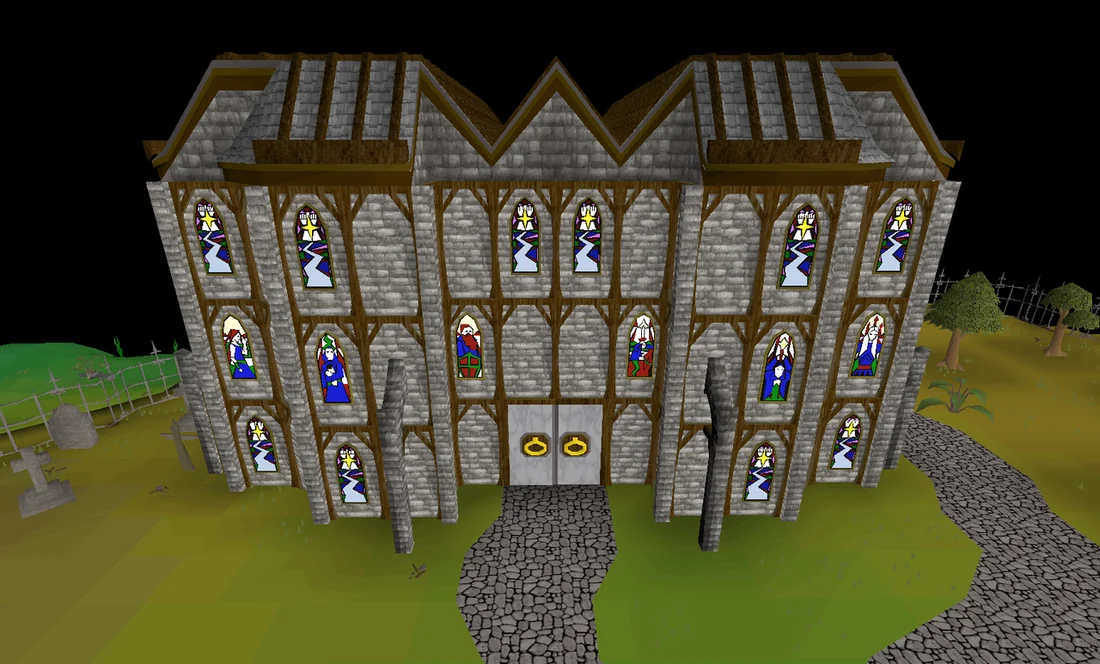
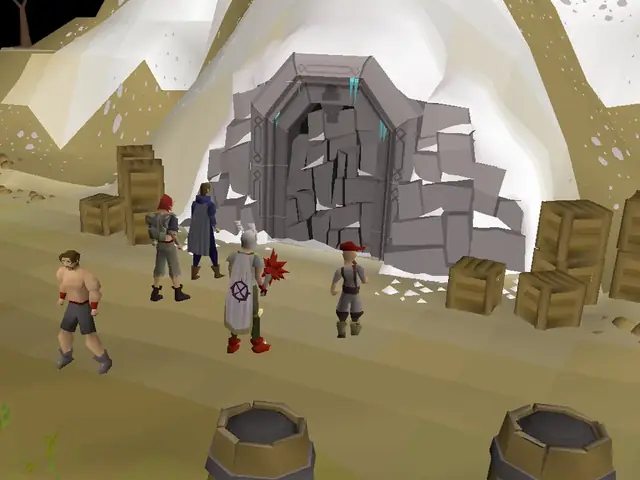
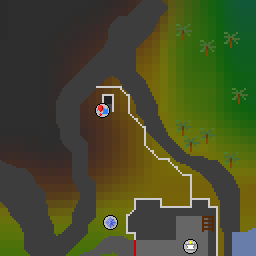
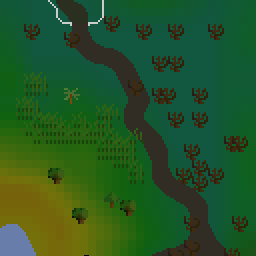
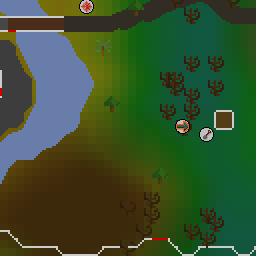
The temple is located north-east of Varrock. After exiting Varrock through the eastern entrance, head north along the path, continuing past the Earth Altar through the gate to the east. Follow the path all the way to the temple, then attempt to open the door. A mysterious voice will ask who you are and what you want. Tell them King Roald sent you to check on Drezel. After some panicked muttering, a second voice will introduce themselves as Drevil, before clarifying that they meant Drezel. They will then ask for a favour; a horrible big dog-like thing has moved into the mausoleum outside, and they want the player to get rid of it.
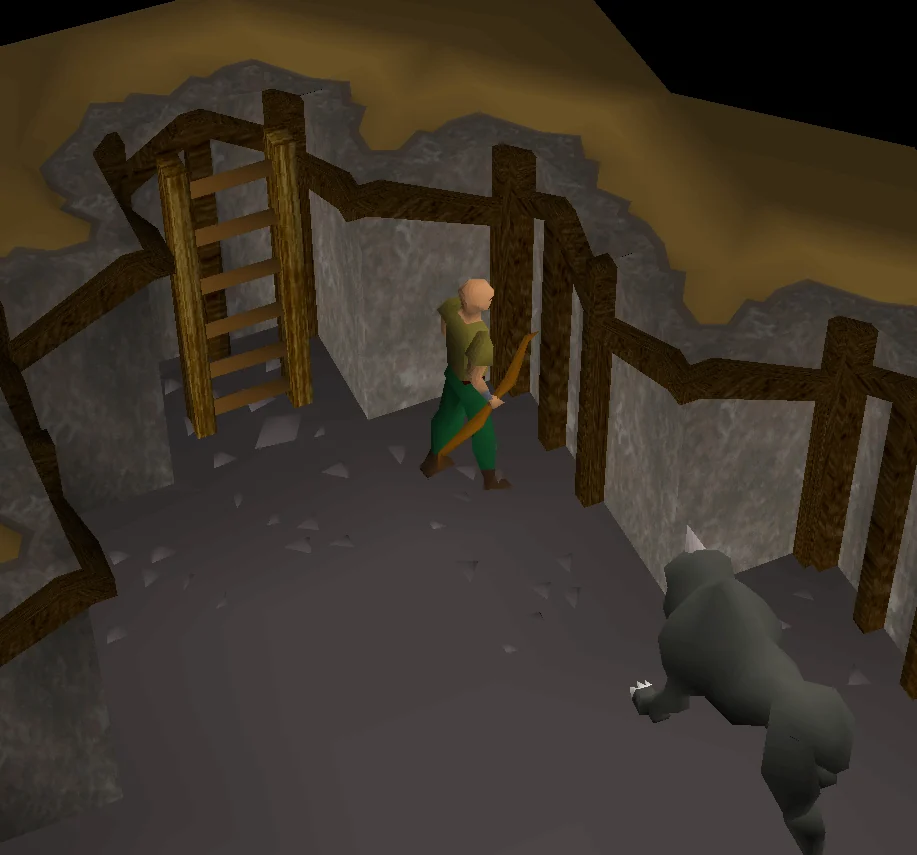
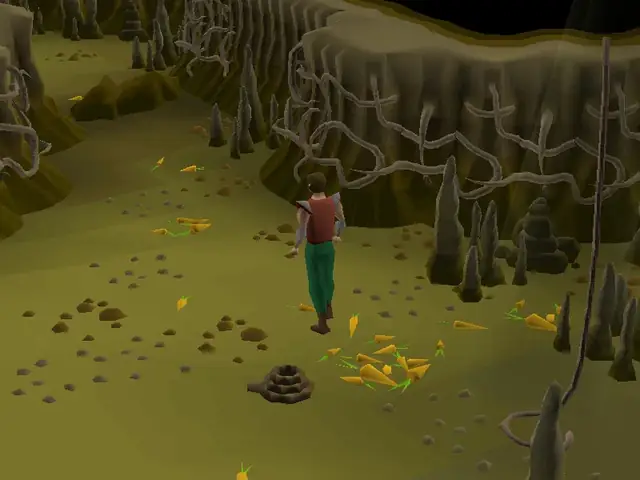
Climb down the trapdoor north of the temple, then kill the unaggressive level 30 temple guardian, which may be safespotted with ranged, or flinched using melee. You cannot use Magic. To trap the guardian, simply move one square east after coming down the ladder, and drag the dog over by using ranged attacks, or by attacking with melee and then running back to the same square.
Return to King Roald in the Varrock Palace. After telling him you killed the dog in the mausoleum, King Roald becomes enraged, and explains that the dog was protecting the mausoleum from sabotage, and that the whole of Misthalin is now at risk. He instructs you to go back and fix it right away.
Before returning, if you don't yet have a bucket, go up the nearby stairs and grab one from the bedroom in the north eastern corner. Alternatively you can buy one from the general store to the south of the palace.
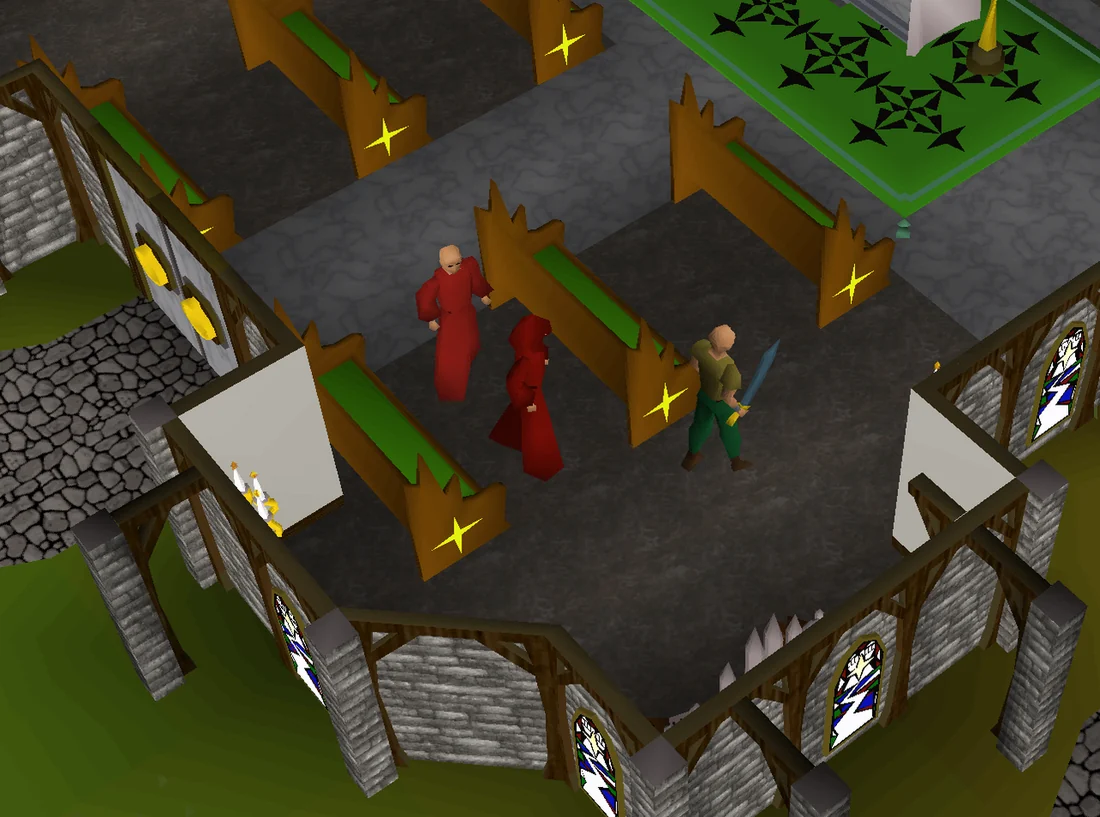
Return to the temple and enter it. Kill the hooded level 30 Monk of Zamorak to get a golden key. Only the level 30 monk will drop the key. The monk attacks with magic, and can be trapped in-between the pews by standing south of the pew, to be safespotted with ranged or magic. They can also be flinched with the same method.
After receiving the key, climb up the stairs in the north-east corner of the room, then climb up the ladder of the south west corner of the room to reach the top floor. Talk to Drezel through the bars. He will explain that Zamorakians have attacked the temple, intending to desecrate the blessings placed upon the holy River Salve by the Seven Priestly Warriors and leave Misthalin defenceless against the vampyres of Morytania. Ask what to do, and he will explain that you need to find the key to unlock his cell and a way to deal with the vampyre trapped in the nearby coffin. As a descendant of one of the Seven Priestly Warriors who blessed the river, it may be awoken by the familiar scent of his blood. If you choose to speak to him again, he will suggest that the Zamorakians may have hidden the right key somewhere, as the golden key you retrieved does not fit the gate.
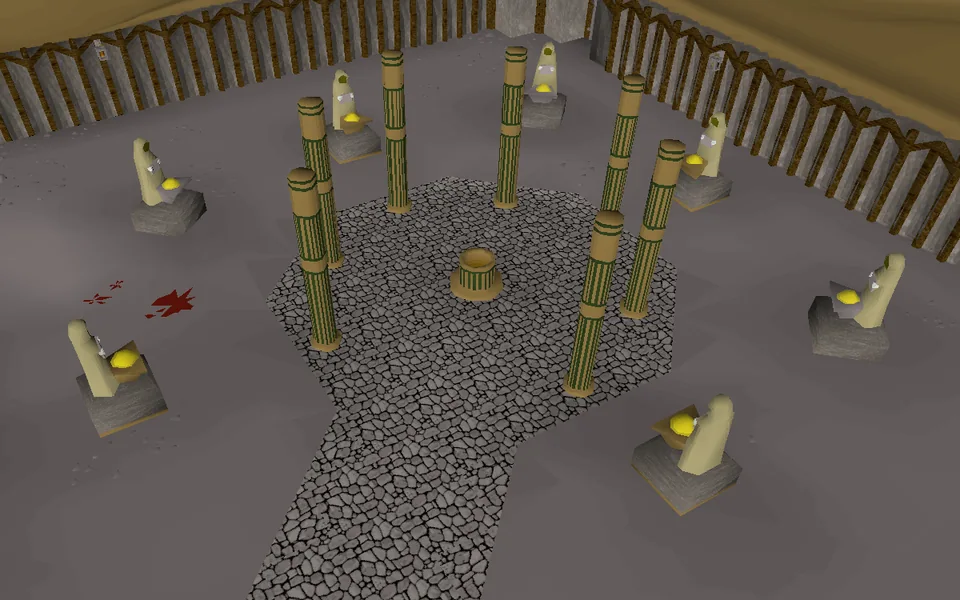
Next, go back down the trap door into the mausoleum. With the golden key in the inventory, the player can now unlock the gate to the south. Through the gate is a room with seven monuments and a well. Study the monuments until you find the one that holds an iron key, then use the golden key on it to swap the two. After obtaining the iron key, use your empty bucket on the nearby well to fill it with murky water.
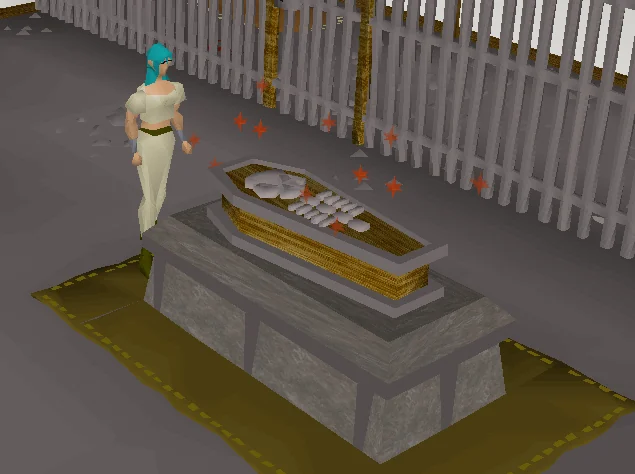
Return to the top floor of the temple, and use the iron key on the cell door. Enter the cell and talk to Drezel, who will bless the murky water for you. Use the blessed water on the coffin just outside of the cell to seal the vampyre within it. Talk to Drezel again and he will ask the player to meet him in the mausoleum, in order to help revert the damage that the Zamorakians have done.
Return to the dungeon and proceed through the gate located in the north-east corner of the monument room. Speak to Drezel, who will tell the player that the Zamorakians have used a potion to pollute the River Salve. While he focuses on reinforcing the barrier between Morytania and Misthalin, he wants the player to help soak up the evil magic that the potion has released into the river. To do this, he needs 50 unnoted rune essence.
If you need to, you can give him a mixture of both rune and pure essence. Players with essence pouches can bring all 50 essence in a single trip if desired. If you don't have an essence pouch, make multiple trips as needed.
After bringing him all of the rune essence, he will thank the player and give them a Wolfbane dagger, explaining that it has been passed down through his family for generations and is imbued with the power of Saradomin.
Congratulations, quest complete!
Use this when you already know the route. The full walkthrough above includes explanations and diagrams.
Speak to King Roald.
Say: I'm looking for a quest! → Yes, I think I've heard of it. → Yes. → I'll get going.
Bring a ranged or melee weapon for the next part, to kill the Temple Guardian.
Magic attacks and the Dwarf Multicannon will not work.
Head to the temple east of Varrock by the river.
Click on the large door.
Say: King Roald sent me to check on Drezel.
Climb down the trapdoor just to the north.
Say: Yes.
Kill the Temple Guardian. Players may safespot it by getting it stuck in the middle section of the room against the east wall and standing on the east wall one section north.
Go back and speak to King Roald.
Take 25 unnoted pure or rune essence, a bucket, a weapon and 1 free inventory slot.
As a low level, you may need to make more than two trips if you will be taking food, although the Monk can be safespotted over the pews using ranged or magic.
Enter the temple again and proceed up the stairs, then the ladder until you reach the second floor. Talk to Drezel.
Say: What do we do?
Kill the hooded level 30 Monk of Zamorak to obtain a golden key.
Go back to the trapdoor where you killed the Temple Guardian, climb down, and go through the first door.
Study the monuments until you find one with a key.
Use the golden key on the monument.
Use the bucket on the well in the middle of the monuments.
Go back to the top floor of the temple where Drezel is located.
Use the Iron key on the cell door and open it.
Talk to Drezel.
Use the blessed bucket of water on the coffin.
Talk to Drezel again.
Go back down the trapdoor, through the monument room, and proceed through the eastern door. Talk to Drezel.
Give him 50 unnoted essence (this will take a few trips without using pouches).
Congratulations, quest complete!
QUEST COMPLETE
OSRS WIKI CONTRIBUTORS
Walkthrough text and preparation lists are adapted from Old School RuneScape Wiki contributors under CC BY-NC-SA 3.0. Game imagery © Jagex Ltd; individual image credits are available from their captions. This page is fan-made and not affiliated with Jagex.
KEEP QUESTING
Game icons © Jagex Ltd, via the OSRS Wiki. Interface icons by Lucide.