1
1Requirements
- Completion of the following quests:
QUEST 140 · MEMBERS
For thousands of years, the Wintertodt has remained safely sealed behind the great Doors of Dinh. Alas, despite the best attempts of the Lovakengj smiths and the Arceuus mages, the doors are failing. Only Dinh himself knew the secrets behind the creation of these doors. Without his knowledge, there may be nothing to stop the Wintertodt escaping and bringing ruin upon Kourend. It is up to you to recover this knowledge.
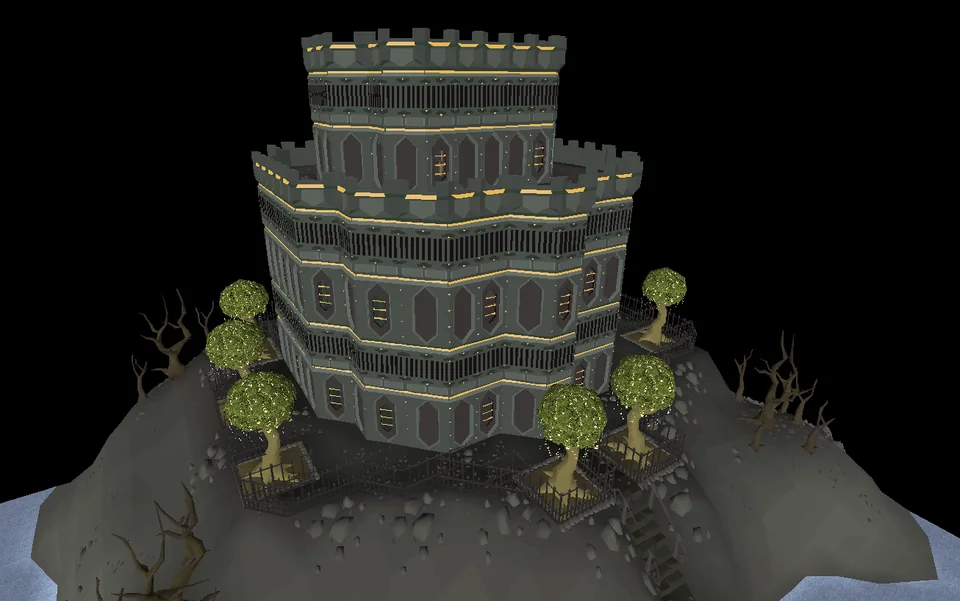
Talk to Lady Vulcana Lovakengj in Lovakengj.
STEP BY STEP
Follow the chapters below. Click any screenshot or diagram to view it at full size.
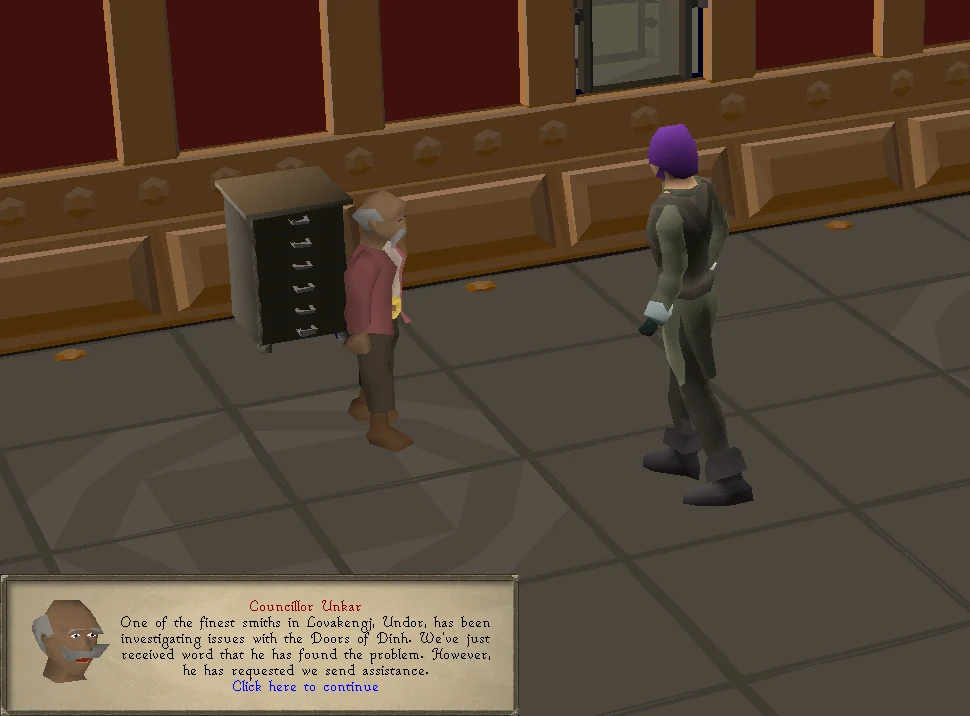
Head to the Lovakengj Assembly, west of the southern bank in Lovakengj of Great Kourend, and talk to Lady Vulcana Lovakengj, fairy ring code DJR will teleport you just south of her. If she's not ready to talk, the player must first talk to Ignisia to learn about Wintertodt. A member of the Kourend Council, Councillor Unkar, explains that the blacksmith Undor has found the cause of why the Doors of Dinh are failing, and requests assistance. Agree to help Unkar.
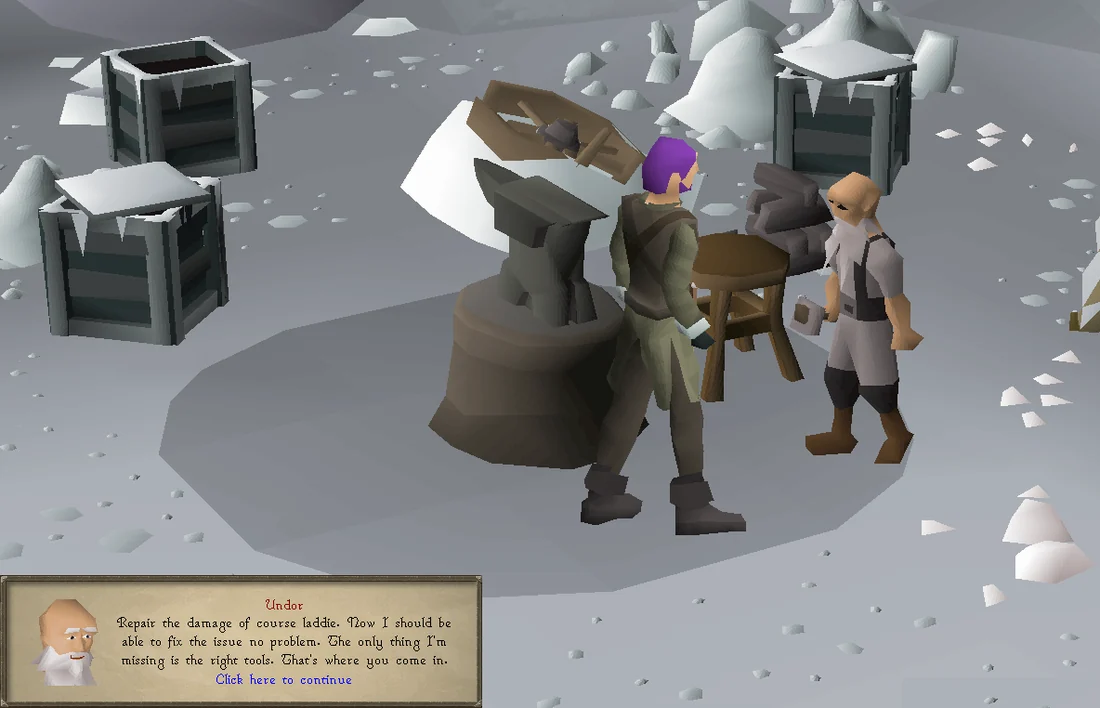
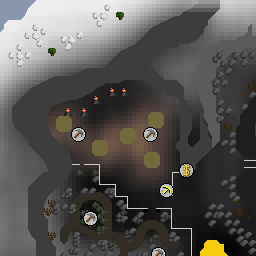
Head to the Wintertodt Camp. A games necklace can be used to get there very quickly. Alternatively, players can use the cart system to get to the Northern Tundras or fairy ring CIS will drop you off just north of the Arceuus Library. Speak to Undor on the west side of the camp. If he says he needs to finish a job first then finish the dialogue and talk with Ignisia found a little to the east. Then go back to Undor and tell him: I've been sent to help you.
He will explain that the Doors have been purposely damaged by someone or something, creating a small hole in the doors. Although not much, it is enough for the Wintertodt imprisoned within to draw a small amount of power into the prison.
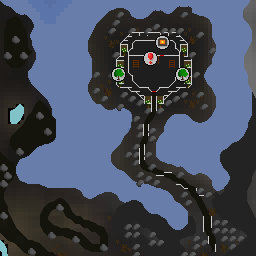
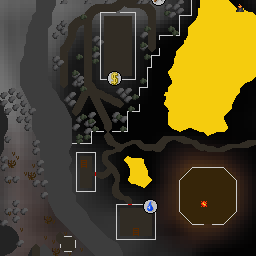
Undor can easily fix the damage done, but he needs Dinh's hammer in order to repair the doors, which he believes is located in the Forsaken Tower, located on the peninsula due west of Lovakengj and due east[?] of Mount Karuulm.
Fairy ring CIR takes you to the base of Mount Karuulm. Alternatively, players can use the cart system to get back to Lovakengj or use their Battlefront teleport to get to the graveyard directly south of the Forsaken Tower.
Tip: Players with 70 Smithing planning to complete a hard task for the Kourend & Kebos Diary should also bring an adamantite ore and six coal. Warning: Be sure to follow the steps below before igniting the furnace; otherwise, you may take up to 34 damage.

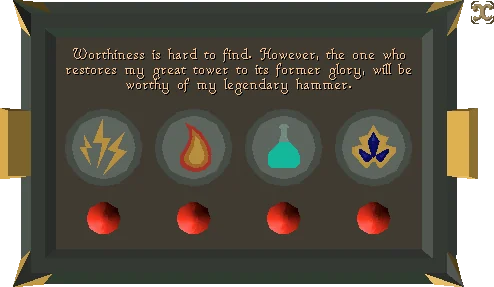
Once you're inside the tower, inspect the display case. The interface shown displays each of the four puzzles required to unlock the case.
Optionally, search the crate by the south-west corner to obtain an ancient letter, which gives you a little more insight into the Tower's history.
Enter one of the doors to the back room. Search the cupboards for a tinderbox, and a 5 and 8-gallon jug.
Warning: Do not light the furnace before completing the next step or you will take 40% of your total hitpoints of damage.
In the north-west corner of the room there is a coolant dispenser. The objective is to get 4 gallons in the 5 gallon jug, which can be done by following these steps:
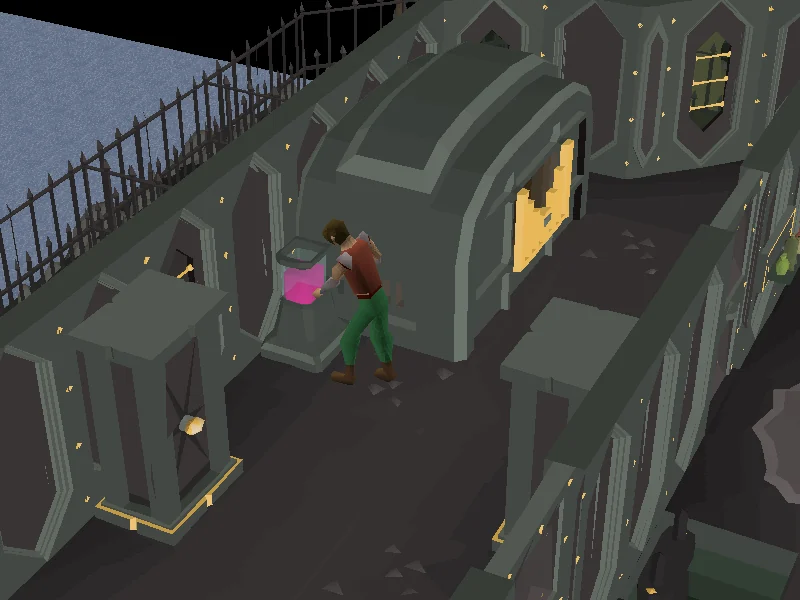
The riddle is a math problem known as a Water pouring puzzle, in which you must determine a multiple of 8s and 5s between which the difference is 4. Therefore, the solution is either to fill up the 5-gallon jug 4 times (+20) and emptying the 8-gallon twice (-16), or filling up the 8-gallon jug 3 times (+24) and emptying the 5-gallon jug 4 times (-20).
You should now have 4 gallons in the 5 gallon jug. Use the 5-gallon jug (with 4 gallons in it) on the furnace coolant mechanism on the left side of the furnace. Once it's full, light the furnace using your tinderbox.
Note: Once the furnace has been lit, players can smelt an adamantite bar for a Kourend & Kebos Diary hard task.
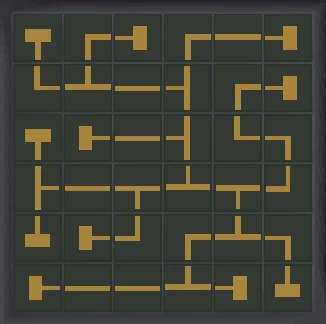
Go into the basement using the ladder north to the display case and search the crates in the room immediately east of the ladder until you find a generator crank. Start the steam generator using the crank. Once the generator is started, align the power grid in the centre of the room (solution above).
Go upstairs to the 1st floor (UK). You will see a table of potions and a refinery. The refinery needs to be activated, but before it can be, it needs to be cleansed, by use of cleansing fluid. One of the potions on the table is cleansing fluid, but the correct number is random for each player. Using the wrong fluid on the refinery will result in up to 40 damage and poisoning. With an antipoison and plenty of food, the puzzle can be brute-forced by trial and error.
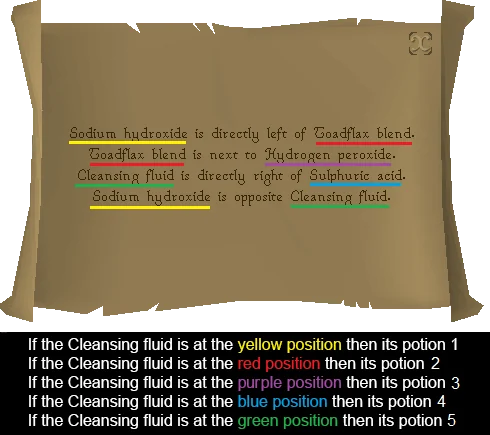
To solve which potion is the correct one, you can search the cupboard in the south-east[?] corner of the room to find old notes with a riddle, which includes some potions' locations on the table relative to each other. The potion you need to get is the cleansing fluid. The riddle layout is the same for everyone, but the fluids differ.
For the solution:
Once you've chosen the correct fluid, click on the refinery, cleanse it, and then activate it.
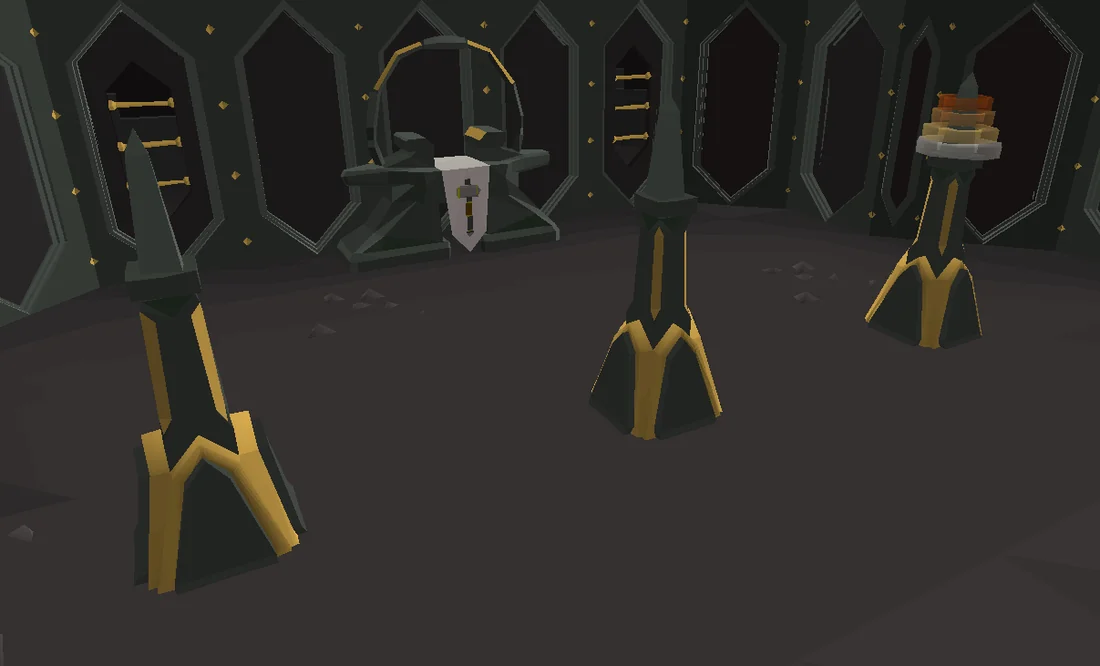
Go up the ladder to the 2nd floor (UK). You will be in a room with three energy pylons and a runic altar. The western pylon has four weighted energy disks on it of varying size. The objective of this puzzle is to stack all of the rings in order on the middle pylon.
Remove the disc from a pylon and place it on another pylon in the following order:
With this done, all of the locks on the display case should be green. Go downstairs to the ground floor (UK) and retrieve Dinh's hammer.
Return to Undor at the Wintertodt Camp, and give him Dinh's hammer. Now, he can fix the Doors of Dinh, but even so, the pyromancers will have to continue subduing the Wintertodt, as it has already gained much power in the time the Doors were damaged. He will tell you to return to Lady Vulcana Lovakengj, fairy ring code DJR will teleport you just south of her or players can use the cart system to get back to Lovakengj to the east of her. Speak to her to complete the quest and obtain your reward.
Congratulations, quest complete!
Use this when you already know the route. The full walkthrough above includes explanations and diagrams.
Talk to Lady Vulcana Lovakengj in the Lovakengj Assembly building to the west of the southern bank. (Xeric's Talisman, Xeric's Inferno)
Say: Yes. → I'll get going.
Go to the Wintertodt camp (Games necklace teleport).
Talk to Ignisia in the north-east of the camp if you haven't previously done so.
Talk to the dwarf Undor inside the camp.
Say: I've been sent to help you.
If he tells you to talk to the "Fiery lass" Talk to Ignisia just to the north east, before returning to him.
Go to The Forsaken Tower to the east of Mount Karuulm, west of Lovakengj (north-east of fairy ring CIR, Battlefront Teleport or Skills necklace to Farming Guild).
Inspect the Display Case.
Go down the ladder behind the Display Case and open the north-eastern door.
Search the north-north-east crate for a generator crank.
Inspect the steam generator in the south.
Say: Start the generator.
Start the generator.
Inspect the Power Grid.
Say: Yes.
Align the Power Grid as shown below.
Go up the ladder and then into the northern room. Search the cupboards for a tinderbox, 5-gallon jug, and 8-gallon jug.
Fill the 5-gallon jug with coolant through the coolant dispenser in the west.
Use the 5-gallon jug on the empty 8 gallon jug.
Fill the 5-gallon jug with coolant.
Use the 5-gallon jug on the 8 gallon jug.
Empty the 8 gallon jug (right-click check).
Use the 5-gallon jug on the empty 8 gallon jug (there should be 2 gallons in the jug).
Fill the 5-gallon jug with coolant.
Use the 5-gallon jug on the 8 gallon jug.
Fill the 5-gallon jug with coolant.
Use the 5-gallon jug on the 8 gallon jug.
You should now have 4 gallons of coolant in the 5-gallon jug. Use it on the furnace coolant west of the furnace, then light the furnace with the tinderbox.
If doing the diary task, smelt the adamantite bar now.
Go upstairs.
Open the door, then take the notes from the eastern cupboard.
Take the cleansing fluid from the northern table. The position will be random for everyone. Look at the notes to see the riddle: the fluids are listed in order of 1-2-3-4-5 (e.g. if cleansing fluid is the second potion mentioned in the fourth sentence, it is number 5).
Warning: If you choose the wrong potion, you will take high damage (25+) and become poisoned. This can be avoided by logging out before advancing the dialogue.
Use the cleansing fluid on the refinery to the south, then activate it
Say: Yes. → Yes.
Go up the ladder.
There are four discs. In the following order, remove a disc from a pylon and place it on another pylon:
From West (W) to East (E)
From W to Centre (C)
From E to C
From W to E
From C to W
From C to E
From W to E
From W to C
From E to C
From E to W
From C to W
From E to C
From W to E
From W to C
From E to C
Go downstairs and get Dinh's hammer from the display case.
Return to Wintertodt Camp.
Use the hammer on Undor.
Return to Lady Vulcana Lovakengj.
Congratulations, quest complete!
QUEST COMPLETE
OSRS WIKI CONTRIBUTORS
Walkthrough text and preparation lists are adapted from Old School RuneScape Wiki contributors under CC BY-NC-SA 3.0. Game imagery © Jagex Ltd; individual image credits are available from their captions. This page is fan-made and not affiliated with Jagex.
KEEP QUESTING
Game icons © Jagex Ltd, via the OSRS Wiki. Interface icons by Lucide.