2
2Requirements
- Completion of the following quests:
- 62 Agility [not boostable] [required to start]
- 55 Crafting [not boostable] [required to start]
- 55 Firemaking [not boostable] [required to start]
QUEST 153 · MEMBERS
When Sophanem was beset by a series of plagues, the gates to the golden city of Menaphos quickly closed. The city has been locked down ever since, with no one allowed to leave or enter. However, rumours have escaped of strange happenings inside Menaphos and there are stories of citizens mysteriously disappearing. These odd happenings need to be investigated, but few are willing to do so. Maisa, a spy from Al Kharid, has grown tired of inaction. She is determined to solve this mystery herself, bu
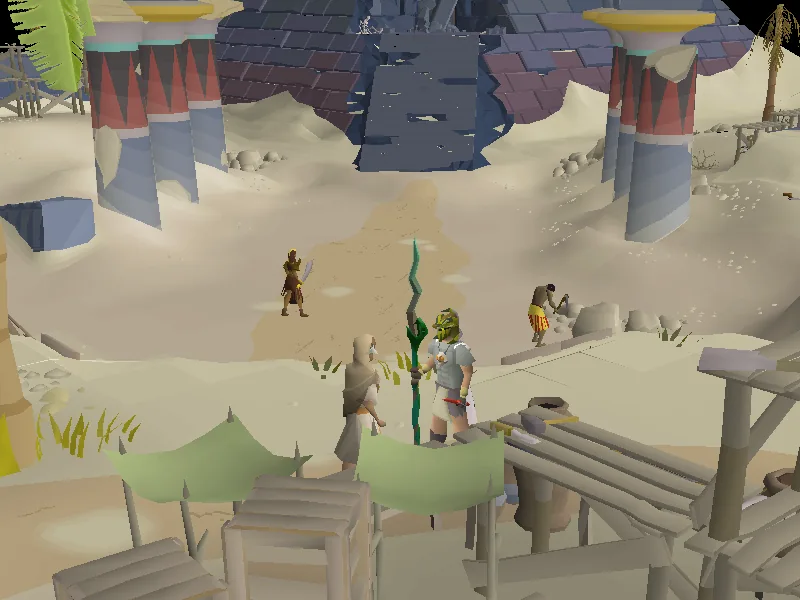
Talk to Jamila at her stall in Sophanem.
STEP BY STEP
Follow the chapters below. Click any screenshot or diagram to view it at full size.
Talk to Jamila in Sophanem ( icon on the minimap). She will tell you that she has an exclusive item from her shop for you as thanks for helping the people of Sophanem; agree to begin the quest. As she tries fitting the item, a gold ring, on your finger, she will sneakily give you a message and proceed to tell you the ring is too small for you, acting as if nothing had happened. Read the message to find out that the sender wishes to meet you at a campsite by the cliffs east of the city.
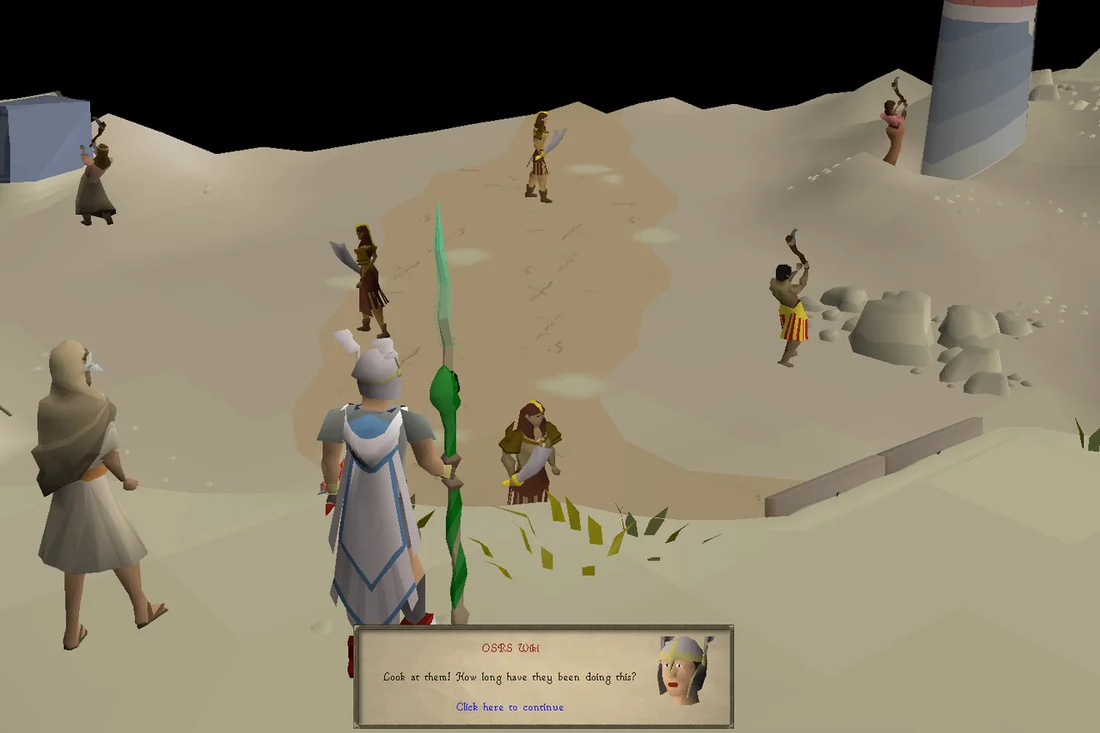
Make your way to the campsite, which is directly north of the small mining site by the cliffs. Here, you will find that Maisa, a spy from Al Kharid you met during the Contact! quest, was the one who asked for you. She will tell you that citizens from Menaphos have been bypassing the quarantine of the city and excavating the old necropolis south of Sophanem. In addition, upon visiting the necropolis, she found the behaviour of the citizens to be unusual. She will ask you to come with her there; agree to do so, and a cutscene will play. If you accidentally cancel the cutscene, make sure you speak to Maisa again to trigger it, otherwise you will not be able to advance to the next cutscene.
After the cutscene, you'll appear at the necropolis. You will see many citizens and Menaphite Guards excavating the area. If you have the Pharaoh's sceptre with you, you can commune with the obelisk directly north of the necropolis mine to allow teleportation back here, via the "Jaltevas" teleport option on the sceptre.
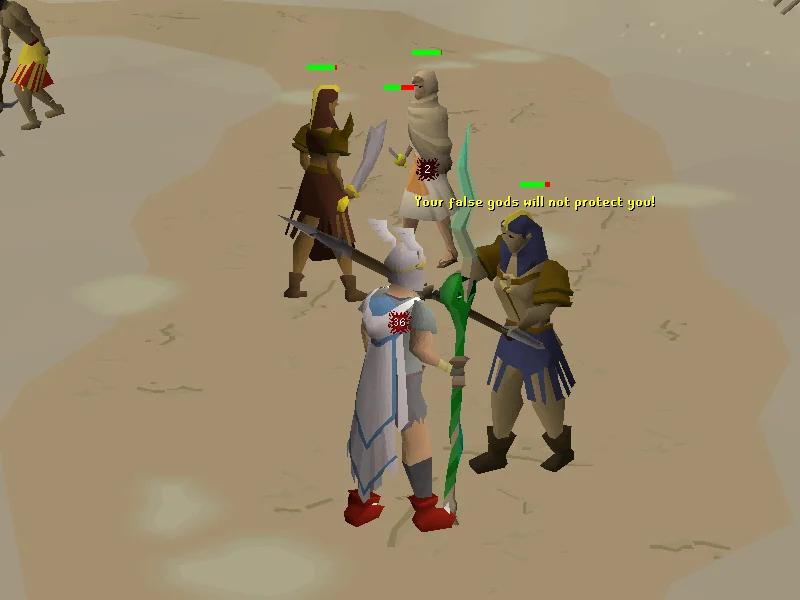
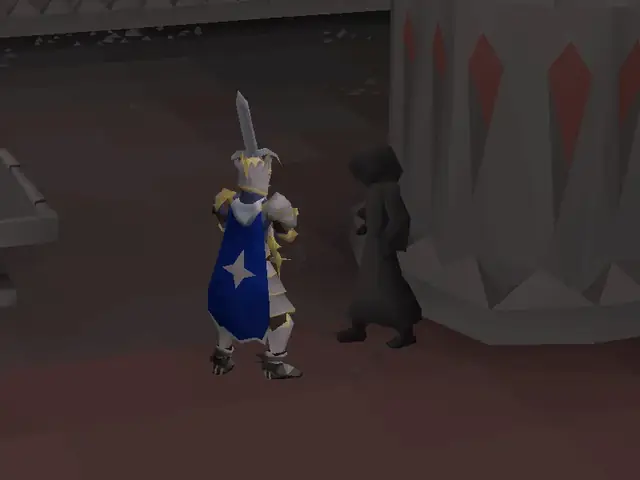
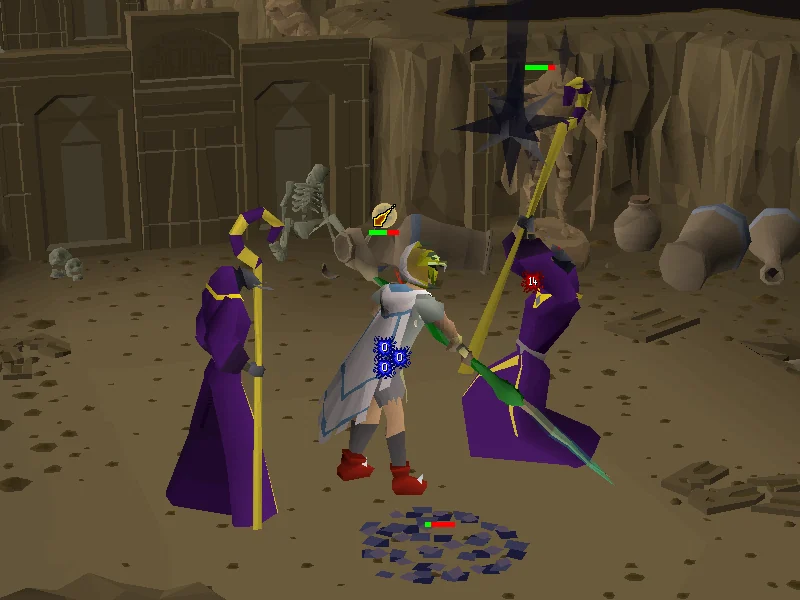
Head to the Jaltevas Pyramid south-east, and inspect the blocked entry. After that, talk to a citizen or Menaphite Guard, and a cutscene will play, where the Head Menaphite Guard and two Menaphite Guards will confront you. Maisa will instantly kill one Menaphite Guard, and begins fighting the other. Meanwhile, you will fight the Head Menaphite Guard.
The Head Menaphite Guard will attack with melee and can deal up to 16 damage. Do not use any overhead protection prayers as he will otherwise yell Your false gods will not protect you! and damage you for 33% of your Hitpoints level. While the Head Menaphite Guard cannot be safespotted as he will manoeuvre around obstacles to hit the player, you can use a hit-and-run strategy using any ranged weapon or combat spell while running around a neighboring cluster of rocks to prevent him from coming into melee distance. The guard can also be bound in place, so runes for snare/entangle or ice spells will make the fight simple. Iban's Blast is quite effective for low-level Ironmen.
After defeating him, he will snap out of his trance and tell you and Maisa that Amascut was responsible for hypnotising the Menaphites and unblocking the tomb in the Jaltevas Pyramid and that she is currently inside. He will also tell you that scabarites assisted her and that they came from some ruins to the north-east. Maisa will then ask you to head back to her camp.
Talk to Maisa at the camp, and she'll ask that you explore the cliffs in order to find the scabarites, while she figures out how to re-enter Menaphos. Make sure you finish the conversation with her, or you will not be able to progress to the next part. If you do not have a tinderbox for later, you can search the camping equipment by the tent to get one. A spade can also be found at the north side of the campsite.
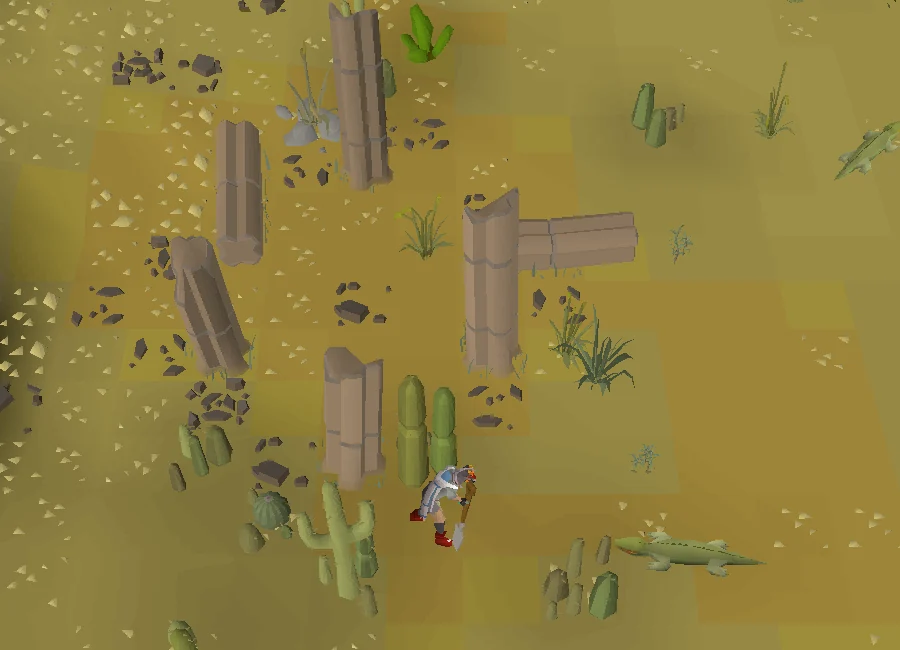
From the campsite, head south and then to the east, around the cliffs, where you will find a set of stairs to the Ruins of Ullek. Make your way towards the furnace next to the well. Use the coal and tinderbox on the furnace to ignite it. Next, search the well for a stone tablet and read it. The message indicates a hidden chest buried in the southernmost ritual pillar found down and south-west of the climbing steps. Refill any waterskins you may have at the well, then dig at the aforementioned location to receive the chest. The passcode to the chest, which is deciphered from the numerical order of the letters of the alphabet in the name "Akhem", is 1118513. The chest will contain a scarab mould.
With the scarab mould and iron bar, go back to the furnace and make an iron scarab emblem. Then, head north and inspect the pillar in front of the stairway to insert the emblem. An interface will open up to rotate the emblem; rotate the scarab on it until it faces down. The entryway will now be unlocked. Climb down the stairs, and you will be attacked by two Scarab Mages. These attack much quicker than their normal counterparts, so Protect from Magic is recommended. Shortly after beginning the fight a Scarab swarm will also spawn attacking with rapid, but weak melee attacks, also being able to inflict poison. The swarm can be ignored as they will die when the mages are killed. Upon defeating the two mages, climb down the stairs.
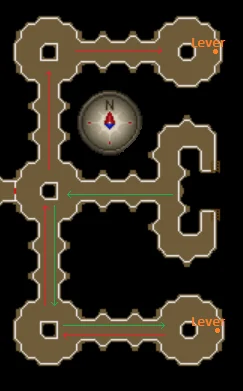
After killing both Scarab mages, take one of the two stairs down and then follow the green arrows (on the attached map in this guide) to the southern lever to activate it. Once the first lever is activated quickly run along the red lines to pull the other lever. You must hit both levers within 60 seconds to continue to the next area. If you are hit by the projectiles fired down the hallways by the Tomb walls, you will be stunned and take up to 10 damage.
Note that if you die during this portion, you may find that your first time successfully pulling the levers won't unlock the door; simply pull them again within 60 seconds of each other to fix this.
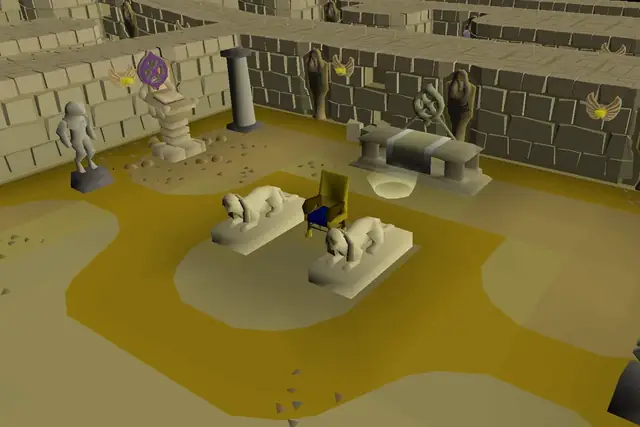
Return to the junction and enter through the previously locked door. Inspect the south-western plaque and you will find four emblems depicting a human, scarab, crocodile, and baboon. The emblems need to be put into the urns in the correct order; a plaque to the north-west, will give a riddle, hinting of the order where each emblem is to be placed.
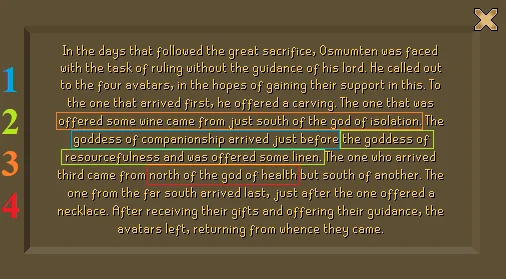
The order of urns is randomised, but doesn't change if you leave the tomb and come back. To solve the riddle, use the table below and place the emblems in the urns that correspond to the following:
| Emblem | God | Item |
|---|---|---|
| Scarab | Isolation | Carving |
| Human | Health | Wine |
| Crocodile | Resourcefulness | Necklace |
| Baboon | Companionship | Linen |
Once you have put the emblems into their correct urns, pull the lever to the south-west and continue to the next area. If the emblems are in the wrong order when pulling the lever, you will take high damage, be poisoned, and have your stats temporarily decreased. However, the riddle will not be reset, so you can just try again if needed.
Speak with the spirit, who reveals himself to be Mehhar, the son of Osmumten. He will reveal that the pyramid at the necropolis is the tomb of Osmumten, and that the divine weapons buried with him inside are likely what Amascut is seeking. He will also offer some insight on the history of the Kharidian Desert during the Second Age.
Lastly, he will ask that you free the High Priest of Scabaras from Amascut's influence by way of an incantation. You do not need to record the incantation, as your character remembers it automatically. Afterwards, search the urn at the back of the room to obtain a rusty key.
Return to the upper level of the dungeon and be prepared to fight a level 379 boss - the Champion of Scabaras. The champion is highly resistant to magic, and fairly resistant against melee; as such, ranged is recommended for this fight. Bringing a stamina potion and some form of antipoison is advised.
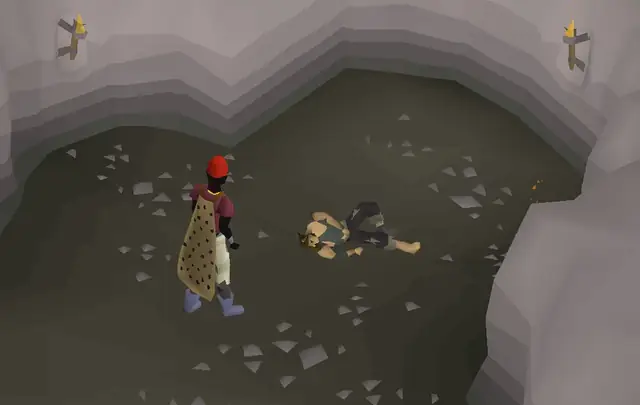
On player death, the gravestone will be at the entrance to the Scabaras Dungeon View start location ↗
Run energy is also important for this fight since you will most likely be kiting him between the four corners of the room. Explorer's Ring allows 50% restoration of energy which is extremely useful. Strange fruits, which can be stolen from the fruit stalls outside of Logava Gricoller's Cooking Supplies in Hosidius, restore run energy and cure poison at the same time - since you will be kiting the entire fight, you will need 150+ points of energy.
When ready, unlock the door upstairs to begin the fight. The door leading to the Champion of Scabaras stays unlocked after using the rusty key, even if the player leaves the combat area by teleports or death. If players die during the fight, their gravestone will be found by the tomb's entrance on the surface.
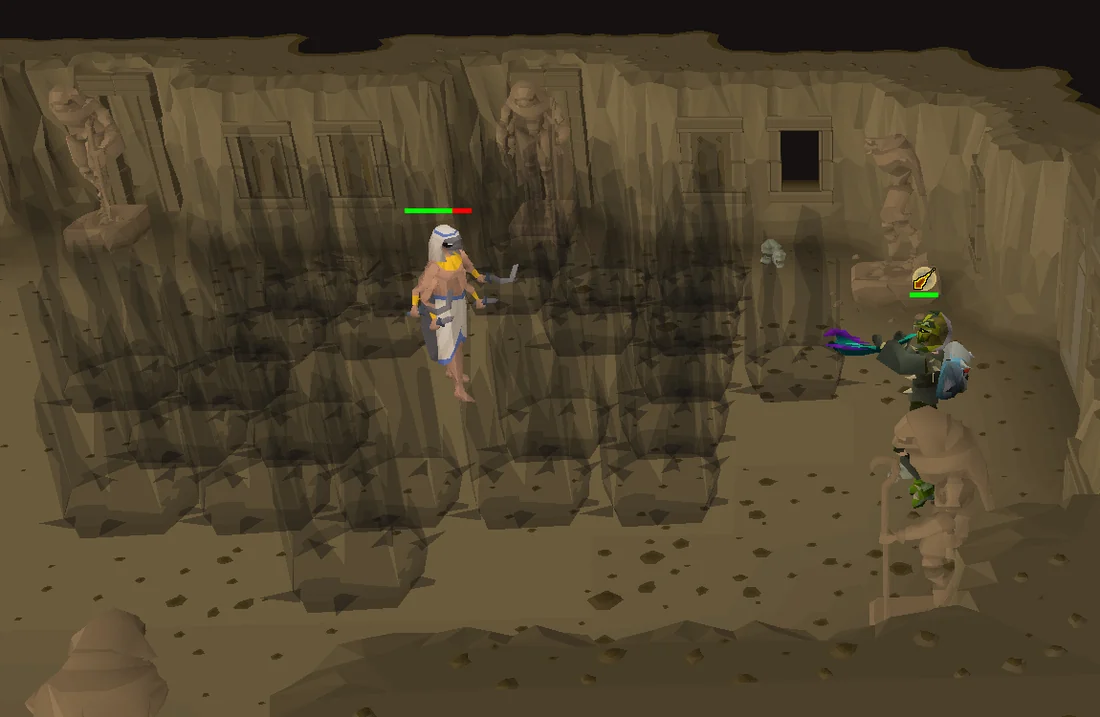
It is advised to pray Protect from Magic throughout the fight, and stay out of melee range of the Champion to avoid its shadow burst. Moving in a rectangular path around the walls of the room with Longrange ranged attacks is highly effective for keeping distance.
The Champion of Scabaras will attack with magical shadow attacks and melee up close. After several normal attacks, it will use one of three special attacks.
Players should kill the Shadow Rift and scarab swarms when they appear, but the first priority should always be maintaining distance from the Champion. If using a crossbow, both enchanted ruby and diamond bolts are very useful due to their special effects. Crossbows are recommended over lower accuracy weapons such as the toxic blowpipe, due to the Champion's high defence.
After defeating the Champion, speak to the High Priest of Scabaras. You will free him from Amascut's influence, and he will reveal that with their help, Amascut has captured the lesser gods and brought them into Osmumten's tomb. He will also tell you that the Pharaoh is also being controlled by Amascut, and that she needed the city to be quarantined for reasons unknown. Lastly, he admits to releasing locusts and frogs, as well as the poisoning of the cows, though he is unaware of the pox infections.
After speaking to the High Priest of Scabaras, head to Zahur's shop in Nardah, directly south of the fountain. She and Maisa will tell you that the pox originates from the bark of a cadavaberry bush and that it can be easily treated. You will corroborate this with your discoveries in the Ruins of Ullek, and you will be asked to retrieve a Lily of the Elid for the pox cure, which can be found on an island west of Nardah while Maisa goes to collect the scarab poison needed. If you don't already have raw beef or cooked meat, purchase one from the Nardah General Store as you'll need it shortly.
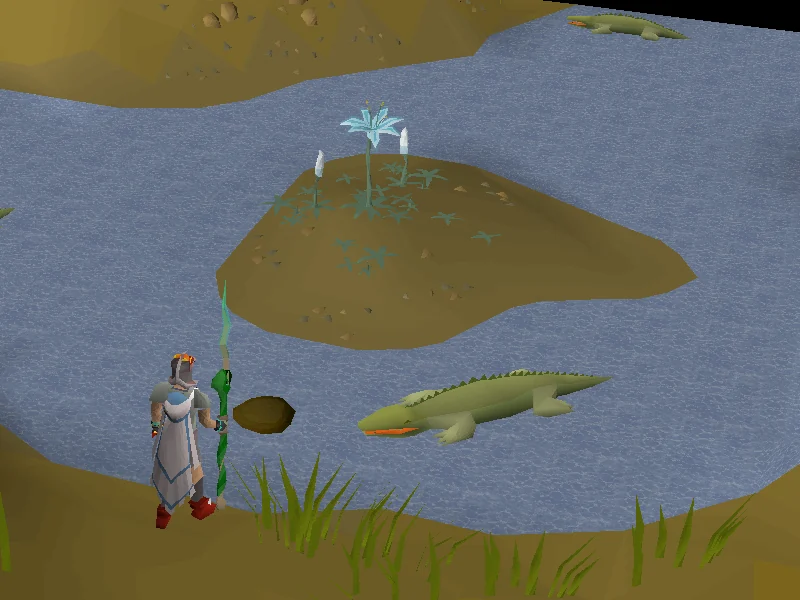
Head west until you reach the River Elid and see an island with lilies growing on it. Attempt to jump to the stepping stones, and throw the meat at the crocodile (who you affectionately name "Roger"). Pick the lily and return to Zahur's shop. She will begin to make the cure, and ask that you warm up her chemistry equipment by adjusting the individual heats until the overall temperature is at the marked level. Note: pressing "-" on the middle heat pushes the two side bars up. Raise the middle and right bar all the way, then alternate lowering the right bar and the middle bar until completed.
Once done, Zahur will complete the cure and ask that you take the cure crate to the High Priest in Sophanem. Make your way there and deliver the cure.
Before heading to the necropolis, gear up in your best melee equipment for a fight against a level 351 boss. When ready, speak with Maisa in the northern part of the necropolis, just south-east of the bottom right corner of Sophanem. Players with the Pharaoh's sceptre can use it to teleport to the obelisk if they have communed with it as mentioned above.
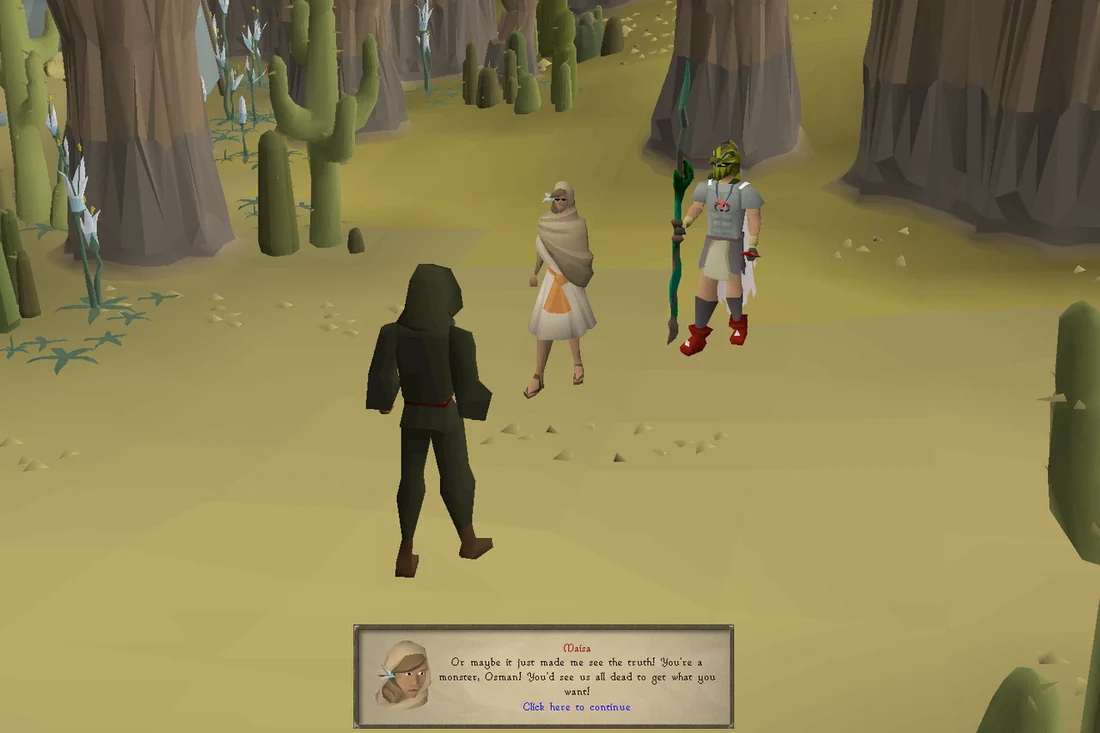
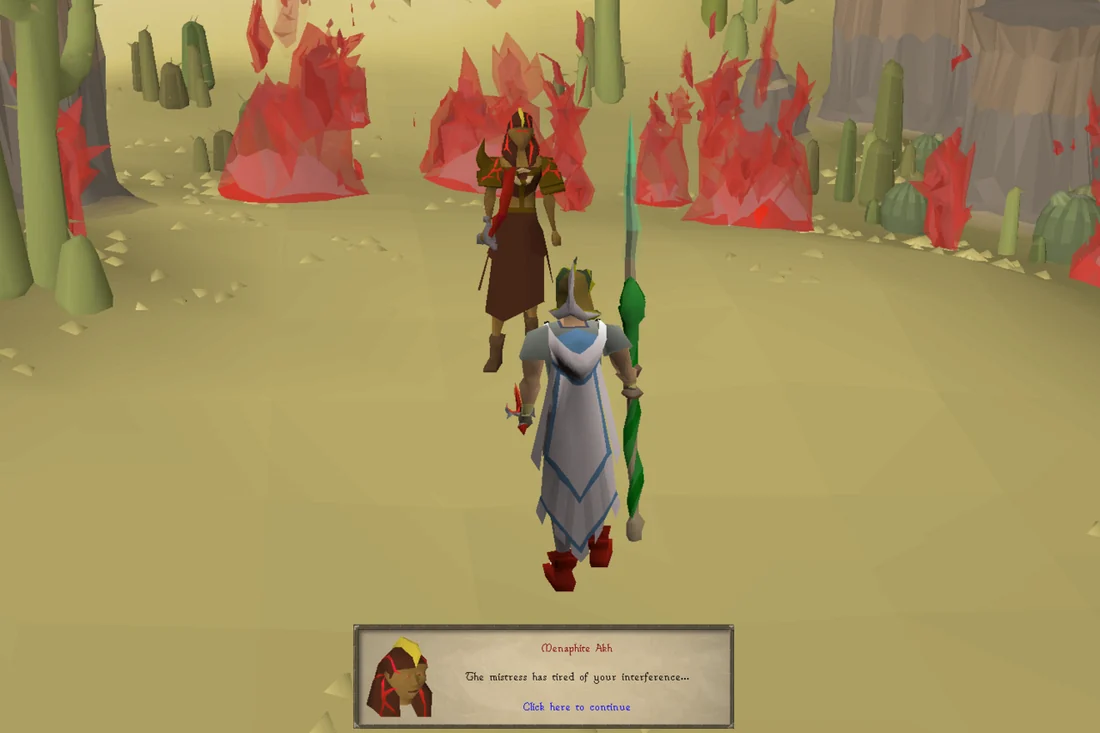
A cutscene will play where you chant the incantation and free everyone in the necropolis from Amascut's influence. All but two citizens leave, who wish to help you mine the blockage to Osmumten's tomb to help you defeat Amascut. You and Maisa will then return to her camp, where she discovers Osman spying on her. Enraged, she leaves, leaving you and Osman alone. You will argue with him about Maisa and your actions, while he keeps believing that this is all a plot by the Pharaoh to keep Al Kharid divided. As this happens, the ground shakes and lightning strikes the sand, causing scarlet flames to burn around. A Menaphite Akh will appear to kill you, while Osman disappears.
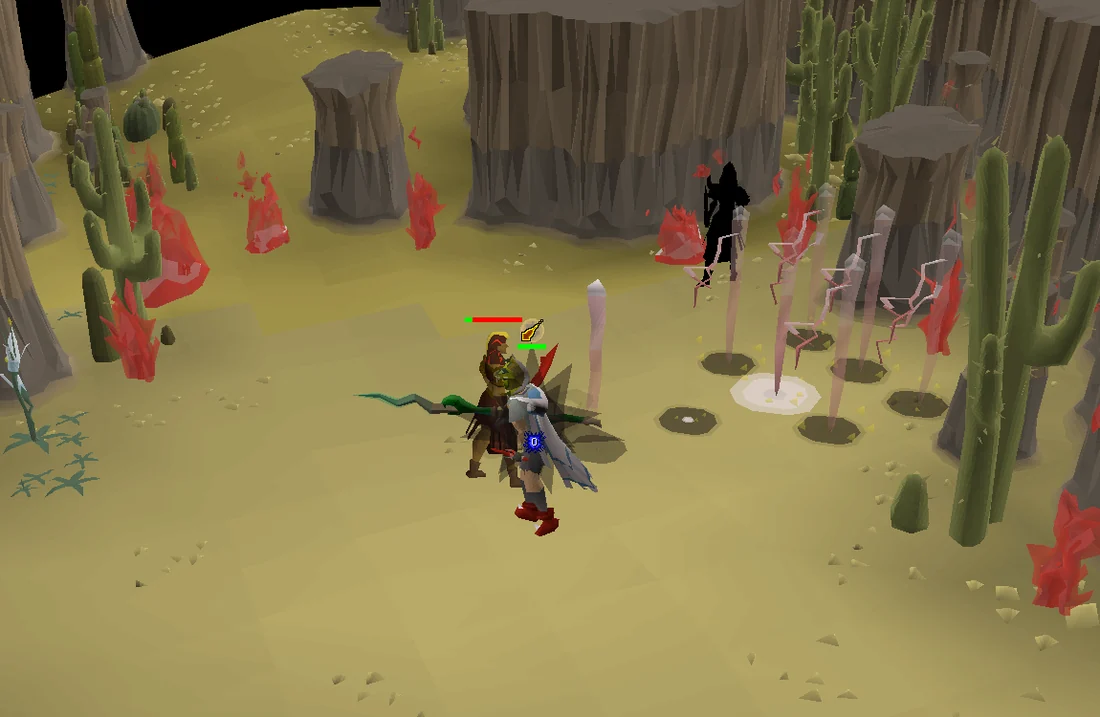
The Menaphite Akh attacks with melee, using a dragon scimitar, and will also use special attacks. She is highly resistant to ranged and magic, making melee the best option for damage. Additionally, the Akh cannot be frozen with ice spells, and she moves at running speed, making it difficult to use long-distance combat.
The Menaphite Akh is weakest against stab attacks meaning the player is advised to use their best stab weapon using one of the stab attack styles for that weapon. For example: an abyssal dagger is superior to an abyssal whip.
With Protect from Melee activated, damage from the Akh's regular melee attacks are greatly reduced, meaning she will only be able to deal major damage with her special attacks. It is highly advised to bring two or three prayer potions or super restores in order to keep prayer active throughout the fight. Combat potions are also recommended.
Note that thralls can be used in the arena; additionally, the Akh is immune to Vengeance and damage from the rings of recoil or suffering.
If you leave the fight, speak to Osman just outside Maisa's camp and south of the Jaleustrophos Pyramid to restart the fight. If players die during the fight, they can return to Maisa's camp just north of the mining symbol and reclaim their items from a gravestone just south of Osman.
Every 7 rounds of actions (including regular attacks, summoning a shadow, or translocation), the Akh twitches, performing a lightning bolt attack that will move multiple tiles out in front of her. This attack can hit up to 80 if not evaded, and frequently hits in the high 60s.
During the fight she will also summon a Menaphite Shadow, which will step out from under her and move away. The Shadow attacks with ranged for the first half of the Akh's health, and then switches to a more accurate magic attack for the remaining half.
The Akh will sometimes swap places with the Shadow and begin channeling an attack; make sure you attack the Akh (NOT the shadow) to interrupt this, otherwise you will take a large amount of damage. You will take this damage even after the shadow has been killed, if the screen darkening animation has begun (a chat box message will state "Darkness begins to surround you!" and the screen will begin to turn dark). If you defeat the Akh and the shadow is still alive, it will disappear.
Lower-levelled players and ironmen having difficulty with defeating the Menaphite Akh will likely find ignoring the Menaphite Shadow to be easier.
At the beginning of the fight, pray Protect from Melee and focus only on the Akh. The Shadow attacks with Ranged, however melee armour will resist this. Always be prepared to avoid the Lightning attack. When the Akh starts the channelling attack (dark screen) and swaps places with the shadow, immediately run and hit the Akh to stop the channeling attack. Once the Akh reaches half health (240 hitpoints), the Shadow will switch to attacking with Magic, so switch your prayer to Protect from Magic. It is recommended to play with sounds on to hear when the Shadow switches attack styles. Continue the fight avoiding the Lightning and interrupting the Channeling attacks. Upon defeating the Akh, the Shadow will automatically despawn.
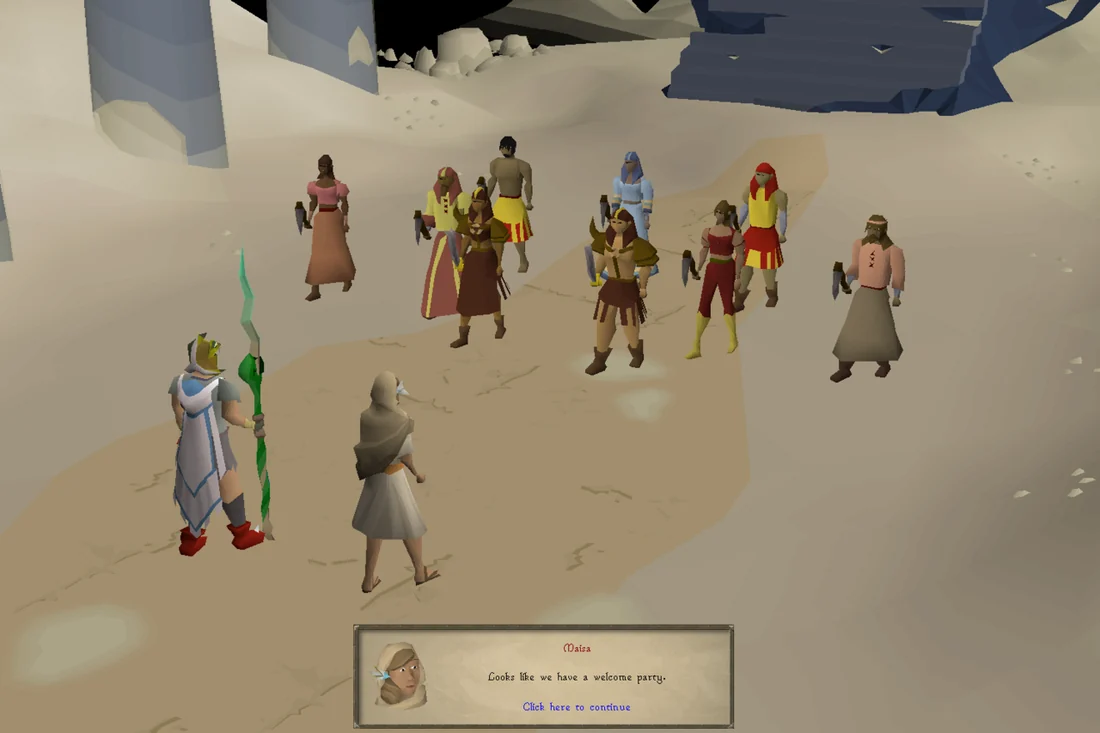
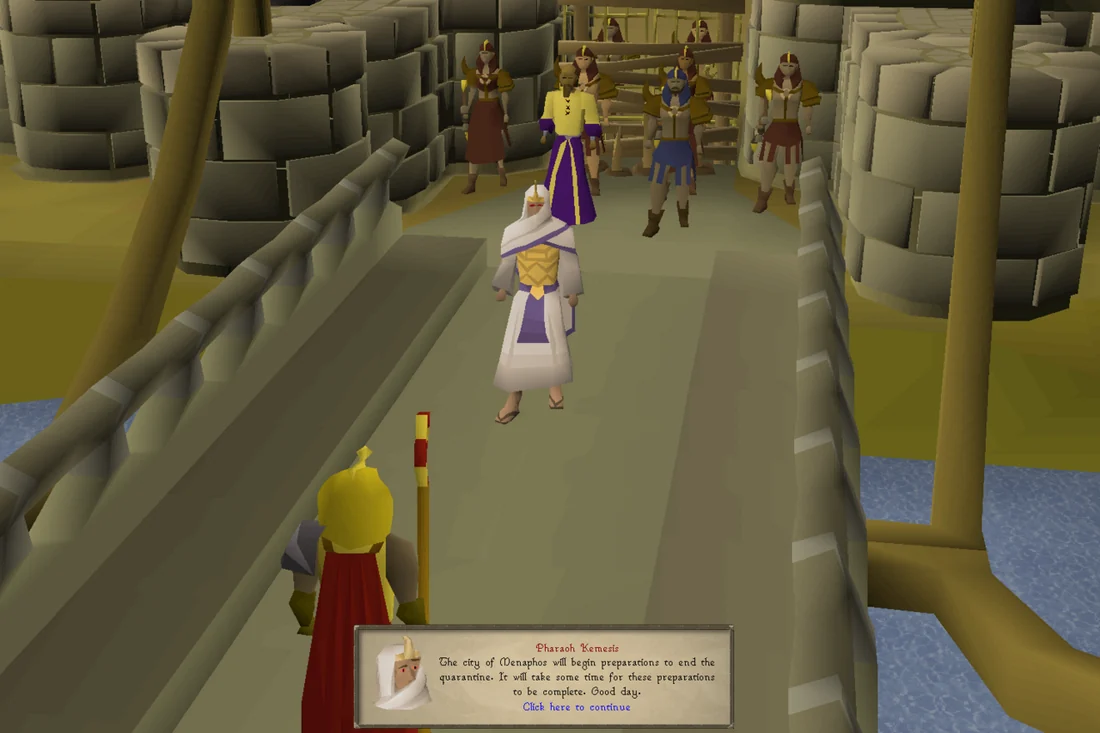
After defeating the Menaphite Akh, Osman will still not believe that Amascut is responsible, though he acknowledges that there's more to all of this than he realised, and suggests you speak to Maisa, who likely has gone to Sophanem, and leaves. Return to Sophanem, and speak with the High Priest or Maisa. The High Priest will thank you for ending the plagues for good and invites you to meet the Menaphites at the bridge, which you and Maisa accept. A cutscene will then play with the two groups meeting, before Pharaoh Kemesis himself appears, surprising the High Priest. He announces that Menaphos will prepare to end the quarantine and leaves as quickly as he arrives.
Note: Make sure to have an inventory space available before speaking with Maisa or the High Priest, otherwise you will not receive the Keris partisan as a reward. If you did not have a space available, Maisa will leave the partisan inside her tent at her campsite by the Ruins of Ullek. You can also retrieve this partisan from Selim.
Congratulations, quest complete!
Use this when you already know the route. The full walkthrough above includes explanations and diagrams.
Talk to Jamila in Sophanem ( icon on the minimap) to start the quest.
Say: What's this special item? → Yes.
Read the message she gives you.
Make your way to the campsite, east of Sophanem, directly north of the small mining site by the cliffs.
For a quicker journey, exit from the south-eastern gate in Sophanem.
After entering the Necropolis for the first time, players with level 62 Agility can reach it once more by way of fairy ring using the code AKP.
Talk to Maisa
Say: Let's go.
If you have a Pharaoh's sceptre, commune with the obelisk directly north of the necropolis mine to allow teleportation back here, via the "Jaltevas" teleport option on the sceptre.
Inspect the blocked entry at the Jaltevas Pyramid.
Talk to either a citizen or Menaphite Guard.
Fight the Head Menaphite Guard. Do not use Protect from Melee, or he will damage you for 1/3rd of your total hitpoints. Boosting prayers like piety can still be used.
Talk to Maisa
Go back to Maisa's camp and talk to her.
If you need a tinderbox, you can search the camping equipment by the tent to get one. A spade can be found at the north side of the campsite.
From the campsite, head south, east around the cliffs, and then north to a set of stairs to the Ruins of Ullek.
Use the coal and tinderbox on the furnace (marked on the minimap) to ignite it.
Search the well to receive a stone tablet. Read it.
This is a good time to refill waterskins at the well.
Head back down the stairs and head south to the southernmost ritual pillar. Dig in front of it (north).
Open the chest with the passcode "1118513".
Return to the furnace with the scarab mould and iron bar, and craft a scarab emblem.
Go further north to the pillar, and insert the emblem.
Rotate the scarab on the emblem so that it faces downward (pincers facing upward).
Climb down the stairs and defeat the two Scarab Mages. (Logging out will place you outside the cave.)
Climb down the stairs again.
Avoid the projectiles and run west to the junction, south, and east to the lever.
Pull the lever at the end and run as fast as you can back to the junction, then follow the path north and east.
Warning: There is approximately one minute before it resets the lever.
At the other end, pull the other lever. If successful, the traps will be disabled.
Go through the door west of the junction.
Inspect the south-western plaque to get four emblems.
Inspect the north-western plaque and read it.
The solution to the puzzle is different for everyone. Refer to the table below to solve this puzzle.
To the one that arrived first, he offered [item 1]. – Place the emblem corresponding to item 1 in the centre-south urn.
The one that was offered [item 2] came from just south... – Place the emblem corresponding to item 2 in the southernmost urn.
[God 1] arrived just before [god 2]... – Place the emblem corresponding to god 1 in the northernmost urn and the emblem corresponding to god 2 in the centre-north urn.
Pull the lever to the south-west and continue to the next area.
Speak to the Spirit.
Take the rusty key from the urn in the back of the room.
Prepare for the next boss fight, who is best fought with ranged. Resupply now if necessary. (Make sure to bring the rusty key, the fight begins immediately after unlocking the door.)
Return to the room where you faced the Scarab Mages, and open the door (it only needs to be unlocked once).
Defeat the Champion of Scabaras. It will attack with magic, or melee when next to the player. It is recommended to use Protect from Magic and stay out of melee range of the boss. After several normal attacks, it will use one of three special attacks.
Shadow Burst - The Champion will cast a shadow beneath itself, then proceed to send out a burst of shadow magic. This reaches for 4 tiles, and can hit over 40 damage multiple times (less if further away from the champion). It is advised to stay out of melee range of the Champion throughout the fight to avoid this attack, as you cannot freeze him.
Shadow Rift - The Champion will shout We are born in the shadows! and summon a Shadow Rift within the arena. The rift has 20 Hitpoints and will explode, dealing 35+ damage, so it is recommended to quickly destroy it.
Shadow Flames - The Champion will shout The children of Scabaras are eternal!, and a poisonous scarab swarm will appear. The swarm has 5 hp, and leaves dark fire in its path, which will hurt when stood upon. It is advised to kill the swarm as fast as possible as the fire will linger and hinder movement if left unattended.
Talk to the High Priest of Scabaras.
Go to Nardah and talk to Maisa or Zahur in the building directly south of the fountain.
If you don't already have raw beef or cooked meat, purchase one from the Nardah General Store.
Head west until you reach the River Elid and see an island with lilies growing on it.
Attempt to jump to the stepping stones, and throw the meat to the crocodile.
Pick the Lily of the Elid.
Go back to Zahur.
Warm up her chemistry equipment by adjusting the individual heats until the overall temperature is at the marked level.
Solution: Increase the middle and right-hand bars to their maximum capacities. Then drop the right-hand bar to half way. Finally, lower the middle bar until the puzzle is completed.
Talk to Zahur to receive the cure crate then bring it to High Priest in Sophanem.
Before leaving for the necropolis, gear up for a fight against a level-351 boss using melee equipment.
Go to the necropolis and talk to Maisa, located directly south of the south-eastern gate of Sophanem by the bend in the path.
At the end of the cutscene, defeat the Menaphite Akh. The Menaphite Akh attacks using melee, and will occasionally use special attacks.
When she twitches, she will perform a lightning bolt attack and direct it in front of her. This attack can hit 70+ if not evaded. Always be prepared to walk behind or beside her to avoid this attack.
During the fight she will also summon a Menaphite Shadow that attacks with ranged or magic. Run to attack it quickly (but still watch out for the lightning attack). If not killed promptly, the shadow can switch places with the Akh, and the player must attack the real one or suffer large amounts of damage.
If you leave the fight, speak to Osman just outside Maisa's camp to restart the fight. If players die during the fight, they can return here to reclaim their items.
Go back to Sophanem and talk to Maisa or the High Priest.
Congratulations, quest complete!
QUEST COMPLETE
OSRS WIKI CONTRIBUTORS
Walkthrough text and preparation lists are adapted from Old School RuneScape Wiki contributors under CC BY-NC-SA 3.0. Game imagery © Jagex Ltd; individual image credits are available from their captions. This page is fan-made and not affiliated with Jagex.
KEEP QUESTING
Game icons © Jagex Ltd, via the OSRS Wiki. Interface icons by Lucide.