2
2Requirements
- Completed The Grand Tree quest
- 5 Construction [not boostable]
- 46 Magic [not boostable] [not required to start]
QUEST 109 · MEMBERS
After you foiled a plan to destroy the Grand Tree things have been quiet in the gnome world. Brimstail has found a strange machine, though, built by Oaknock the Engineer during the Gnomes' Golden Age. What does the weird device do? Why on Gielinor was it built? If you agree to help this bookworm gnome get this confusing device working, you will learn a little about gnome magicks, gnome history, and you will start to uncover a new threat (or is it an old one?) to gnome security - a threat that is
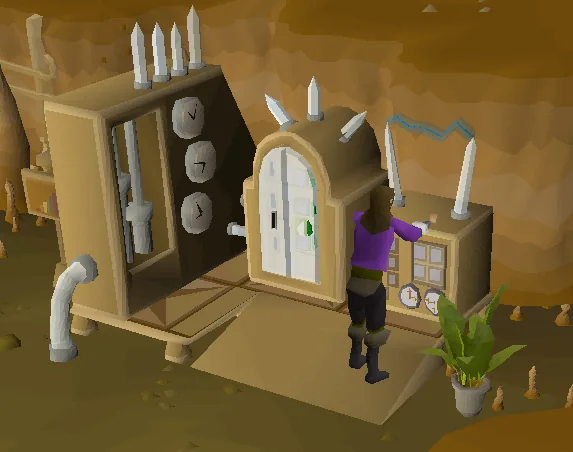
Talk to Brimstail in his cave south-west side of the Tree Gnome Stronghold, directly west of the bank near the Stronghold Slayer Cave.
STEP BY STEP
Follow the chapters below. Click any screenshot or diagram to view it at full size.
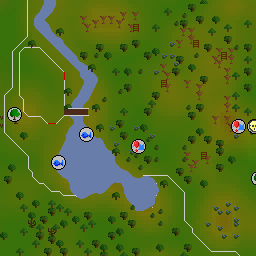
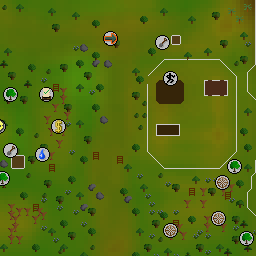
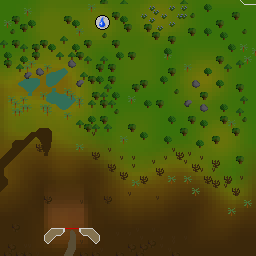
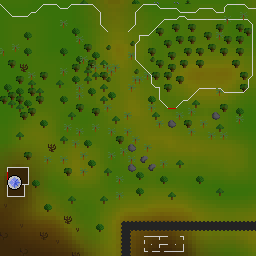
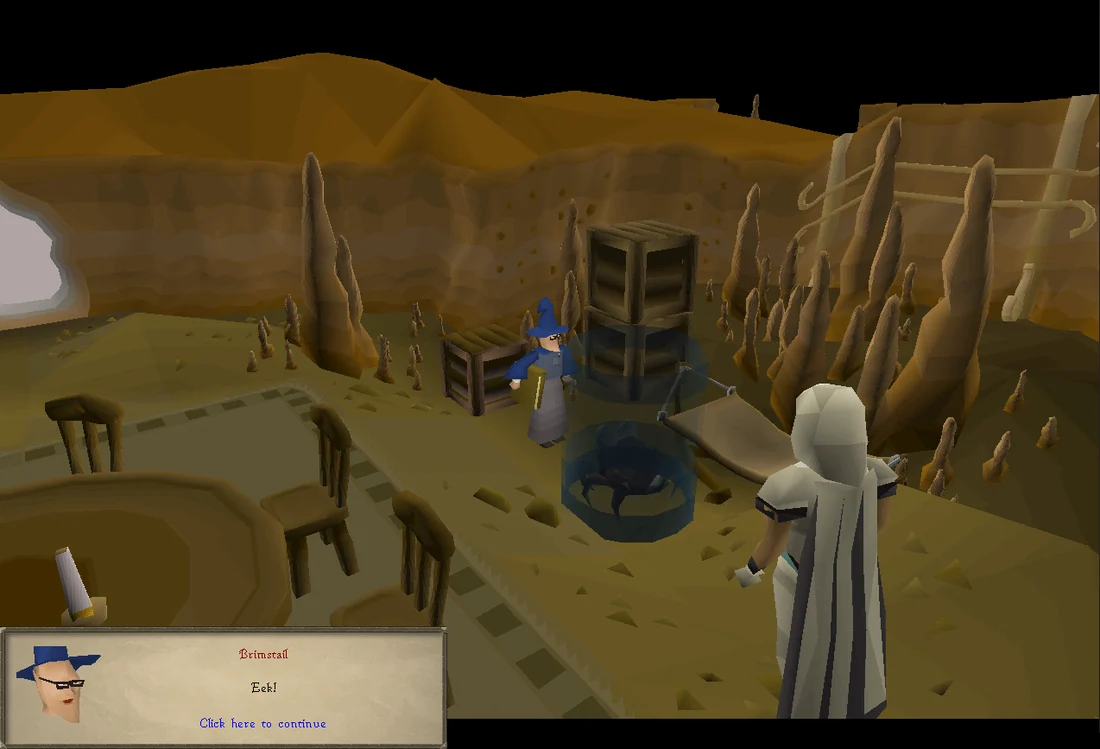
Head south-west from the Spirit Tree in Tree Gnome Stronghold until you see a dungeon entrance marker near the edge of a small lake. Enter the cave, and speak to Brimstail. Ask him about the cute creature wandering around, and then agree to let him tell you about his research. He will offer to tell you some history - agree and say that you love a bit of history (the second option does not work to skip the dialogue). You will then be given the option to start the quest.
Brimstail will ask you to go into the next room and look at it carefully. First, Inspect the singing bowl set in the centre of the cave and surrounded by a black circular pothole. Next, Inspect the machine panel next to Oaknock's exchanger. Then, Unlock Oaknock's Machine. After completing these three actions, in that order, talk to Brimstail again.
Talk to Brimstail again, and he will tell you to go and talk to Hazelmere. Fully finish the dialogue or Hazelmere will not be understood later on. Hazelmere is located on the island chain east of Yanille, there is also a fairy ring directly beside his hut code CLS. You can also use the Watchtower Teleport spell and run east. Another way to reach him is by using the Nightmare Zone minigame teleport and running south-east.
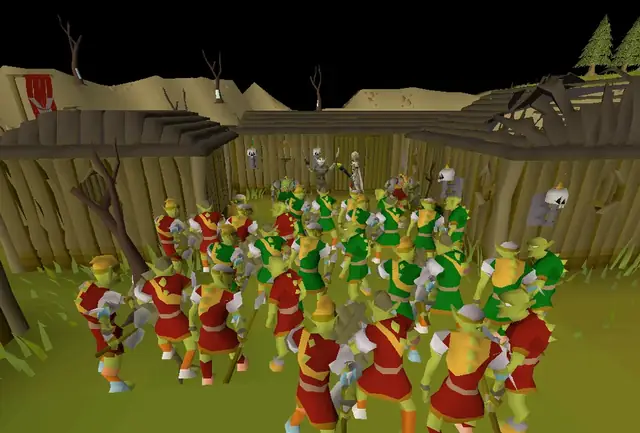
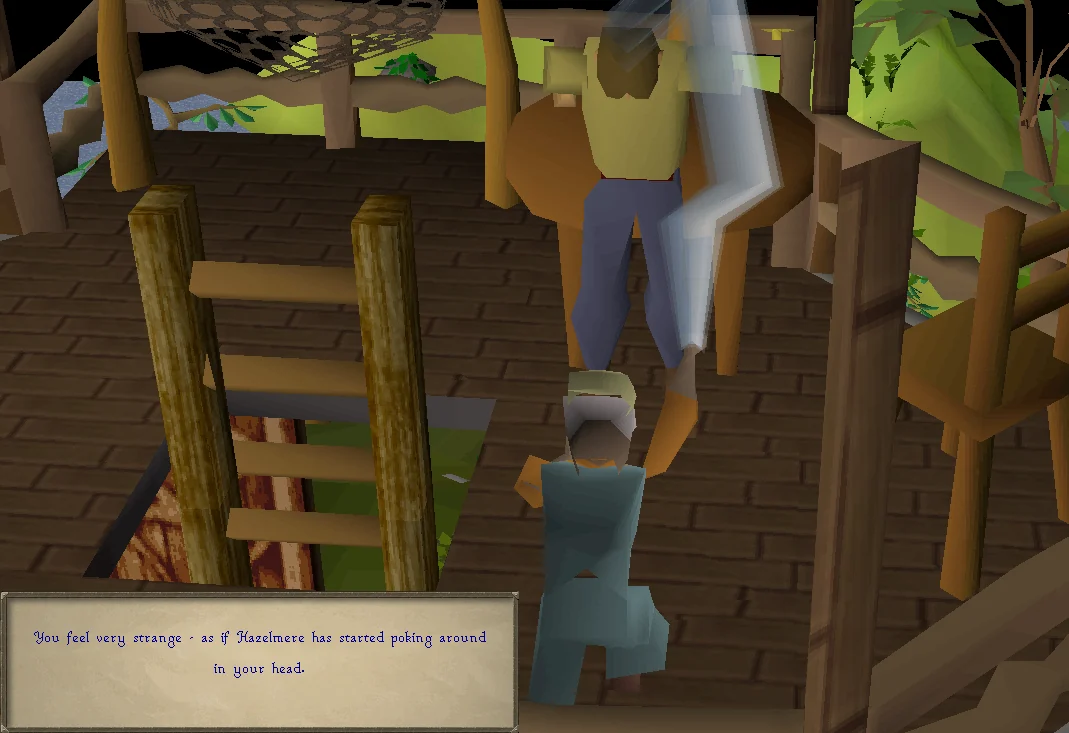
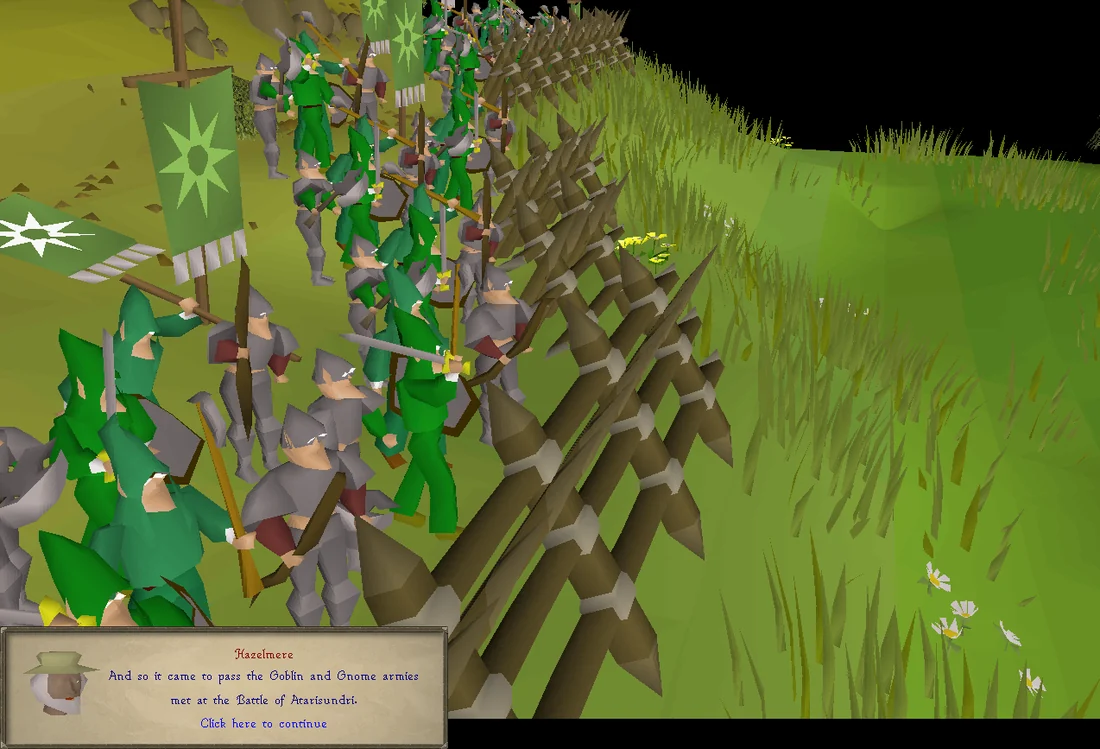
Speak to Hazelmere, located east of Yanille. There's a long conversation, and he will get inside your mind where you can now talk to him. This requires 46 Magic and cannot be boosted. A long cutscene will follow showing the battle between the gnomes and goblins, with King Healthorg, Oaknock, Glouphrie and Hazelmere fighting alongside. Glouphrie uses his magic to scare away the goblins, and later uses his magic to cover up Argento's death. Oaknock then builds a machine that reverses Glouphrie's magic, revealing that Argento is actually dead to the King. The King, unable to trust Glouphrie, banishes him from the Stronghold, which Glouphrie isn't happy about. Hazelmere will then give you a violet pentagon for the machine.
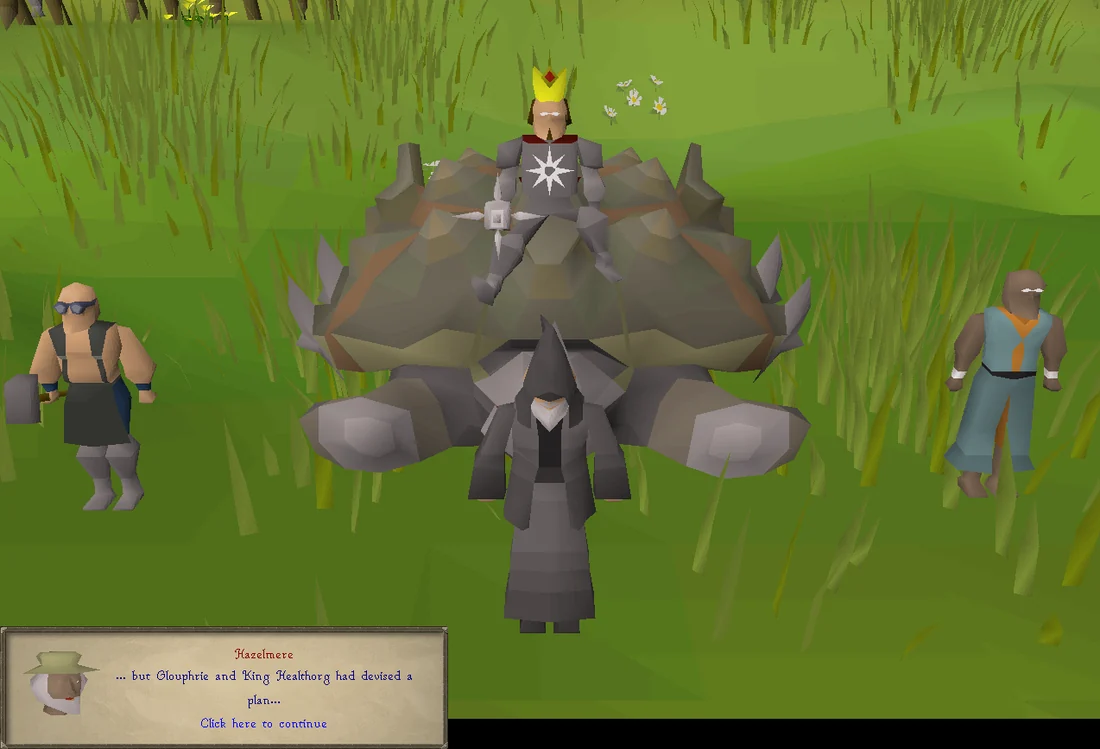
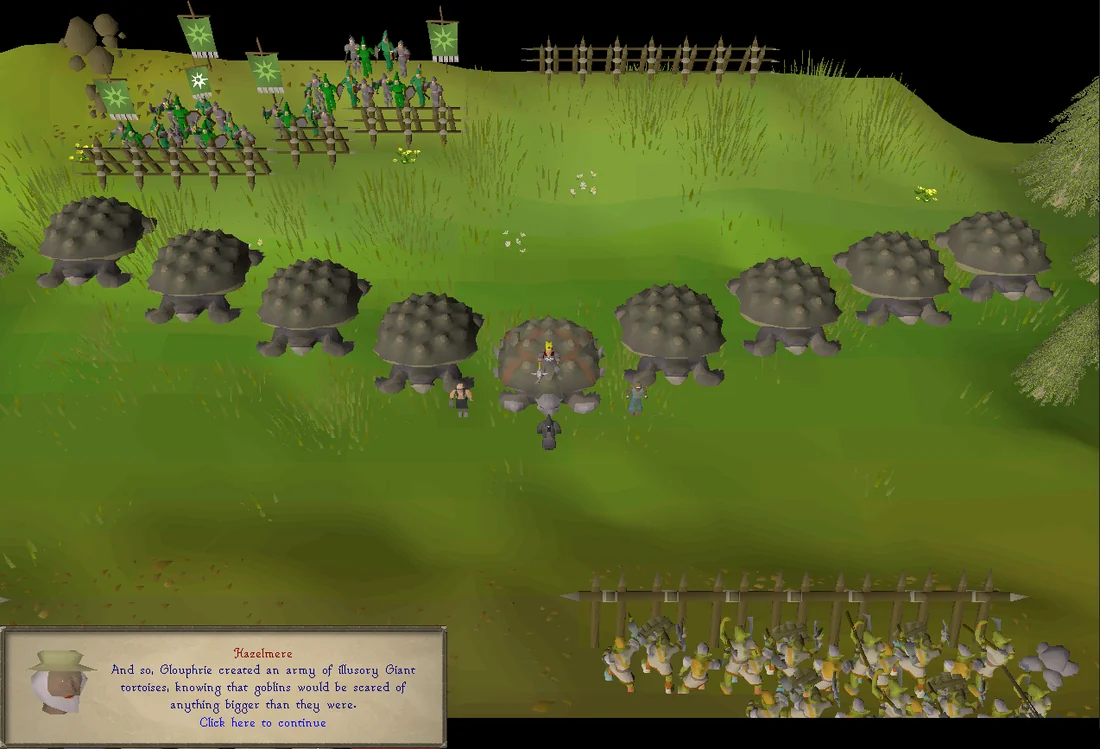
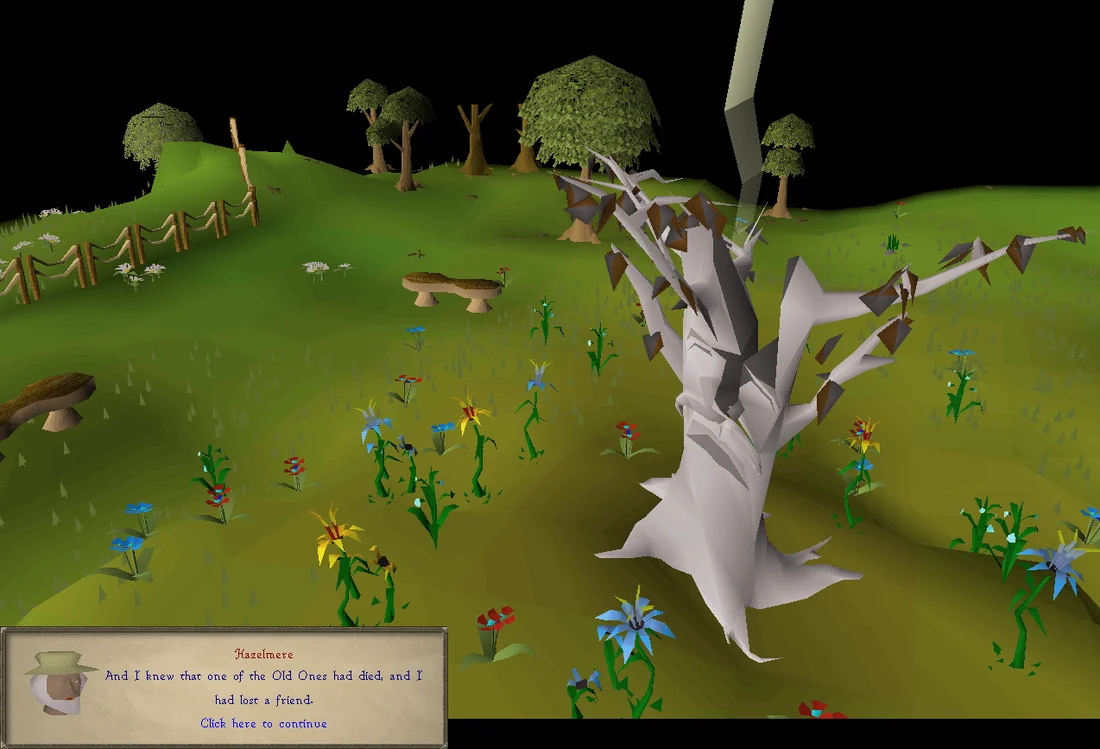
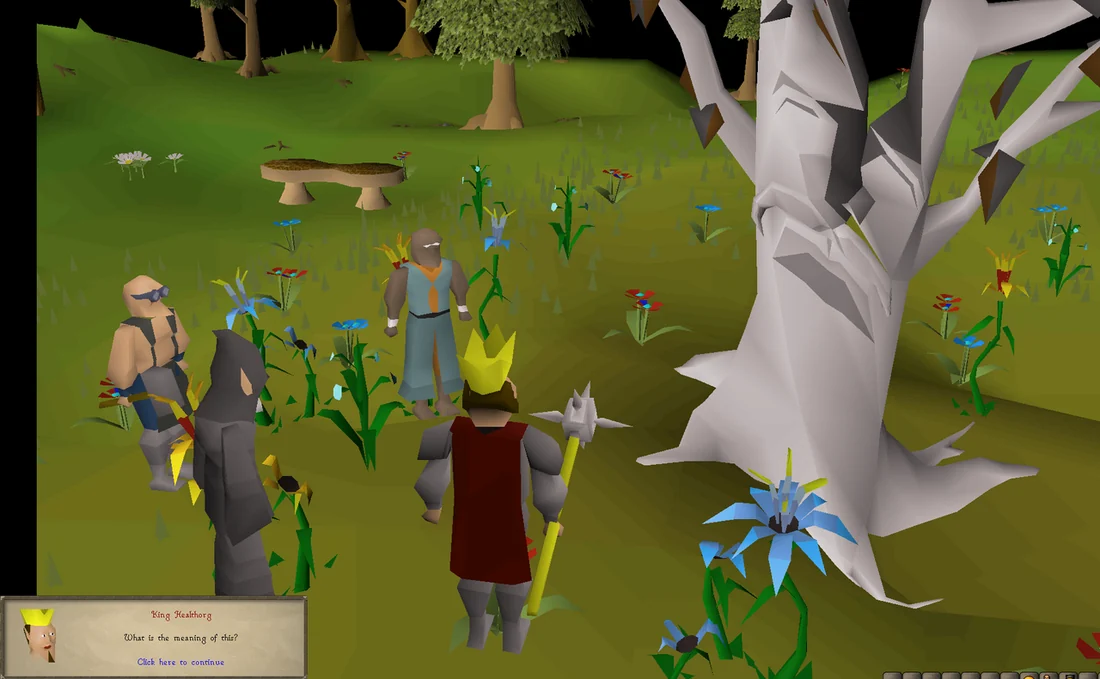
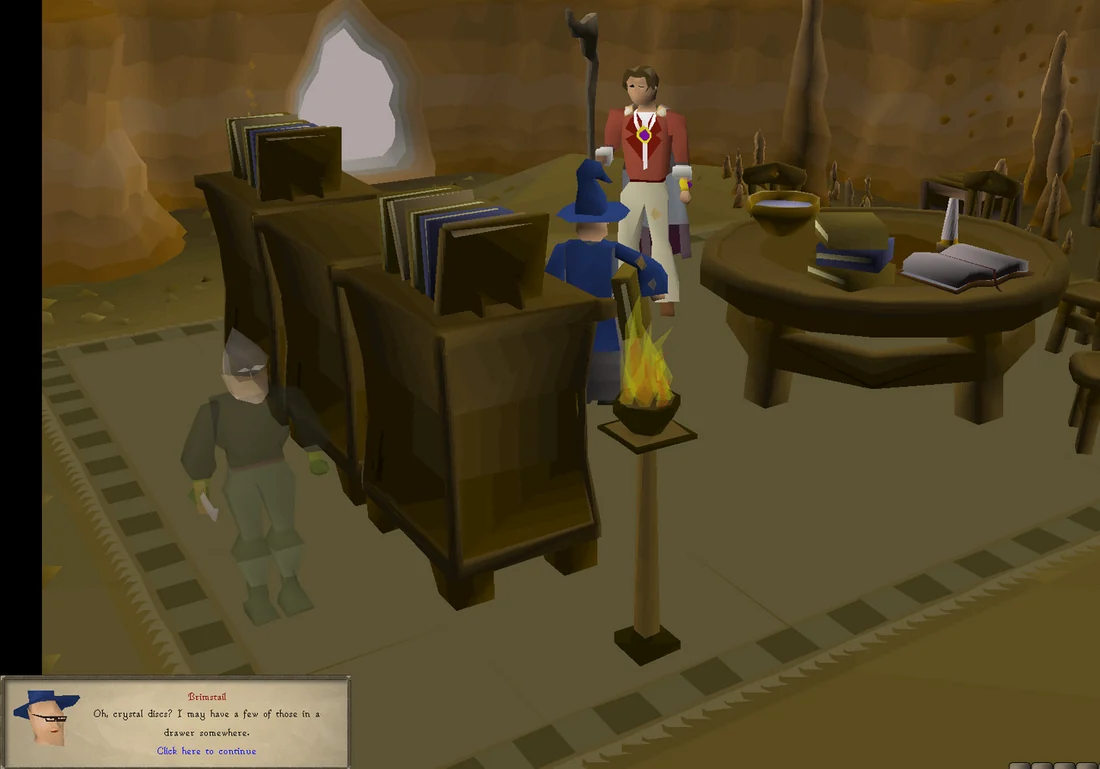
Go back and speak to Brimstail where you will see a shorter cutscene in which an invisible gnome will sabotage the machine you examined earlier.
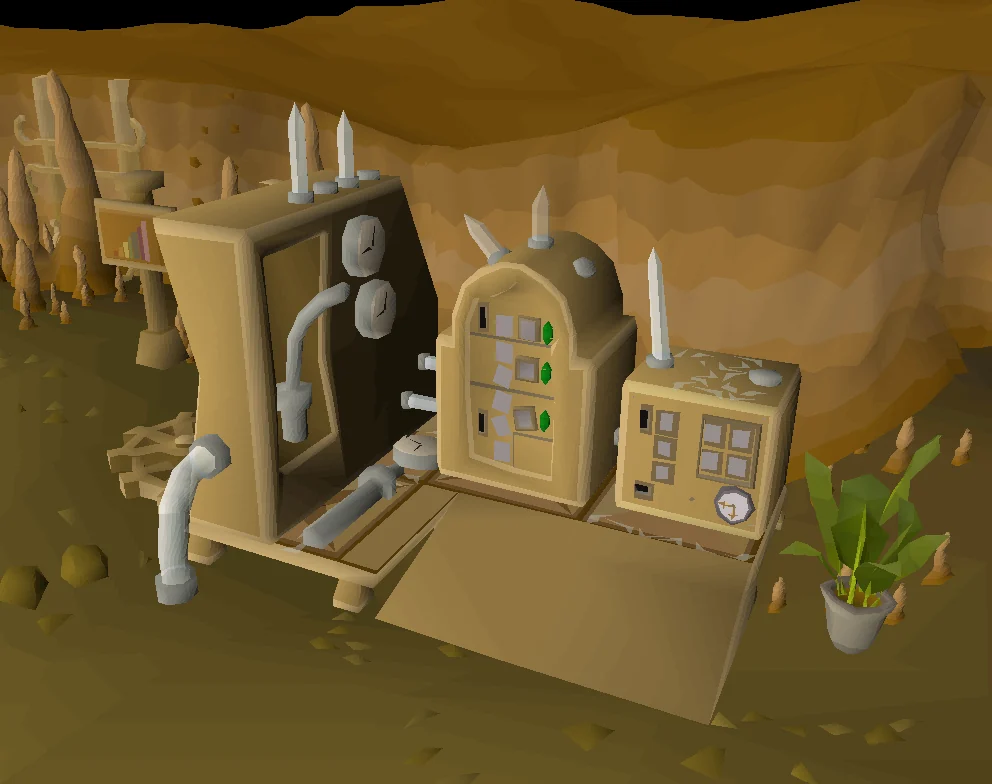
Crush your mud rune with the pestle and mortar, and then use it on the bucket of sap to create magic glue. Repair the machine using your maple logs, oak logs and the glue. You will need to have a hammer and a saw in your inventory.
If you did not bring a bucket of sap ahead of time, there is a tree just north of Brimstail's cave, between two Oak trees, that you can extract sap from. Use a knife on it with a bucket in your inventory to extract the sap.
Now, you will have to unlock and restart the machine. For this, you will need more crystal discs—talk to Brimstail to get some from him. You can talk to him multiple times to get more shapes. If you can no longer get discs from Brimstail, drop the discs and talk to him again to get more discs. Alternatively, you can exchange the discs at the exchanger next to the machine.
To work this machine, you have to fit crystal discs to the numbers shown. The numbers will be different for everybody; therefore, you have to solve this mostly yourself. This is how it works:
To the west side is a chart showing the values of each colour.
| Colour | Value | |||||
|---|---|---|---|---|---|---|
| Circle | Triangle | Square | Pentagon | |||
| Red | 1 | 3 | 4 | 5 | ||
| Orange | 2 | 6 | 8 | 10 | ||
| Yellow | 3 | 9 | 12 | 15 | ||
| Green | 4 | 12 | 16 | 20 | ||
| Blue | 5 | 15 | 20 | 25 | ||
| Indigo | 6 | 18 | 24 | 30 | ||
| Violet | 7 | 21 | 28 | 35 | ||
The crystal is equal to:
This value is multiplied by the number of sides each crystal has:
Some of the colours can be easily mixed up, since they are very similar (e.g. blue, indigo, and violet). Hover them with your mouse to be sure.
The yellow circle can never be obtained. If the puzzle requires a value of three, you must use the red triangle instead. Brimstail cannot directly give you any circles, or red coloured shapes. If you need the lower value shapes the exchanger must be used.
There is a token exchanger on the right-hand side, which allows you to insert various tokens and change them for others of the same value. You cannot exchange more than 35 points worth at a time, but you may exchange a single token for many other lower valued tokens if its value is high enough. You will always receive the same value back, in different tokens. For example, if you need an indigo pentagon (30), and have a violet pentagon (35). Put the violet pentagon into the exchanger, and keep declining the transaction until the machine offers you an indigo pentagon (30) and a red pentagon (5).
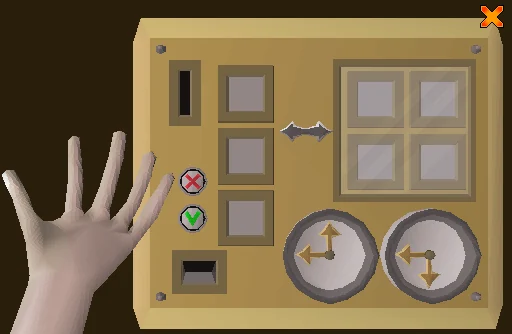
To unlock the machine, you have to create a single disc worth the number of points shown on Oaknock's machine. The numbers are different for everyone. As a general strategy, try and get the smaller numbers and it's easier. Any violet pentagons or similar if not needed may be exchanged for ones of a lower value using the Oaknock's exchanger.
Once unlocked, you need to restart the machine. For this, you will need to fit six separate tokens to three different numbers (1 for the first number, 2 for the second and 3 for the third). Be patient—it can take a while to get all the tokens that you need. You may speak to Brimstail to get more tokens which may make getting the ones you want easier; it is possible to solve the puzzle by continuously asking for and dropping coins until you get the ones you need.
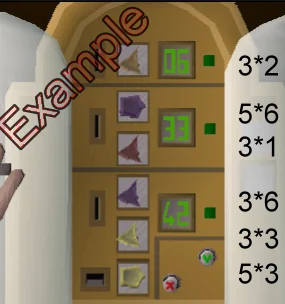
An example of a completed machine. Note: You must fill all slots to unlock the machine! In this example, using two violet triangles turned the light green, but still did not work. If this happens, you can just use the exchanger to turn it into two pieces, since the total points stay the same.
Once you have unlocked the machine, speak to Brimstail again. The once cute creatures are revealed to be evil creatures. After the cut-scene, talk to Brimstail and he will tell you to speak to King Narnode.
There are six creatures in total, and they have 1 Hitpoint each.
Note: If Brimstail kills the evil creature, or if you mess up a creature kill count at any time, the last Evil Creature will spawn at the entrance to Gnome Stronghold.
Talk to King Narnode, and he will reward you.
Congratulations, quest complete!
Use this when you already know the route. The full walkthrough above includes explanations and diagrams.
Talk to Brimstail in the cave found in the south-west corner of the Gnome Stronghold.
Say: What's that cute creature wandering around? → Yes, that sounds fascinating... → Oh, yes I love a bit of History. → Of course!
Optionally right click teleport on Brimstail for an easy Western Provinces Diary completion
Inspect the singing bowl in the western portion of the cave.
To the north, attempt to unlock Oaknock's Machine.
Talk to Brimstail.
Say: I've had a look in the other room now. → Of course, I'd love to!
Talk to Hazelmere, located upstairs in his house (on the small island east of Yanille, fairy ring code CLS goes directly to his house, Nightmare Zone minigame teleport or Watchtower Teleport). There will be several cutscenes, the last being King Healthorg and the white Spirit Tree Argento. You'll know you're done when you get a Violet pentagon in your backpack.
Return to Brimstail.
Say: I've visited Hazelmere, he told me all sorts of interesting things.
Get the bucket of sap outside of Brimstail's cave on your way back.
Use your Mud Rune on the Pestle and Mortar to make Ground Mud Runes.
Add the Ground Mud Runes to the Bucket of Sap to make Magic glue.
Repair Oaknock's machine (click on the machine twice).
Talk to Brimstail.
Say: I think I've fixed the machine now!
Talk to Brimstail twice more to receive more discs.
Say: I
Optional: Drop the discs and talk to Brimstail to receive even more discs.
Say: I can't work out what to do with these discs!
Head back to the Oaknock's machine and unlock the machine.
Unlock the front panel by inserting a disc with a value equal to the green number. (When done, click the green box next to the number.)
You will need to exchange some of the tokens to obtain certain values. (see full guide here).
Talk to Brimstail for more discs.
Say: I
Complete the three puzzles inside the unlocked machine
You need to fill up every slot, the first puzzle's single slot, the second's two slots, and the last puzzle's three slots.
You will need to exchange some of the tokens to obtain certain values. (see full guide here).
Talk to Brimstail.
Say: Phew! I've got that machine working now. What do I need to do now?
Talk to Brimstail again.
Say: Phew! I've got that machine working now. What do I need to do now?
Kill all Evil Creatures: (wait for the whole death animation to end before running or teleporting away!). Their colour is now black.
The one by Brimstail, if you haven't killed it already.
One outside of the main gate (south-east from Brimstail's cave). Note: It must be killed within stronghold walls. If it is outside, simply kill it, let it spawn, and kill it again for credit.
One by the gnome agility course entrance (near the spirit tree).
One by King Narnode, at the bottom of the Grand Tree. If it is stuck behind a trapdoor, kill it with mage or range, or hop worlds. Make sure you wait a few seconds after killing before using the ladder.
One at the top of the Grand Tree, by the prison. Make sure you wait a few seconds after killing before using the ladder.
One by the giant tortoises north-west of the Grand Tree (in the pen north of the swamp).
Talk to King Narnode.
Optional: Use the crystal saw seed on the singing bowl by Brimstail to get an enchanted crystal saw, and complete a medium Western Provinces diary task.
Congratulations, quest complete!
QUEST COMPLETE
OSRS WIKI CONTRIBUTORS
Walkthrough text and preparation lists are adapted from Old School RuneScape Wiki contributors under CC BY-NC-SA 3.0. Game imagery © Jagex Ltd; individual image credits are available from their captions. This page is fan-made and not affiliated with Jagex.
KEEP QUESTING
Game icons © Jagex Ltd, via the OSRS Wiki. Interface icons by Lucide.