1
1Requirements
- Completion of the following quests:
- 10 Runecraft [not boostable] [required to start]
QUEST 152 · MEMBERS
The Abyss: a deadly realm filled with ancient power. The secrets of this plane have long eluded the denizens of the Wizards' Tower, though some would give anything to properly uncover them. One of these wizards is Persten. While many in the Tower aren't convinced by her unorthodox methods, a recent discovery means she may now hold the key to the knowledge they crave the most. However, nothing is simple when the Abyss is involved, and Persten won't be able to get to the bottom of her discovery wi
Talk to Wizard Persten north of Al Kharid, near the gate from Lumbridge.
STEP BY STEP
Follow the chapters below. Click any screenshot or diagram to view it at full size.
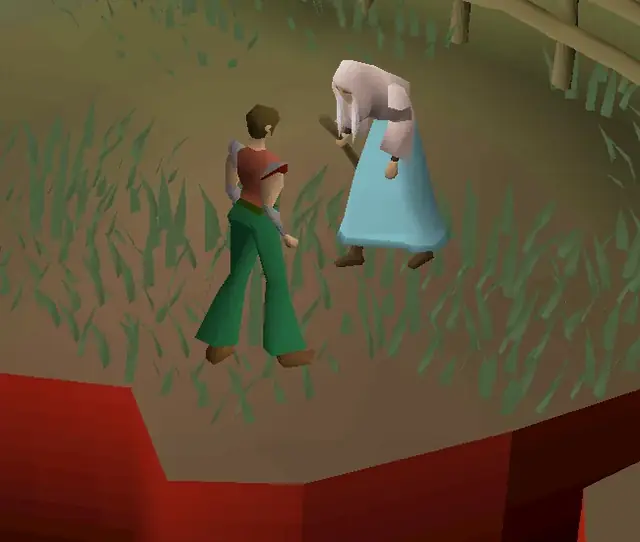
Talk to Wizard Persten just north of the pool of water/gnome glider in Al Kharid. Ask her what she is doing in Al Kharid, and she will tell you she came here to buy something. She will ask you about the Abyss, and you will tell her that you helped the Zamorak Magical Institute gain access to the rune essence mine, much to her dismay. Regardless, she will ask you if you want to help her with a task; agree to help her to start the quest.
She will show you an eye amulet that she purchased for 100 coins from Asgarnia Smith, who found it washed up near the Ruins of Uzer and sold it to her, believing it to be junk. In reality, the amulet bears the symbol of the Order of Wizards of the Wizards' Tower and contains two distinct magical signatures: one of rune essence and one of the Abyss.
She asks that you find out the origin of the amulet by tracing the Abyssal energy that it contains. However, the spell needed to trace the amulet will only work properly when inside the Abyss. You will need to contact someone within the Z.M.I. to assist you, though she'll ask you not to disclose how you acquired the amulet.
Head to the Mage of Zamorak in the Zamorakian chapel in south-eastern Varrock. Use the eye amulet on him, and he'll cast an appraisal spell on it. He'll admit that the amulet is indeed unusual, but requests that you bring him a bucket of water and a strong cup of tea, which can be acquired from the Tea Seller at the eastern entrance to Varrock.
Talk to the Tea Seller and ask for a strong cup of tea. You will tell him the mage, whose real name is Herbert, asked you to bring him one. In reality, they are just regular cups of tea, and he gives one to you. Return to Herbert with the bucket of water, and use the strong cup of tea on him to continue.
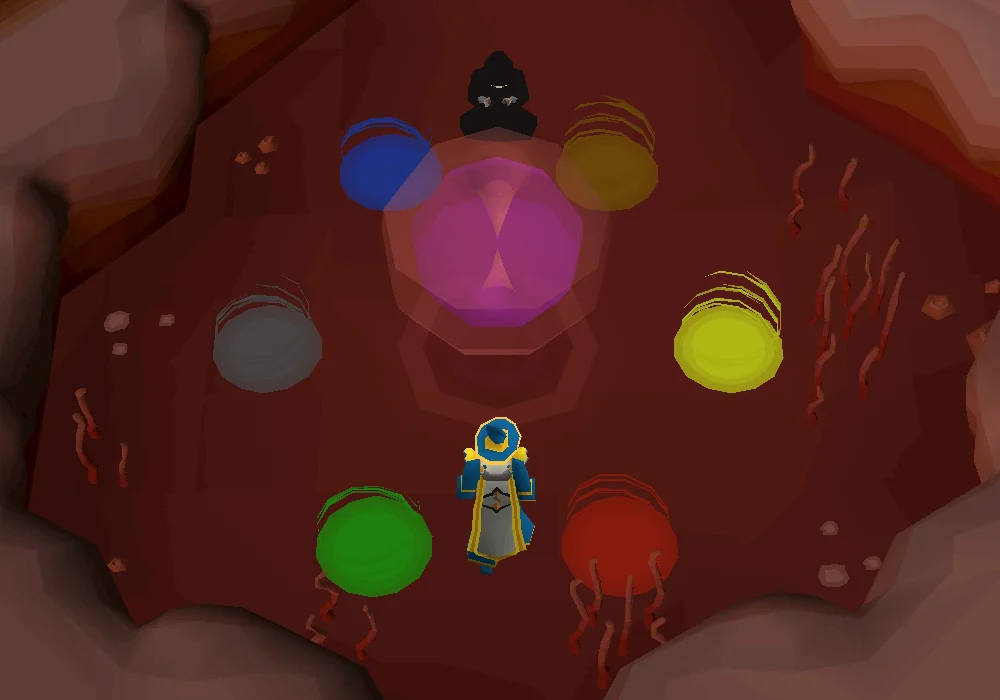
You will be prompted to teleport to the centre of the Abyss, and Herbert will tell you that the bucket of water is for the Dark Mage maintaining the rift, who needs a bath. He will offer you a one-time teleport to the centre of the Abyss. Upon arriving to the Abyss, use the eye amulet on the Dark Mage and you will automatically give him a wash by soaking him with water. He will then cast a spell to triangulate the origins of the amulet, using the rift to compare energy from that origin with energy from the runic altars.
For his tracing spell to work, you will need to help him work out what order the runic energy from the Abyssal rift goes in. This is randomised for each player; click each rune type until all turn white in order to determine your order (document as you go). You have to return to each energy as you get the order, so for instance the one will turn white, try another energy. If it does not turn white, return to the first one that turned white, once you get that second white that too will need to stay white to move on to the next colour. (for example; if you get Law Energy first, that must stay white, if you try earth and it doesn't turn white you will have to go back to Law Energy before proceeding).
After working out the order, he will give you an Abyssal incantation. Reading the incantation provides the message "You don't understand the incantation. It needs the knowledge of a wizard."
Return to Wizard Persten in Al Kharid (exiting the Abyss through the fire rift will bring you north of Al Kharid, just next to the Wizard). She will cast a spell to disable a magical feed the Z.M.I placed on the spell and redirect it to give them false information. She will then tell you to head to Archmage Sedridor for assistance in opening up wherever the amulet would lead to, and offers you a one-time teleport directly to the Wizards' Tower. Sedridor can be found in the basement; use the abyssal incantation on him. While skeptical due to the Z.M.I being involved, he casts a spell to ensure that the amulet and incantation is safe. In the meantime, he asks you to speak to Wizard Traiborn, on the 1st floor (UK) of the tower.
Speak to Wizard Traiborn, and ask him for his three wizard apprentices to help you with the incantation. But first, he will ask you to help his apprentices solve a puzzle he gave them. Speak with all three to receive their parts of the puzzle:
| Wizard | First sentence | Second sentence |
|---|---|---|
| Cordelia | Fire is four and Body is seven. | A thingummywut is less than three Water and more than three Air. |
| Felix | Water is six and Mind is eight. | A thingummywut is less than two Body and more than two Earth. |
| Tamara | Earth is five and Air is three. | A thingummywut is less than three Fire and more than one Mind. |
Using the clues given, the answer to the puzzle would be 11. Give this answer to Traiborn.
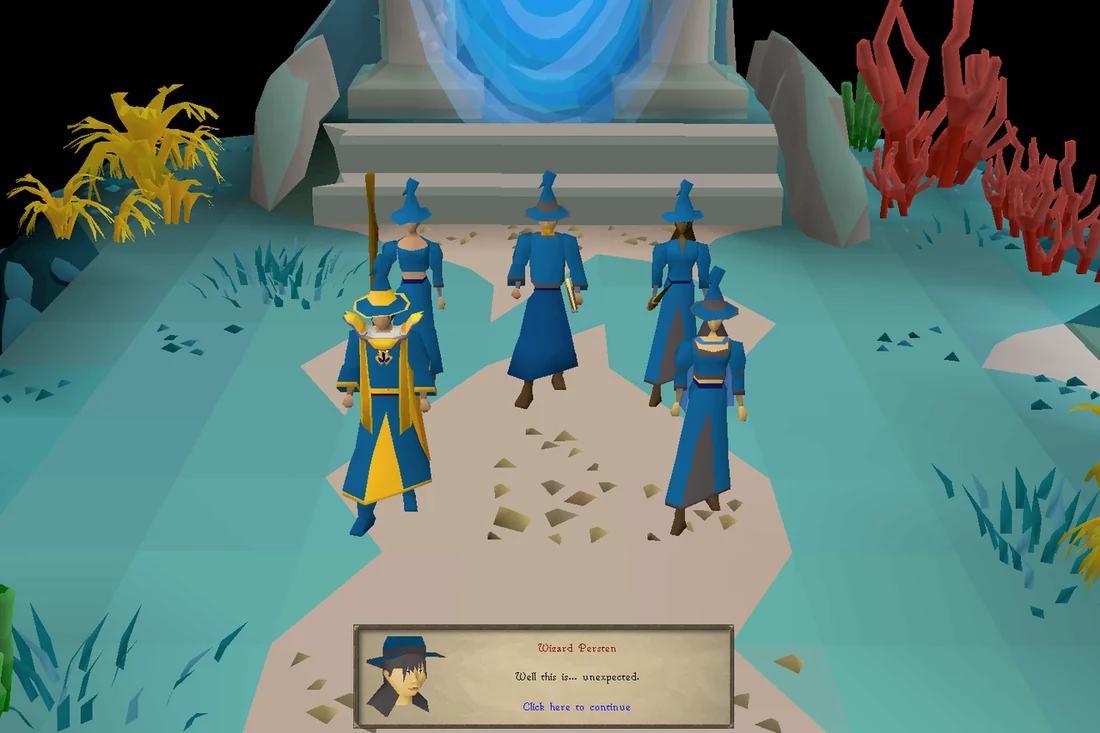
Return to the basement and speak to Sedridor. He will confirm that both the incantation and amulet are safe, and will reluctantly agree to help you. A cutscene will play in which Traiborn's apprentices and Persten cast the incantation. A portal will open, and you will enter it with them, arriving at what appears to be an underground Saradominist temple.
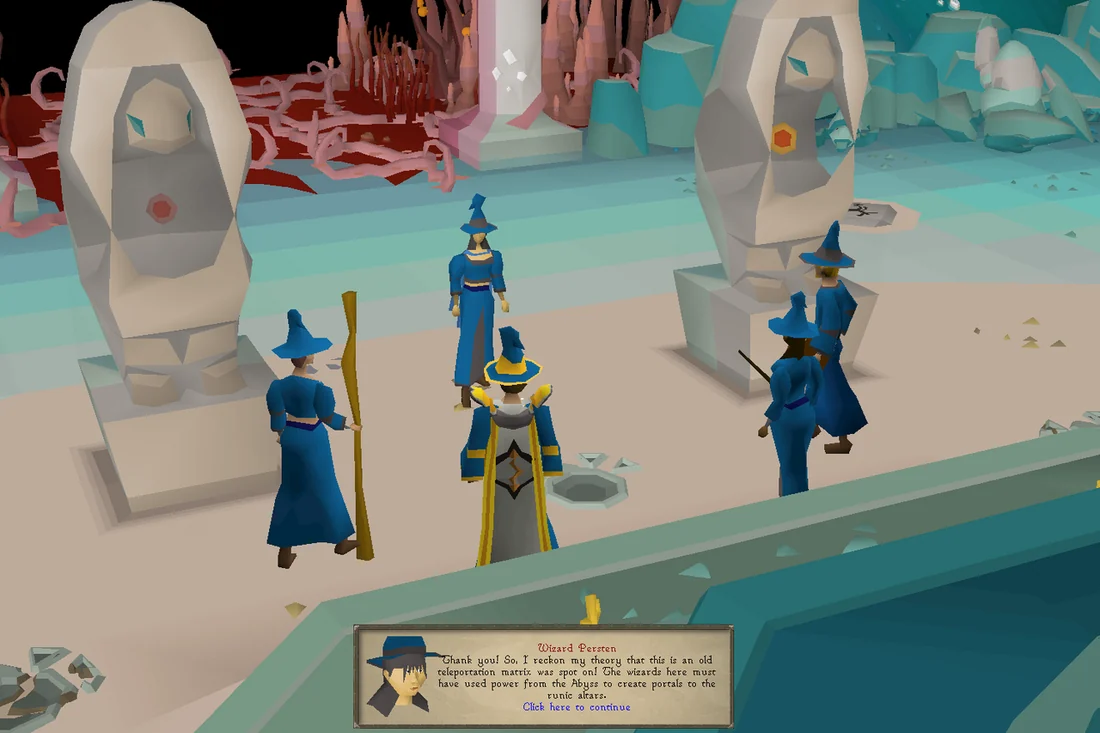
Tamara will cast a locator spell, and finds that they are south of Morytania, deep below the sea. Explore the temple and speak to all the apprentices, who make various discoveries about the temple. Afterwards, speak to Persten, who examines the markings and tells you that they radiate magical energy she's never encountered before.
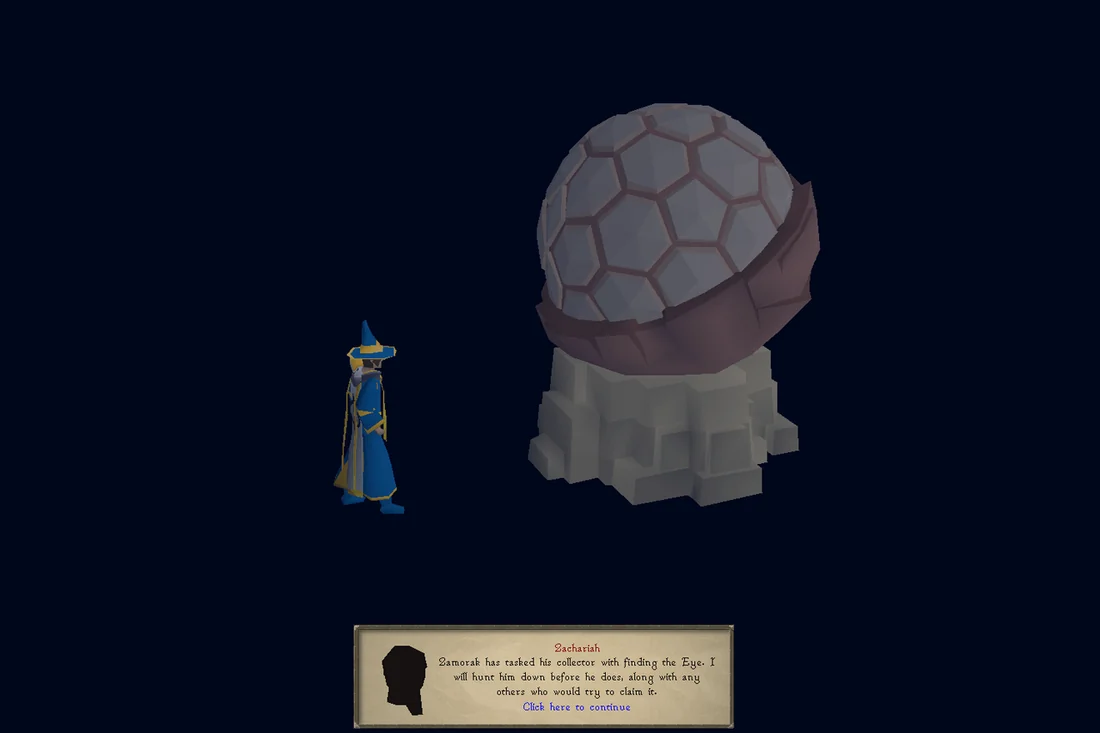
You will then experience a vision of a Mysterious Stone, alongside two voices: those of Justiciar Zachariah and Justiciar Aliya, who discuss guarding the Stone, which they refer to as the Eye. You will randomly proclaim Jas, much to Persten's confusion.
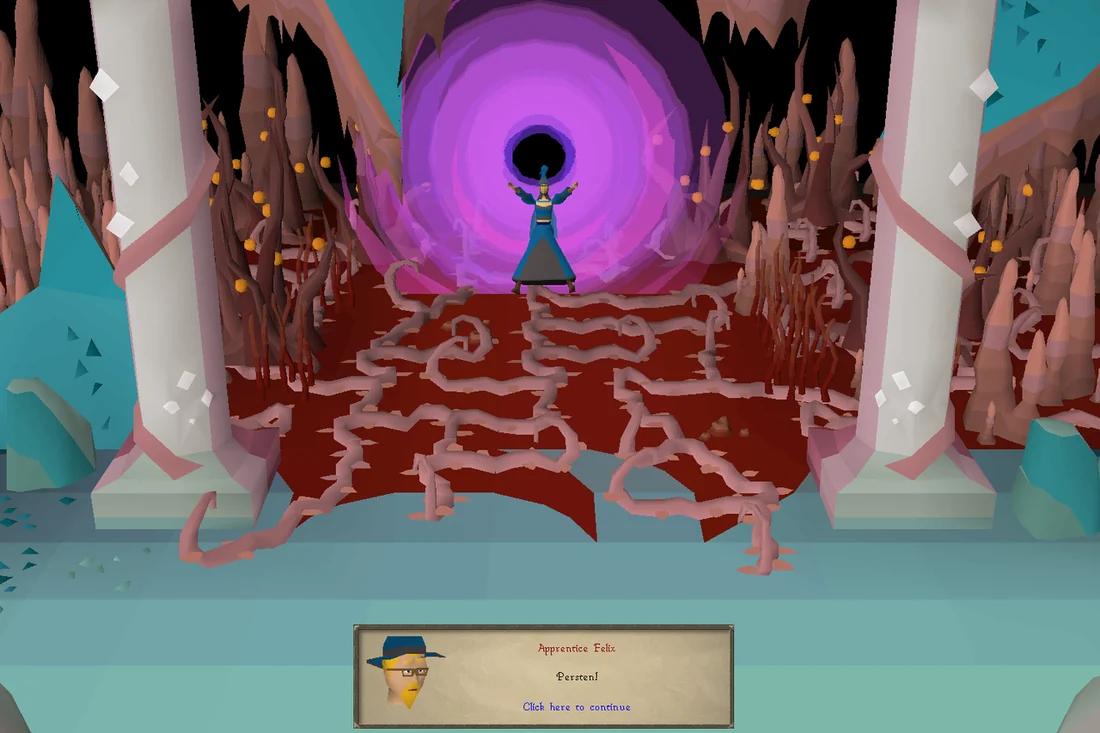
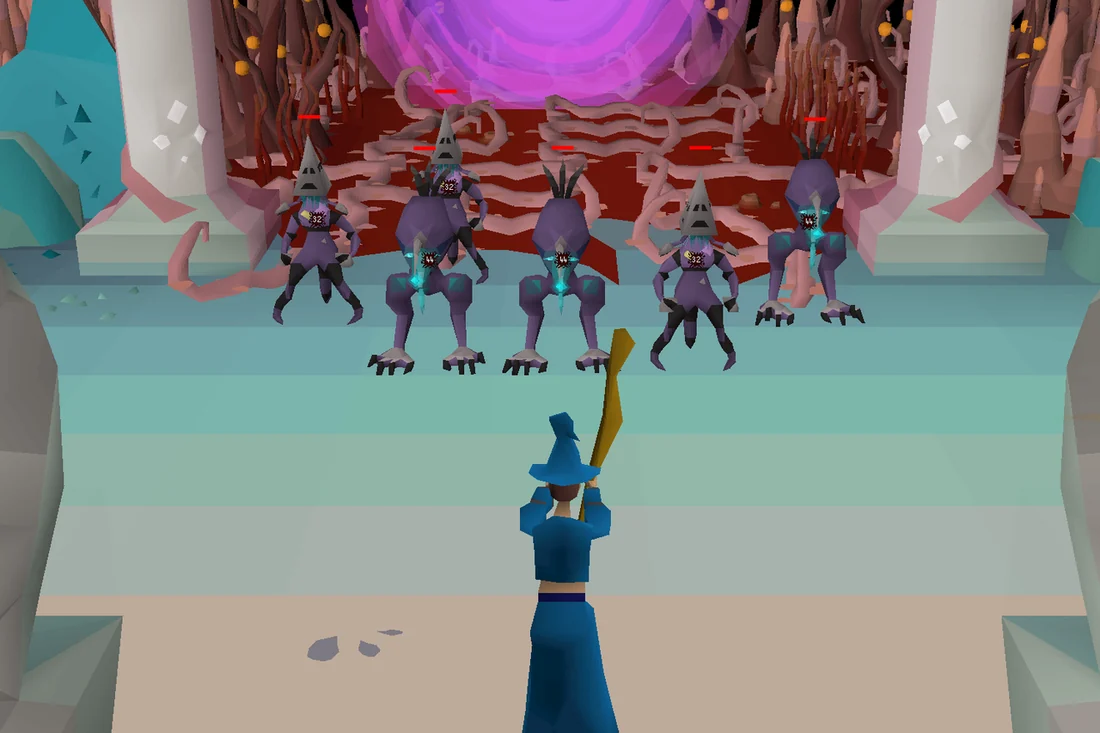
Upon learning of what the apprentices have discovered, Persten concludes that the wizards of the temple used the power of the Abyss and the Eye to create portals to the runic altars. She will then cast a spell in an attempt to reveal additional secrets of the Temple, only for an abyssal rift to open and suck her inside, with warped abyssal creatures emerging from it. Cordelia will cast a spell to kill the creatures.
Be aware that dropping items on the ground during the tutorial is risky; when going to the runecrafting altars, the instance is refreshed and items dropped are permanently lost
The Great Guardian will appear in the centre, and asks that you assist it in closing the rift. This part of the quest serves as a tutorial for the Guardians of the Rift minigame.
Speak to Felix and take a weak cell from the eastern table. Bring it to Tamara, then place it in the inactive cell tile near her to create a barrier.
Return to Felix, and take a chisel from the table and assemble the essence piles into rune guardians. Afterward, speak to Tamara again, who will ask you to collect guardian fragments and assemble them into essence.
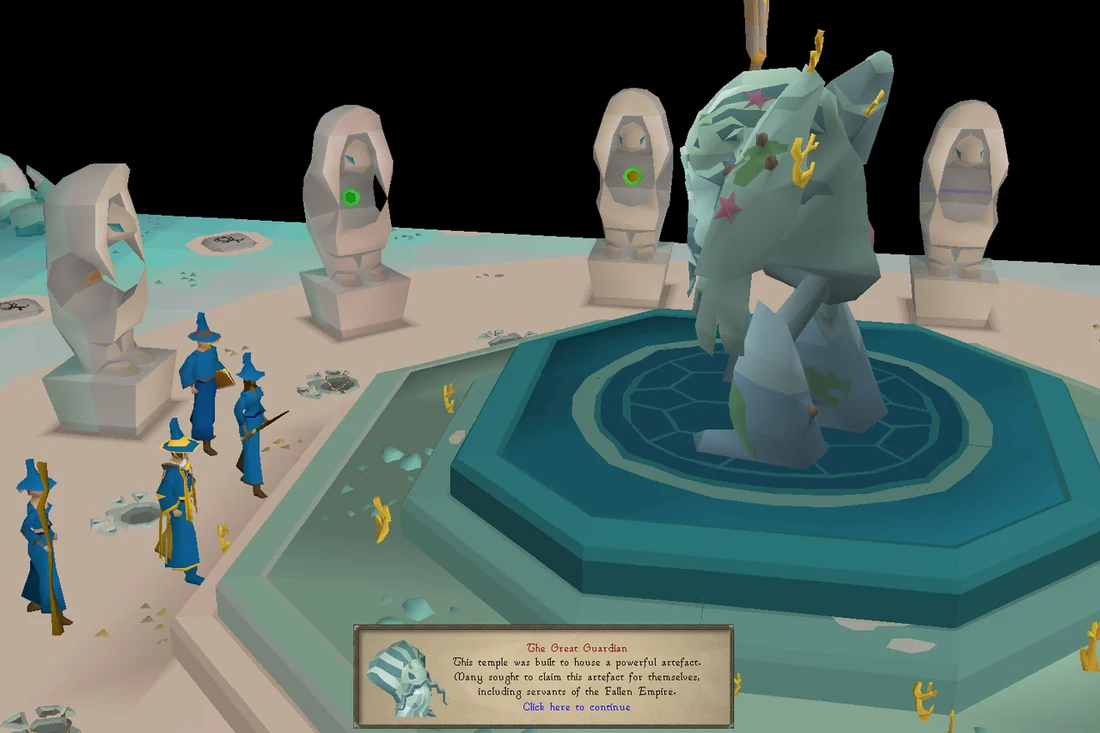
Once the Great Guardian has enough energy to close the rift, a cutscene will play. After closing the rift, the Great Guardian explains to you and the group that the temple was a place to hold the Stone of Jas and following the Betrayal of Zaros, the servants of Zaros tried to claim it for themselves during the Battle for the Eye. As the Eye is no longer in the temple, the rift will eventually return and thus will need the humans' help in closing it. The three apprentices will choose to stay and help the Great Guardian, feeling a need to atone for the mistake. It also presumes that Persten is dead as she has fallen into the Scar, the most dangerous place in the Abyss. The apprentices will then tell you to inform Sedridor of the development.
Leave through the portal and inform Sedridor that the so-called teleportation matrix was instead a rift to the Abyss that Persten had accidentally re-opened and that abyssal creatures spewed out. Sedridor will lament that he had forsaken his own principles due to his reluctance in following Persten's idea. He promises to give Traiborn's apprentices all the help they need in defending the place and research a way to close the rift as they have work to do.
Congratulations, quest complete!
Use this when you already know the route. The full walkthrough above includes explanations and diagrams.
Speak with Wizard Persten west of the Emir's Arena to obtain the eye amulet.
Say: What's a wizard doing in Al Kharid? → Yes.
Go to the Mage of Zamorak at the Altar of Chaos in south-eastern Varrock; use the eye amulet on him.
Speak to the Tea Seller at the eastern entrance to Varrock.
Say: Could I have a strong cup of tea?
Note: Do not steal from the Tea stall or you won't be able to continue for 10 minutes of in-game time.
Use the strong cup of tea on the Mage of Zamorak, and accept the teleport to the Abyss.
Say: Yes.
Use the eye amulet on the Dark Mage.
Now there will be runic energies surrounding the rift. Touch each colour until they all turn white; the order is random for every player. Remember the order as you try out different combinations as it will reset with each failed order.
Speak to the Dark Mage to receive an abyssal incantation.
Go back to Wizard Persten in Al Kharid (Recommend exiting the abyss via Fire Altar, will place you just east of Persten) talk to him and accept the teleport to the Wizards' Tower.
Say: Yes.
Go to the basement and use the abyssal incantation on Archmage Sedridor.
Climb up the ladder and stairs once, then speak to Wizard Traiborn.
Say: I need your apprentices to help with an incantation.
Speak with the three apprentice wizards on the first floor of the wizards tower, Apprentice Felix, Tamara, and Cordelia, in no particular order and view their riddles.
Speak to Traiborn, and answer 11 when prompted.
Say: I think I know what a thingummywut is!
Speak to Archmage Sedridor or Wizard Persten in the basement.
Say: Let's do it.
Speak to each of the apprentices in no particular order.
Speak to Wizard Persten. The Guardians of the Rift tutorial begins after this step.
Speak to Apprentice Cordelia.
Speak to Apprentice Felix, then take a weak cell from the table.
Speak to Apprentice Tamara, then place the weak cell on the inactive cell tile near her.
Speak to Apprentice Felix.
Take a weak cell from the table, then click on the essence pile to assemble a guardian.
Repeat the previous step for the other essence pile.
Speak to Apprentice Tamara.
Mine five guardian fragments from the guardian remains.
Speak to Apprentice Felix.
Work at the workbench to turn guardian fragments into guardian essence.
Speak to Apprentice Tamara.
Take an uncharged cell from the table.
Enter the Mind Altar and click the altar.
Speak to Apprentice Tamara.
Click the weak cell tile, then power-up The Great Guardian.
Speak to Apprentice Tamara.
Repeat the process of mining five guardian fragments and turning them into guardian essence.
Enter the Water Altar and click the altar
Power-up The Great Guardian.
Speak to Apprentice Tamara.
Click on the Essence pile again to assemble another guardian.
Speak to Apprentice Tamara.
Repeat the process of mining guardian fragments and turning them into guardian essence.
Take an uncharged cell from the table and use the water portal talisman on the water guardian.
Click the Water Altar.
Leave the altar and speak to Apprentice Tamara.
Place the cell you made on the cell tile.
Speak to Apprentice Tamara.
Power-up The Great Guardian.
Upon completion of the tutorial, you will automatically exit and speak to Archmage Sedridor.
Congratulations, quest complete!
QUEST COMPLETE
OSRS WIKI CONTRIBUTORS
Walkthrough text and preparation lists are adapted from Old School RuneScape Wiki contributors under CC BY-NC-SA 3.0. Game imagery © Jagex Ltd; individual image credits are available from their captions. This page is fan-made and not affiliated with Jagex.
KEEP QUESTING
Game icons © Jagex Ltd, via the OSRS Wiki. Interface icons by Lucide.