QUEST 158 · MEMBERS
The Path of Glouphrie
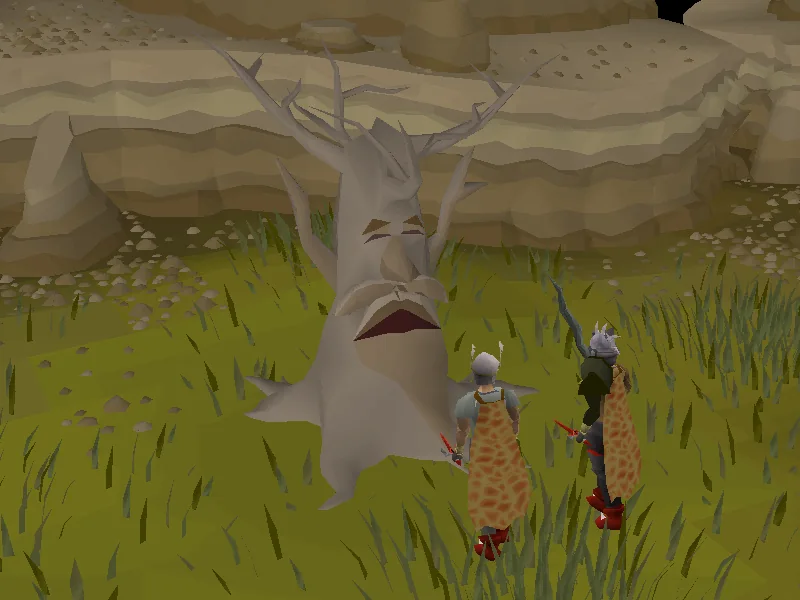
King Bolren has a new pet. Unfortunately, it's another watcher, like the ones unmasked in the Tree Gnome Stronghold during The Eyes of Glouphrie. Has Glouphrie been watching the Tree Gnome Village, too? If you investigate further you'll find out more about Glouphrie, the history of the gnomes (and their unusual monarchy) and maybe you'll get within a hair's breadth of the lost city of Arposandra...
- Difficulty
- Experienced
- Length
- Medium
- Quest points
- 2
- Released
- 13 September 2023
 2
2Jump to a chapter
Before you start
Where to start
Speak to King Bolren in the Tree Gnome Village.


Items required
- Tree Gnome Village Dungeon key (unless Roving Elves has been started) (obtainable during the quest)
- Combat equipment and some food
- Mith Grapple
- Any crossbow
Recommended
- Earmuffs or a slayer helmet to reduce damage dealt by the warped terrorbird's ranged attacks
- Grand or royal seed pod (for fast access to the Gnome Stronghold)
- Grand Exchange Varrock teleports (for fast access to a spirit tree)
- Access to fairy rings
- Several stamina or energy potions
- A tangled toad's legs to claim an optional mint cake reward from Longramble worth 71,104
- High healing food
- Prayer potions
Enemies to defeat
- 3 Warped Terrorbirds (level 138)
- Evil Creature (level 1)
Ironman concerns
- 59 Fletching [boostable] to make a mith grapple
- 59 Smithing [boostable] to make a mith grapple tip


OR
- 35 Firemaking [not boostable] for Barbarian Firemaking, to access the Ancient Cavern, and the means to defeat level 132 enemies for a 1/42.67 chance at a mith grapple drop (ideally the skeleton brute).

STEP BY STEP
Walkthrough
Follow the chapters below. Click any screenshot or diagram to view it at full size.
The King's Little Dumpling
Items recommended: 10-14 free inventory spaces to make room for crystalline disks.
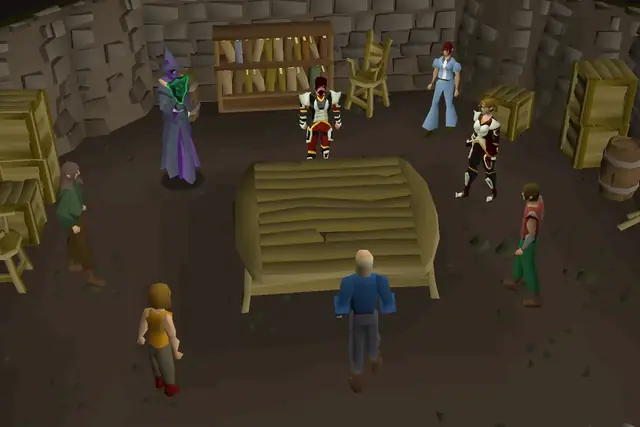
Make your way to the Tree Gnome Village; the quickest way to reach it is by spirit tree. Once there, talk to King Bolren and you'll notice that he has acquired another cute creature, who he's affectionally named "Dumpling". Recognising it as one of Glouphrie's evil creatures in disguise, you will attempt to warn him about its true nature; as usual, however, Bolren will refuse to believe you without sufficient evidence.
Bolren will mention Yewnock, the son of Oaknock the Engineer, who used to visit the village and brought some unusual objects with him. The objects will remind you of Oaknock's machine, and Bolren will recommend you look underground for a local gnome who might know something about an anti-illusion machine.
Head down to the Tree Gnome Village Dungeon by squeezing through the loose railing to the south-west and then running east to the dungeon ladder. In the western area of the cave, speak to Golrie and ask him about a device; if you have not freed him, you will need a key to unlock the room he is in, which can be found in the eastern storeroom (inside the crate that looks different than the others).
Golrie will tell you that his grandfather, Bolrie, used to travel the world collecting elven artefacts and bringing them back to the village, often stashing them in the storeroom nearby. He will tell you that the storeroom is found in the eastern area of the cave, past the tunnel entrance, and that the storeroom's gated strongroom will require a key to enter.
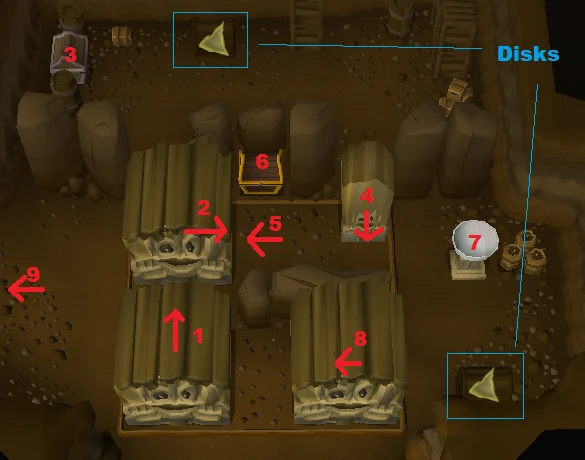
Head to the storeroom by entering the tunnel in the easternmost part of the dungeon, and you will find multiple monoliths in your way. Push the first monolith north, then search the nearby chest for some familiar discs. Next, you will see another four monoliths; push the south-west one north, then the north-west one east. Search the wood chest for more discs, and the silver chest for a chest key and Yewnock's notes. You do not need to read the notes, but they will give further lore.
Push the small monolith south and the north-west monolith west to access the gold chest, which contains the strongroom key Golrie mentioned earlier, as well as a crystal chime seed. Next, inspect the nearby singing bowl to create the crystal chime, which is needed later in the quest.
Yewnock's Legacy
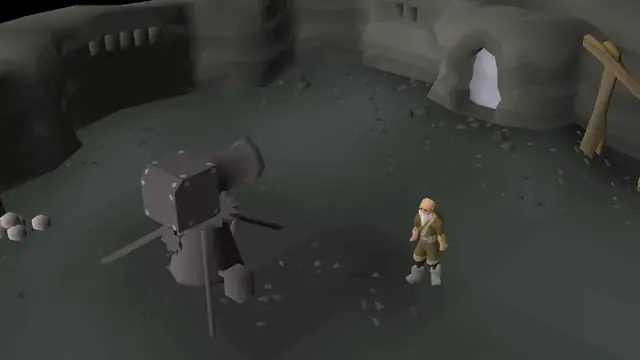
Push the south-east monolith west, then use the strongroom key on the gate to the west to enter a room with a lectern and Yewnock's machine. The lectern contains a diary belonging to King Bolrie, who formerly ruled the village; all three chapters will trigger cutscenes, which must be watched to move to the next step in the quest.
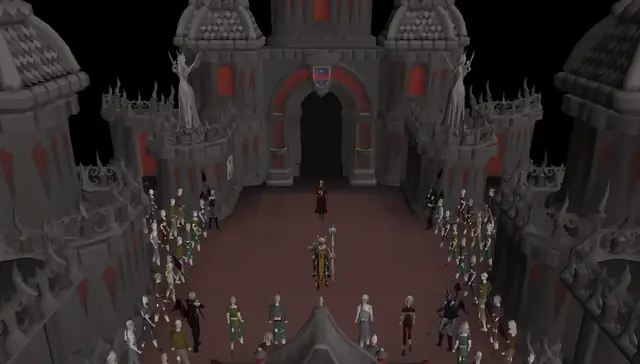
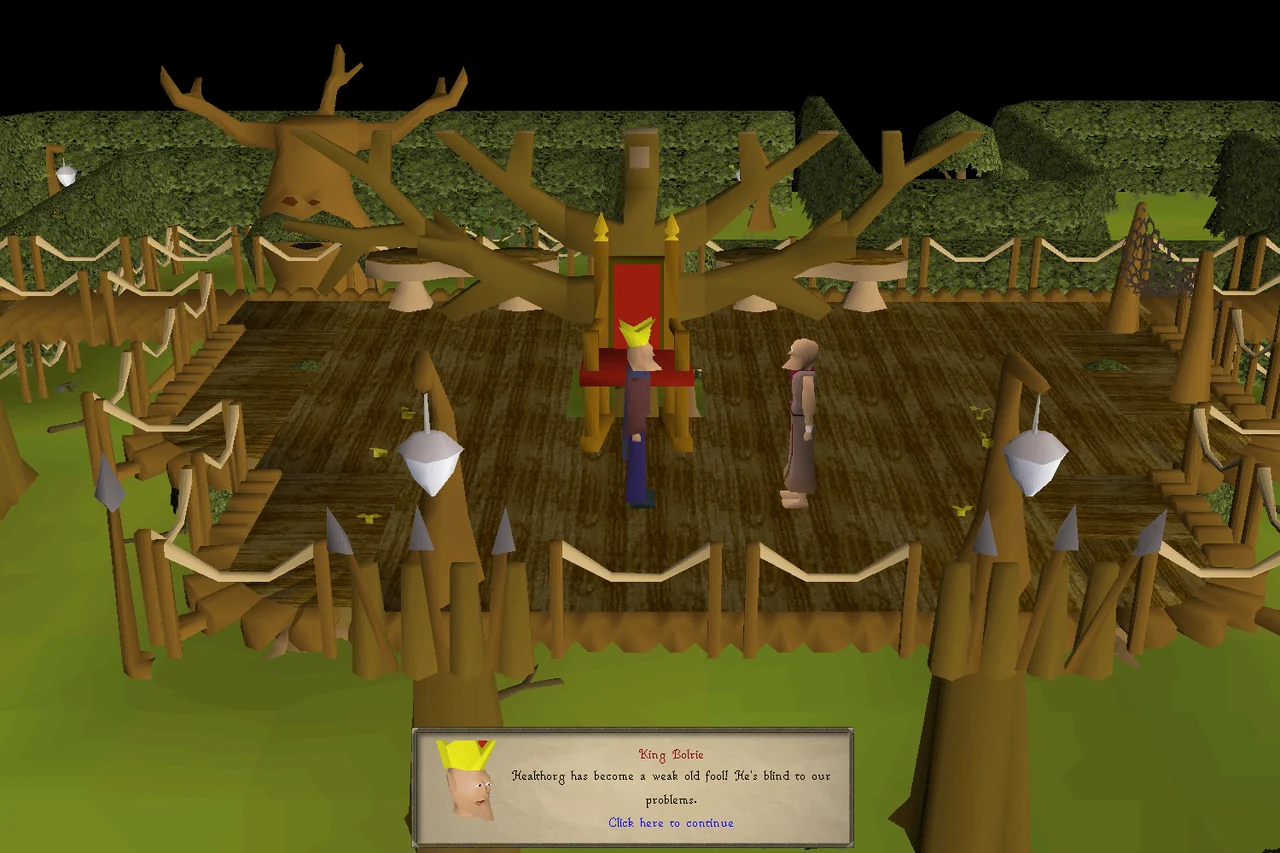
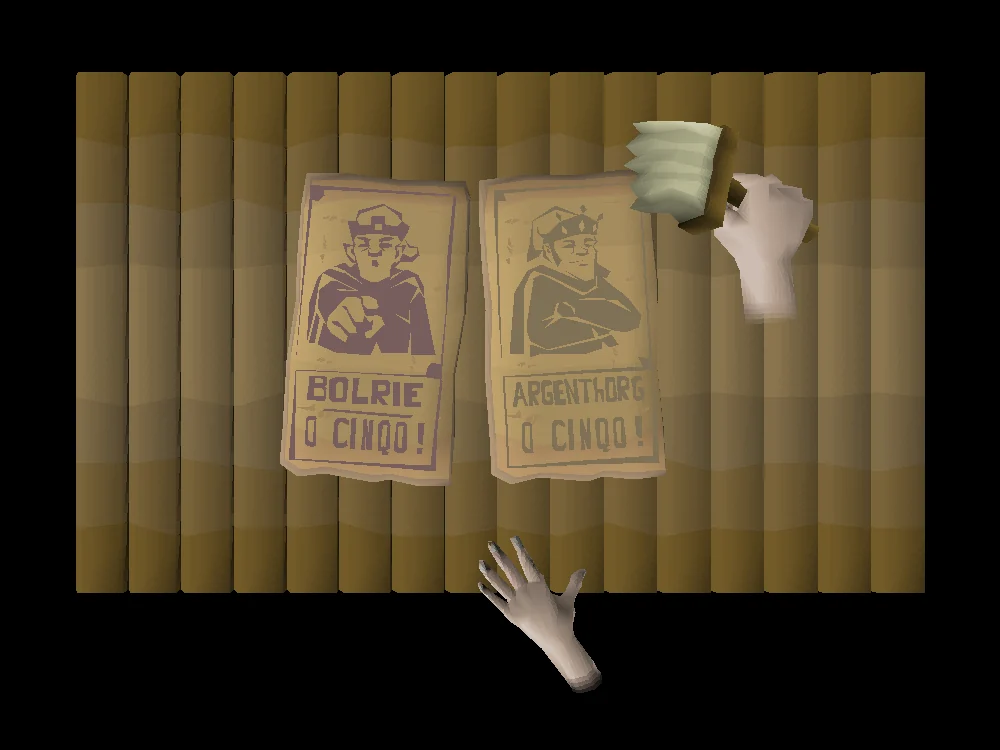
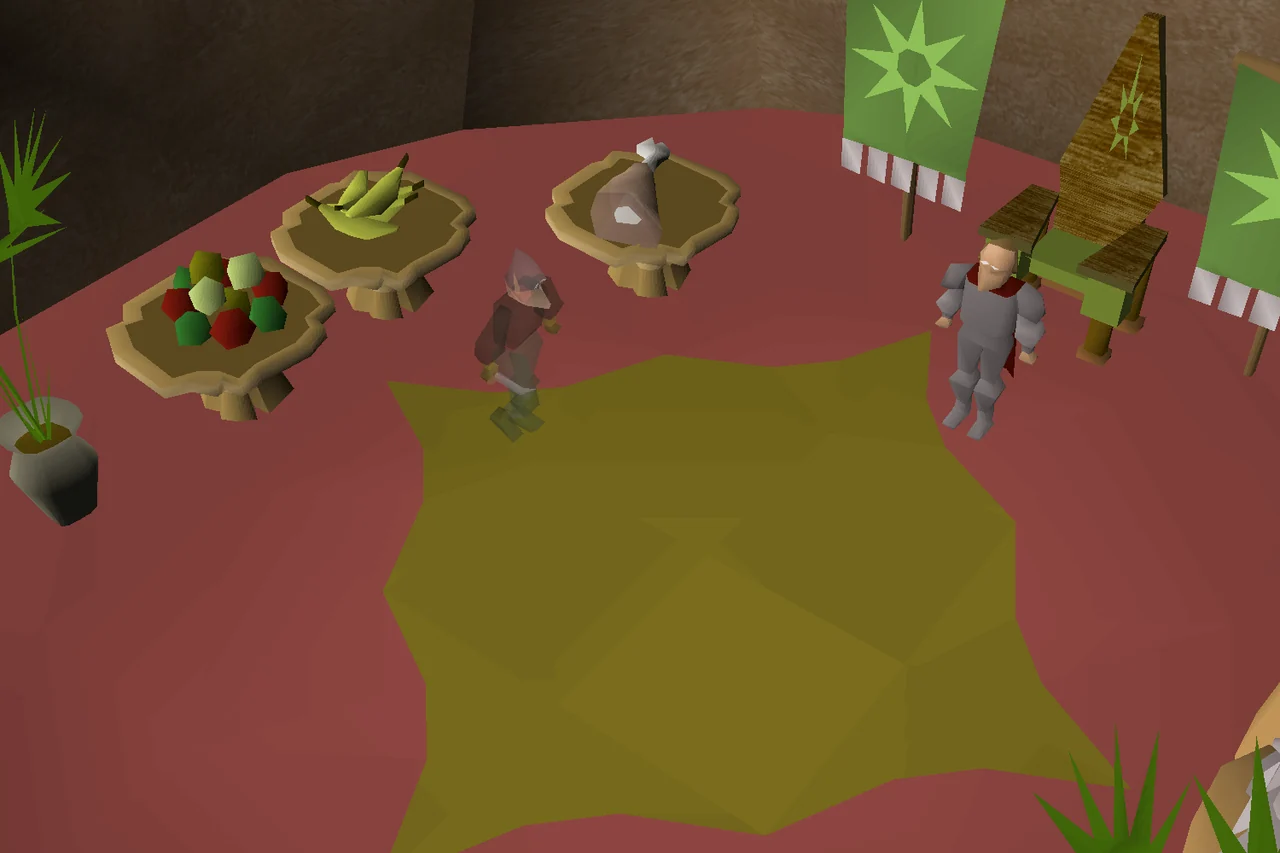
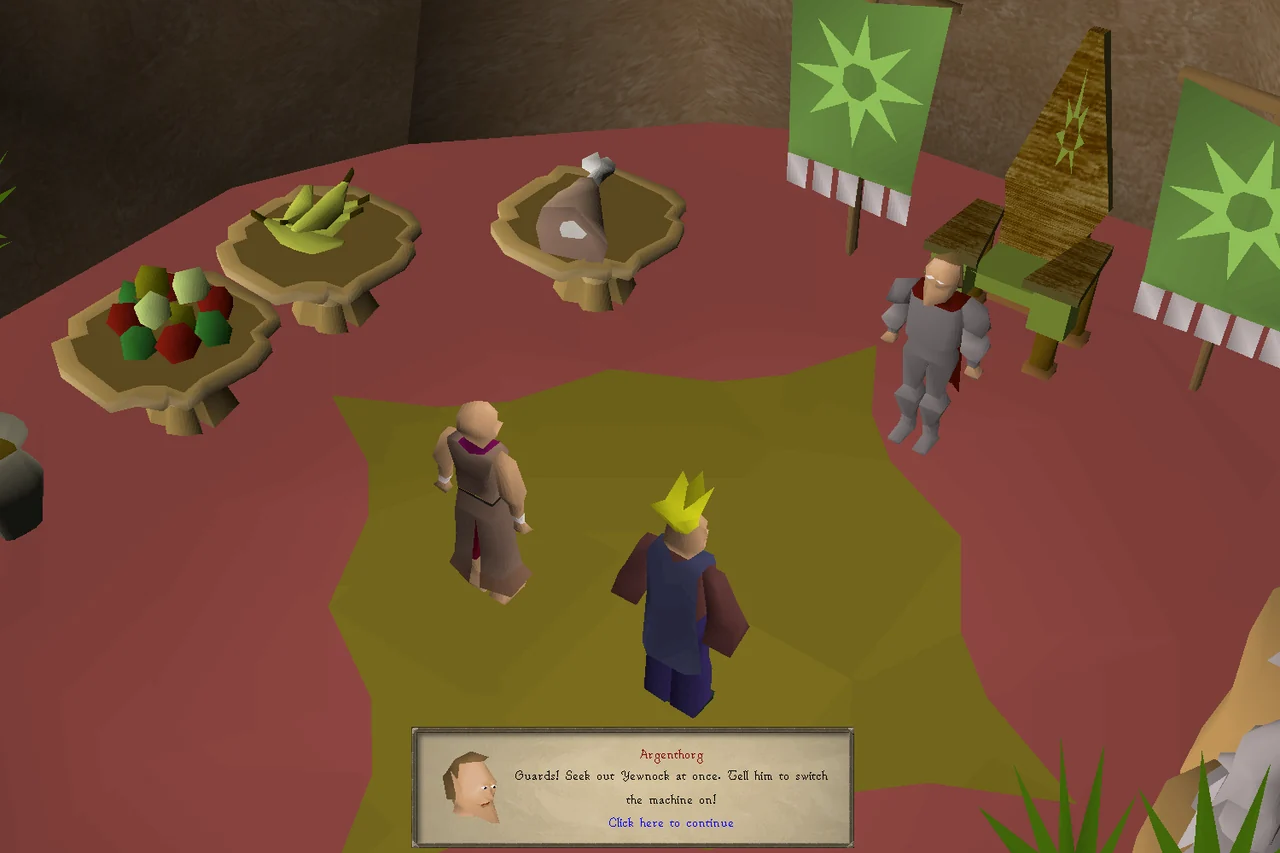
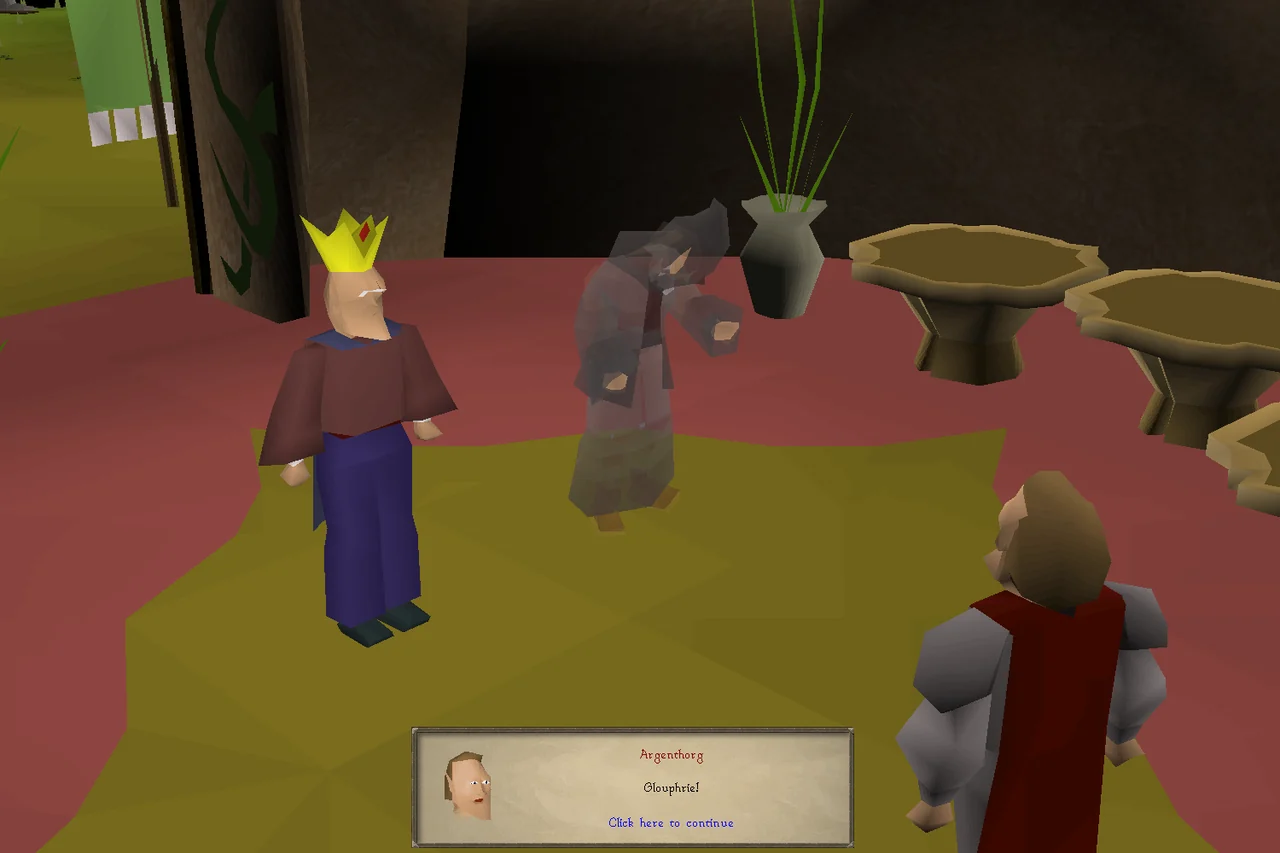
The cutscenes will show an advisor to King Bolrie, who is tired of the aging King Healthorg's inaction against the army of General Khazard. The advisor suggests to Bolrie that he should campaign to replace the king of the Tree Gnome Stronghold; his opponent Argenthorg, the crown prince, will be "revealed" to care more about humans than gnomes, giving the election to Bolrie. However, sensing foul play, Argenthorg will call upon Yewnock (son of Oaknock the Engineer) to activate an anti-illusion machine and expose the advisor as Glouphrie the Untrusted. Having been tricked, Bolrie is forced to stand down as a candidate to the throne and leave the Tree Gnome Stronghold, as well as abdicate the throne of the Tree Gnome Village.
| Colour | Value | |||||
|---|---|---|---|---|---|---|
| Circle | Triangle | Square | Pentagon | |||
| Red | 1 | 3 | 4 | 5 | ||
| Orange | 2 | 6 | 8 | 10 | ||
| Yellow | 3 | 9 | 12 | 15 | ||
| Green | 4 | 12 | 16 | 20 | ||
| Blue | 5 | 15 | 20 | 25 | ||
| Indigo | 6 | 18 | 24 | 30 | ||
| Violet | 7 | 21 | 28 | 35 | ||
The Machine
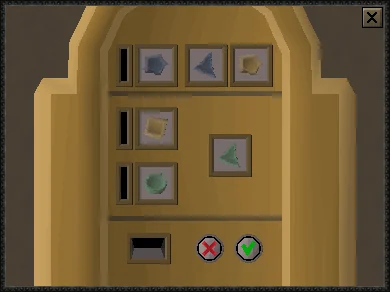
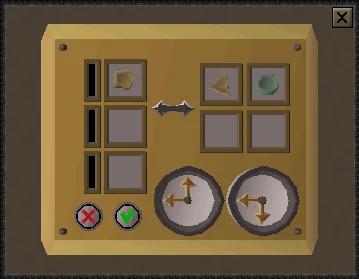
Yewnock's machine is similar to Oaknock's Machine in that players must solve a disc-based puzzle. This time, instead of being given a number you are given the value of the disc(s) to match. In the machine interface, the value of the discs inserted on the left need to add up to the same total value of the one(s) on the right. Use the table to calculate the total value of the disc(s) to match, and then solve as before. You will need to match two different values; first, a single shape that adds up to the value of the two displayed at the top, and second, two shapes that add up to the value of the single shape shown on the bottom.
Yewnock's exchanger, located directly next to Yewnock's machine, can be used by first inserting higher valued discs in exchange for multiple lower valued ones, or by combining two smaller discs into a bigger disc. The total value of the input and output will be the same. To operate the machine, click the desired disc in the inventory and then click the disc slot on the machine interface. Then click the double arrows between the two sides to view what will be exchanged. Note that the exchange has three tiers; exchanging a disc in the second slot will exchange for two shapes, and so on.
Any items left on the ground will disappear following the cutscene.
| Dumpling no More | |
| The jingle that plays upon Dumplings reveal. | |
Once the machine puzzle is successfully solved, a brief cutscene will play where Dumpling is revealed to be an evil creature. Head back up to the village and kill the evil creature, then talk to King Bolren. He will tell you of a gnome explorer named Longramble, who went in search of the lost city, Arposandra. Though no one knows of his current whereabouts, King Bolren suggests asking Aluft Gianne jnr. at the Grand Tree for help.
Use the spirit tree and travel to the Grand Tree. Bank all unnecessary items (you may safely drop the shapes) and stock up on food and armour. If you're going to trade a tangled toad's legs for the mint cake (optional, but highly recommended as the tangled toad's legs is worth 931 and a mint cake is worth 71,104), be sure to bring it along.
Arbor Incomitata
Items needed: A crossbow and mith grapple, crystal chime, combat equipment.
Items recommended: Tangled toad's legs to receive a mint cake
Items recommended: Tangled toad's legs to receive a mint cake
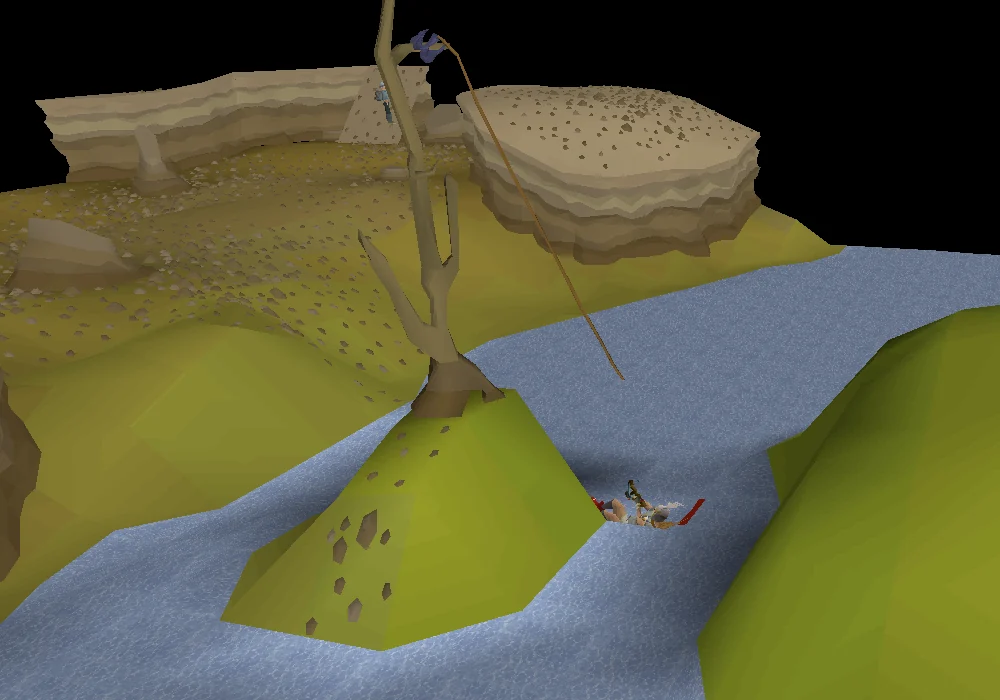
Make your way to the Grand Tree, and climb up the ladder once. In the north-west corner, speak to Gianne jnr. to learn about Longramble's whereabouts. He will tell you that gnomes have been trying to deliver a dish of tangled toads' legs to him, but have not been able to reach him. He tells you the coordinates of the delivery is at 2 degrees 7 minutes south and 3 degrees 7 minutes west.
These coordinates will point toward the Galarpos Mountains, just east of the Poison Waste. The quickest way to travel there is by using the fairy ring code BKP and then running north-west; An alternative way to get there is by teleporting to Castle Wars via ring of dueling, then heading south-west alongside the river. Equip a crossbow and mith grapple, and cross to the mountain side via the tree in the middle of the river.
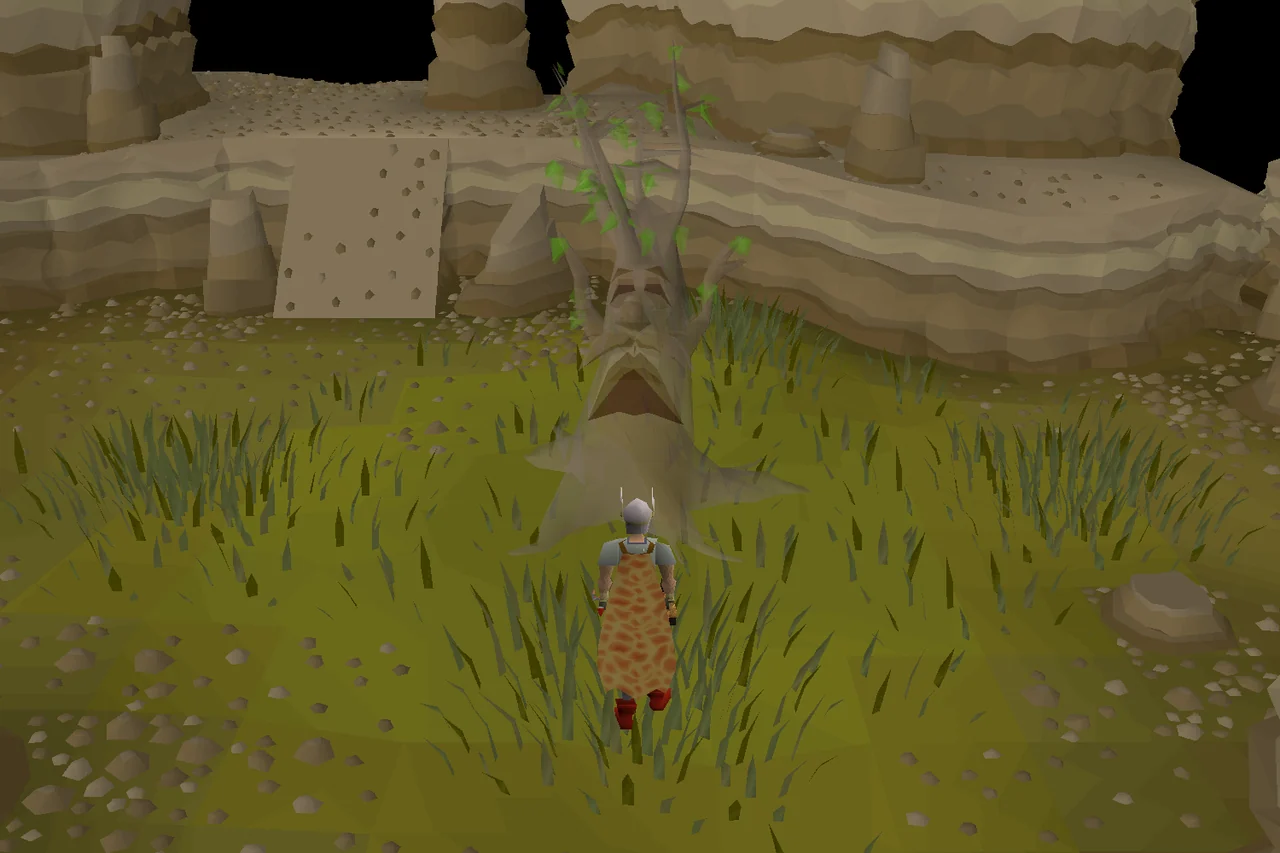
Speak to Longramble, who believes Arposandra is close to the Poison Waste. If you brought a tangled toad's legs, he will automatically take it. After going through the dialogue, head further north, and you will feel a strange voice calling to you; this is the spirit tree nearby calling you, who tells you to call it Incomitatus. The tree's connection to the Anima Mundi, the life force of the world, has been lost due to the toxic waste nearby corrupting its roots, and thus it has fallen ill.
You will mention that how Incomitatus speaks to you through the mind is reminiscent of Hazelmere's, and will unintentionally contact him through Incomitatus as the conduit. He will sense that it is unwell, and conclude that the poison seeping into the soil is a byproduct of powerful magic having separated the Anima Mundi from its source. Hazelmere will suggest that healing the tree requires a spiritual cleansing by way of elven magic; he will then notice that you have a set of chimes that can purify it, and ask that you use it on the tree. This will heal Incomitatus, and connects it with the rest of the spirit trees. From this point forward, players can use the tree as a teleport option.
The Warped Depths
Items recommended: Earmuffs or Slayer Helmet
Head west of the spirit tree, and then run south and enter the sewer entrance. You do not need to fight the Warped Tortoise at the entrance. Note that if you have not yet healed the spirit tree, warped tree roots will block your path after the second warped tortoise.
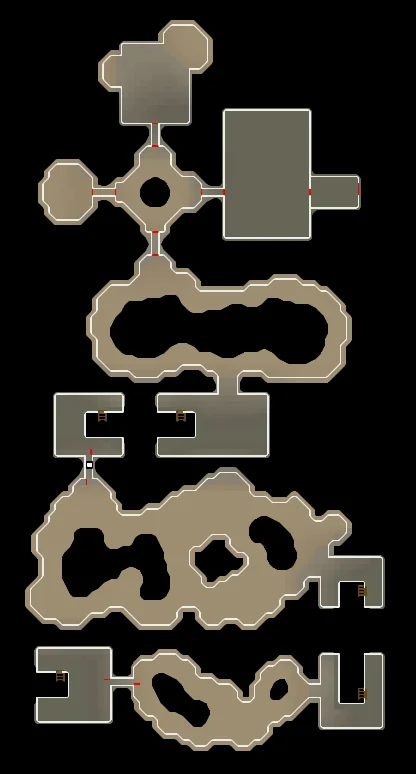
Once inside, you will need to run a considerable distance to the end of the dungeon; refer to the table below. It is recommended to wear a set of earmuffs and activate the Protect from Missiles prayer while traversing the dungeon, as this will negate almost all damage taken. Without ear protection, the Warped Terrorbirds inside will be able to hit through prayers with their ranged attacks.
There is a caged hallway at the half-way point where players are safe if they close the gate behind them. Players can also do so in the hallway just before entering the final area.
The level 121 Warped Tortoises in the dungeon are not aggressive, but the level 96 Warped Terrorbirds are, and they use frequent, highly accurate ranged attacks as well as a fairly accurate melee attack. Earmuffs or a slayer helmet will reduce the maximum hit of the ranged attacks, but the attacks will remain accurate, so Protect from Missiles is recommended. Run past them, and avoid stepping on the tar on the ground, as it will turn off run energy and force you to walk, signaled by the game message You accidentally step in some sticky tar!.
Head to the end of the dungeon, in a room with a pit in the centre that is connected to three other rooms. To reach the room from the entrance:
| Dungeon directions |
|---|
| Enter the sewer entrance. |
| Climb up the ladder. |
| Run all the way east. |
| Climb down the ladder. |
| Run north and climb up the ladder. |
| Run all the way west. |
| Enter the north room. Close the gates and rest here if needed. |
| Climb down the ladder in the northern side of the room. |
| Run slightly east and climb up the ladder. |
| Run north to the room with the pit. |
| Enter the east room and fight the terrorbirds. |
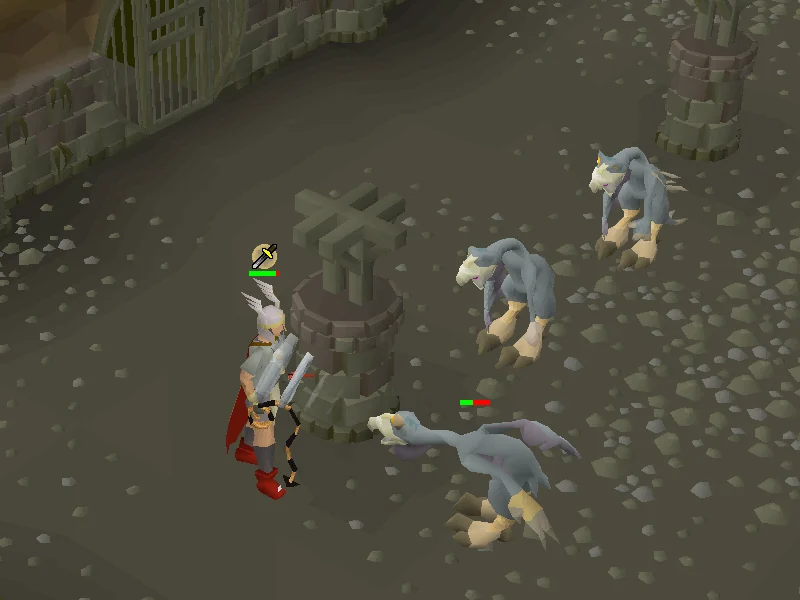
The east room contains three Warped Terrorbirds that must be slain. The terrorbirds use both melee and ranged, and will path towards the player. You must be carrying the Crystal chime that you sang earlier to harm the birds.
Lower-levelled players can use the pillars around the room to stop the other terrorbirds from attacking. Standing at the door until the three terrorbirds approach you will allow you to engage only one at a time. They may also be poisoned, envenomed, and flinched by trapping them behind the pillars. They are weakest to crush attacks, and their ranged defence is the strongest defensive stat, but their melee and magic defence is fairly low, and they can be quickly eliminated with any attack style.
You can also position yourself so that they're not in melee distance (note that they can melee at a diagonal, unlike most units) so that you only need to pray Ranged. If you are low on prayer and have made sure that all the birds are not in melee distance, you can conserve prayer by only turning it on every 15 ticks once you have successfully prayed against their ranged attack. This is every 5th attack with a shortbow on rapid or every 3rd attack with autocast. If you get hit, they will immediately attack on the 3rd tick after the hit, so be prepared to reset your cycle!
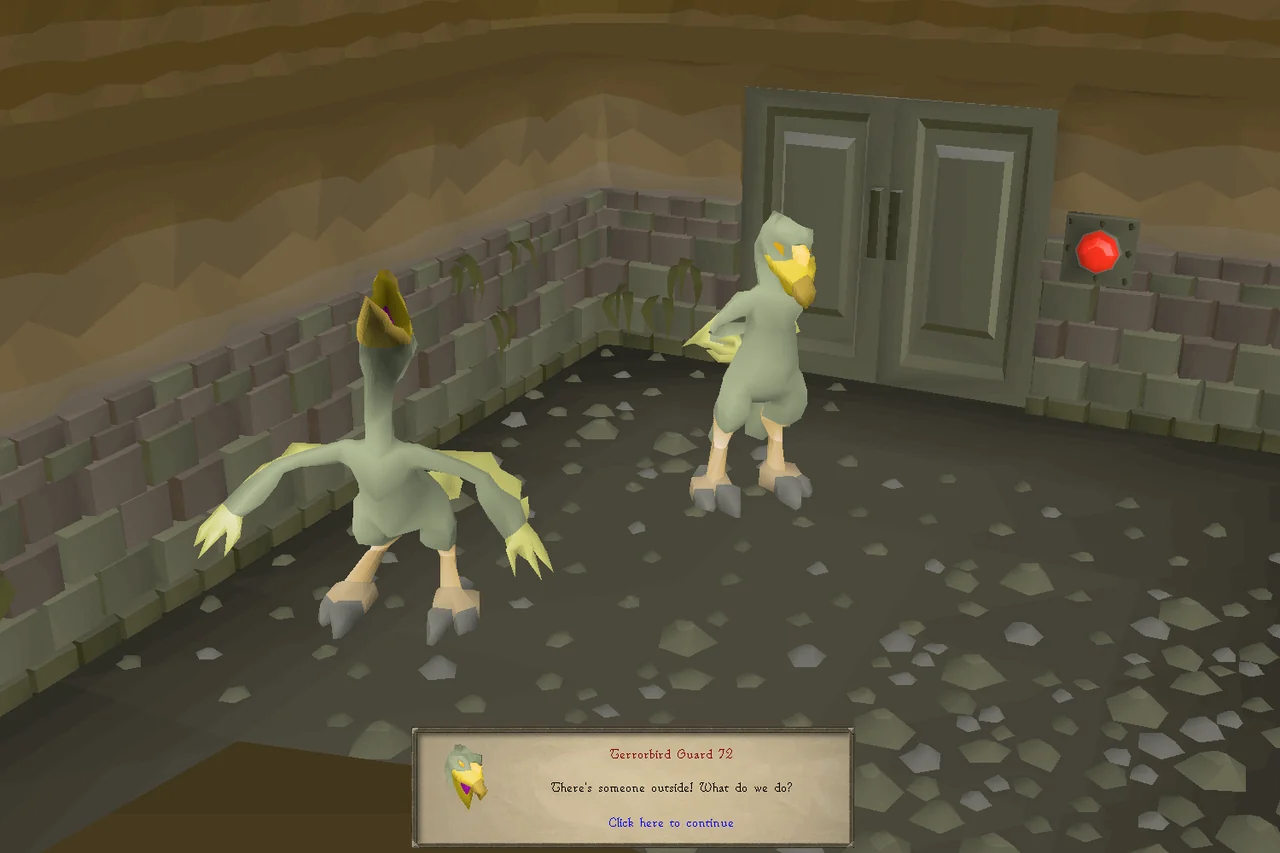
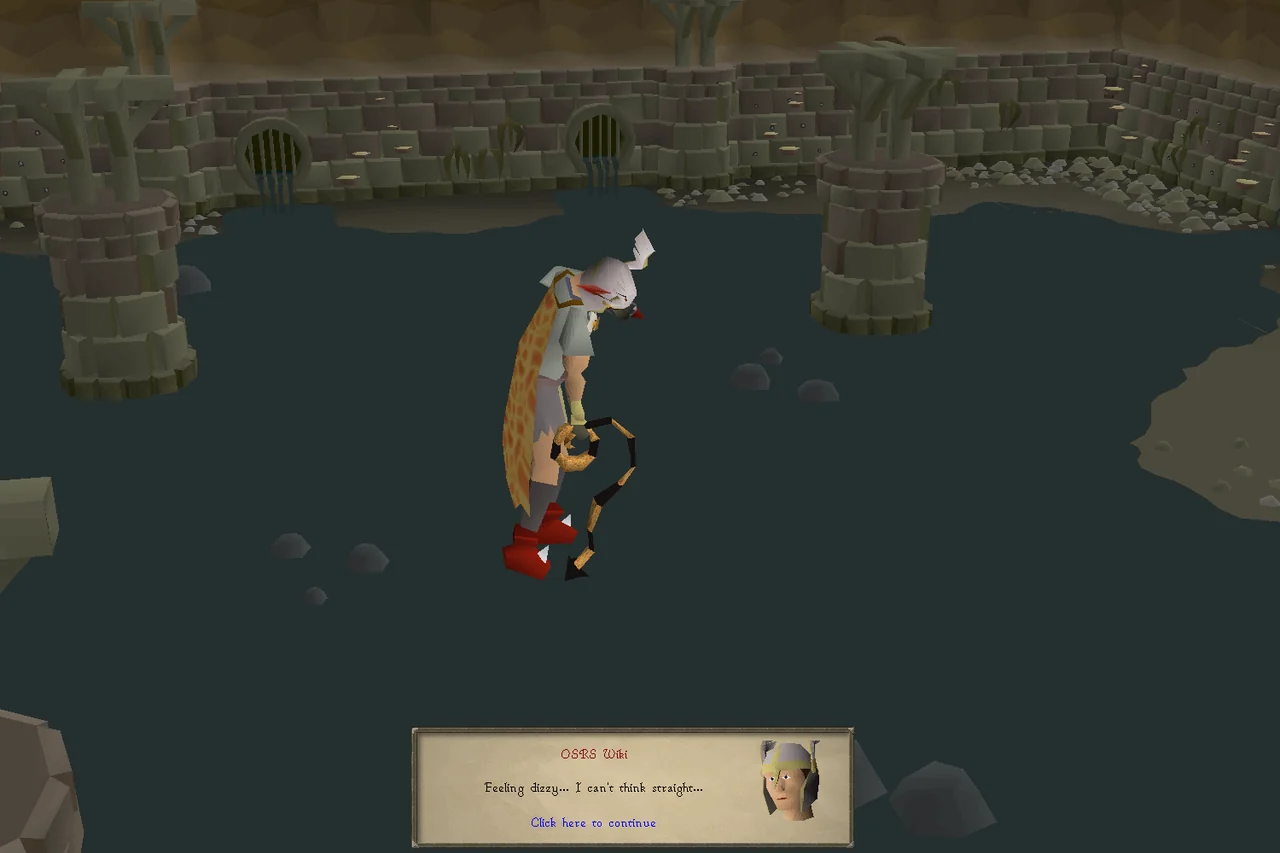
After killing the Warped Terrorbirds, head towards the heavy door on the eastern side of the room to begin a cutscene showing two intelligent terrorbirds, Terrorbird Guard 21 and 72, talking to each other. They will lament the boringness of the job, until they notice you and panic, pressing an alarm button that releases tar from the grills. You will try to run but become stuck in the tar, and toxic gases will begin to seep into the room, causing you to become hazy.
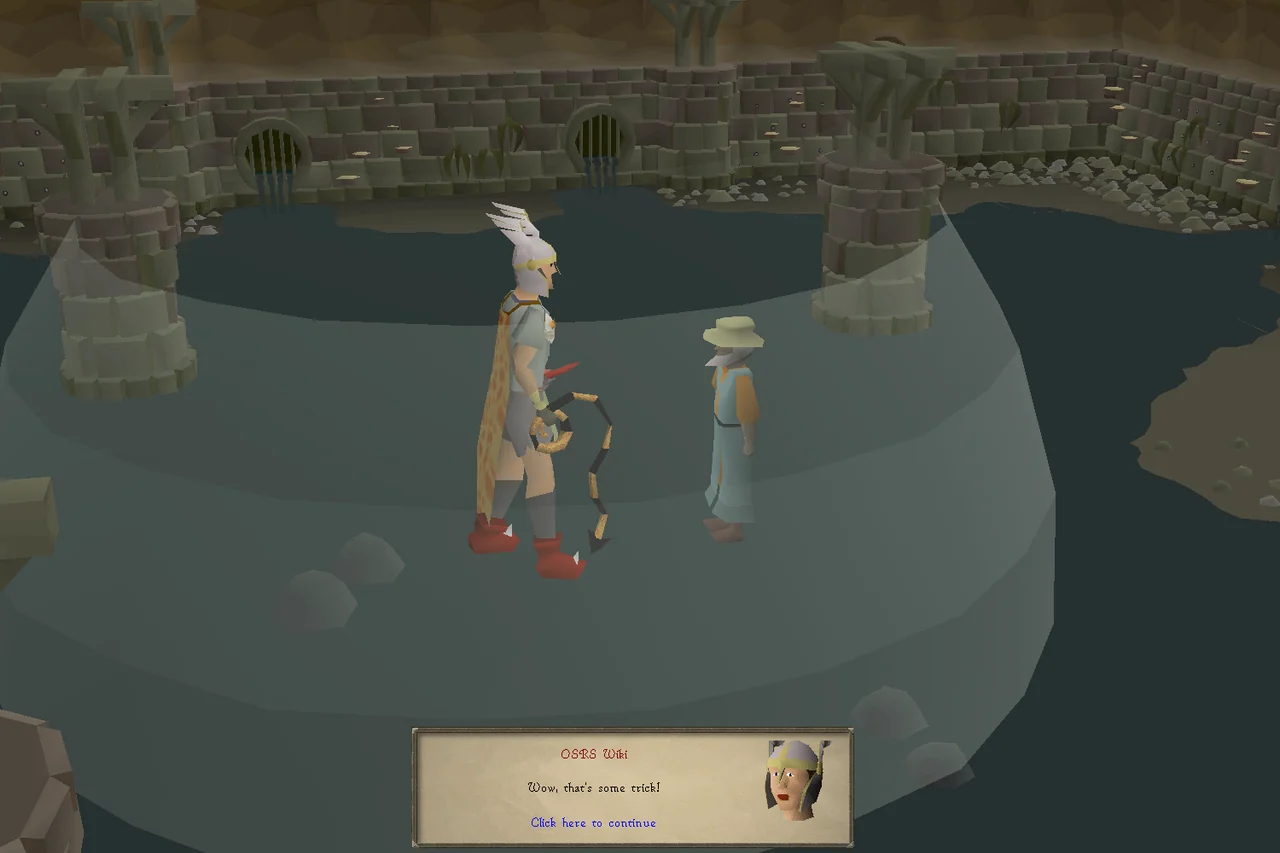
As you are about to blackout, Hazelmere will appear in the nick of time. He activates a special seed pod, the last gift given to him by Argento, which surrounds the both of you with a large aura and teleports you both out to safety. Arriving at his house on the Yanille Chain, he will impart upon you his vision of the future, a vision that heavily involves you and signifies much to come.
Note : If there is not enough space in the inventory during completion, you can talk to Hazelmere again to receive the missing rewards. Destroyed lamps can be reclaimed from Hazelmere at any time.
Congratulations, quest complete!
Quick checklist 37 instructions
Use this when you already know the route. The full walkthrough above includes explanations and diagrams.
Bolren's Little Dumpling
Talk to King Bolren in the Tree Gnome Village.
Say: Yes.
Squeeze through the loose railing to the south-west, and then run east to the ladder down to the Tree Gnome Village dungeon.
Run west and talk to Golrie about anti-illusion devices.
Say: I need your help with a device.
If you don't have a Tree Gnome Village Dungeon key and Golrie is trapped behind the gate, search the distinct crate in the eastern area of the dungeon.
Unlock the gate and speak to Golrie again.
Enter the storeroom via the tunnel in the eastern area of the dungeon.
Push the monolith north.
Search the nearby chest for some discs.
Push the south-west monolith north.
Push the north-west monolith east.
Search the two chests by the northern tunnel.
Push the small monolith south.
Push the north-west monolith west.
Search the chest for the strongroom key and crystal chime seed.
Click on the singing bowl to create the crystal chime from the seed. You may have to instead select the 'Sing-crystal' on the singing bowl to complete this step.
Push the south-east monolith west.
Enter the strongroom to the west.
Click the book on the lectern and watch each cutscene by selecting the chapter headers. (NOTE: DROPPED ITEMS WILL DISAPPEAR AFTER THE CUTSCENE)
Operate Yewnock's machine.
Referencing the table to the right, insert discs on the left side of the machine to equal the values on the right side. Use Yewnock's exchanger to obtain shapes of lesser values. (NOTE: PICK UP ANY ITEMS YOU'VE DROPPED PRIOR TO CONFIRMING THE DISCS IN YEWNOCK'S MACHINE). If you are having trouble, see the full guide here.
Return to King Bolren and kill the evil creature.
Talk to him again.
The Warped Depths
Use the Spirit Tree to travel to the Tree Gnome Stronghold.
Make your way to the Grand Tree and climb up the ladder once.
Talk to Gianne jnr. in the north-west corner.
Say: I need your help finding a certain gnome.
Make your way to the Galarpos Mountains just east of the Poison Waste. The quickest way to travel there is by using the fairy ring code BKP and then running north-west. Alternatively, teleporting to Castle Wars via ring of dueling, then heading south-west alongside the river is also fairly quick.
Use a crossbow and mith grapple on the tree in the middle of the river to cross into the mountains.
Talk to Longramble.
Talk to the dying spirit tree.
Use the crystal chime on the tree. Note: Keep the Crystal chime in your inventory after this, as it needs to be in your inventory to damage the dungeon monsters.
Talk to the tree.
Go west into the Poison Waste Dungeon entrance by entering the sewer and climbing up the ladder.
Travel through the dungeon until you reach a room with a pit in the centre that is connected to three other rooms.
The Warped Tortoises scattered throughout the dungeon are not aggressive, but the Warped Terrorbirds are. Wearing Earmuffs or a Slayer helm will reduce damage taken from their Ranged attacks. The damage can be fully negated if ear protection is combined with the Protect from Missiles prayer.
Enter the east room and kill the three blue Warped Terrorbirds.
The Terrorbirds can attack with both Ranged and Melee and will swap to whichever combat style the player is not currently praying against. It is possible to use the pillars in the room as safespots. If fighting in melee range, it is recommended to use Protect from Melee as their melee max hit is much higher than their ranged max hit.
Finish the final dialogue with Hazelmere to complete the quest.
QUEST COMPLETE
Rewards
- Four magic lamps offering a total of 20,000 Slayer Slayer XP, 5,000 Thieving Thieving XP, 30,000 Strength Strength XP, and 5,000 Magic Magic XP
- Access to the Poison Waste Dungeon
- Ability to unlock Warped creatures as a Slayer task which drop the warped sceptre
- Access to a new spirit tree destination in the Poison Waste
OSRS WIKI CONTRIBUTORS
Sources & credits
Walkthrough text and preparation lists are adapted from Old School RuneScape Wiki contributors under CC BY-NC-SA 3.0. Game imagery © Jagex Ltd; individual image credits are available from their captions. This page is fan-made and not affiliated with Jagex.
- The Path of Glouphrie →full guide · revision 15292374
- The Path of Glouphrie/Quick guide →quick guide · revision 15172868
KEEP QUESTING