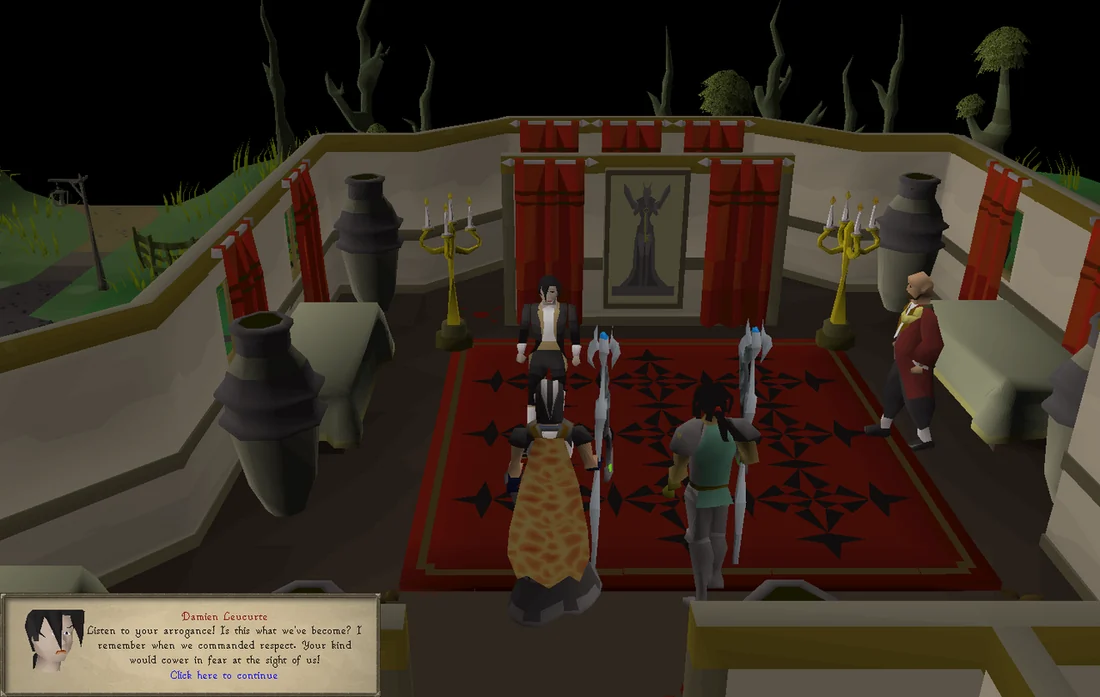
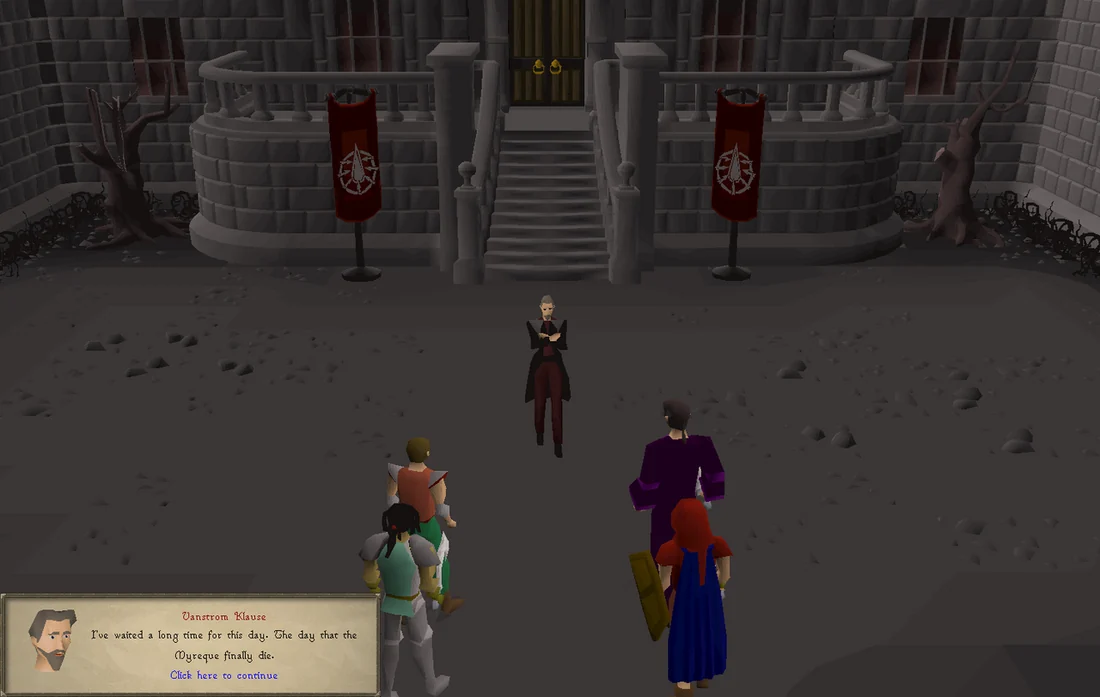
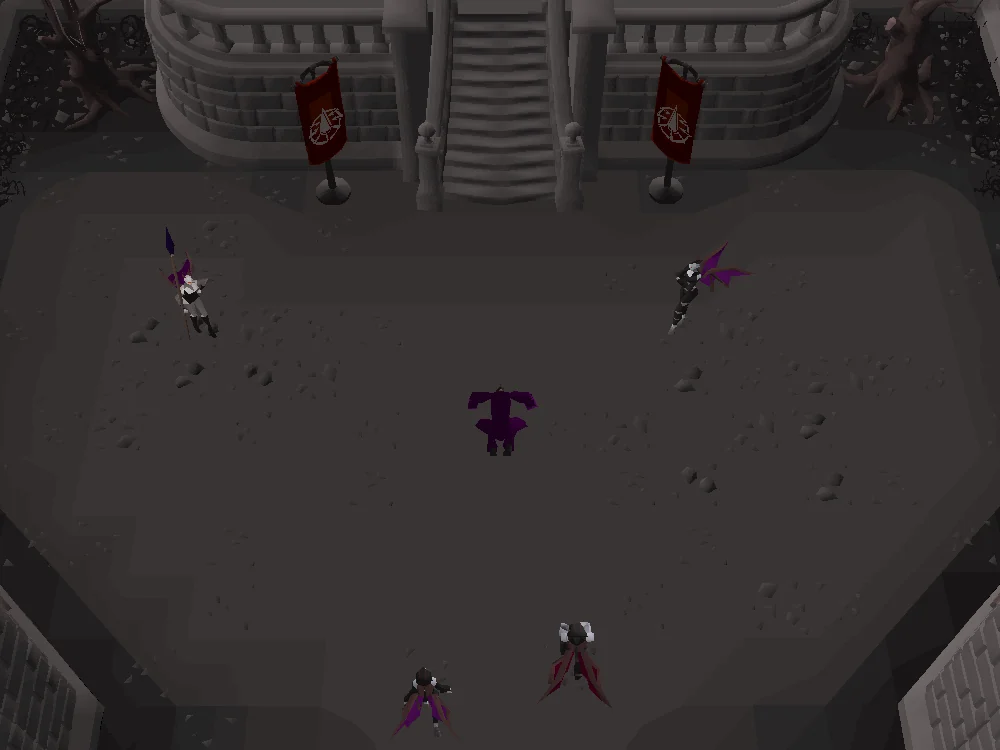
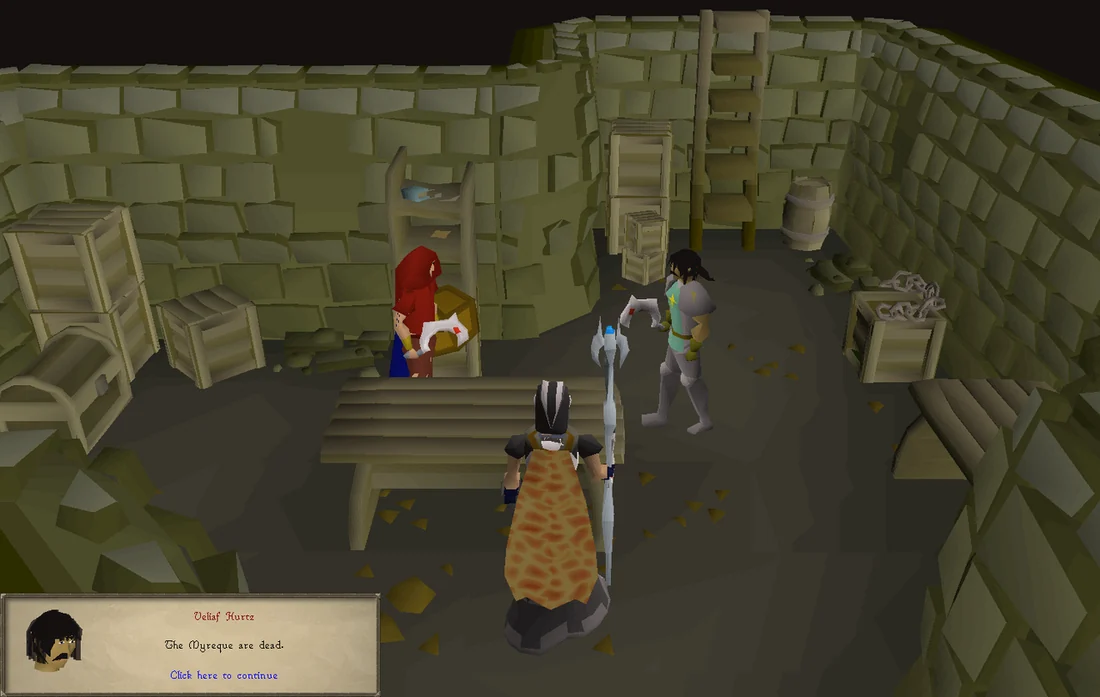
A darkness has fallen over Morytania. The Myreque freedom fighters have achieved their first major victory over the vampyres with the death of Ranis Drakan. However, their newly found hope is unlikely to last. After many years of absence, Lord Lowerniel Drakan, the vampyre overlord of Morytania, has finally emerged from his castle. He has but one goal. To avenge his brother and eradicate the Myreque once and for all.
Teleporting to Ver Sinhaza via Drakan's medallion, then heading north. Once you pass the small dock, run east to arrive at Slepe. (If you've lost your medallion, you can reclaim it for free by speaking to Kael underneath Old Man Ral's.)
Using the Ectophial to teleport to the Ectofuntus, then heading north to the small dock and paying Andras 10,000 coins to row to Slepe. You will arrive at a dock just south-west of Slepe.
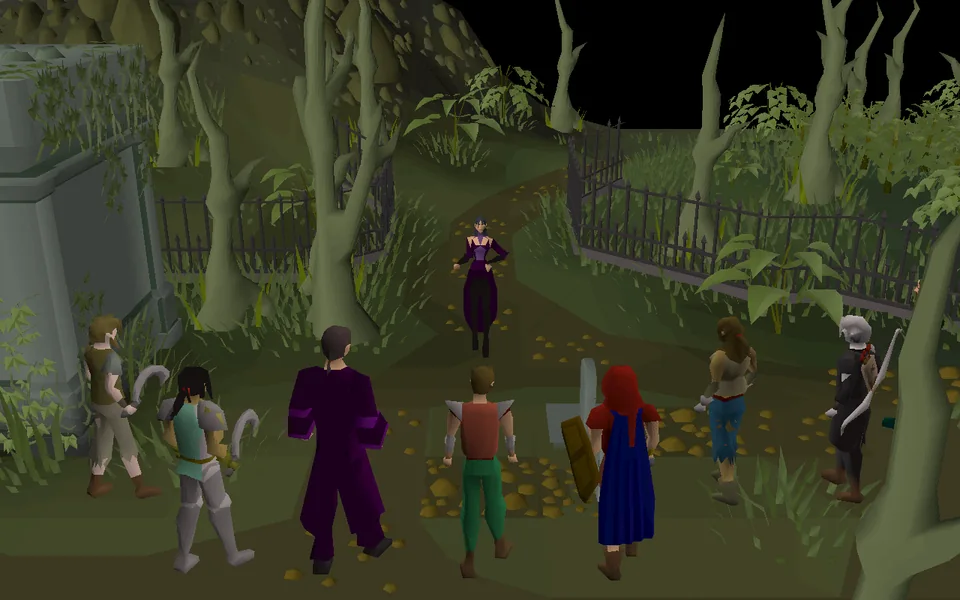
Once in Slepe, speak to Veliaf Hurtz outside the church. He explains that the town has recently been exposed to an illness known as the Sleeper Plague, in which the afflicted fall into a deep sleep. Through his investigation, he suspects the vampyres are responsible for causing the plague, and asks if you could try and find the source of the illness while he continues his investigation at the Crombwick Manor. Agree to help him.
Enter the church and speak to Hameln the Jester, whose travelling companion, Hanchen the Hound, has succumbed to the Sleeper Plague. Ask him how he fell ill, and he will say that they both visited the local pub, The Rat & Bat, for a few drinks. Shortly afterward, Hanchen began to fall ill and collapse.
02
Plague's End
Items needed: Combat equipment Items recommended: Food and prayer potions
On death, all unprotected items will be moved to a grave outside the instance. Any items left on the ground will be lost.
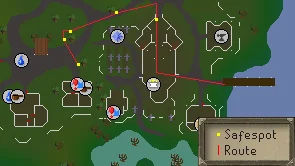
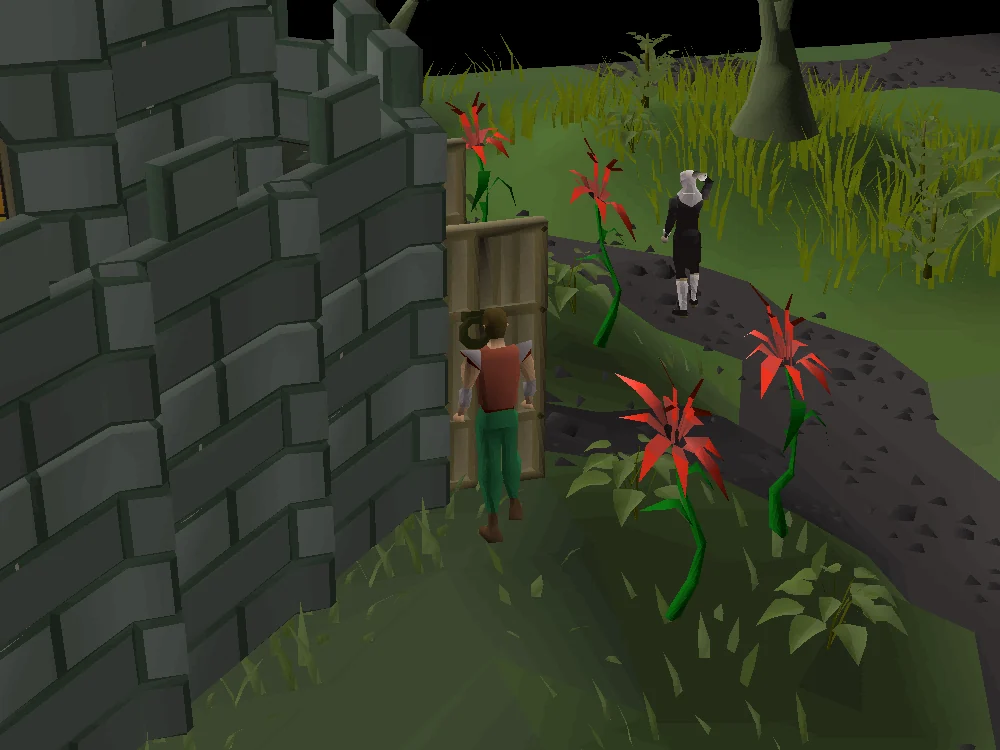
The path you can take, and where to stand on to prevent being spotted. Image credits →Following Carl around Slepe. Image credits →
Visit The Rat & Bat just south-east of the church, and talk to Carl the barkeep. Ask him where he gets his bloody bracers from, and he will act suspicious in response to your questions. Inspect the barrel behind the pub, you'll find out that Carl is just about out of Bloody Bracers, and decide to follow him.
Carl will walk around Slepe and periodically turn around, where you will need to hide behind a piece of landscape or building in order to not be caught. If you are caught, you will start from the beginning again.
Go through the church and hide at the north doors; wait there until he passes the doors.
Proceed to the hollow tree just north of the graves, and hide on the eastern side.
When he reaches the centre square of the town, hide at the northern side of the hollow tree directly next to the gallows.
Once he enters the graveyard, hide at the western side of the hollow tree west of the graveyard.
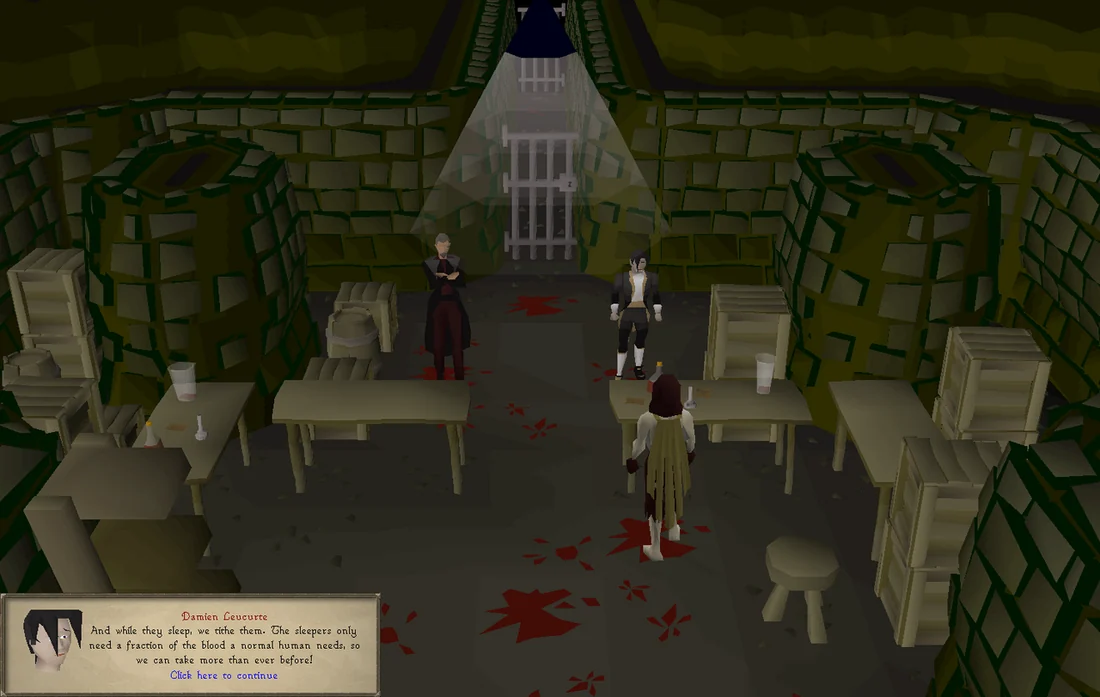
Once Carl reaches the dungeon without you being caught, a cutscene will play in which Carl tells Kroy, a vampyre herbalist, about you and your suspicions. After leaving, Damien Leucurte and Vanstrom Klause visit Kroy, and tell him about his discovery of the Elixir of Everlasting, a formula created by Otrava of The Sisterhood, which extends their lives but with the side effect of sleeping for longer and longer periods until they never wake again.
Damien and Kroy then admit that they were behind the re-emergence of the Sleeper Plague by mixing the Elixir with Bloody bracers, so that they may perform larger blood tithes on the victims, who only require a fraction of the blood a normal human needs. Vanstrom is not happy with this, as he is in charge of Morytania's blood tithes and Damien has not obtained his permission to do this, risking unwanted attention. Vanstrom further warns him that you and The Myreque have already arrived in Slepe, and leaves for Darkmeyer.
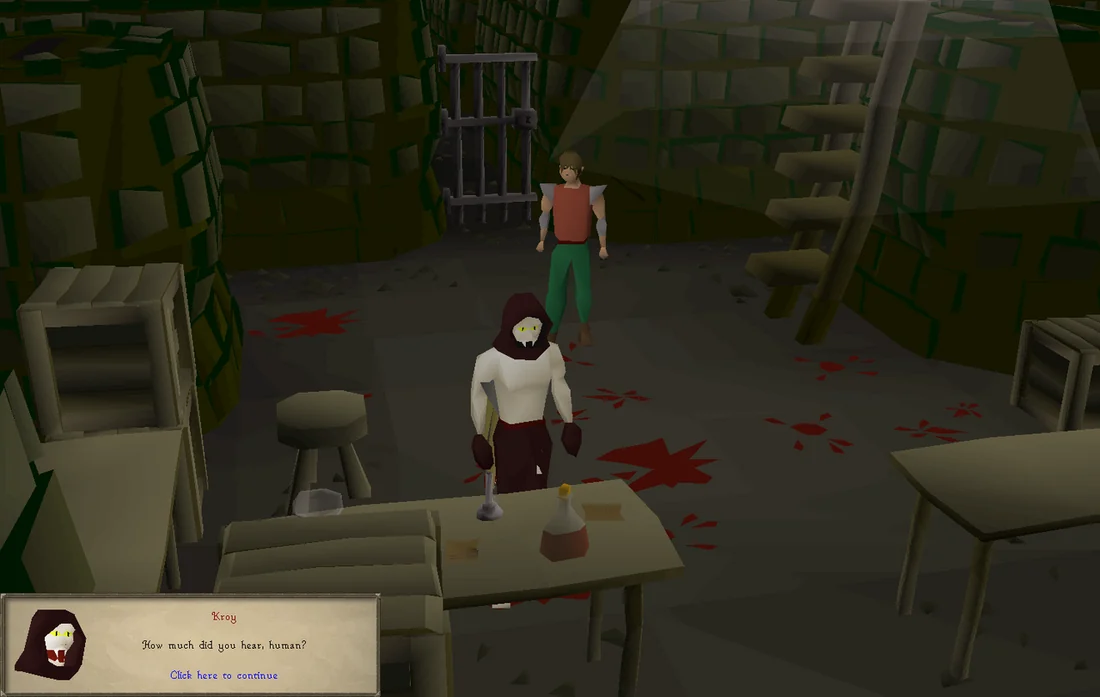
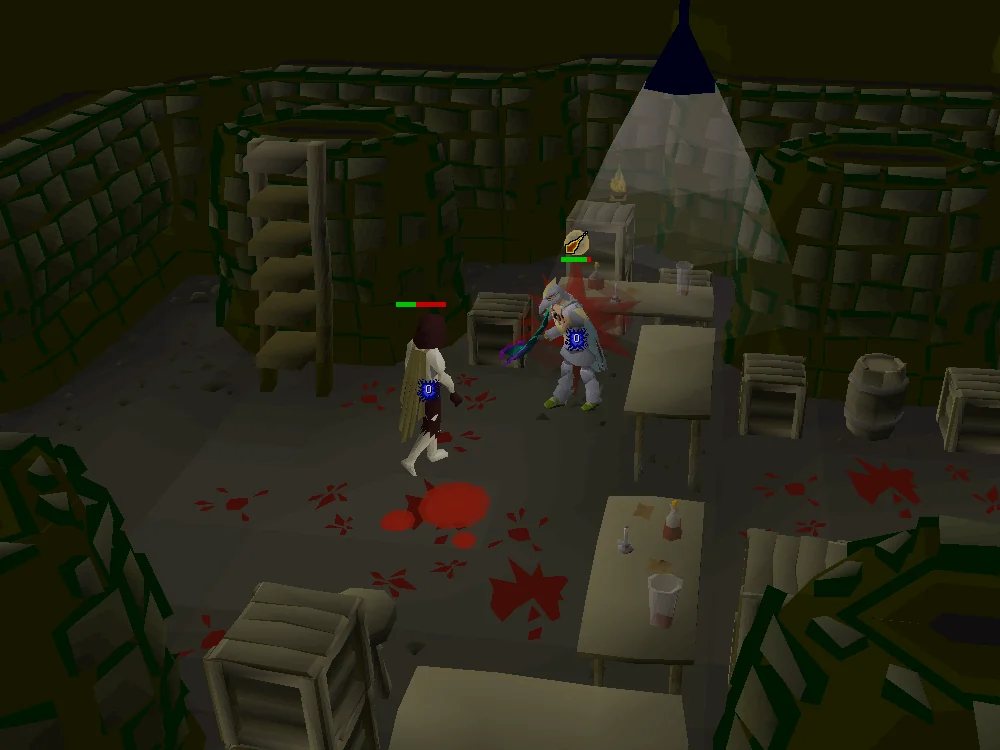
Upon both of them leaving, you will enter Kroy's lab. Knowing everything now, Kroy will attack you, using both melee and magic attacks.
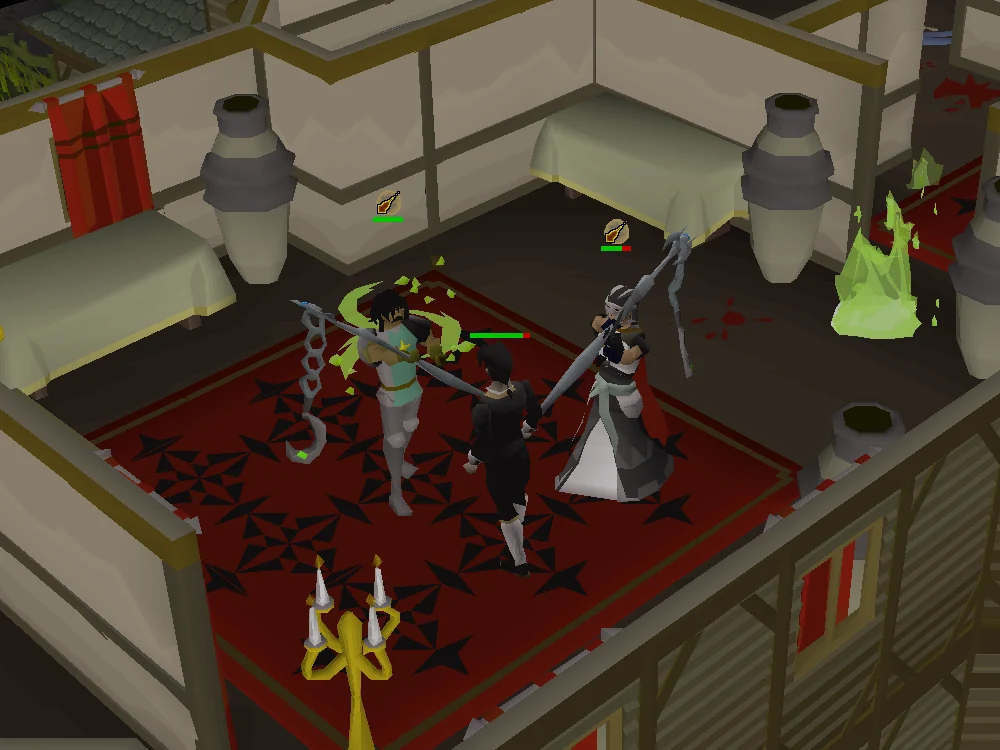
During the fight, pray Protect from Magic as his melee damage is lower than magic. Kroy can be harmed by weapons other than the Ivandis flail, so it's recommended to take advantage of this by using ranged and safe-spotting from behind the northern tables.
Kroy will occasionally throw a vial that weakens you if you don't move out of the way. The animation is different from his regular attack; watch for a vial appearing in his hands. It's also visible in the air, meaning that safe-spotting will allow you to see it and move out of the way. After the vial is thrown, provided it does not hit you, a puddle will appear on the floor that will also weaken you if you walk over it. The fight is fairly easy once the mechanics are learned, but bring several pieces of food to be safe.
Upon killing Kroy, destroy the two lab tables and return to Veliaf.
Note:Ensure that your pet is banked as it will prevent you from starting your trek with Ivan Strom!
Upon returning to Veliaf, you report that the vampyres are indeed the cause of the Sleeper Plague, and the conversation between Damien and Vanstrom. Veliaf comments about rumours he heard about the growing demand for blood since the vampyre population has been increasing, and also heard a small part of a conversation between the two at the Crombwick Manor, with Vanstrom accusing Damien of demanding too much blood tithes from the werewolves.
Veliaf concludes that the werewolves are worth investigating, and that the increased demand of blood in Darkmeyer may cause unrest that the Myreque might be able to take advantage of. Before continuing the investigation, Veliaf wishes to check in with Drezel and Ivan Strom at Paterdomus.
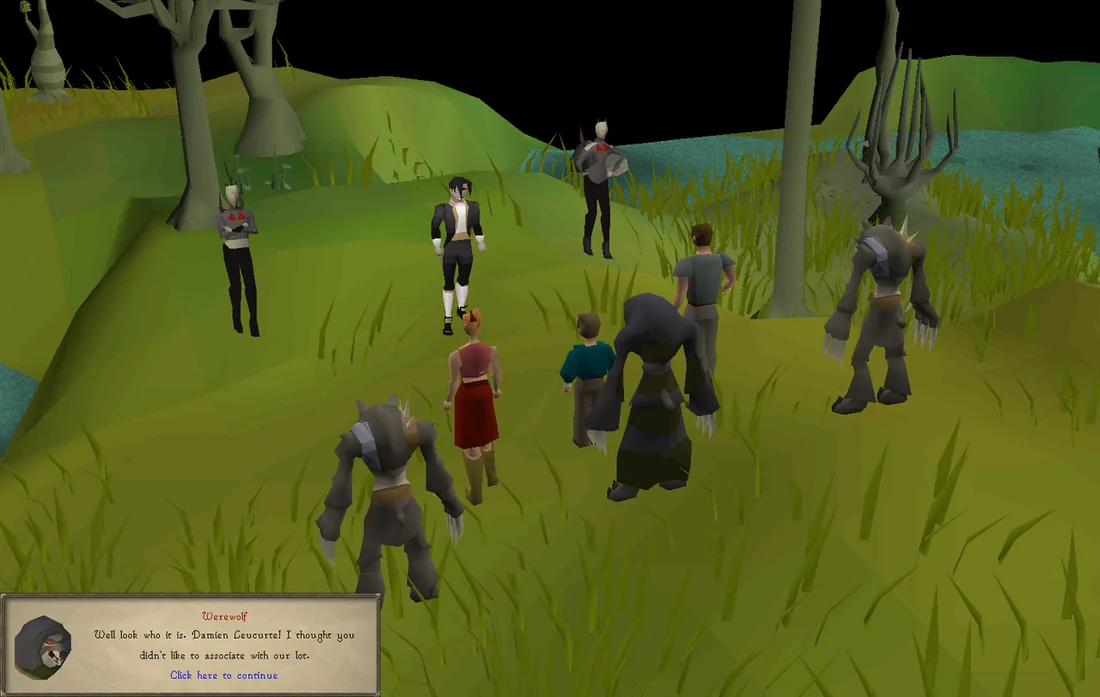
The werewolves deliver a family of three to Damien. Image credits →
Head to Drezel at the Paterdomus. He tells you and Veliaf that the kidnappings by the werewolves have escalated, and that Ivan has learned of a meeting in the Haunted Woods, which he has gone to spy on. Veliaf is angered, asking Drezel why he'd let him go without any support, and that he must be kept safe. You then ask why Ivan is so important, and Drezel reveals he is the last living descendant of Ivandis Seergaze, one of the Seven Priestly Warriors, who originally blessed the River Salve.
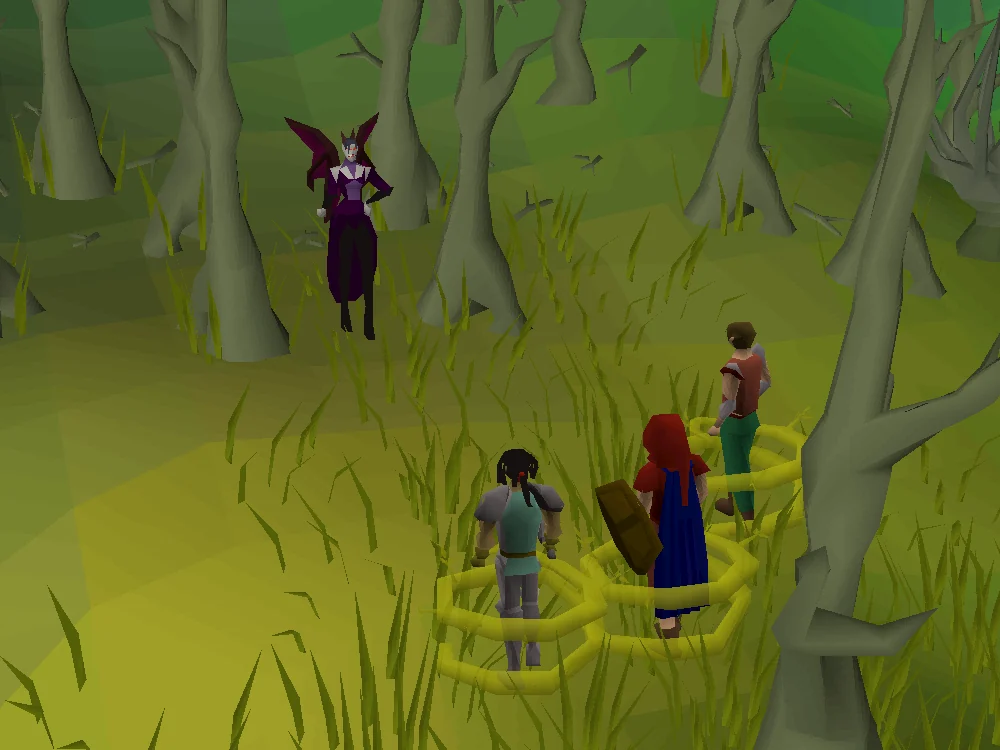
Vanescula Drakan ambushes you, Veliaf and Ivan. Image credits →
After a continuing argument about Ivan's fate, you suggest Veliaf and yourself head to the meeting spot and find Ivan. Ivan can be found directly south of Fenkenstrain's Castle, and the meeting starts shortly. The meeting is between three werewolves and Damien Leucurte, who have delivered a family of three to Damien, confirming the suspicion that werewolves were behind the kidnappings. Ivan proposes that they follow the werewolves, but then Vanescula Drakan, the sister of Lord Lowerniel Drakan, knocks Veliaf back and snares him, you and Ivan.
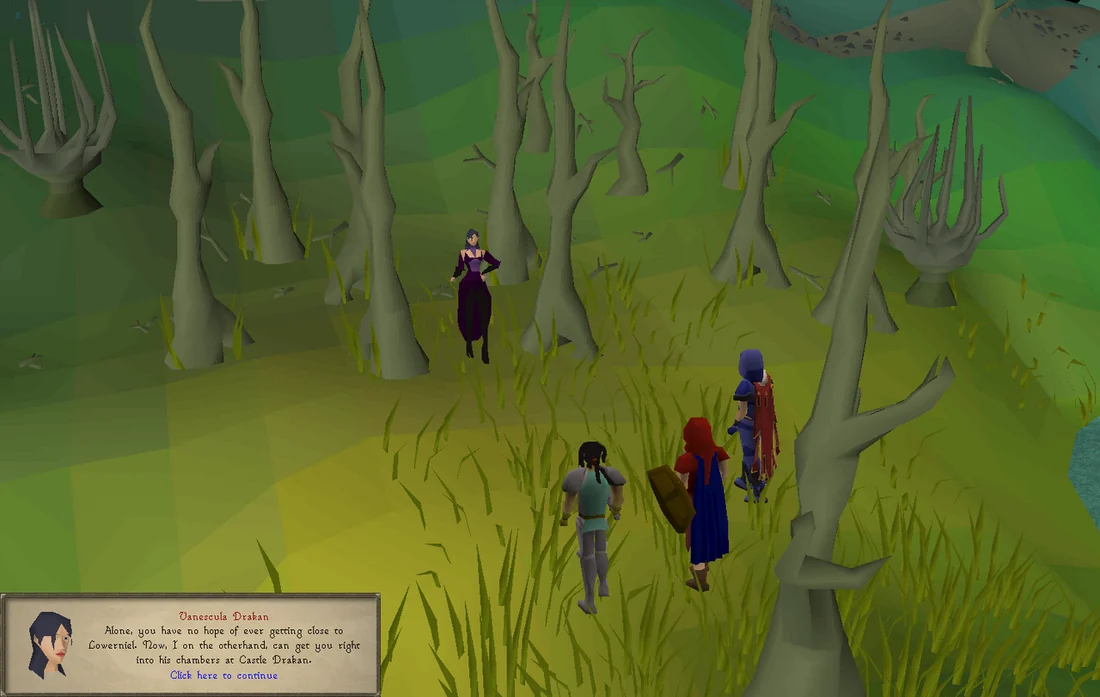
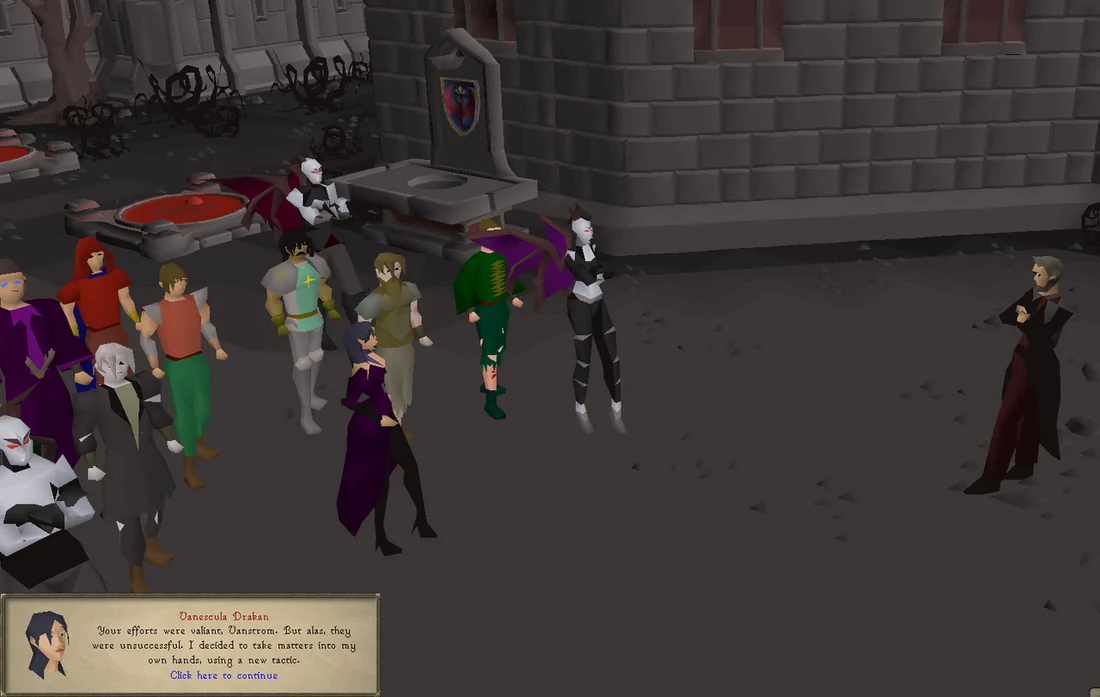
Vanescula Drakan offers her help to kill her brother. Image credits →
Vanescula comes to talk with you and the group, offering the chance to kill her last remaining brother, Lord Drakan himself. Veliaf, suspicious of her intentions, asks her why she'd want her brother killed, but she refuses to share them where they are. Rather, she will explain herself at the Icyene Graveyard, providing that all the Myreque members are there. Veliaf believes this to be a trap to lure them all out, but Vanescula reveals that she already knows where the Myreque Hideout is and that if they do not attend, she will kill the entire resistance group.
Left with no choice, Veliaf travels to the Burgh de Rott hideout to inform the rest of the group, and also inform Safalaan's group in Meiyerditch, while you escort Ivan down to Burgh de Rott. But first, Ivan needs to update Drezel on the situation and collect some things from Paterdomus. He tells you to meet him outside the temple once you're ready.
Head west of Canifis (towards Paterdomus, near fairy ring, CKS) and talk to Ivan Strom to begin your trek. This escort is similar to Temple Trekking, but there are four set obstacles you and Ivan will face:
River crossing - Use a knife to cut three (3) vines from the smaller trees, then wind the vines together to make a long vine. Throw the long vine to the larger tree's branch and swing over the river. If you forgot to bring a knife, search the nearby backpack to find one.
Nail beasts - Kill the three nail beasts, who range from level 69 to 141. If Ivan's health is low, use your food on him to heal him. Warning: If you use purple sweets, Ivan will eat the whole stack!
Broken bridge - Chop down the trees and use the logs to fill the gaps in the bridge. You must either have a hammer in your inventory or be wielding an axe to repair the bridge. If you forgot to bring an axe, kill the nearby zombie for a bronze axe.
Vampyre Juvinates - Kill the two Vampyre Juvinates. You will need a weapon to harm tier 2 vampyres; the Ivandis flail works best. Immediately attack the vampyre in front of Ivan and then do the same to the other one to avoid Ivan's death. If it fails and Ivan's health is low, use your food on him to heal him.
Once at Burgh de Rott, speak with Ivan Strom, who will head to the dock. After, head to the dock on the southern coast and speak with Veliaf or Ivan Strom. If you do not speak to either Ivan Strom or Veliaf Hurtz prior to boarding the boat, you will not have the option to sail to the Icyene Graveyard.
The entirety of the Myreque meet with Vanescula Drakan. Image credits →
Note:There is no combat required during the Icyene Graveyard section.
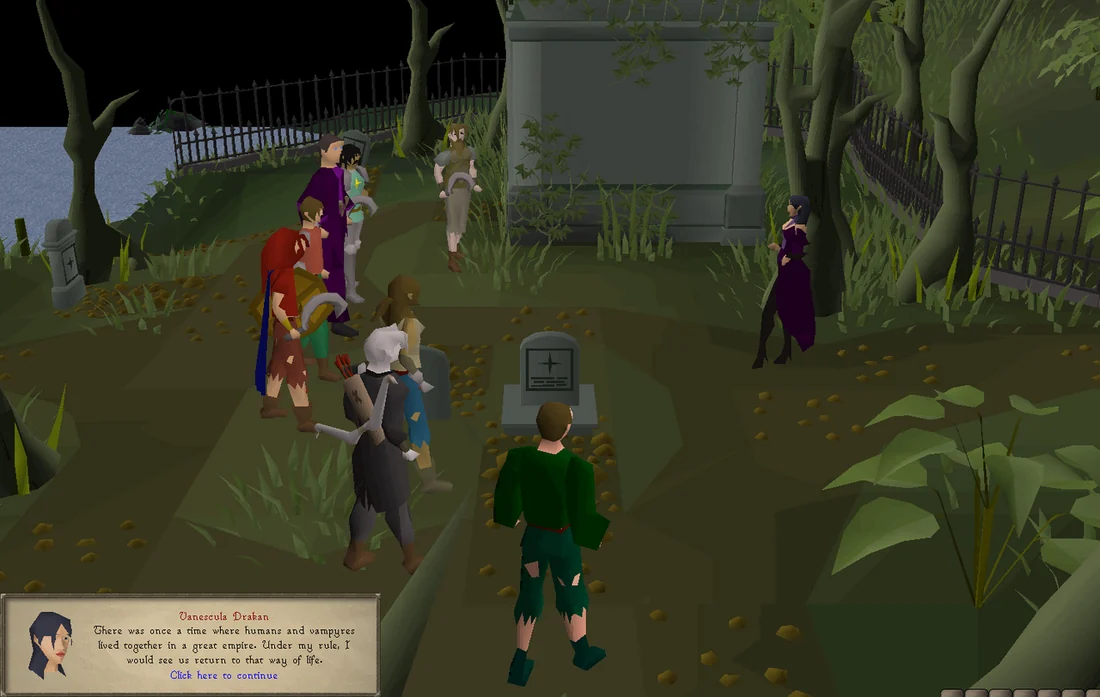
Head to Icyene Graveyard. Safalaan will greet you and Veliaf, and promote you to lieutenant. Vanescula Drakan appears, and explains her plans. As the human population decreases, the vampyres have continued to grow, and there is no longer enough blood to go around. And, despite this crisis, their leader, Lowerniel Drakan, has remained absent, spending months in his chambers and refusing to see anyone. She wishes to overthrow her brother and rule with humans and vampyres coexisting peacefully, as they once did in the Zarosian Empire during the Second Age. She proposes helping the Myreque kill Lowerniel, with the Myreque taking credit for his death so that Vanescula can easily take his place without angering those loyal to Lowerniel. She adds that if the Myreque refuse her proposal, she will kill them if they remain in Morytania, as she can't afford any loose ends.
While Vanescula lets the group think over her proposal, she asks to chat with Safalaan privately. Veliaf, remaining suspicious of her intentions, asks you to join them. Vanescula will reveal that she knows of Safalaan's hidden powers, and that the truth behind his heritage and powers will be found inside the large mausoleum, which was built for Queen Efaritay and King Ascertes, the previous rulers of Morytania (then known as Hallowvale). However, the door is locked, and you must solve a puzzle to open it.
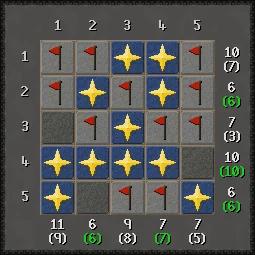
A nearly-complete version of the puzzle that must be solved to unlock the mausoleum door. Image credits →
Complete the puzzle, which is similar to the popular game Kakurasu. The objective of the puzzle is to have the active numbers (different for each player), which are marked with the blue and yellow squares in each row/column, to add up to the number shown on that row/column. The red flags are not needed to solve the puzzle, but can help you mark off squares that they think they will not need. An easy place to start is by checking for any numbers in a row or column that are below 5, as you can use that to eliminate some of the possibilities. Additionally, some numbers can only be solved by a certain combination (e.g. 11 can be solved by using the numbers 5,3,2,1 or 5,4,2). To save yourself the trouble of the process of elimination, this external website will solve the puzzle for you.
Safalaan discovers his half-icyene heritage. Image credits →
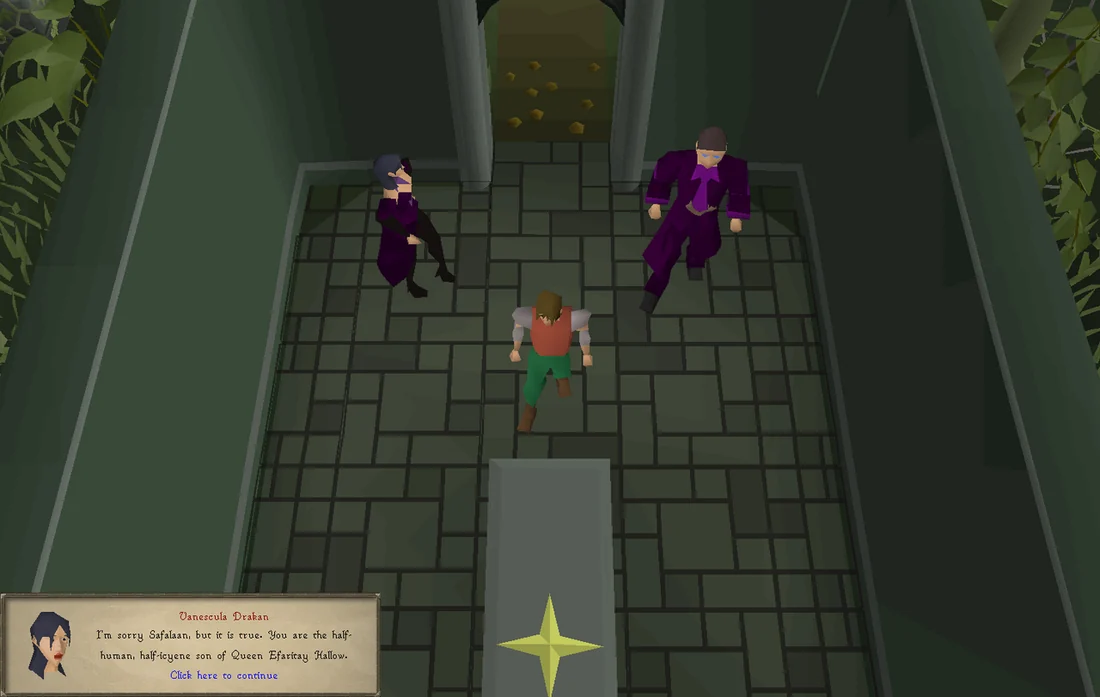
After the puzzle is complete, a cutscene plays in which you and Safalaan discover that he is the half-icyene and half-human son of Efaritay and Ascertes, and that he once had a sister, Larina Hallow, and that his powers were those of an icyene. Safalaan then asks where his parents' tombs are, since the mausoleum was built for them, but only his sister was found. He agrees to Vanescula's plan to overthrow Lowerniel, on the condition she reveals the whereabouts of his parents and that he be the one who deals the killing blow on her brother. Vanescula reveals that only Lowerniel knows of Efaritay's fate, and that Ascertes underwent the vampyrification process, becoming Vanstrom Klause.
After getting everyone to agree, Vanescula believes that the laboratory beneath Meiyerditch may have more secrets to discover, some of which can potentially upgrade the Ivandis flail to give the Myreque a better fighting chance. You and Safalaan will search the laboratory together.
Prepare for combat and make your way to the laboratory. A quick way to reach it is to teleport to Ver Sinhaza using your Drakan's Medallion and speak to the Vyrewatch next to the bank and request to be sent to the mines; withdraw food and combat equipment before being sent to the mines. Mine 15 daeyalt ore, place ore into empty cart, then talk to a Vyrewatch to get out (if you forgot a pickaxe, you can ask one of the miners for a bronze pickaxe). You will be transported out of the mines. Look around the houses for a staircase that goes down (Laboratory from Darkness of Hallowvale). The building is against the eastern wall. Go towards the house you had to enter before going up the stairs to make the jump and enter the secret carpet room. From here, continue going north-east staying near the eastern wall. You will find the house with a clearly visible large tapestry in one of the rooms, coloured red and yellow. Walk through the slashed tapestry, and go down the stairs.
Safalaan unintentionally unleashes his icyene powers to kill a mutated bloodveld. Image credits →
Talk to Safalaan and you both will explore the laboratory. However, a Mutated Bloodveld will appear, and Safalaan unintentionally unleashes his icyene powers to kill it, knocking him out. Another will appear, and you must kill it. The fight is very simple and straightforward, and the bloodveld can be very easily safespotted. Once you've killed it, speak to Safalaan again, and he will question the usefulness of his powers since he has no control over how and when he could use them.
After speaking to him, head west to the next room and search the bookshelf against the western wall (behind two cages) to obtain a book titled Haemalchemy volume 2. Return to Safalaan and give him the book. He will then ask you to return to the Icyene Graveyard. Teleport or walk back to Burgh de Rott, run south-east and use the boat back to the Icyene Graveyard.
On death, all unprotected items will be moved to a grave outside the instance. Any items left on the ground will be lost.
Speak to either Veliaf, Safalaan or Vanescula to learn of the Blisterwood tree, a tree created by Efaritay whose wood is lethal to vampyres. Vanescula will suggest using Blisterwood to enhance the Myreque's weapons. However, the only known Blisterwood tree is found in Efaritay's old Arboretum, in the middle of Darkmeyer. She will suggest modifying a vyrewatch outfit to one of a vampyre noble to blend in better, and Safalaan suggests you take the disguise to Polmafi Ferdygris at the Myreque Hideout under Old Man Ral's house.
If you don't already have a vyrewatch outfit, you can purchase a set for 1,950 coins from Trader Sven's Black-market Goods directly south of Old Man Ral's house. Head to the Myreque Hideout (down the Trap Door in Old Man Ral's house) and have Polmafi modify your outfit, turning them into a vyre noble outfit, albeit unscented. Return to the Icyene Graveyard and speak to Vanescula.
As the vampyres have a very keen sense of smell, the outfit must be scented with blood, but it must be the blood of a noble, as Darkmeyer's nobility won't go interacting with lesser vampyres. Vanescula suggests killing two birds with one stone by killing Damien Leucurte, who is an obscure, lesser noble and has become a problem that needs to be resolved.
Head to a bank and gear up for the fight, where you'll be taking on Damien (level 204), who can only be harmed with the Ivandis flail. The fight is relatively simple. You'll want to bring some food (especially for lower levels), 1-2 prayer potions, combat potions and a way to cure poison, be it antipoison or Serpentine helm. Once you are ready, head to Slepe where you first spoke to Veliaf. You can either teleport using Drakan's medallion and run or take the boat from Icyene Graveyard.
Damien Leucurte can be found in Crombwick Manor, (the large manor in the northern part of Slepe), to fight him, you must speak with Veliaf where you first start the quest. Damien uses a combination of ranged and magic attacks, periodically spreading magical fire around the room during the fight. You must stamp out the fires or he will become increasingly resistant to your attacks. He can also poison you during the fight. By using Protect from Magic and stamping out the fires he produces, you shouldn't take much damage. Veliaf will help you in the fight, but do not expect him to do much damage.
Once you are victorious and have spoken to Veliaf, return to Icyene Graveyard and speak with Vanescula Drakan, who tells you of a small crack in the southern wall that you can use to enter Darkmeyer.
Note: If you teleport out of the Damien encounter immediately as he hits zero health, your quest guide will update properly but your Vyre Outfit will continue to be the unscented version. If this happens, it will vanish after you speak with Vanescula and will need to be reclaimed from the Myreque base under Old Man Ral's house. The stairs in Kroy's lab lead back to the manor if the player misses the dialogue with Veliaf.
Wear your vyre noble disguise and ask any vyrewatch to send you to the mines. As they perceive you to be a noble, you need not mine any daeyalt ore to leave; you will simply be escorted out. Once you exit the mine, head north to the crack and enter it to arrive in Darkmeyer. You will arrive at the lower tier of the city; prior to the quest's completion, you will not be able to access any of the features, which includes the bank. You can, however, use the altar south of the bank.
Make your way to the Arboretum in the middle of the city, and attempt to enter; a guard named Desmodus Lasiurus will stop you, telling you that the Drakans have ordered that no one can enter the Arboretum. You will ask him if there is anything you can do for him to give you access, and he will say a juvinate named Mordan Nikazsi was supposed to deliver some slaves (Maria and Ron Gadderanks) to him, but he has not shown up.
Mordan Nikazsi can be found in the lower tier of the city in a house near the eastern outer wall in a building with a water source icon (), two houses north of the furnace. He tells you that he sold Desmodus' slaves to Lord Alexei Jovkai, the head of House Jovkai, and that the slaves are in his prison directly south of the food shop ( icon).
At the prison, speak to Maria Gadderanks, who tells you they arrived here a short while ago, and are already well treated. Another prisoner interrupts, telling you Lord Jovkai keeps them well looked after, with a nice bed, good food and clean clothes on the condition that they give him a bit of blood from time to time. The vyrewatch then asks you to leave as Lord Jovkai enters, asking you what you are doing here. You will tell him that the prisoners were promised to Desmodus, but Lord Jovkai tells you he's already paid for them and you'll have to find some different slaves.
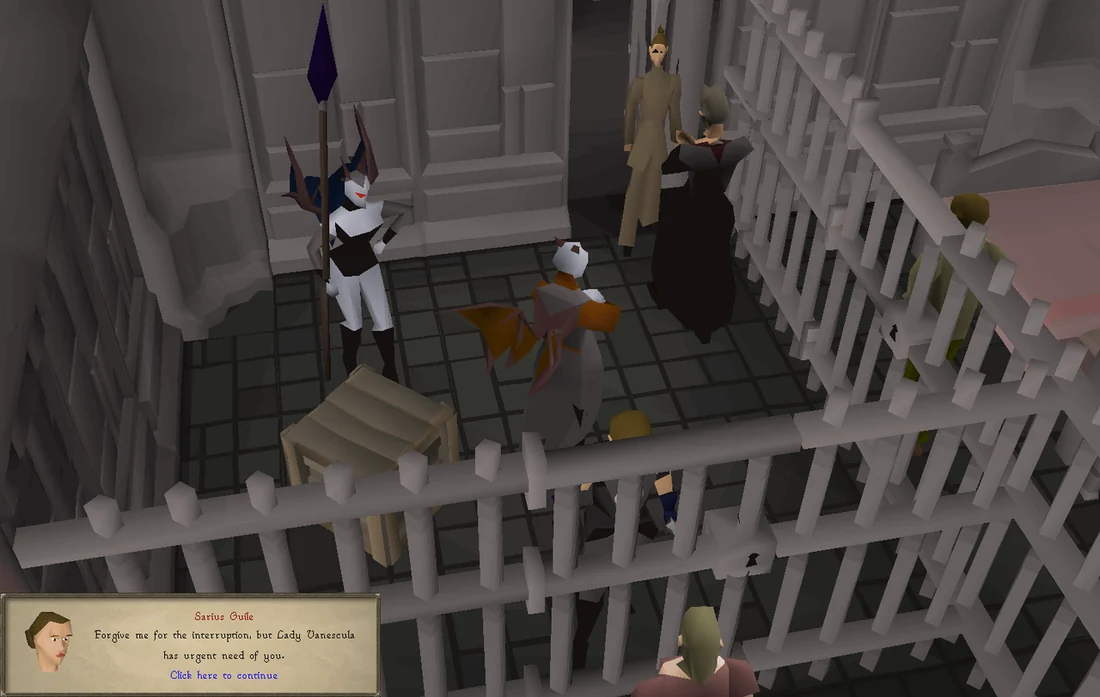
Sarius stops Vanstrom from recognising you and breaking your cover. Image credits →
Vanstrom Klause then enters the prison, and argues with Lord Jovkai that the Gadderanks belong to Desmodus, and orders Lord Jovkai to return them to him. Vanstrom then realises your voice sounds familiar, and asks that you turn and face him. As he does, Sarius Guile, Vanescula's servant, asks Vanstrom to see Vanescula as she has urgent need of him, stopping him from recognising you and breaking your cover.
Return to Desmodus, who will now let you enter the Arboretum. Upon entering, search the toppled shelves for an old note. Before you can cut the Blisterwood tree, you will need to hydrate the tree by regulating the flow of water. Read the old note to find out how many gallons are needed to hydrate the tree (this is different for each player). The valves are found by the entrance; the northern valve sends seven (7) gallons of water per interval, while the southern valve sends four (4) gallons per interval.
The table below shows the solution. Each column represents the amount of intervals for the northern valve, while each row represents the amount of intervals for the southern valve.
Solutions
North valve → South valve ↓
0
1
2
3
4
5
0
0
7
14
21
28
35
1
4
11
18
25
32
39
2
8
15
22
29
36
43
3
12
19
26
33
40
47
4
16
23
30
37
44
51
5
20
27
34
41
48
55
Once you have the correct valve settings, chop eight Blisterwood logs and return to the Icyene Graveyard.
Speak to Vanescula, who tells you that she had Sarius keep an eye on you, and that her intervening with Vanstrom saved you. She then tells you that she's given Vertida the required information to craft the weapons.
Return to the Icyene Graveyard. Talk to Veliaf, who will tell you that Safalaan has gone for a walk north of the Icyene Graveyard, and will send you after him. He can be found just north of the graveyard, staring out over the water to the east. Talk to him; both he and you will share your regrets before you both return to the Graveyard.
On death, you can pay Veliaf 50,000 to retrieve lost items. Any unsafe death will delete all items left inside the deathbank. Any items left on the ground will be lost.
Warning: You will have to battle Vanstrom Klause, who can hit through prayers and has a fairly high Defence level of 180. It is recommended to bring an emergency teleport during your first attempt.
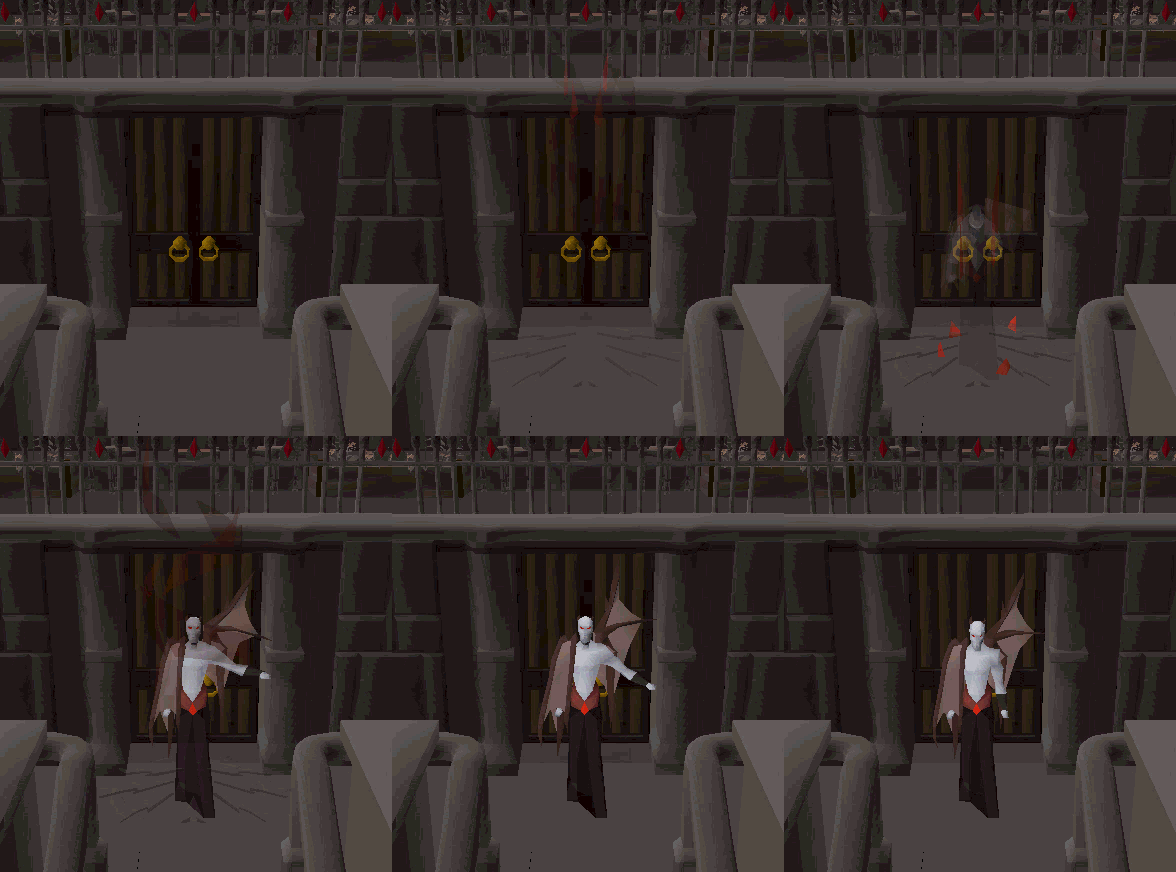
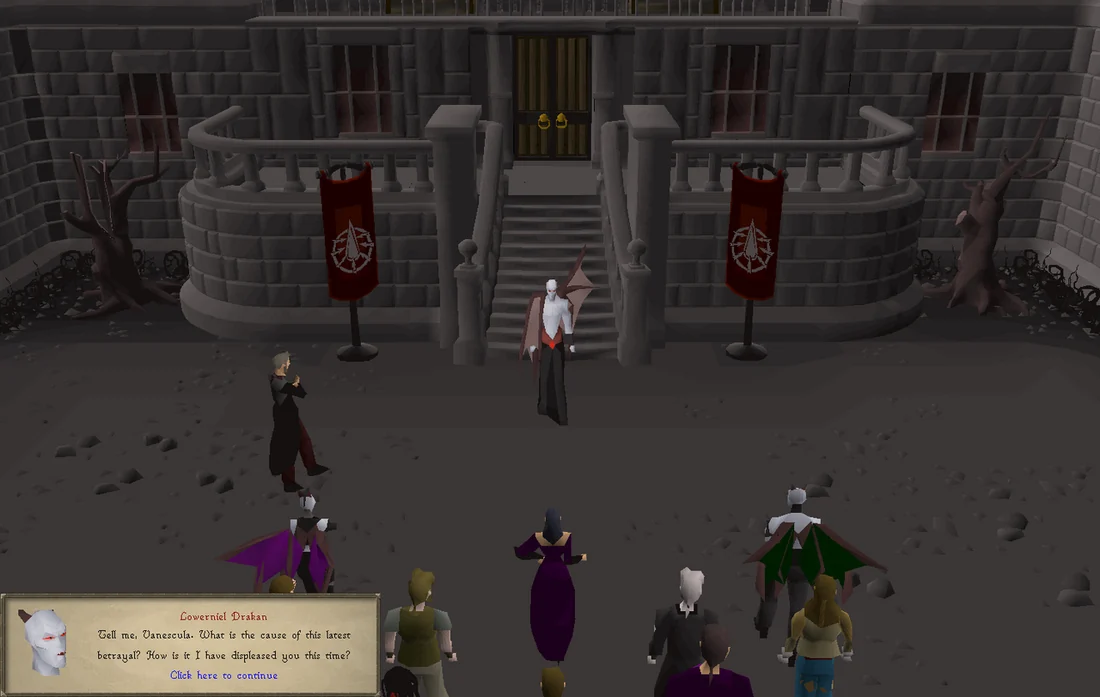
Speak to Vanescula at the Icyene Graveyard once you are combat-ready. Vanescula will teleport the Myreque and take you all to Castle Drakan as her prisoners. Vanstrom will ask her how she managed to capture all the Myreque, with her telling him that she convinced them that she was on their side, then tricked them into coming to Castle Drakan. Before she enters the Castle, Lowerniel Drakan exits, already knowing Vanescula's true intentions of overthrowing him, and demands she tell him why she made that decision.
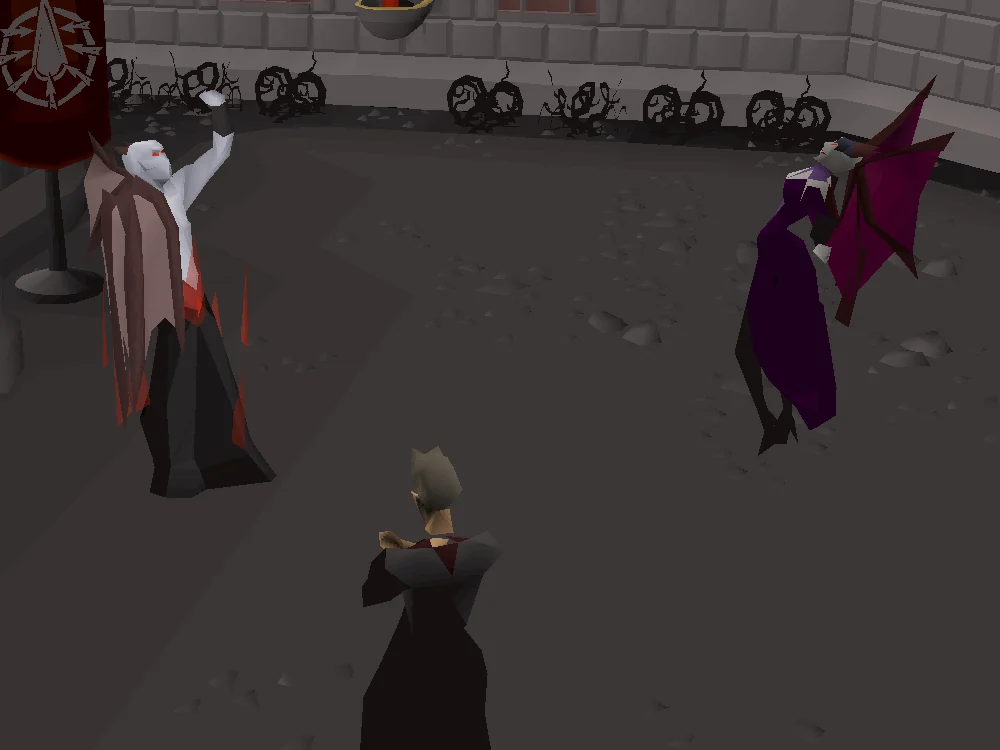
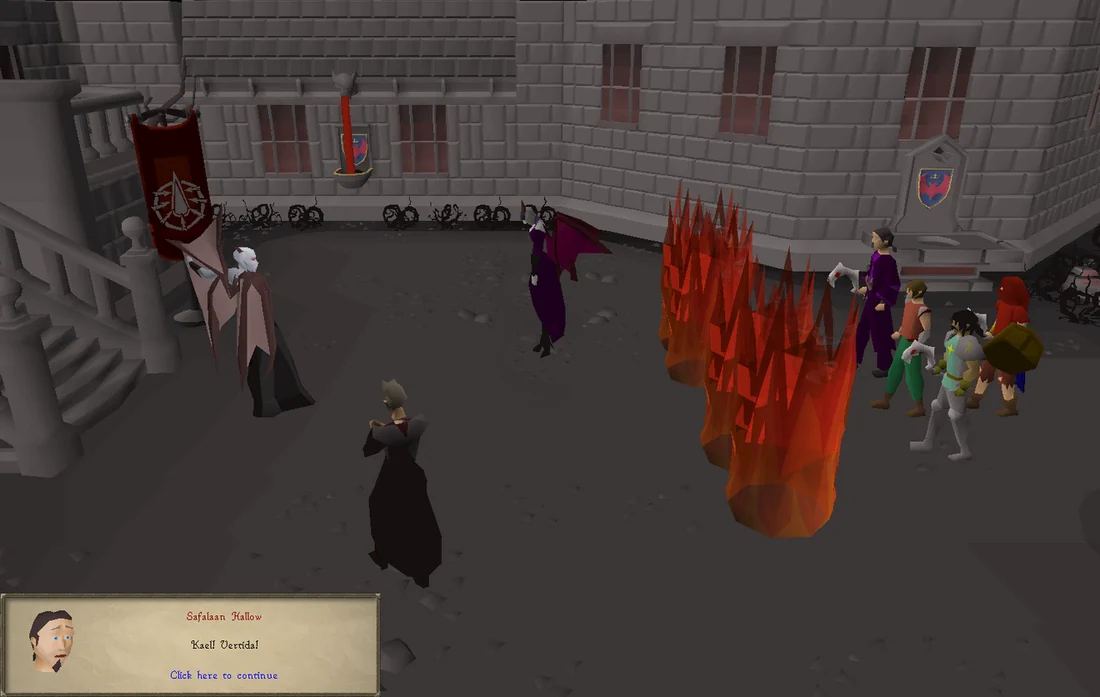
Enraged, Lowerniel proceeds to kill her vyre servants and instantly subdues his sister. Forced to take action, Polmafi, Kael, Vertida and Radigad attack, but are instantly incinerated by Lowerniel. Lowerniel then orders Vanstrom to kill the rest of you. Safalaan tries to reason with Vanstrom, knowing that he was once his father prior to the vampyrification process. Vanstrom disregards him, and knocks Safalaan out. You must now fight Vanstrom Klause.
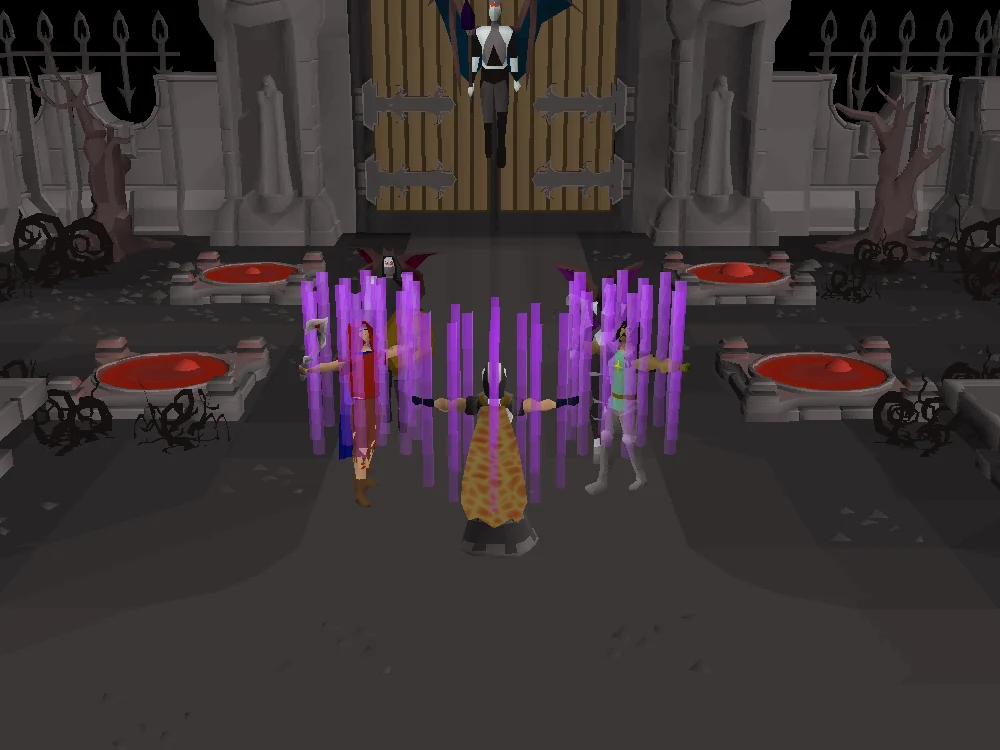
Vanescula takes the Myreque to Castle Drakan as her "prisoners". Image credits →Show animation: His-Dark-Self the Lord of Vampyrium, Lowerniel Vergidiyad Drakan, appears at last.His-Dark-Self the Lord of Vampyrium, Lowerniel Vergidiyad Drakan, appears at last. Image credits →Lowerniel Drakan is already aware of his sister's betrayal. Image credits →Lowerniel Drakan subdues his sister. Image credits →Polmafi, Kael, Vertida and Radigad are immediately incinerated. Image credits →Vanstrom is left to kill the remaining Myreque members. Image credits →
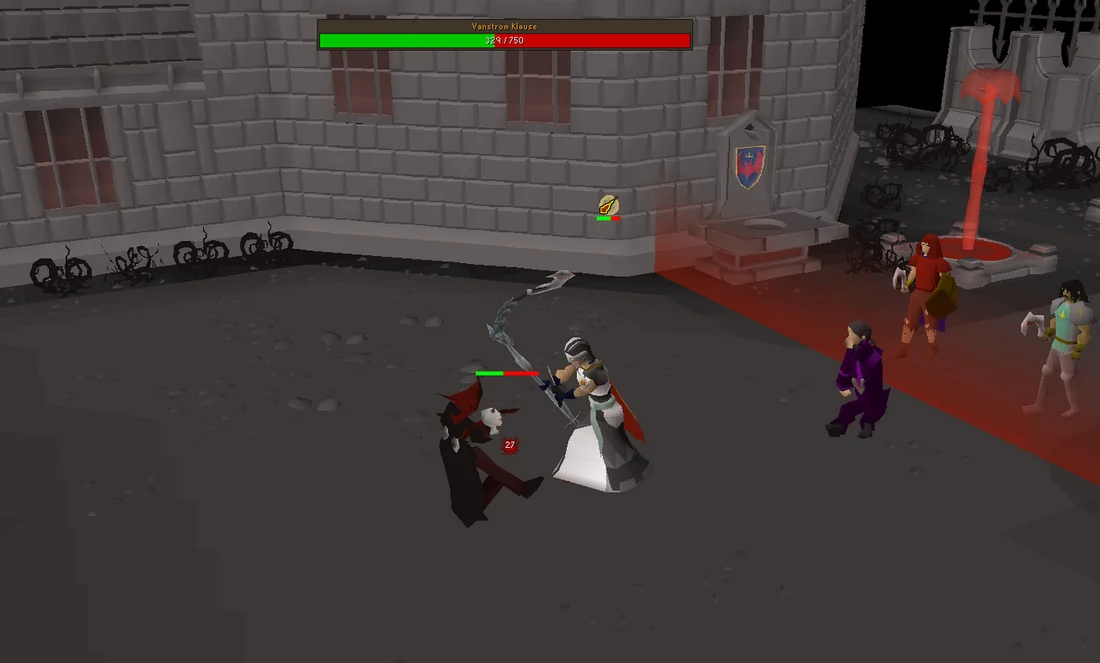
Vanstrom Klause is level 459, and is a very difficult fight, far beyond the normal master level difficulty. The ring of recoildoes not work during this fight, nor does Vengeance. The player is also unable to summon thralls. Vanstrom can also still attack the player if they stand underneath him.
Should you die during the fight, lost items can be retrieved from Veliaf at the Icyene Graveyard for 50,000 coins (you are not required to have the coins in your inventory). Veliaf can also be used to send you back to the final fight - if going back, activate potions before speaking to Veliaf.
Vanstrom should be fought with melee, as you will need to use the blisterwood flail to damage him.
The fight with Vanstrom is split into two phases. After reducing his hitpoints to zero, he will briefly disappear and reappear with 200 hitpoints, indicating the start of the second phase.
Phase 1
During the first stage Vanstrom primarily uses a magic-based attack that heals him for a portion of the damage dealt. Protect from Magic reduces the damage from this attack by 50%, and is recommended to be used for the duration of this first phase. He can use an attack that lowers your Attack level, similar to Shadow spells.
Vanstrom has three different special attacks during the first phase. When the fight is first initiated, he may use one at any time, and after 9-12 regular attacks thereafter. The special attack is chosen at random, but he will never repeat the same one in succession. Avoiding these special attacks is key to succeeding in the fight.
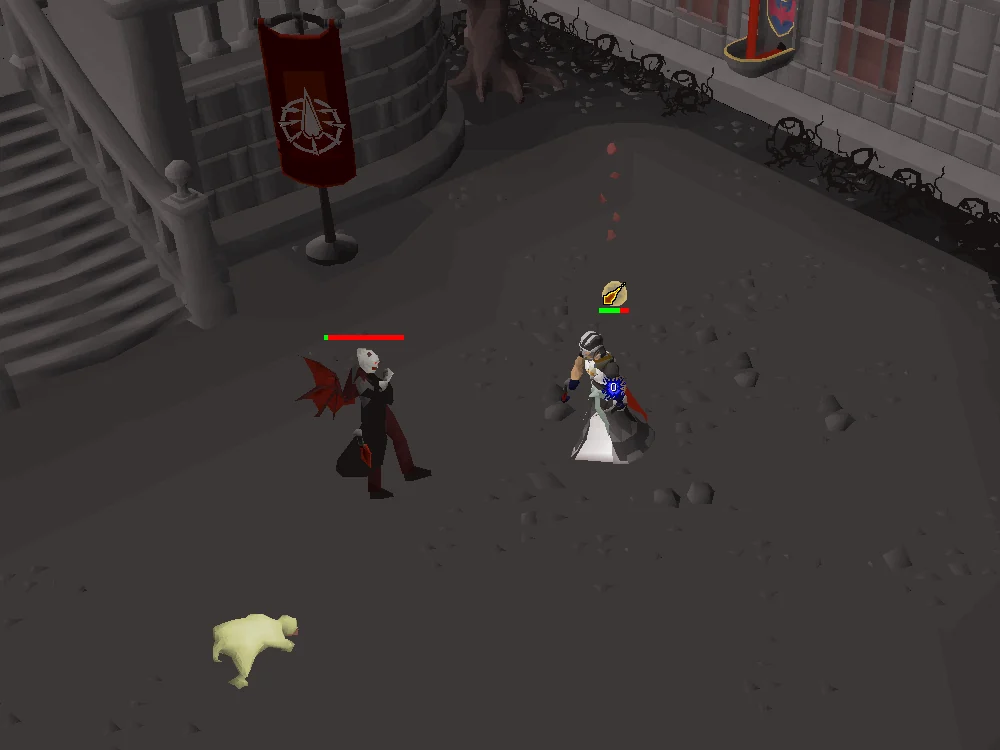
My pets will feast on your corpse! - Vanstrom will summon an acidic bloodveld that walks towards you. You must kill the bloodveld from a distance, or it will explode when it reaches you and hit you for 35-50 damage. After killing the bloodveld, it will leave an acid pool on the ground, which you should avoid. The creature will always appear on the far north or south side of the arena (whichever one is furthest away from you), so it is recommended to keep some distance to either side of the room to give yourself more time to deal with them. A range switch is recommended for them, as they are highly resistant and take reduced damage from melee attacks. Magic can also be useful, but it is better to use a ranged weapon.
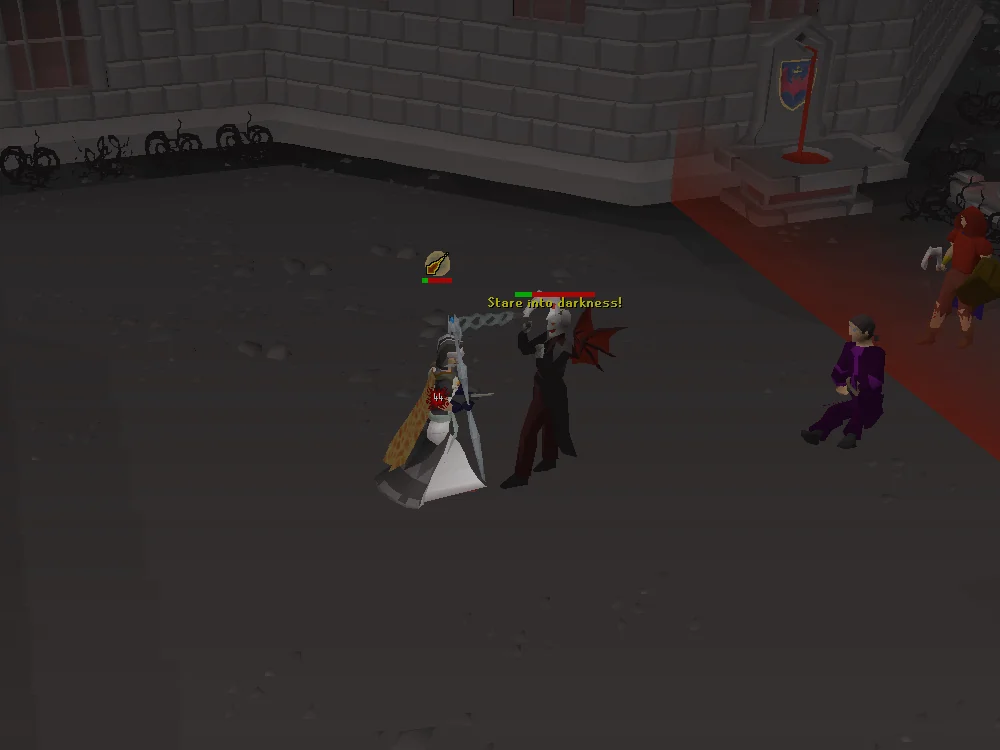
Stare into darkness! - Vanstrom will turn your screen dark and you will be hit upwards of 40+ damage. You must immediately step one (1) tile away once the text appears to avoid this attack, but the timing for this is extremely unforgiving, especially on high ping. To make avoiding this attack easier, you may choose to step away after each of his regular attacks in anticipation of an eventual special attack.
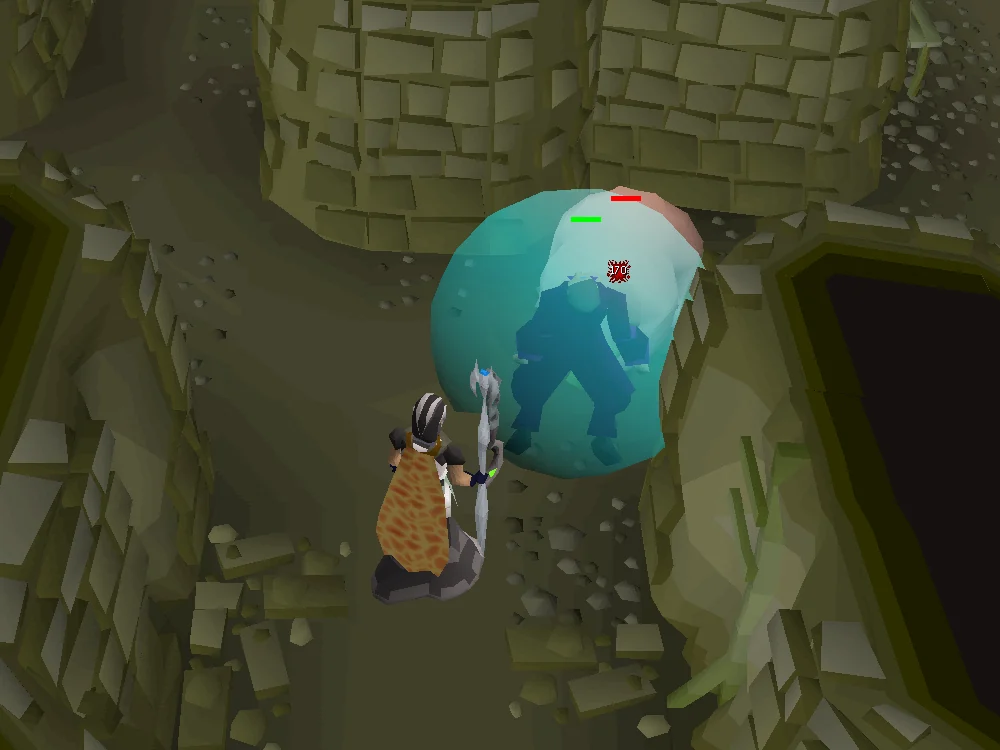
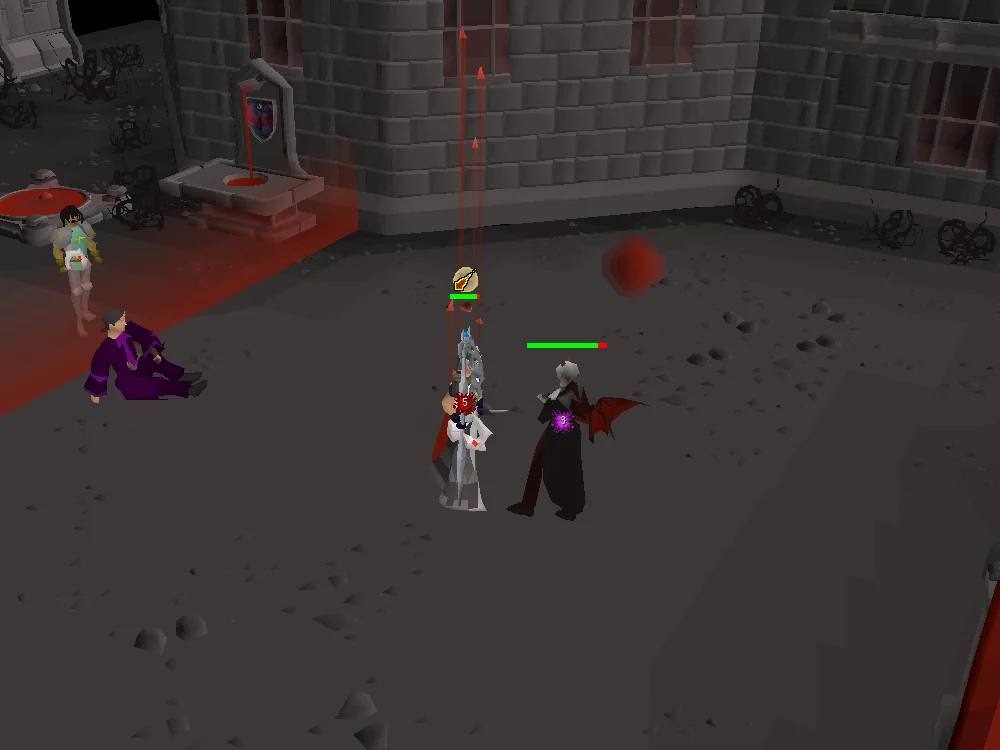
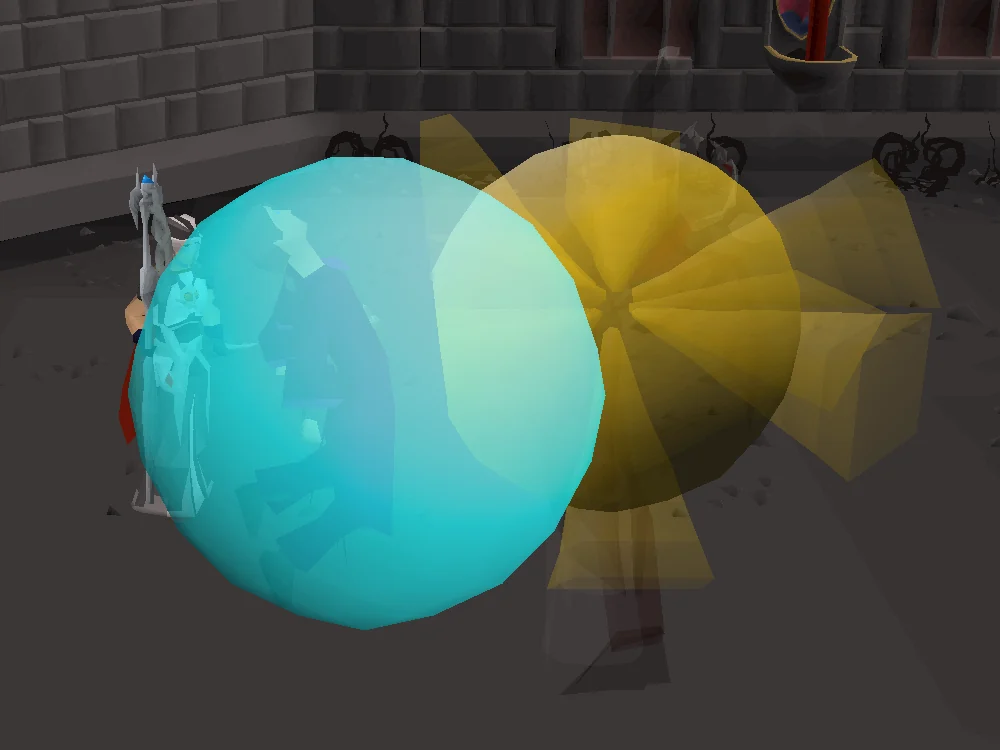
Blood will be my strength! - Vanstrom will summon a blood orb that is visually 1x1 tile in size, but is actually 3x3. This orb increases the damage of Vanstrom's magic attacks, even with Protect from Magic. By running in a wide arc around the orb, you can lure Vanstrom inside to destroy it, hitting him for 20+ damage and ending the buff.
Warning: If the player steps into the 3x3 area of the blood orb they will take up to 40 damage and the orb will dissipate. Higher levelled players may also choose to simply tank the additional damage of Vanstroms' empowered attacks and wait for the orb to disappear.
Vanstrom summons an acidic bloodveld. Image credits →Darkness emanates from Vanstrom, heavily damaging you. Image credits →Vanstrom summons a blood orb, strengthening his magicks. Image credits →
Phase 2
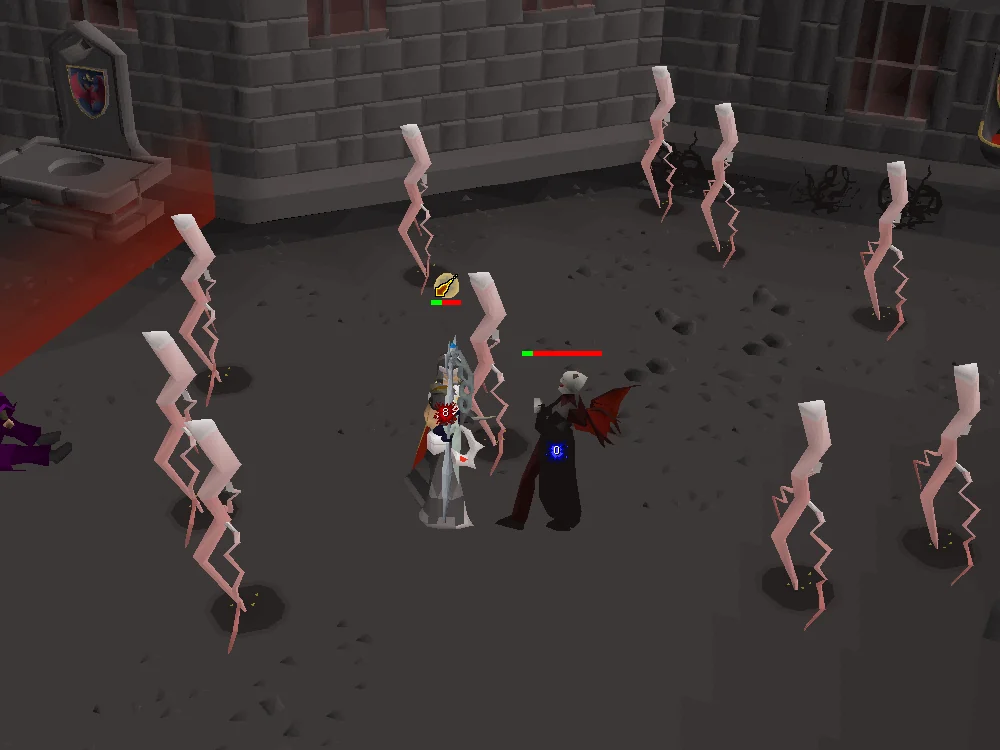
Vanstrom summons a barrage of lightning down on you. Image credits →
When Vanstrom reaches 0 hitpoints for the first time, he will teleport himself right in front of the staircase leading to Castle Drakan. He will heal himself for 200 hitpoints, initiating an enrage phase. In the enrage phase, Vanstrom will stop using the special attacks from the first phase, and his regular attack will now be unaffected by protection prayers, hitting with 100% accuracy.
Additionally, every two (2) seconds or so, 10-15 randomly placed shadows will appear on the ground to indicate a delayed lightning attack which will strike for up to 40 damage.
Tip: These shadows may be difficult to see on the 117 HD plugin on the RuneLite client; consider disabling the plugin for this encounter.
In this phase, you may deactivate Protect from Magic, keeping any useful non-overhead prayers between phases (such as Piety). Redemption may also be wise to keep on as a last resort here, as it's easy to focus so much on dodging his lightning attacks that his regular attacks end up whittling you down.
You'll want to constantly be attacking Vanstrom while avoiding the lightning bolts, so it's best to simply step one tile around him clockwise or counter-clockwise each time the tile you're on gets targeted. Keep an eye on both the tile you're on and the tile you're planning to walk to see if they are covered by a shadow.
Be sure to save some one-tick food (such as karambwans) for this phase as the lightning bolts strike quickly and it's very easy to die in the space of a few seconds should you fail to get out of the way quick enough.
Note: If you successfully kill him but die at the same time, the kill will count and you will not have to kill him again.
Note: The Arkan Blade cannot damage vampyres with normal attacks, but its special attack can apply burn status if you hit a 0 (not miss). (This may apply to other weapons capable of inflicting Burn status.)
Upon defeat, Safalaan will beg Vanstrom to stop, and remember who he once was. Vanstrom reveals that he remembers his past life, and knowingly killed Larina. Enraged, Safalaan unleashes his icyene powers, and Vanstrom seemingly perishes in the resulting blast as he explodes. Now in shock, Safalaan is unable to move; Veliaf orders Ivan to teleport him out, but he is too far away. As Vyrewatch Sentinels approach the Myreque, Veliaf makes the tough decision to leave Safalaan behind, and Ivan teleports you, himself and Veliaf out.
In shock at the sheer power of Lord Drakan, abandoning Safalaan and the loss of Polmafi, Kael, Vertida and Radigad, Veliaf declares the Myreque's death and leaves the hideout, leaving you and Ivan behind. Ivan asks you for some time alone, and decides to stay in the hideout.
Enraged at Vanstrom, Safalaan fully unleashes his icyene powers. Image credits →Unable to reach Safalaan, Ivan teleports you, himself and Veliaf out in the nick of time. Image credits →Safalaan is abandoned and left behind. Image credits →Veliaf declares the Myreque dead, leaving you and Ivan. Image credits →
Congratulations, quest complete!
Quick checklist 120 instructions
Use this when you already know the route. The full walkthrough above includes explanations and diagrams.
Slepe's Sleeper Plague
Talk to Veliaf Hurtz, outside of the church in Slepe.
Say: Yes.
Talk to Hameln the Jester inside the church.
Say: Do you know how he fell ill?
Talk to Carl in the pub south-east of the church.
Say: Where do you get your Bloody Bracers from?
Inspect the barrel south of the pub to follow Carl to his supplier.
Go through the church and hide at the north doors, wait there until he passes the doors.
Proceed to the hollow tree just north of the graves, and hide on the eastern side.
When he reaches the centre square of the town, hide at the northern side of the hollow tree next to the gallows (due east).
Once he approaches the graveyard, hide at the western side of the hollow tree to the west of the graveyard.
After the cutscene, kill Kroy. Kroy does not have to be killed with the Ivandis flail, and can instead be killed with normal weapons.
Use Protect from Magic, and dodge his potion-throw attack.
Stand behind a lab table and attack him with ranged to negate all his damage.
Destroy both lab tables.
Leave the lab by clicking the southern gate.
Talk to Veliaf in the Slepe church graveyard.
Say: Fair enough, so what now?
Talk to Veliaf Hurtz next to Drezel at Paterdomus.
Say: I see. So that's why you want to keep him safe, Veliaf? (Fairy ring CKS, Salve Graveyard Teleport tablet, Slayer ring)
Talk to Ivan Strom south of Fenkenstrain's Castle. (Fenkenstrain's Castle Teleport tablet)
An Unwelcome Surprise
Talk to Ivan Strom east of Paterdomus (north of fairy ring CKS ) to begin the trek.
Say: I'm ready.
Cut three vines from the swamp tree to the north-east.
Use the vines on each other to make a long vine.
Use the long vine on the swamp tree branch.
Swing across the water and continue the trek by clicking the last tile.
Kill the Nail beasts, use food on Ivan if his health becomes too low, and continue the trek.
Use your logs on the bridge (chop 3 logs if you didn't bring any. If you forgot your axe, kill the zombie for one.)
Cross the bridge and continue the trek.
Before the dialogue ends, attack the easternmost Vampyre (the one in-front of Ivan) so that it doesn't attack Ivan.
Use your Ivandis Flail to kill these Vampyres.
Continue the trek to end up in Burgh de Rott.
Talk to Ivan and complete the dialogue to send him to the boathouse.
After completing the trek, bank and prepare for the next step.
A Nice and Simple Plan
Head south-east of Burgh de Rott to the boat house and talk to Ivan Strom.
Board the boat and head to the Icyene graveyard.
Talk to Veliaf Hurtz.
After the cutscene, talk to Vanescula Drakan
Unlock the mausoleum door north of you.
Solve the Mausoleum Door's puzzle.
Talk to everyone in this order:
Vertida Sefalatis.
Kael Forshaw.
Radigad Ponfit.
Polmafi Ferdygris.
Ivan Strom.
Veliaf Hurtz.
Finish the conversation with Vanescula Drakan.
Use Drakan's medallion to teleport to Ver Sinhaza and ask the Vyrewatch next to the bank to send you to the mines.
Say: Send me to the mines.
Mine 15 Daeyalt ore and place them in the cart. (If you forgot a pickaxe, talk to any miner for a bronze one.)
Talk to the Vampyre Juvinate.
Head south-east to the house with the slashed tapestry and the statue.
Walk through the tapestry.
Go down the staircase.
Talk to Safalaan.
Say: Shall we get going then?
Kill the Mutated Bloodveld.
Talk to Safalaan again.
Search the bookshelf on the western wall inside the room filled with mutated bloodvelds.
Talk to Safalaan.
Say: Sure. Here you go.
Head back to Burgh de Rott. (Morytania legs 3 , Mort'ton teleport or Shades of Mort'ton minigame teleport and run south-east to the boat or Drakan's Medallion and run south-west to the boat.)
A Vyre-ry Noble Disguise
Take the boat back to the Icyene Graveyard.
Talk to Veliaf at the eastern part of the graveyard.
Use your Drakan's medallion to teleport to Ver Sinhaza.
Exit to the west towards Meiyerditch.
If you don't have the Vyrewatch outfit head to Trader Sven's house south of Old Man Ral's house, near the shore. Trade him and buy a Vyrewatch outfit. (Do not equip the outfit)
Go down the trapdoor in the northern room of Old Man Ral's house. (Old Man Ral's house is to the west)
Talk to Polmafi Ferdygris.
Say: Here you go. (Make sure to upgrade the outfit to Noble)
Make your way back to Icyene Graveyard by either:
Climbing back up, going south-west to the wall, climb the wall and navigate to the boat
Or go back to Burgh de Rott to get to the boat
Talk to Vanescula Drakan.
Take the boat to Slepe.
Talk to Veliaf at the graveyard.
Say: Let's do this.
Kill Damien Leucurte.
Wield your Ivandis Flail.
Use Protect from Magic.
Drink your antipoison when poisoned.
Stomp out the magical fires Damien periodically spawns. (Prioritise this, as having even a single fire on screen make your attacks against Damien have no effect)
Talk to Veliaf.
Use your Drakan's Medallion to teleport to Ver Sinhaza and prepare for the next step.
The Branches of Darkmeyer
Go back to the Icyene Graveyard (Use Morytania legs 3 or Drakan's Medallion and take the boat to the north or Mort'ton teleport and take the boat south-east of Burgh de Rott).
Talk to Vanescula Drakan.
Equip the Vyre noble clothing.
Use your Drakan's medallion to teleport to Ver Sinhaza.
Talk to the Vyrewatch right next to the bank and ask to be sent to the mines.
Say: Send me to the mines.
Talk to a Vampyre Juvinate to exit the mine. You do not have to mine daeyalt ore this time.
Go through the crack north of the mining hole.
Head to the Arboretum. (The tree icon east of the bank in Darkmeyer.)
Finish the dialogue with the guard Desmodus Lasiurus.
Head to the house with a water symbol north-east of the furnace, along the east wall near the crack.
Talk to Mordan Nikazsi.
Head to the prison in the northern part of Darkmeyer, north of the Arboretum.
Talk to Maria Gadderanks.
Head to the Arboretum and enter it.
Search the toppled shelves for an old note.
Read it, and take note of how many gallons the tree requires to be cut.
Look up the required gallons in the solution table and set the north and south valve to the given values.
Cut eight blisterwood logs.
Head back to the Icyene Graveyard.
Speak to Veliaf/Vanescula.
Use your Drakan's medallion to teleport to Ver Sinhaza.
The Final Preparations
Head back to the underground lair under Old Man Ral's house in Meiyerditch.
Talk to Vertida Sefalatis and give him 7 Blisterwood logs.
Say: Here you go.
Search the nearby crate for a silver sickle (b).
Use the ruby on the sickle.
Enchant the ruby sickle (b).
Use the blisterwood log on the enchanted ruby sickle (b).
Use your Ivandis flail on the blisterwood sickle.
Prepare for the fight with Vanstrom Klause.
A Bloody Show
Go back to the Icyene Graveyard.
Talk to Vanescula Drakan.
Run north-east of the graveyard.
Talk to Safalaan Hallow.
Say: I'm ready.
Kill Vanstrom Klause, use Protect from Magic.
Vanstrom uses three special attacks. He will use a special attack every 8-10 attacks, and will never use the same one twice in a row. He can also use an attack that lowers your Attack level similar to Shadow Spells.
My pets will feast on your corpse! - Acidic Bloodveld is spawned and will explode on the player for high damage. Kill with ranged.
Blood will be my strength! - A blood orb spawns that periodically heals Vanstrom. Walking on top of it (3x3 area) damages the player, but Vanstrom can be lured on top to damage him.
Stare into darkness! - Heavy damage is taken if the player is facing Vanstrom. The attack gives very little warning and is near impossible to avoid on reaction. It is recommended that the player keep a count of how many attacks Vanstrom has done and turn around preemptively.
After you deplete his hitpoints, he will heal himself 200 hitpoints and stop using his special attacks.
Turn off protection prayers to save on prayer points as they no longer have any effect, but continue using Piety or other buffing prayers.
Vanstrom summons lightning to strike tiles with a max hit of 46. Tiles that are about to be struck will have a dark circle on them and should be avoided.
Consider turning off RuneLite's 117 HD plugin if enabled, as it makes it much harder to see where the lightning will strike.
Note: You can speak to Veliaf if you wish to re-attempt the fight.
Watch the cutscene.
Congratulations, quest complete!
QUEST COMPLETE
Rewards
Access to Darkmeyer
Access to the Daeyalt Essence Mine
Access to the Hallowed Sepulchre
Ability to shop at stores in Darkmeyer while wearing Vyre noble clothing
Ability to purchase long rope from the Darkmeyer General Store, which can be used to build the following Agility shortcuts:
The wall on the eastern side of Darkmeyer, requiring 63 Agility.
The rocks on the tall cliff at the end of the Viyeldi caves, requiring 91 Agility and completion of Legends' Quest.
A tome of experience, granting 15,000 experience to any skill (level 60 or higher). This reward can be utilised six times and may be used for the same skill.
The Blisterwood flail
Darkmeyer teleport via Drakan's medallion
Boat travel between Burgh de Rott, Slepe and the Icyene Graveyard
Access to the mutated bloodvelds section of Meiyerditch Laboratories
Access to the True Blood Altar (with a Blood talisman)
Access to the Guardian of Blood in the Guardians of the Rift minigame
Promotion to the rank of Lieutenant within The Myreque and its associated title
 2
2