QUEST 170 · MEMBERS
The Curse of Arrav
The icy waste to the north of the troll country is as mysterious as any land in Gielinor, no less because of the interest the Mahjarrat take in it. Elias White thinks that he might have found a way for you to discover more about this strange area to the north. Uncover more of the mysteries of the Mahjarrat and learn about the dark magic that was used to enslave Arrav for these last few millennia.
- Difficulty
- Master
- Length
- Medium
- Quest points
- 2
- Released
- 6 November 2024
 2
2Jump to a chapter
Before you start
Where to start
Talk to Elias White at the Uzer Oasis.


Items required
- 3 dwellberries
- Ring of life
- Any pickaxe
- Any crossbow (except the love crossbow)
- Mith grapple (Hallowed grapple will not work)
- Insulated boots
Recommended
- 85 Combat level
- Combat gear, Prayer potions, Super combat potions, and food for the final fight
- Salve amulet for the final fight
- Quick access to fairy rings
- Lumberyard teleport, digsite pendant, or ring of the elements for quick access to Zemouregal's Base
- Trollheim Teleport, stony basalt, or any Ghommal's hilt for quick access to Trollheim
- Stamina potion
- Anti-venom or Serpentine helm with 75 defence.
- Any ranged weapon (or suitable bolts for the crossbow already brought), or magic; recommended way to kill the toxic zombies during the fight against Arrav.
- Emergency teleport
- Lockpick unlocking code key chest towards the end to avoid small lockpick fails
Enemies to defeat
- Golem guard (level 141)
- Arrav (level 339)
Ironman concerns
- 59 Fletching [boostable] to make a mith grapple
- 59 Smithing [boostable] to make a mith grapple tip


OR
- 35 Firemaking [not boostable] for Barbarian Firemaking, to access the Ancient Cavern, and the means to defeat level 132 enemies for a 1/42.67 chance at a mith grapple drop (ideally the skeleton brute).

STEP BY STEP
Walkthrough
Follow the chapters below. Click any screenshot or diagram to view it at full size.
Starting off
Items needed: Combat equipment, 3 dwellberries, a ring of life
Items recommended: Stamina potion, 2 empty inventory spaces
Items recommended: Stamina potion, 2 empty inventory spaces
The player may receive Elias' message from a messenger once eligible to start the quest, but this is not necessary to start the quest itself. Players may choose to wait and receive it if they wish to read the message for immersion, but it is removed upon completion of the quest.
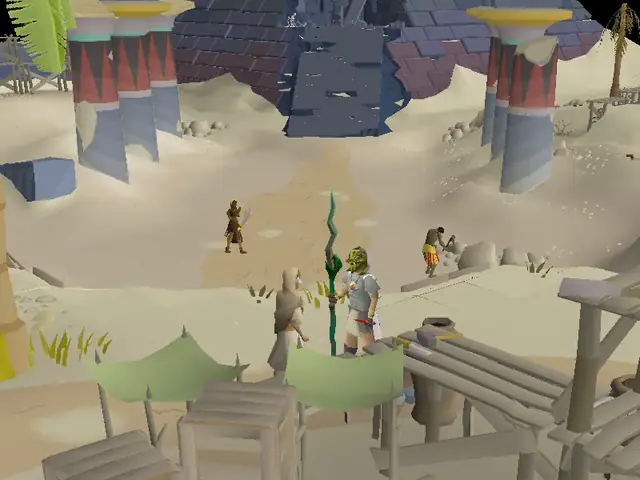
Speak to Elias White at Uzer Oasis to begin the quest. The quickest way to get there is via fairy ring code DLQ, then running eastward towards the coast. Elias will tell you that he has made progress towards Arrav's predicament, having discovered information on an unusual form of necromancy that was once practised in the surrounding lands, matching what Arrav is currently suffering from. His research had led him to the Uzer Mastaba, where a Pharaoh Queen, known for her work on saving the victims of a Mahjarrat necromancer, is buried. According to Elias, in order to free Arrav from Zemouregal's hold, you will need a way to recover his heart while keeping it preserved and beating. As such, he tasks you with searching the mastaba for information on heart preservation, while he works on finding where Arrav's heart is being kept.
Tomb Raiding
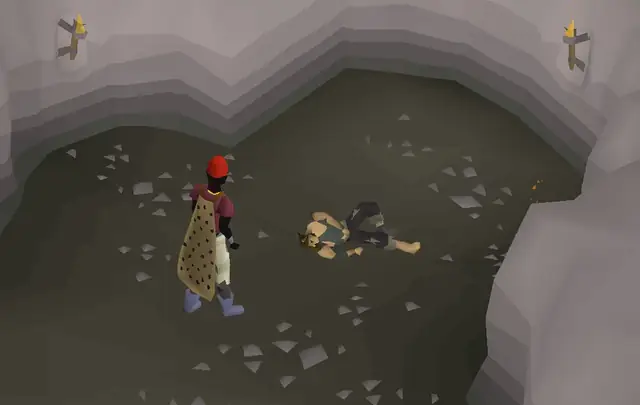
Enter the Uzer Mastaba atop the nearby hill. Inside, you will find various dead skeletons littered around the area. Two of these will give the player a mastaba key when searched: the first is the southernmost skeleton in the cave beyond the first room, while the other is found north-west of the stone boat in the central chamber. Searching the rest of skeletons will only provide empty waterskins, damaged armour, vases, and dust.
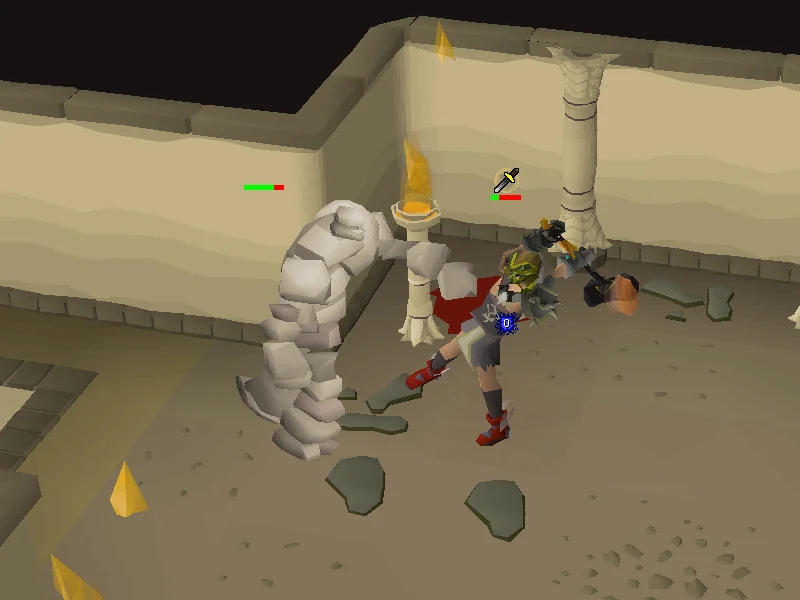
The keys are used automatically when operating the levers in the north-east and south-east corners of the area which are behind wall traps. Ensure you search the odd markings on the walls preceding them to disable the traps and avoid damage, then attempt to pull the levers with the keys in your inventory. If you do not search the odd markings, you will be pierced for up to 19 damage when attempting to walk past them.
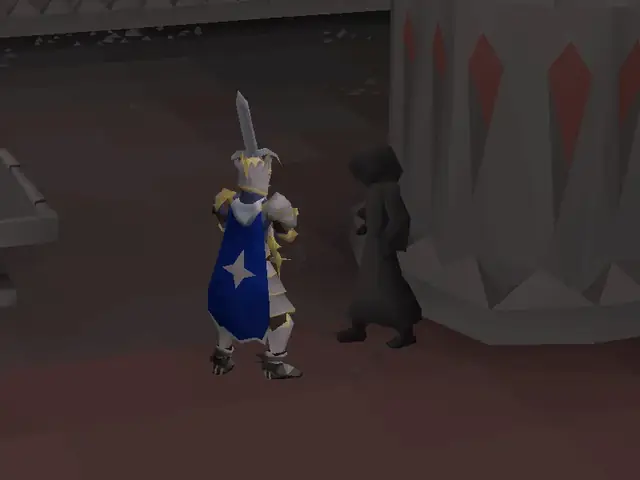
Once the two levers have been pulled, the door to the north will then be unlocked, but the way downstairs is guarded by the golem guard. It attacks with melee, cannot be safespotted, and has a prayer-piercing special attack. When the game screen shakes and he draws his arms close to his body, it will stand in place and attack three times every two ticks, dealing up to 30 damage per hit; simply move one tile away from the golem guard to avoid this. Dying to the guard will send a grave to just outside the entrance to the mastaba.
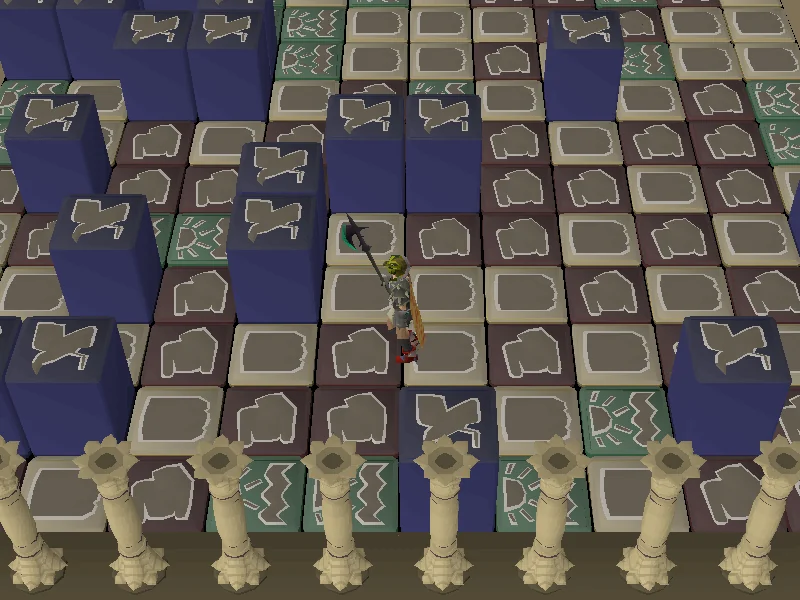
Upon descending the stairs, you will come across a chamber with multiple coloured tiles which raise and block the way, depending on which sets the player stands on. Walk on either the blue and green tiles or the yellow and red tiles on the south side to cross over to the burial chamber; if the wrong pair of tiles are stepped on after starting the crossing, the player will take moderate damage. After crossing to the burial chamber side, pull the lever to disable the coloured tiles.
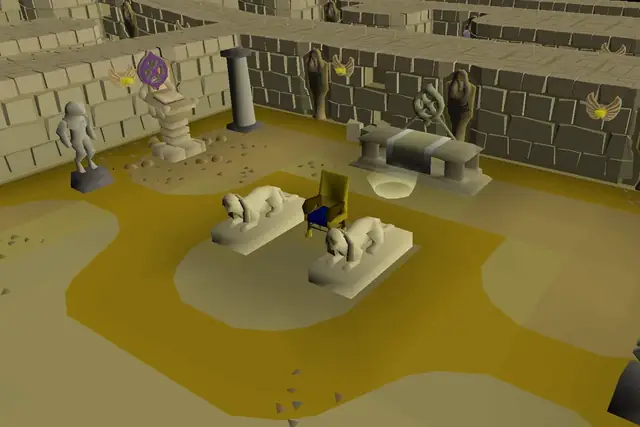
The Pharaoh Queen's burial chamber contains multiple statues depicting the lesser gods of the Menaphite Pantheon. The shelves to the north can be searched to receive a canopic jar filled with sacred oil. Head to the southern chamber where Tumeken's statue is found, and inspect the southern mural, which depicts the canopic jar being filled with three dwellberries and a ring of life; use the items in that order on the jar to fill it.
With the jar in tow, head back to Elias. You can save a bit of time by hopping worlds, which will teleport you back outside the mastaba.
Fort Invasion
Items needed: A pickaxe
Items recommended: Trollheim Teleport, stony basalt, or Ghommal's hilt; stamina potion, 2 free inventory spaces
Items recommended: Trollheim Teleport, stony basalt, or Ghommal's hilt; stamina potion, 2 free inventory spaces
Elias will tell you that one of his contacts spotted Zemouregal entering an old fort near Trollweiss Mountain, and also found an entrance on the summit that appears to lead right into it. However, he suggests bringing a pickaxe as parts of the tunnels within have been caved in.
Make your way to Trollheim. Take the path just north-west of Trollheim (towards the ice gate), then enter the Trollweiss Dungeon directly west of the ice gate. Activating Protect from Melee is recommended for lower-levelled players as the ice trolls can hit up to 21. Follow the path north until you can enter a crevasse to get to the summit of Trollweiss Mountain. Once you've exited the crevasse, run directly east and enter the tunnels.
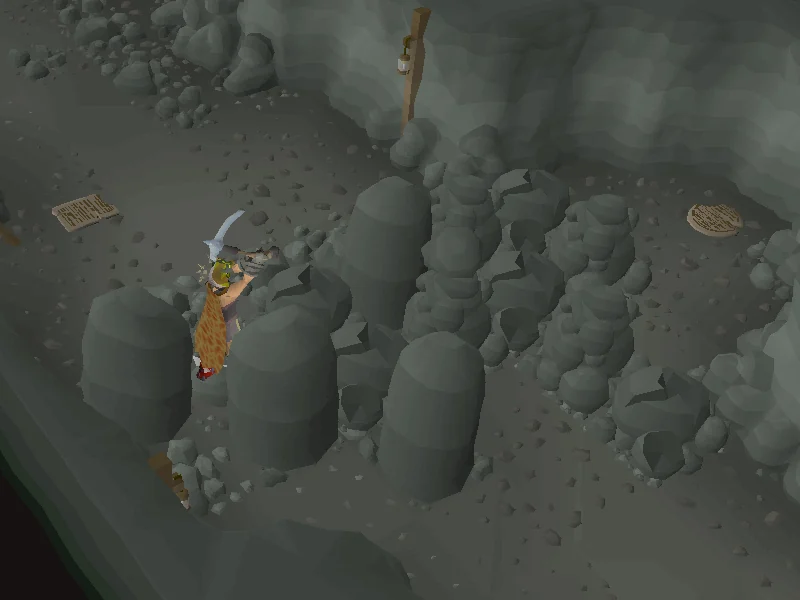
Mine the rubble within the caves to clear the path; certain piles of rubble may need to be mined multiple times to be cleared, while some can only be mined once from each side before they're cleared, so you may have to run around the tunnels to mine the same rubble from different directions in order to clear it. Along the way, you can pick up the stone, granite, slate, and shale tablets, which depict a Mahjarrat attempting to avoid being chosen as a sacrifice in their ritual.
Mine your way to the eastern end of the tunnels to reach the fort's basement. Players can optionally search the bookcases on the eastern wall to receive Mahjarrat notes (a-j), which are written by Zemouregal and list various living and recently-sacrificed Mahjarrat, as well as his opinions of them.
Head upstairs to find that Arrav is standing before you, warning you to leave before Zemouregal returns. You will ask him about his heart, but he will tell you it is not present in the fort as Zemouregal did not want it too close to his fellow Mahjarrat. However, he will tell you to look behind the flame tapestry in the north-eastern room for something helpful. He is then summoned by Zemouregal, thanking you before he is teleported away.
The rest of Zemouregal's Fort is not accessible, so enter the door to the east and search the tapestry. You will receive a base key and base plans, which depict Zemouregal's Base.
Hearty Heist
Items needed: A crossbow, mith grapple, insulated boots, the filled canopic jar, Base key, base plans, combat equipment (enemy is weak to Crush.)
Items recommended: Digsite teleport, Lumberyard teleport, or Balloon Transport System to Varrock for quick access to Zemouregal's base, Stamina potion, anti-venom, emergency teleport
Items recommended: Digsite teleport, Lumberyard teleport, or Balloon Transport System to Varrock for quick access to Zemouregal's base, Stamina potion, anti-venom, emergency teleport
Return to Elias, who you show the base plans to. He confirms that the base has a chamber marked as containing Arrav's heart, but it is found in the inner section of the base with state of the art security:
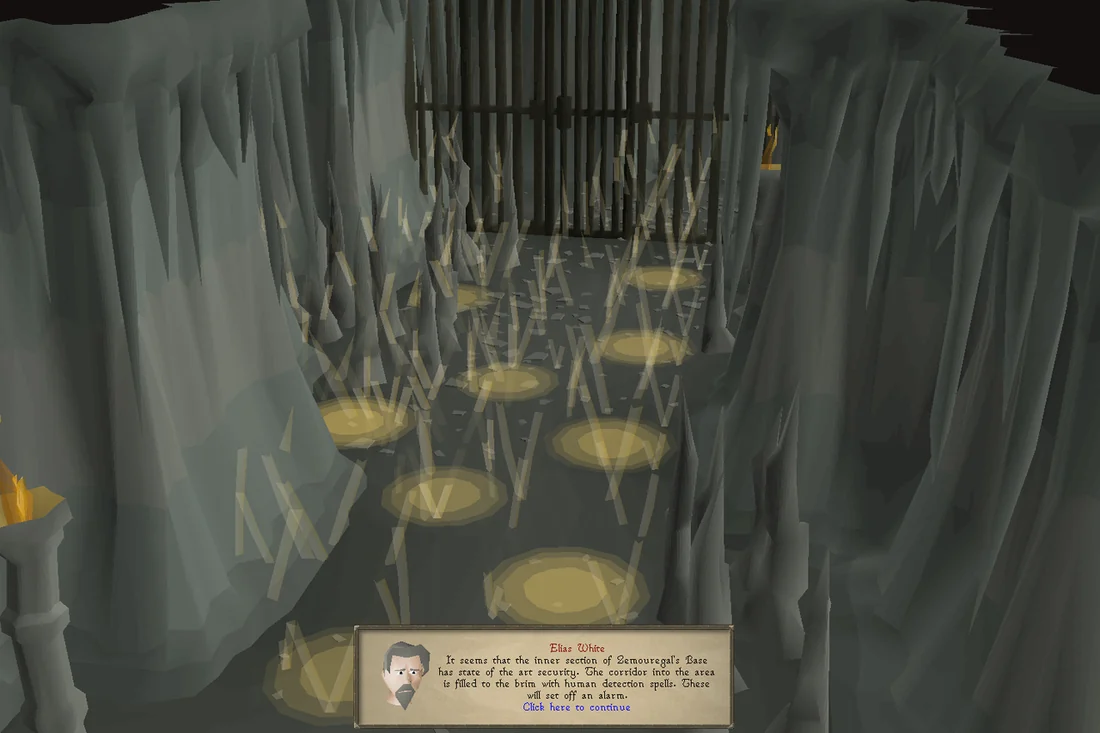
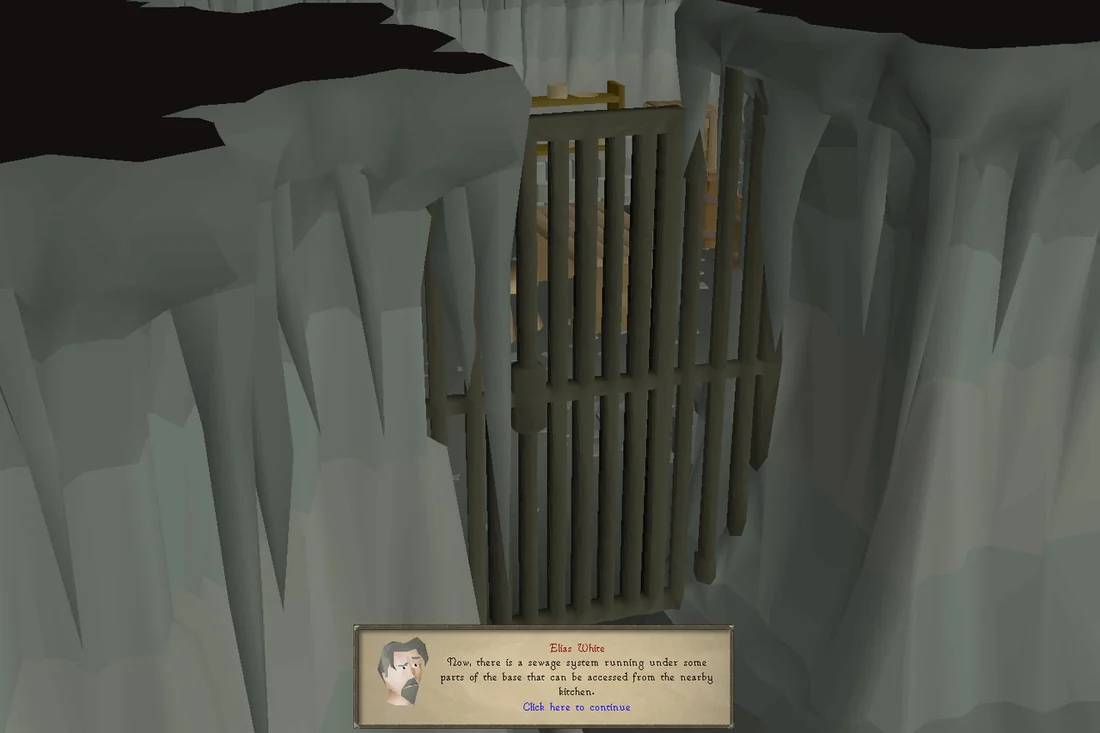
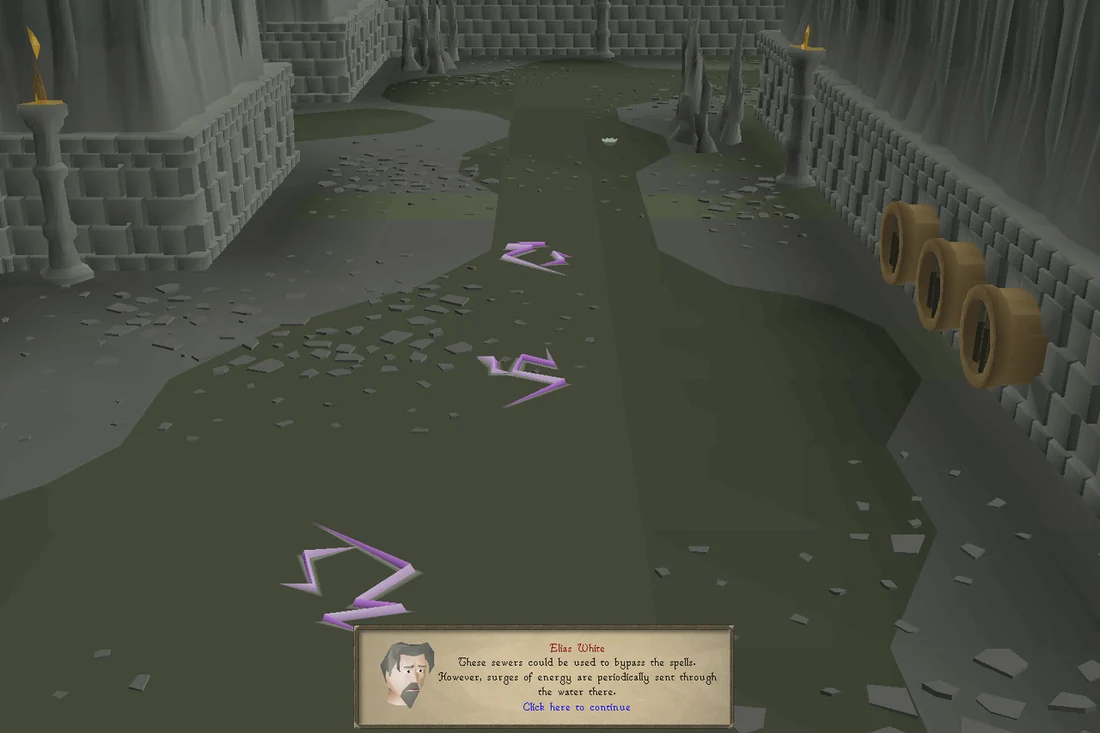
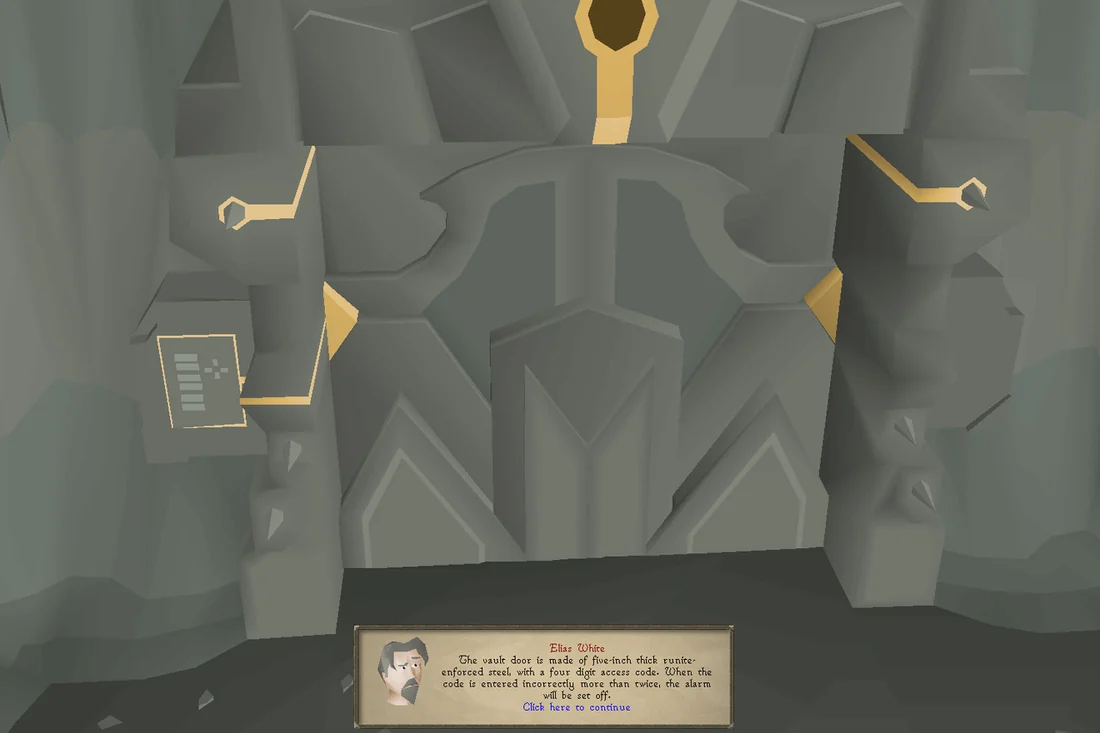
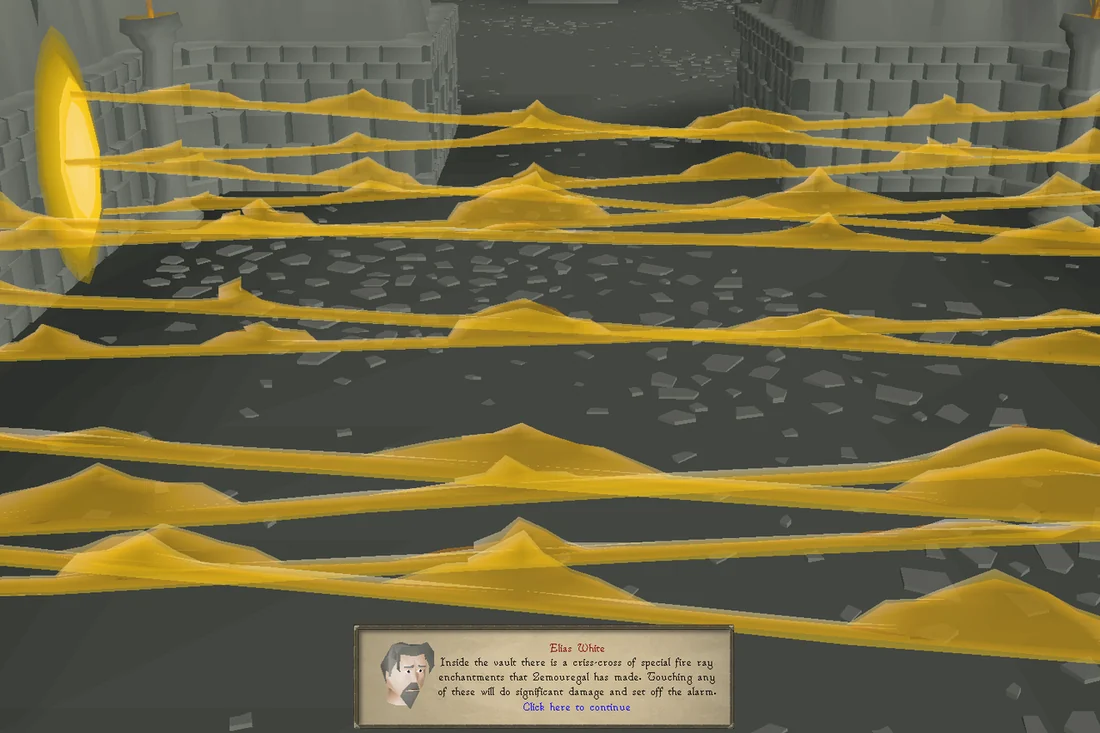
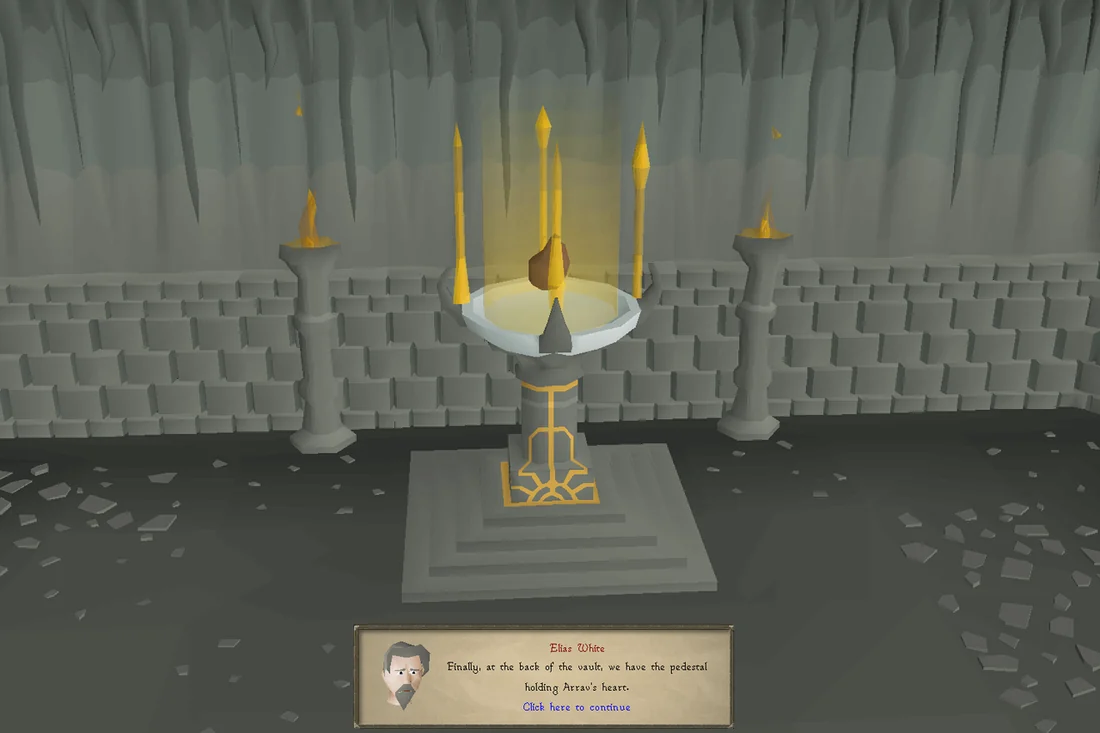
While seemingly daunting, Elias will suggest various measures to bypass the traps: a form of insulation from the energy surges, having him distract the zombies guarding the vault door, and a crossbow and mith grapple to climb over the fire traps.
Before heading to Zemouregal's Base, bring the required items for the heist, as well as the base key. Furthermore, players will be forced to enter a fight in which teleportation is the only way of escape. During the fight, players can be inflicted with venom. As such, take a sip of Antidote++ or similar proactively beforehand or after you are afflicted by venom.
NOTE: If you're doing this all in one go, bring the filled canopic jar.
Make your way to Zemouregal's Base, just west of where the Odd Old Man is, by your preferred method. Talk to Elias outside the entrance, then enter the base and run through the dungeon until you reach the kitchen (marked by the icon). Enter the kitchen, wear your insulated boots, and then enter the sewer system via the southern wall using the pipe.
Head all the way around the path to the other end of the pipe exit to find yourself at the vault doors, ignore them for now. You can now safely remove/change your insulated boots. Make your way south to the room with three tables. Search the western table for decoder strips, and the chest for the code key. Optionally, you can search the eastern table for Mahjarrat notes (k-z), the other half of Zemouregal's writings; this reveals the Mahjarrat who dug the tunnels to his fort was Lamistard. He was discovered and promptly sacrificed for the ritual.
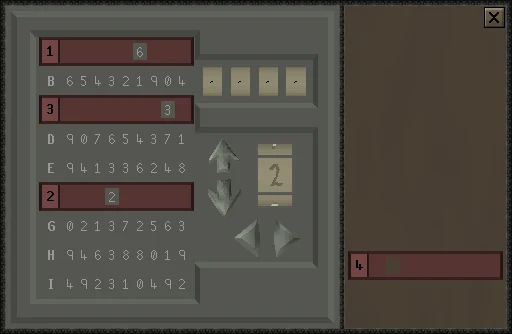
Read the code key and take note of the four-letter code. Return north to the vault doors. Attempt to open them. An interface will appear; enter your key code in order on the decoder strips in the interface that pops up (right side of interface). Each strip will be associated with a number, 0-9, and will have an order, 1-4 on the left hand side of the strip. Use the up and down arrows to input the number and the right arrow to enter each number once picked.
For example, a code key with the code "DAFE" would have the player put strip 1 on D, 2 on A, 3 on F, and 4 on E, which reveals the access code to be 9449.
Upon entering the vault, equip your crossbow and mithril grapple, then click on the metal bars above the fire traps to climb over them. Do not attempt to walk across the room as you will take ~14 damage and wake up far away. There are no further traps here. Attempt to take the heart from the pedestal to initiate a cutscene.
The Hero of Avarrocka
Items needed: Bring combat equipment, the enemy is weak to Crush.
Items recommended: Stamina potion, anti-venom (Serpentine helm can instead be used to protect against venom) or ranged/magic gear, emergency teleport, salve amulet, combat potions to fit your attack style
Items recommended: Stamina potion, anti-venom (Serpentine helm can instead be used to protect against venom) or ranged/magic gear, emergency teleport, salve amulet, combat potions to fit your attack style
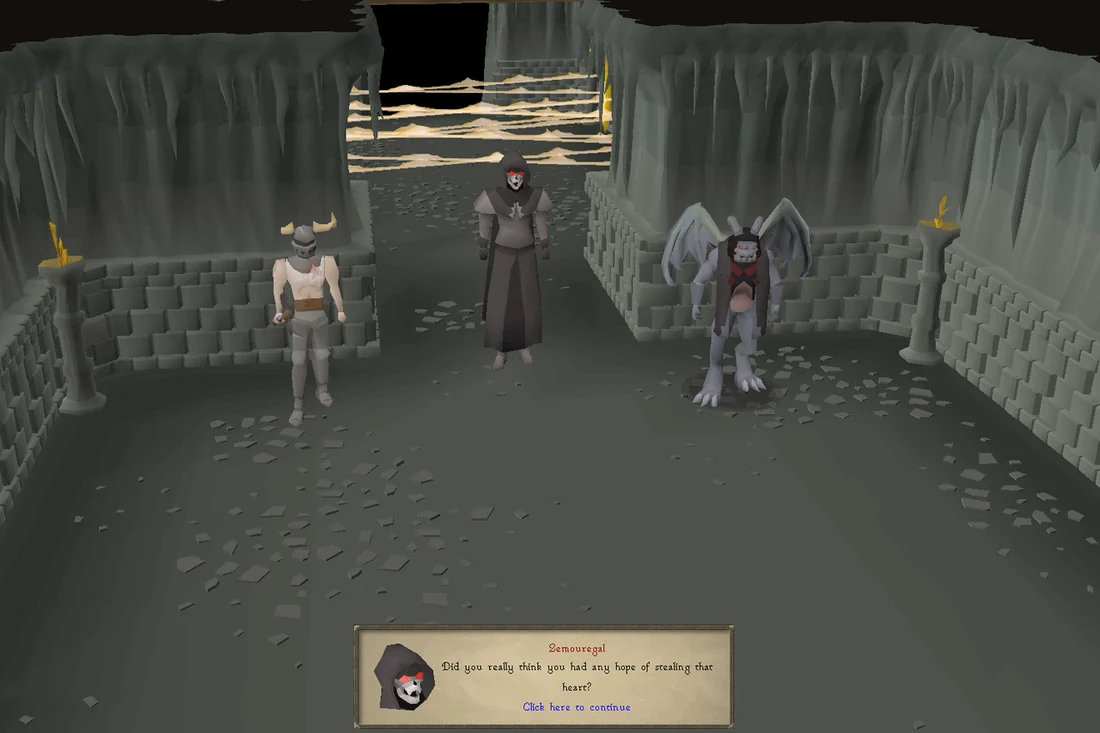
Upon attempting to take the heart, your character turns around to find out that Zemouregal and Sharathteerk have discovered your presence and send Arrav to kill you. Players cannot leave the vault physically as Zemouregal blocks your path, and as such bringing a means to teleport out is recommended in case of an emergency. If you leave, you will need to bring insulated boots to return, but you do not need a mith grapple or crossbow, as the rematch with Arrav starts immediately after entering the doors to the grapple room. If you die during the fight with Arrav, your gravestone will be in the caves past the zombies and you can grab your boots before trying again. If you die at the same time you kill Arrav, you don't have to fight him again.
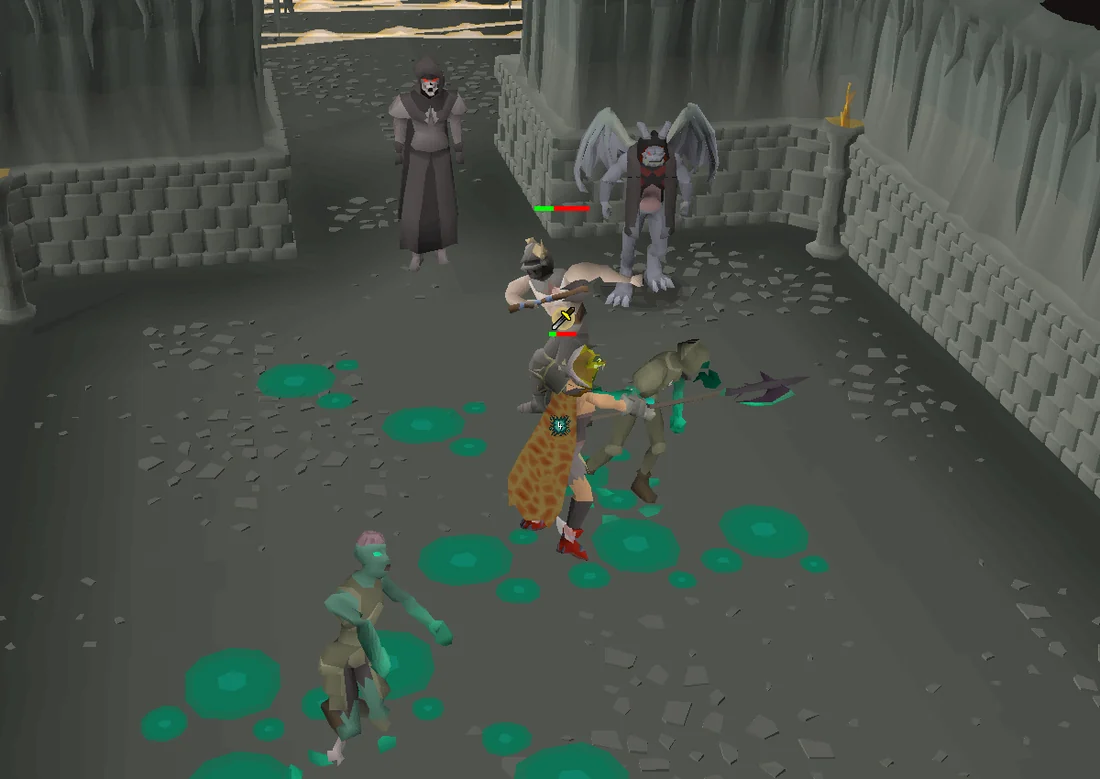
Arrav uses a standard melee attack whose damage can be reduced with Protect from Melee. Every three attacks, Arrav will swing his axe in the direction he's facing, which will rebound back to him, dealing up to 26 damage in both directions. The thrown axe attack has a wind up time, allowing you to move adjacent or behind him and resume attacking; alternatively, you can quickly unequip your weapon and position yourself between Arrav and the axe, allowing you to catch it and strike his chest with a lightning animation for additional damage. When successful, a game message in the chatbox will state You catch the flying axe and embed it in Arrav's chest! Off-hand equipment does not need to be unequipped for this counter-attack to be successful.
Additionally, armoured zombies will also spawn with 10 Hitpoints each. They will not attack, even if attacked, and instead wander around the area, leaving behind venom pools wherever they walk. Stepping on these will inflict venom and deal up to 4 damage every tick if not moving; this stacks up to a maximum of 20 damage per tick if the player does not move. It is advised to target the armoured zombies with ranged, magic, or manually casting Crumble Undead, as melee will often lead to you walking into their venom. The player is healed and cured of venom when Arrav is defeated and the subsequent cutscene finishes. Faster attack speed ranged weapons like dragon darts are ideal for dealing with these enemies - later in the fight two at a time will spawn so it's best to deal with them as soon as they spawn with a fast hitting weapon. Due to the armoured zombies significantly negative ranged defenses, ranged attacks hit very accurately, and having a ranged max hit of at least 10 often allows one-hit kills.
Upon defeating Arrav, Zemouregal will order Sharathteerk to teleport Arrav away. However, the spell is blocked courtesy of Elias, who teleports in and asks you to grab the heart promptly. He will then cast a powerful spell that binds both Zemouregal and Sharathteerk in chains. You quickly take Arrav's heart from its pedestal, causing it to glow red, and Elias will teleport you and himself back to the Uzer Oasis.
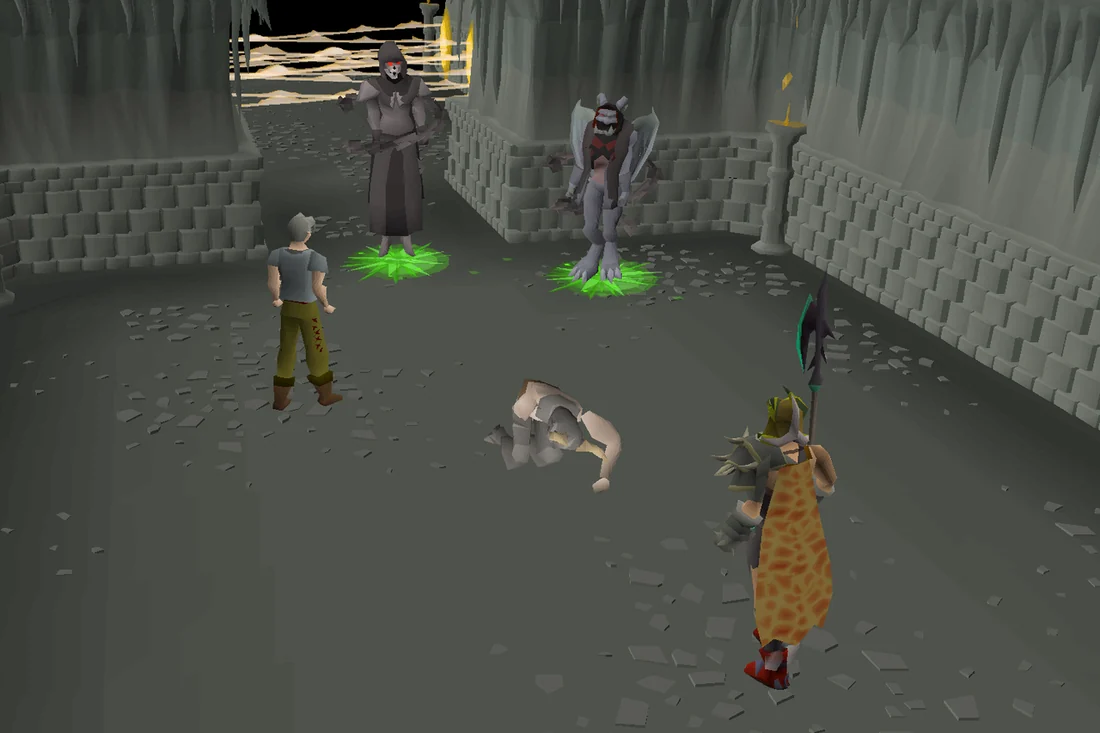
You will be surprised at Elias' apparent capabilities of directly teleporting into a heavily secured location and binding a Mahjarrat in chains, however briefly. He will remain reluctant to share his history with the Mahjarrat, insisting it is a complicated one, and quickly switches the topic to Arrav's heart; while he has it, it is not enough to break Arrav free from control, and he commits to researching this further. He will lastly note that you will not hear from him for some time, but will contact you when the time comes.
Congratulations, quest complete!
Quick checklist 34 instructions
Use this when you already know the route. The full walkthrough above includes explanations and diagrams.
Tomb Raiding
Head to Uzer Oasis and talk to Elias White. The quickest way to reach it is via fairy ring code DLQ.
Enter the Uzer Mastaba to the south, on top of the hill.
Head immediately south to the cave beyond the first room. Search the southernmost skeleton for a mastaba key.
Head to the central room with the stone boat. Search the skeleton north-west of it for a second mastaba key.
Head to the south-easternmost part of the area, and search the odd markings on the wall to disable a set of traps, then pull the lever.
Head to the north-easternmost part of the area (east of the imposing doors) and do the same.
Open the imposing doors to the west and kill the golem guard. When the game screen shakes, it will stand in place and perform a prayer-piercing attack that hits up to 28 three times in succession. Simply move one tile away from the golem to avoid this.
Climb the stairs and cross the coloured tiles by walking over either the blue and green or yellow and red tiles on the south side; if the wrong pair of tiles are stepped on after starting the crossing, the player will take moderate damage.
Pull the lever on the other side of the coloured tiles to disable them.
Enter the burial chamber and search the shelves in the north of the room to get a canopic jar.
Enter the room to the south with the Tumeken statue and inspect the southern mural.
Use 3 dwellberries on the canopic jar, then use the ring of life on it afterward.
You can log out and log back in to quickly exit the mastaba.
Fort Invasion
Talk to Elias.
Make your way to Trollheim. Take the path just north-west of Trollheim (towards the ice gate), then enter the Trollweiss Dungeon directly west of the ice gate. Activate Protect from Melee.
Follow the tunnel north until you can enter a crevasse to get to the summit of Trollweiss Mountain. Once you've exited the crevasse, run directly east and enter the cave.
Mine the rubble within the caves to clear the path. Each pile of rubble can only be mined once from each side, so you may have to run around the cave to mine the same rubble from different directions in order to clear it.
Mine your way to the end of the dungeon, then head up the stairs and speak to Arrav.
Use the unlocked door in the east and search the tapestry in the room for the base plans and base key.
Hearty Heist
Head back to Elias at the Uzer Oasis with the plans and key.
Make your way to the entrance of Zemouregal's Base north of the Digsite and talk to Elias again.
Enter the base and run through the dungeon until you reach the kitchen (marked by the icon). Enter the kitchen through the gate.
Wear your insulated boots, then enter the sewer system via the pipe on the southern wall.
Enter the other end of the pipe at the very end of the path.
Head into the southern room and search the western table for some decoder strips.
Open the chest for the code key. Read it and take note of the four-letter code.
Head back and attempt to open the metal doors to the east.
Enter your code key in order on the decoder strips in the interface that pops up.
Each strip will be associated with a number, 0-9, and will have an order, 1-4 on the left hand side of the strip. Use the up and down arrows to enter the number, using the right arrow to enter each number once picked.
Equip your crossbow and mith grapple, then click on the metal bars above the fire traps to climb over them.
Attempt to take Arrav's heart to begin a cutscene, after which you'll fight him. Activate Protect from Melee to reduce his damage.
Every three attacks, Arrav will swing his axe in the direction he's facing, dealing up to 26 damage; move adjacent or behind him and resume attacking. You can also unequip your weapon and position yourself to face Arrav whilst being behind the axe; this results in you catching the axe and dealing additional damage.
Armoured zombies will also spawn with 10 Hitpoints each, leaving behind venom pools wherever they walk. Stepping on these will inflict venom and deal up to 4 damage every tick if not moving.
Upon defeating Arrav, finish watching the cutscene and the ensuing dialogue afterward to complete the quest.
QUEST COMPLETE
Rewards
- 40,000 Mining experience
- 40,000 Thieving experience
- 40,000 Agility experience
- Access to Zemouregal's Fort.
OSRS WIKI CONTRIBUTORS
Sources & credits
Walkthrough text and preparation lists are adapted from Old School RuneScape Wiki contributors under CC BY-NC-SA 3.0. Game imagery © Jagex Ltd; individual image credits are available from their captions. This page is fan-made and not affiliated with Jagex.
- The Curse of Arrav →full guide · revision 15271605
- The Curse of Arrav/Quick guide →quick guide · revision 14992386
KEEP QUESTING