2
2Requirements
- 35 Agility [boostable] [not required to start]
- Completion of Alfred Grimhand's Barcrawl [required to start]
QUEST 63 · MEMBERS
The lighthouse protecting Kandarin's north-western coastline has mysteriously stopped operating, and contact with the lighthouse keeper Jossik has been lost. The Council would greatly appreciate it if somebody could discover for them what has happened to this most vital landscape feature.
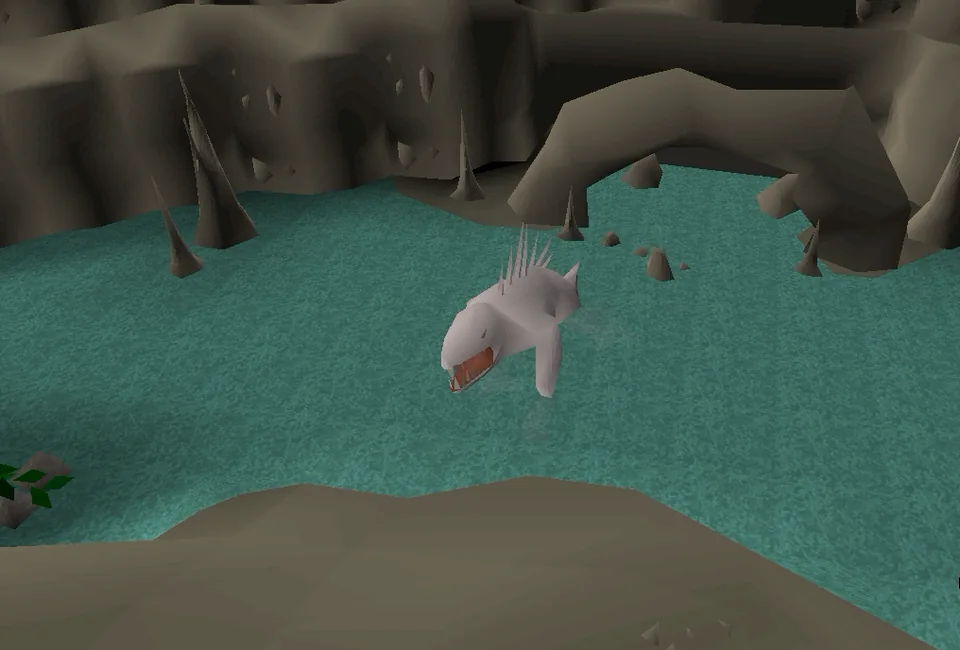
Talk to Larrissa outside the Lighthouse north of Barbarian Outpost.
STEP BY STEP
Follow the chapters below. Click any screenshot or diagram to view it at full size.
Head to the Lighthouse, located north of Barbarian Outpost, reachable via the basalt platforms. If travelling from the outpost, you can obtain the required planks from the north-east end along the fence. Bring food as the platforms have a high failure rate even with decent agility, and a max hit of 10. Alternatively, fairy ring ALP will take you right by the lighthouse.
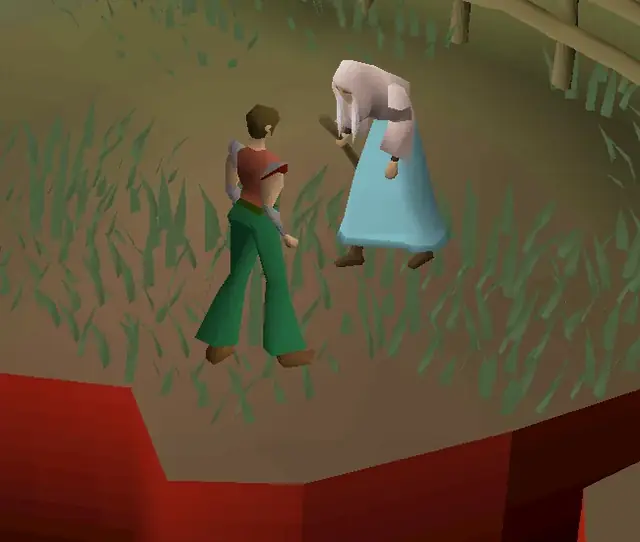
Speak to Larrissa, who will tell the player that her boyfriend lives in the lighthouse. She is worried about him, as the light has gone out and the door is now mysteriously locked. Ask how you can help; she is stranded here, as a storm destroyed the bridge to the east, and she wants you to repair it. She also requests you retrieve a spare key to the lighthouse from her cousin at the Barbarian Outpost.
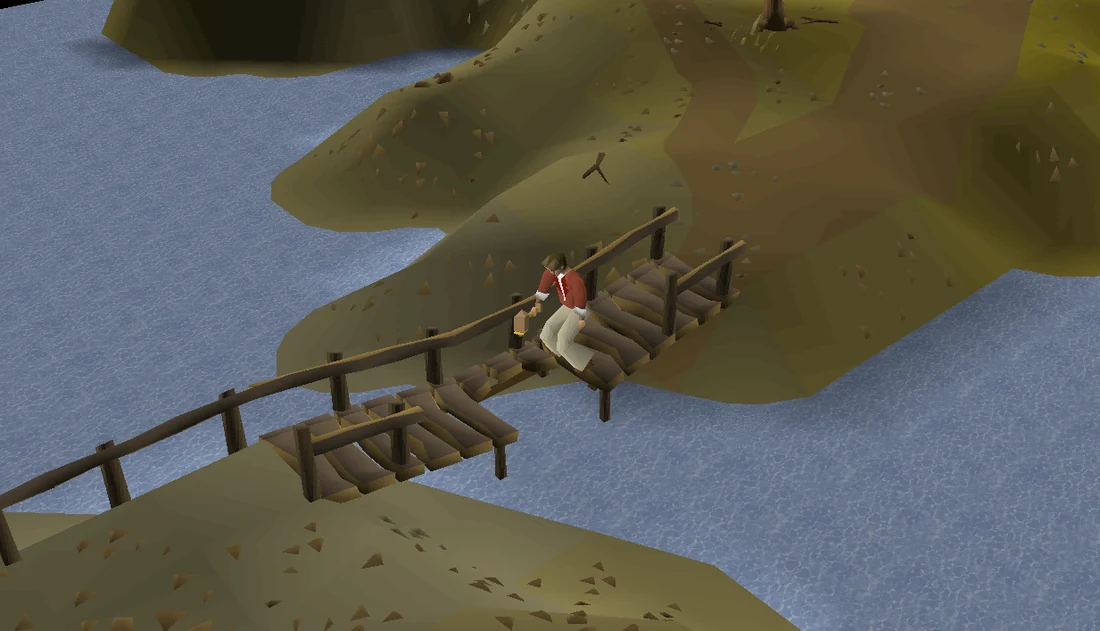
Some distance east of Larrissa is a broken bridge that connects to the mainland. With a hammer and 60 steel nails in your inventory, use a plank on the side of the bridge you are on, then click to jump to the other side to use a plank there as well. Depending on your agility level, you may take slight damage from the leap. Once the bridge is fixed, you will be able to cross without failure, despite the bridge not looking any different.
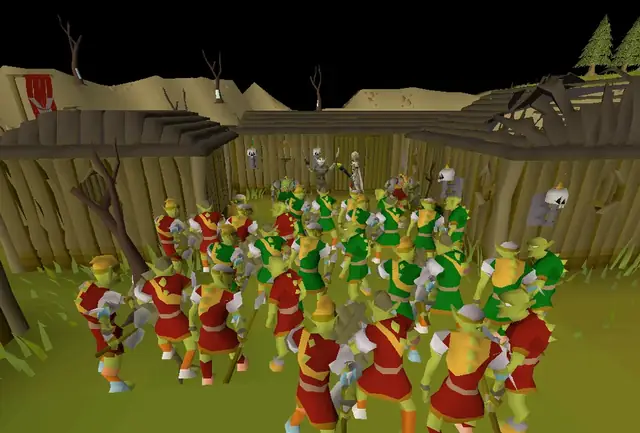
Check your quest log to make sure it says that you've fixed the bridge, then head to the Barbarian Outpost. Speak to Gunnjorn, found inside the Agility course, through the pipe ( 35 ). Tell him Larrissa is in trouble and needs her spare key back, and he will give you the lighthouse key.
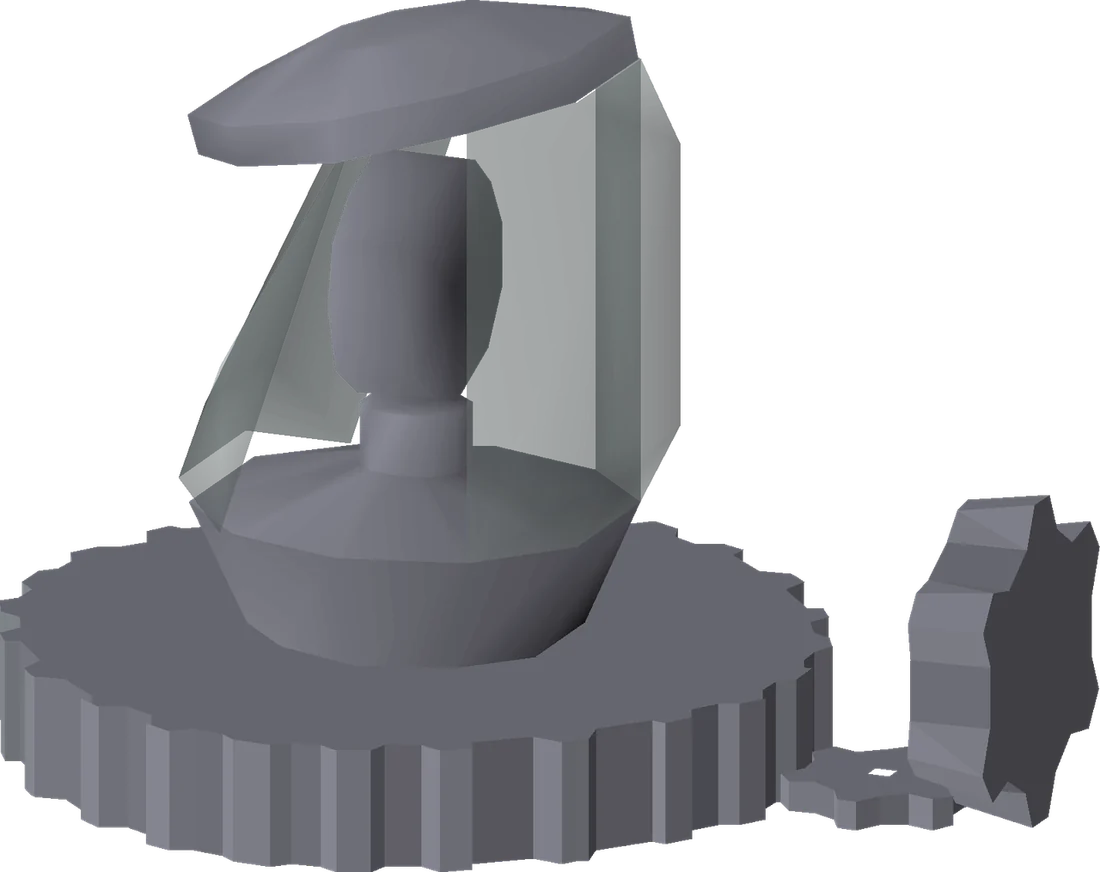
Return to Larrissa. She asks you to go inside the lighthouse and find out what happened to Jossik. Enter the building; you will appear in an instance with Larrissa inside. The furniture is smashed and there are blood splatters and claw marks on the floor and walls. She asks you to repair the light mechanism to prevent any shipwrecks. She does not know how to, but says Jossik probably had some manuals lying around.
By searching the bookcase on the 1st floor (UK), you may find the lighthouse manual, Jossik's journal, and his uncle's diary. Reading these is not required to progress the quest. If you choose to read them, the manual will describe how to maintain the Lightomatic Deluxe 500, with a troubleshooting FAQ section at the end of the book. The journal describes how Jossik became the lighthouse keeper after his uncle disappeared, and soon began to hear voices. It ends with Jossik's decision to investigate the strange noises coming from the basement. In his diary Silas discusses the monstrous dagannoth in-between incoherent ramblings, as well as his construction of a metal door in the basement. He mentions that to unlock the door, 'the key' is fire, air, water, and earth runes, as well as weapons.
Head to the 2nd floor (UK) and use some molten glass and swamp tar on the lighting mechanism in order to fix it, then light the tar with a tinderbox. Return to Larrissa, who requests that you do everything to find Jossik.
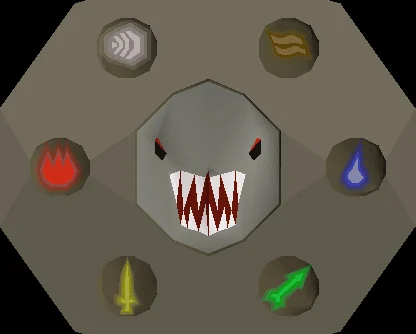
Go down the iron ladder into the basement to find the door mentioned in Jossik's journal. You appear in a kind of sea cavern, with further passage blocked by the metal door. It has a monstrous face in its centre surrounded by six icons: the four runes, a sword and an arrow.
Use all of your basic elemental runes on the door (fire, water, earth, and air). You may bring a full stack of each, as the door will only use one rune. Use your sword on the door (any type), and then an arrow (any type except ogre and training). Bolts will not work. You do not get these back!
Once you have used all of the items on the door, it will unlock. Ensure you have your combat equipment with you, and go through the eastern part of the door and down the ladder. Be prepared to fight both a dagannoth and the dagannoth mother, then talk to Jossik sitting injured by the ladder, who says he was trapped down here by creatures that attacked him. When the player suggests they should return upstairs to find help, a level 100 dagannoth emerges from the sea and attacks!
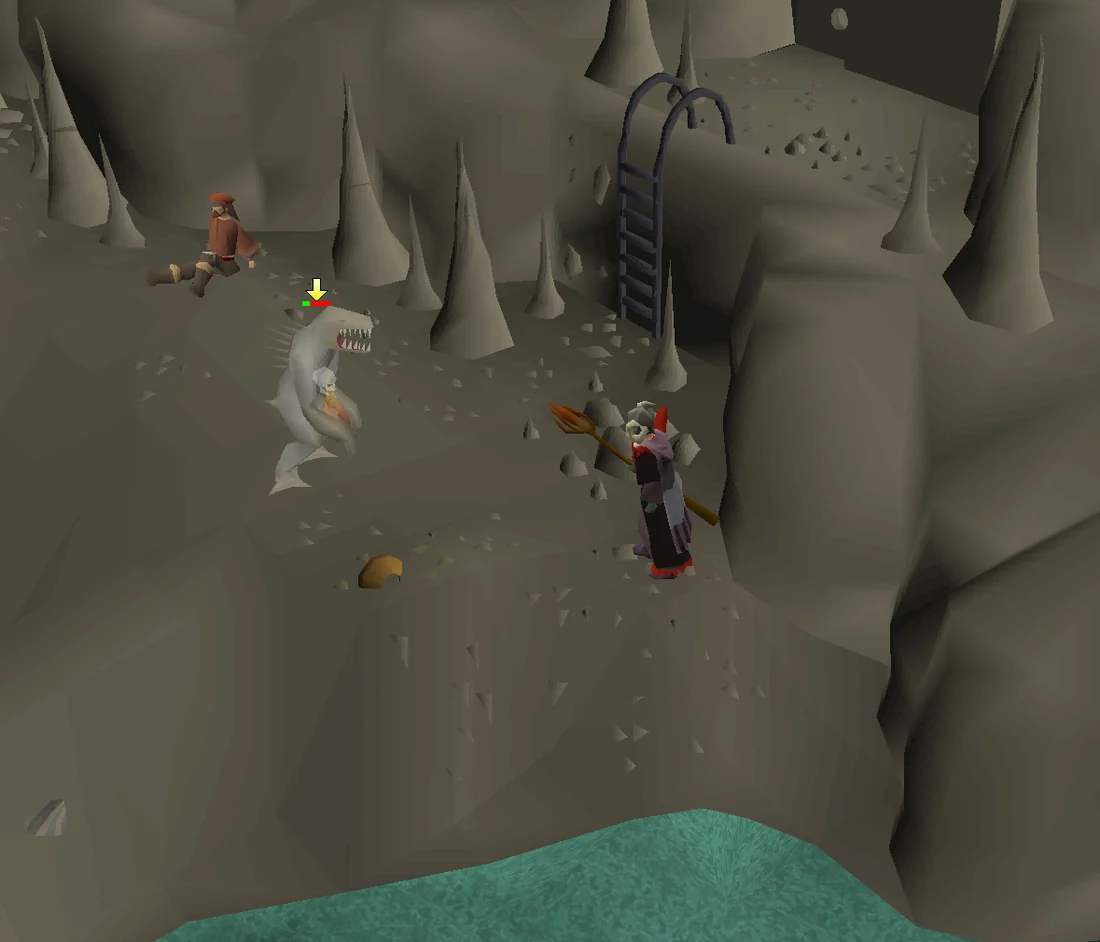
The dagannoth only attacks with melee and can be killed with any combat style. You can utilise a safespot by standing in the southern corner of the pond to the west.
After defeating it, Jossik says that was not the creature that had attacked him but one of its babies. A cutscene follows in which a larger dagannoth appears from the waters, revealing itself to be the much stronger dagannoth mother. She attacks with both ranged and melee, and changes colour every 18 seconds through a fixed cycle, indicated through a chat message The Dagannoth changes to blue... as well as visually. Her six colours correspond to the four elemental spell types, ranged, and melee. For as long as she remains that colour, she can only be damaged through use of that particular attack style.
| Image | Colour | Weakness | Attack Using |
|---|---|---|---|
| White | Air spells | Wind Strike, Bolt, Blast, Wave, or Surge. | |
| Blue | Water spells | Water Strike, Bolt, Blast, Wave, or Surge. | |
| Orange | Melee | Melee attacks. | |
| Brown | Earth spells | Earth Strike, Bolt, Blast, Wave, or Surge. | |
| Red | Fire spells | Fire Strike, Bolt, Blast, Wave, or Surge. | |
| Green | Ranged | Ranged attacks. |
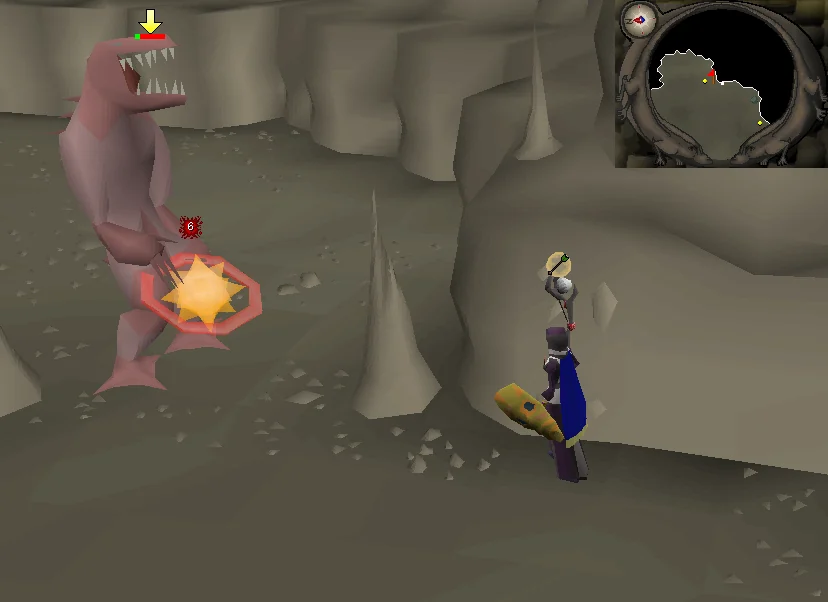
The same safespot used for the regular dagannoth is not as effective here, as she may eventually attack you. You can use the stalagmites in the south-east corner of the room to flinch with a melee weapon, using Protect from Missiles to avoid her ranged attack when using the other combat styles. By default, the mother will use ranged at a distance and melee up close, but may detect Prayer changes and automatically use the opposite attack type.
You can defeat the Dagannoth mother without using all of the combat styles, and may choose to simply wait in a safespot (or up the ladder) while she is the wrong colour. You could also use these pauses to heal. As she has a weakness to earth, this is the most effective source of damage. Magic and Ranged is equally effective, but she has a higher resistance to melee.
Note: The Twinflame staff is not recommended, as it will remain on Earth spells as the mother's weakness, even if she has changed colour.
Warning: Any dropped items will be unobtainable after defeating the boss. You may still loot your items if you die before killing her.
Defeating the Dagannoth mother will automatically complete the quest, and you will receive a rusty casket. The casket can be obtained from Jossik upstairs if you had a full inventory.
Congratulations, quest complete!
Use this when you already know the route. The full walkthrough above includes explanations and diagrams.
To begin the quest use the fairy ring code ALP to teleport to the lighthouse. Alternatively, one could teleport to the Barbarian Outpost using a games necklace or Grouping teleport then hop over the rocks to the north to reach the lighthouse.
Talk to Larrissa.
Say: With what? → But how can I help? → Okay, I'll help! → I'll see what I can do
Run east to the second bridge, use a plank on it.
Jump the bridge and use a second plank on it.
Head over to Barbarian Outpost, enter the Barbarian Outpost Agility arena and talk to Gunnjorn for a key. In order to enter the arena, you need to have completed the barcrawl miniquest.
While at the outpost, prepare for the battle against the Dagannoth and Dagannoth Mother.
(Optional) Complete a lap of the Agility course to complete a medium Kandarin task.
Talk to Larrissa again.
Go to the roof of the lighthouse and use the swamp tar, tinderbox, and molten glass on the lighting mechanism.
Climb down to the basement, use 1 of each elemental rune, any sword, and any arrow on the strange wall.
Open the eastern strange wall of the doorway, climb down the ladder and talk to Jossik.
Kill the level 100 Dagannoth then the level 100 Dagannoth Mother by using any elemental magic attack from the table below.
Congratulations, quest complete!
Take the rusty casket you received from killing the Dagannoth mother to Jossik upstairs to receive a damaged prayer book (choose any, you can buy the others from him afterwards for 5000 coins each). If you didn't receive a casket, he will give you one during the conversation.
QUEST COMPLETE
OSRS WIKI CONTRIBUTORS
Walkthrough text and preparation lists are adapted from Old School RuneScape Wiki contributors under CC BY-NC-SA 3.0. Game imagery © Jagex Ltd; individual image credits are available from their captions. This page is fan-made and not affiliated with Jagex.
KEEP QUESTING
Game icons © Jagex Ltd, via the OSRS Wiki. Interface icons by Lucide.