Beneath the steep and jagged cliffs of Ralos' Rise sits the dwarven town of Cam Torum. Its strong fortifications have kept it safe through all of Varlamore's history... but now the inhabitants face a new challenge. Lurking below the surface is an ancient temple, built to contain powerful entities. Now, the earth has been disturbed – and the dwarves need your help to keep these strange beings contained!
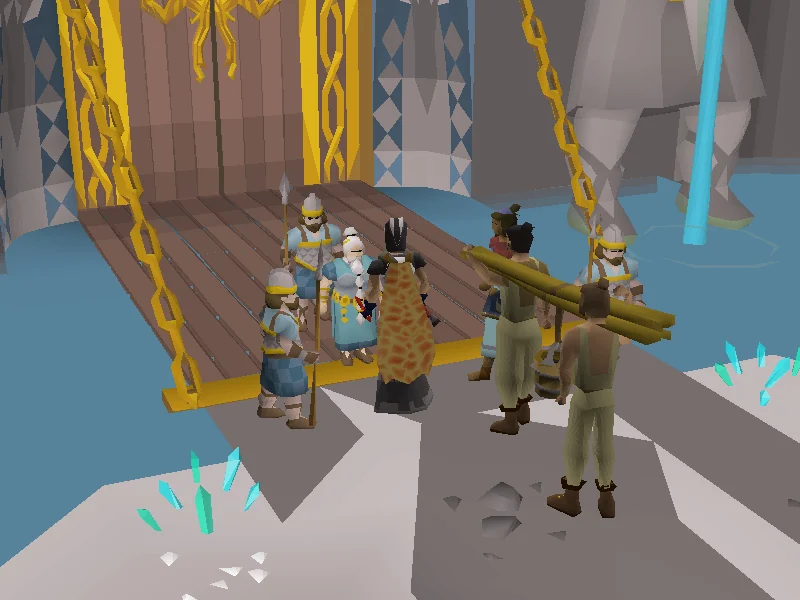
At the bridge near the entrance, Zuma and Attala will be in argument. Zuma wishes to enter the dwarven city to document some newly discovered ruins but Attala refuses due to the risks involved. A guard will come out of the gates and inform Attala that a creature has escaped through the mountain's outflow spring and that they have no spare men to deal with it.
Agree to help Attala and make your way to the outflow spring. Players with level 47 Agility may walk east over the bridge, then head north to climb a set of rocks to reach the outflow spring. Players without level 47 Agility must use the western path and run all the way north towards the Teomat, then back around to the south-east of the exposed altar. If players have already built the Cam Torum landing site, they may also use Renu to fly to the Teomat and then run to the south-east of the exposed altar.
Once at the spring, a Sulphur Nagua will be wandering around the area. It is level 98 and hits twice per attack. Its attacks can be completely blocked using Protect from Melee. After killing it, return to Attala, who will agree to let you in with Zuma as long as you keep him in check. Enter Cam Torum through the entrance and travel all the way north to the ruins entrance. Speak to Jessamine and ask if you could be of any help with the dig. She will then give you permission to enter the city.
Remnants of the Old Ones
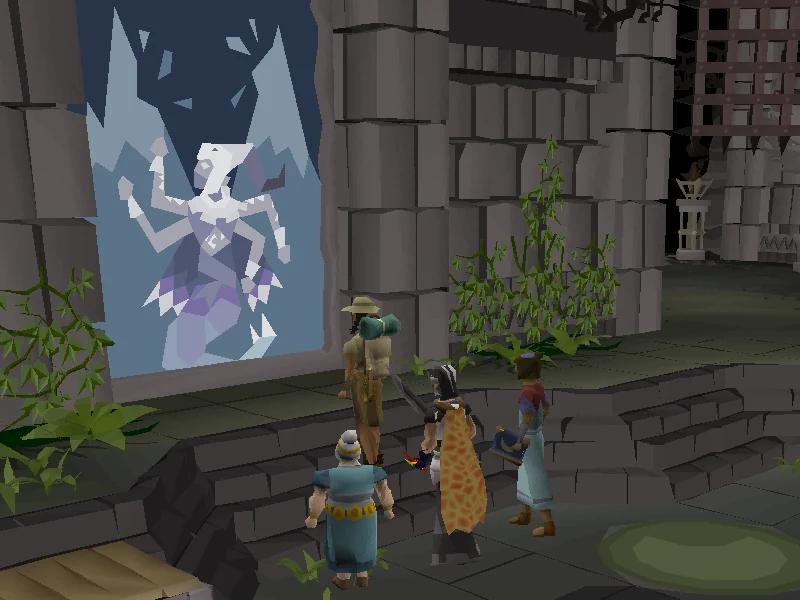
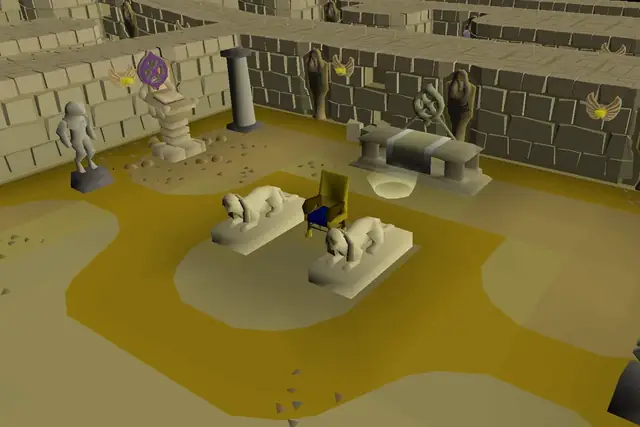
Enter the ruins to find yourself in an antechamber with a large black monolith in the centre. Speak to Attala, Zuma, and Jessamine, in that order. Jessamine will tell you that inscriptions on the murals are written in the language of the Old Ones, and ask you to help her set up camps in the surrounding caverns.
Take from the building supplies just to the west of Jessamine to obtain a hammer, saw, and three building supplies. To build the campsites, run to the cooking range symbol on the minimap in each of the following rooms, using entrances in the corners of the antechamber:
Caverns
Cavern
Entrance
Earthbound Cavern
North-west
Streambound Cavern
North-east
Ancient Prison
South-west corner
Beware of aggressive Sulphur Nagua in the Ancient Prison.
Each time you build a campsite, your run energy will be fully restored. After building all three campsites, speak to Jessamine, who has finished translating the inscriptions. She will reveal that the ruins are called "Neypotzli," and that emissaries of unknown origins have been sealed here. Ask what to do, and she will give you a water talisman and earth talisman, telling you that the power of "earth and streams" were used to seal the emissaries away. Attala will recognise the talismans, and ask that you bring them to Nahta.
Nahta runs the magic shop, The Runic Emporium, near the centre of the city and marked with a magic shop symbol . She will enchant the talismans to react to naguanil magic, and ask that you take them to the blacksmith.
Speak to the blacksmith, found north-east of Nahta, in the city's forge, and a cutscene will play in which he will infuse the talismans. Return to Neypotzli with the talismans and speak to Attala; she will instruct you to use the talismans to guide you towards the location (within the dungeon) where earth and water runic energy resonate the most. This location differs for each player.
Use the east/west pulling talisman to find the "column" and the north/south pulling talisman to find the "row" of the area you're searching in. Finding the location to travel to might require entering multiple doors. Use the world map to figure out possible connections between rooms. Rarely, it is possible to be required to go to the Lunar Chest's room in order to find the correct location.
The ancient warden
When you are at the correct location and attempt to click either talisman, a nagua named Eyatlalli will appear before you. She will tell you that Neypotzli is a prison created to seal the Moons of Peril, a trio of powerful nagua. The ground will then shake and she will disappear; return to the antechamber and talk to the group to find Zuma missing. Eyatlalli will reappear, telling you that the icosahedron has been disturbed and must be re-infused with a ritual.
If you didn't bring the required tools for the quest, enter the Earthbound Cavern and search the supply crates next to the campsites you set up earlier. Obtain the big fishing net, rope, pestle and mortar, and knife if needed.
With the tools, collect a moonlight grub from the grubby sapling found slightly up the path in the Streambound Cavern, and use the pestle and mortar to grind it into moonlight grub paste. Run slightly north-east, towards a fishing spot on the bridge, and catch a raw bream. Use the knife on it to obtain the bream scales.
Next, enter the Earthbound Cavern and head to the Hunter icon. Set a lizard trap on two adjacent rocks to create a trap between them, then rustle the bushes on either side of them until a moss lizard is caught. Use the knife on the raw moss lizard to obtain a moss lizard tail.
Return to Eyatlalli with all three items. The Eyatlalli is now located in the central antechamber, return and speak with Attala to continue the dialogue and then speak with the Eyatlalli with the items. The ritual will be set in motion, but she will need to have you distract the Moons of Peril whilst she does so. Now you have to defeat three nagua, which are dangerous and each have different mechanics.
The three Moons of Peril must now be defeated. Each Moon is located in its own room within the dungeon. The Moons can be fought in any order.
You will need 38 herblore and 30 cooking in order to get ready for the fight.
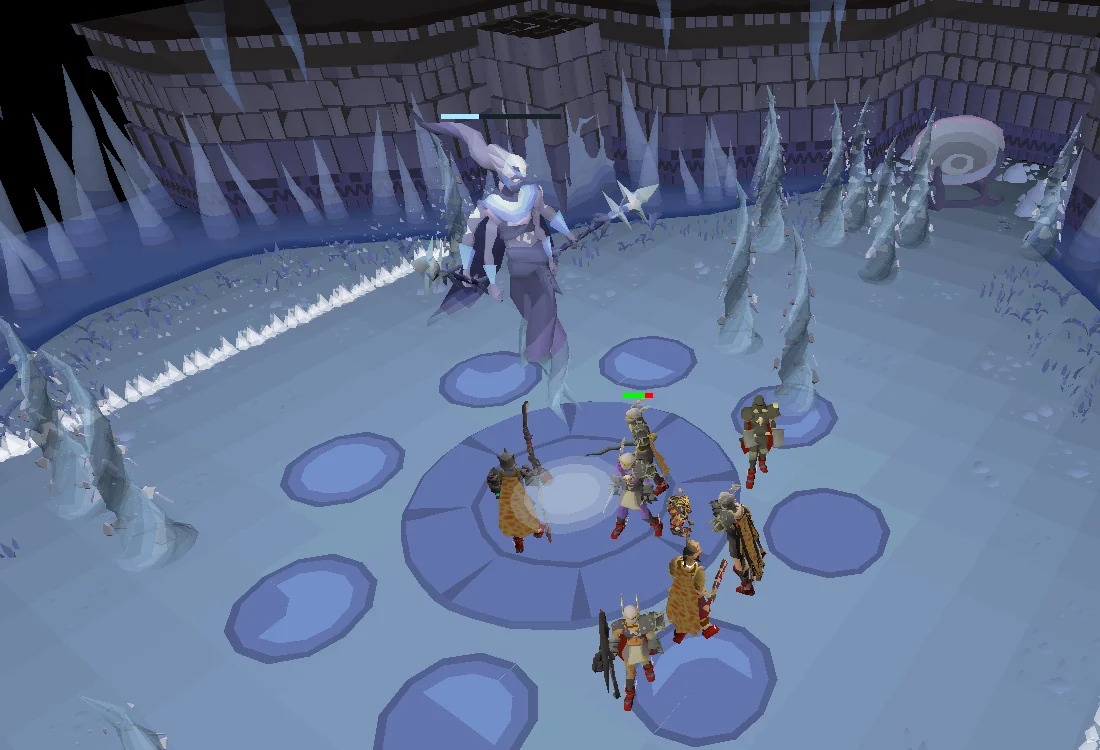
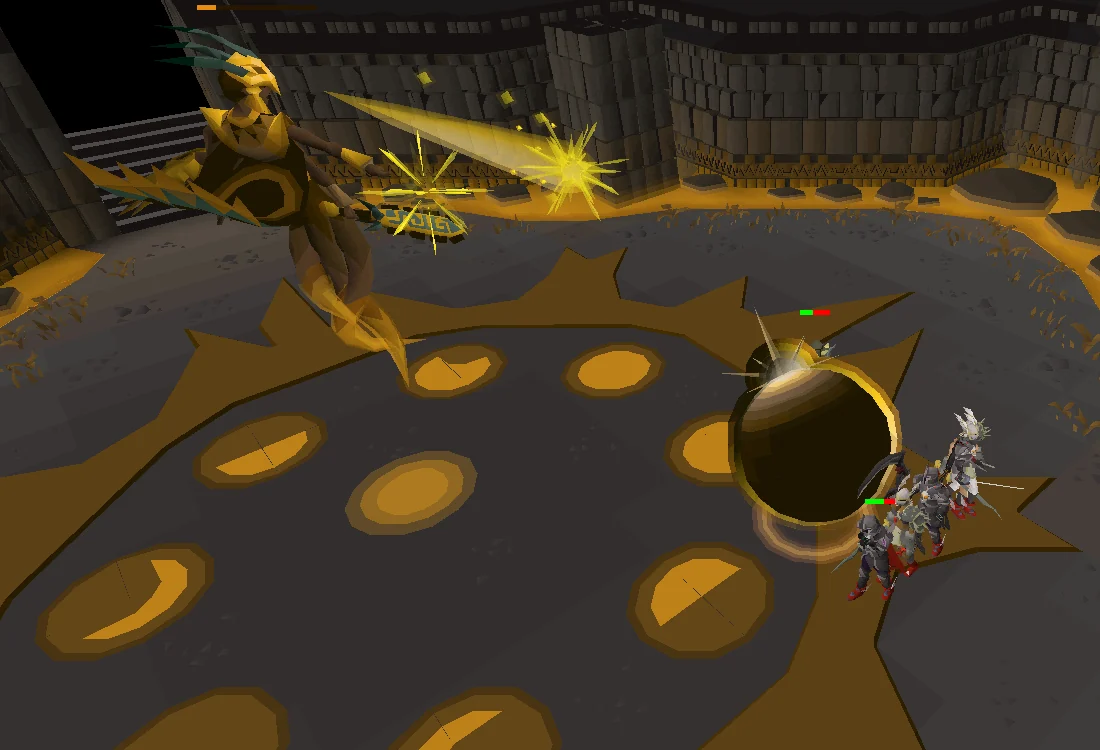
Each Moon will appear in the centre of the room, surrounded by moon-shaped circles on the floor. One of the circles will be highlighted with Eyatlalli's protection; while attacking the boss, players must stand in the highlighted circle on the floor to prevent the boss from dealing constant damage every tick. Damage taken while not standing in the right place starts at 1 per tick, doubling over time up to 16. The circle highlighted with Eyatlalli's protection will move clockwise to the next circle every two attacks.
When Eyatlalli's protection reaches the full or empty moon circles on the floor, the Moon will spawn a special attack. Refer to the sections below for information on the special attacks for each Moon.
All of the Moons' standard attacks are melee-based, and each Moon is weak to different melee styles (listed below). However, they all have low Defence level (60), so players with high combat skills and decent melee gear should be able to take them out without needing to change styles. The moons have very high ranged and magic defence, and are immune to venom/poison. Protection prayers do not impact the damage taken in any way, and are thus unnecessary.
Throughout the fight, Prayer can be restored by catching moonlight moths with a butterfly net (75 Hunter) or barehanded (85 Hunter) outside of the boss rooms in the Earthbound Cavern. Prior to heading in to each boss, you may restore your run energy at the camp and stock up on combat supplies. Raw moss lizards can be caught using rope on the rocks, and Raw bream can be fished with Big fishing net on fishing spots, both can be cooked at the camp for a source of food. The amount of Hitpoints cooked moss lizards and Cooked breams restore is 1/3rd of the player's Cooking level or 1/2 of their Hunter level, whichever heals less.
Using the passive healing effect of the armour set allows you to reduce the amount of food required.
The Blue Moon
The Blue Moon can be found by taking the north-western path to the Earthbound Cavern. Once in the room, you can click on the Hunter icon on the minimap to run past the wyrmlings and down the stairs near the entrance of the boss room. Once ready, head into the room directly east of the Hunter icon to go into the room prior to the boss. This Moon is weak to crush.
Special attacks
Attack
Mechanics
Method
Weapon Freeze
The Blue Moon unequips your weapon and puts it in a block of ice. Ice spikes will also spawn on the floor.
Punch the ice block to break it, avoiding the ice spikes that appear.
Brazier
The Blue Moon extinguishes two braziers at the edges of the room, and spawns moving tornadoes which disable run energy.
Run to each brazier to light it (no tinderbox needed), avoiding the moving tornadoes.
Once she is defeated, you are teleported to a camp next to the room near the Blood Moon boss. If you log out while your weapon is taken during the weapon freeze phase, it will not be equipped when you log back in. To fix this, simply re-enter the fight.
The Blood Moon can be found by taking the south-western path to the Ancient Prison. This Moon is weak to slash. Contrary to some claims, it is fine to eat; this will not heal the boss.
Special attacks
Attack
Mechanics
Method
Raining Blood
The Blood Moon will disappear and rain blood from above, forming pools of blood throughout the room.
Simply move off of the blood pools on the floor.
Blood Jaguar
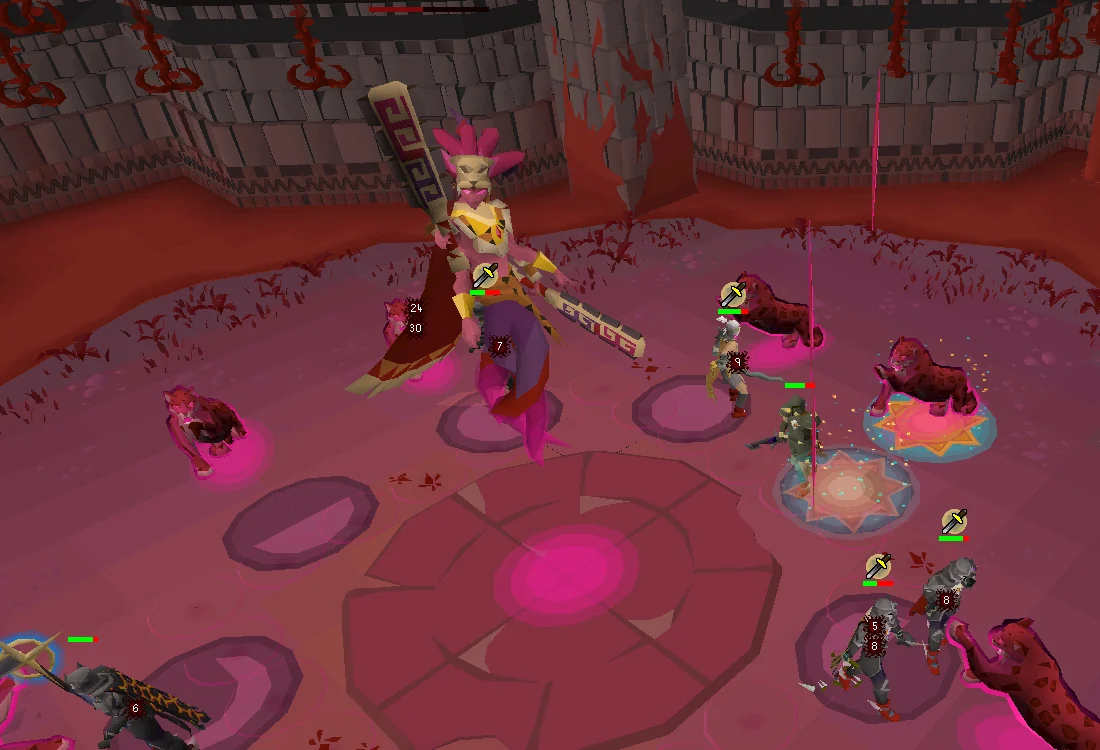
The Blood Moon will siphon up to 15 of your hitpoints to spawn eight blood jaguars around the room, as well as a square of blood pools.
Run to the highlighted jaguar and attack it, remaining in the protected circle in front of it. Avoid damage by stepping one tile away from the jaguar (towards the boss) right before the jaguar attacks/when the pool animation is finished. If playing with sound effects on, click to walk away from the jaguar as soon as the sound of the blood pool forming finishes.
Note: You do not actually need to attack the jaguar, but doing so will enable you to slowly restore up to 20 hitpoints.
Note for 1 defence accounts: The boss can be killed using rings of recoil. The boss will not heal unless attacked, thus making 13 rings of recoil complete the kill. This will require deathpiling enough food to eat through her damage. A combination of brews and sharks works best. Alternatively, using just 5 rings of recoil with a full inventory of saradomin brews can work, although it may take multiple tries to complete with this method.
The Eclipse Moon
The Eclipse Moon can be found by taking the north-eastern path to the Streambound Cavern. Head upstairs past the camp, past the wooden bridge and go west at the fork to head to the boss room at the southern portion of the area. This Moon is weak to stab.
The Moon will spawn a moon shield and begins attacking rapidly with rays of light. The shield will move quickly around the boss in a circle.
Keep the moon shield between you and the boss to prevent damage from the attacks.
Mimic
You are teleported to the centre of the room and frozen in place. Clones of the Moon will spawn around you, attacking you.
Face your character toward each clone as it spawns to prevent damage. The simplest method is to click the tile below or behind each clone as it spawns.
Finishing up
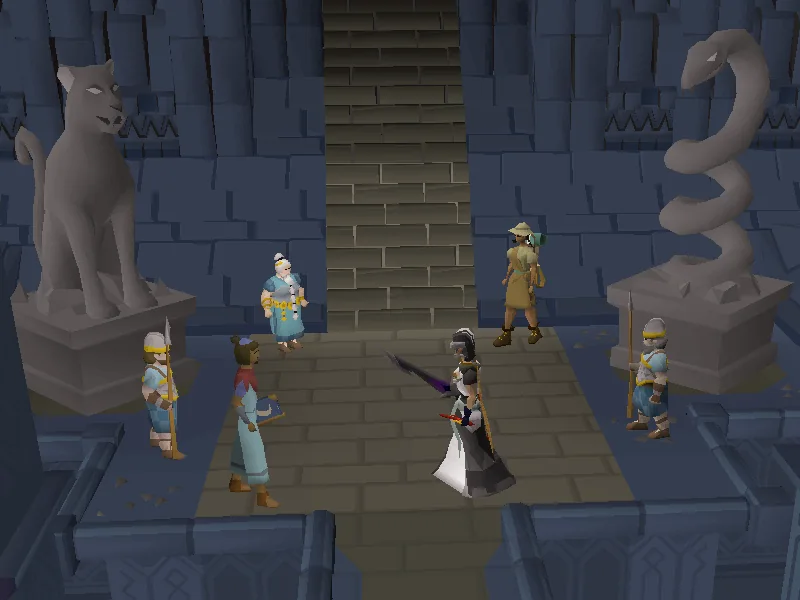
Once all three Moons have been defeated, return to the Antechamber and speak with Attala, Zuma, and Jessamine. All of them must be talked to in order to proceed. Finish the quest by speaking with Eyatlalli.
Congratulations, quest complete!
Quick checklist 64 instructions
Use this when you already know the route. The full walkthrough above includes explanations and diagrams.
Walkthrough
Speak to Attala near the temple entrance at the southern base of Ralos' Rise to start the quest.
Climb the rocks to the north-east (requires 47 agility) or walk back up Ralos' Rise and kill the Sulphur Nagua at the south-east ledge.
Return to Attala. Cross the drawbridge and enter Cam Torum.
Go directly north and attempt to speak with Jessamine. A guard will interrupt you. Speak with Jessamine in the northern part of the city.
Say: .
Pass through the entrance to the north into the Neypotzli dungeon.
Speak to Attala, Zuma, and Jessamine, in that order.
Take from the crate of building supplies just west of Jessamine. You will receive a hammer, saw, and three Building supplies.
You will need to build the three camp sites by going through the various entrances in the corners of the dungeon. Note that camp spots are marked on your mini map as a cooking range icon:
Ancient Prison
Pass through the south-western entrance in the dungeon
Be aware of the level 98 Sulphur Nagua in this area. Protect from Melee will negate damage.
Run south, then west, then north through the large hallway to the north-west corner
Build the camp spot and return back to the Antechamber. You will need to go back the way you came in.
Streambound Cavern
Pass through the north-eastern entrance in the dungeon
Go north, then east across the bridge. Follow the trail up the south stairs. The camp spot is just south of the stairs.
Build the camp spot and return back to the Antechamber. You will need to go back the way you came in.
Earthbound Cavern
Pass through the north-western entrance in the dungeon
Follow the trail west then south down the stairs.
Build the camp spot and return back to the Antechamber. You can now drop the hammer and saw.
Speak to Attala in the Antechamber
Say: What does the inscription say? → What do we do now? to receive a Water talisman and Earth talisman
Exit the Neypotzli to the south. Go south to the magic shop and speak to Nahta
Say: Actually, I've been sent by Attala.
Go north-east to the furnace and speak to the blacksmith
Say: I need your help with these talismans → Can you help?.
Return to Attala in the Neypotzli to the north.
Use the two infused talismans to locate Eyatlalli. The direction in which the earth and water talismans point—north/south or east/west—is different for each player. You may need to enter one of the chambers in the 4 corners. You may also need to enter the ancient shrine, which is accessible through either the streambound cavern or the ancient prison. Keep using the talisman until Eyatlalli appears. Like hot/cold clues.
This location varies from player to player
Return to the Antechamber and attempt to speak to any of the three. Eyatlalli will appear again. After the dialogue ends, speak with Eyatlalli again.
Go to the Streambound Cavern to the north-east. Follow the path to the camp spot.
Optionally, grab supplies from the Supply crate or make a cup of tea to restore run energy at the Cooking stove.
Collect from a Grubby sapling to the east of the camp spot. Use the Moonlight grub on a Pestle and mortar to receive a Moonlight grub paste
Go to the river south-east of the camp spot, and fish the fishing spot up the stairs on the bridge to catch a Raw bream. Use a knife on the bream to receive Bream scales.
Walk north down the stairs, and enter the small entrance.
Walk west to reach some rocks that you can trap. Click on 2 separate rocks to set a trap and then Rustle a bush to trap a moss lizard.
Pick up the Raw moss lizard. Use a knife on the lizard to receive a Moss lizard tail.
Exit the Earthbound Cavern to return to the Antechamber.
Speak to Eyatlalli with the three items to begin the ritual.
Prepare to battle three Moons of Peril located in the three chambers of the dungeon. The south-eastern entrance is inaccessible.
During the boss fights, you will need to stand in the highlighted circle to safely deal damage to the boss. The highlighted circle occasionally changes in a clockwise direction.
When the highlighted circle reaches the full and empty moon circles, the boss will use one of their unique special attacks.
Each boss has a melee attack style that they are weak to. However, high level players may not find this to be an issue. The Moons have very high magic and range defence and are immune to poison and venom. Damage cannot be negated with protection prayers.
Damage dealt during a special attack phase counts towards the overall boss damage.
After a boss fight ends, you will be teleported to a camp in another chamber so you can quickly move onto the next encounter.
The Blue Moon
Note: This boss is weak to crush
Enter the north-western chamber and follow the trail past the camp spot. Go east past the camp spot until you reach another entrance to enter the boss encounter.
The Blue Moon uses two special attacks:
Weapon freeze - The Moon unequips your weapon and puts it in a block of ice. Punch the ice to deal damage to release it. The Moon will periodically spawn ice spikes on the floor around the block of ice which must be avoided by stepping off of them.
Brazier - The Moon extinguishes the two braziers at the edges of the room, similar to the braziers in Wintertodt. Run to each brazier in the room and reignite it while avoiding the moving tornadoes that deal damage and turn off your run energy.
The Blood Moon
Note: This boss is weak to slash
Enter the south-western chamber and follow the path to the boss entrance.
The Blood Moon uses two special attacks:
Raining Blood - The Moon will disappear and rain blood from above, forming pools of blood throughout the room. Move off of the blood pools on the floor to avoid standing on them.
Blood Jaguar - Blood jaguars spawn around the room, along with a damaging square of blood pools. Run to Eyatlalli's glyph and attack the jaguar. Damage taken by stepping onto the pool too early or not stepping out of the jaguar's attack range will heal the Blood Moon for 3x the damage taken.
The Eclipse Moon
Note: This boss is weak to stab
Enter the north-eastern chamber and follow the path to the boss entrance.
The Eclipse Moon uses two special attacks:
Eclipse Shield - The Moon will spawn a moon shield and begins attacking rapidly with rays of light. Keep the moon shield between you and the boss to prevent damage from the attacks. The shield will move quickly around the boss in a circle.
Mimic - You are teleported to the centre of the room and frozen in place. Clones of the Moon will spawn around you, attacking you. You must face your character toward each clone as it spawns to prevent damage. One method is to click the tile below each clone as it spawns. Reacting to the clone has no delay so it is advised to use your strongest weapon (Crystal Halberd), no matter the speed.
After defeating the three Moons, return to the Antechamber.
Speak to all three in the Antechamber.
Speak to Eyatlalli to finish the quest.
QUEST COMPLETE
Rewards
40,000 Slayer experience
5,000 Runecraft experience
5,000 Hunter experience
5,000 Fishing experience
Access to Neypotzli and the Moons of Peril
The ability to be assigned lesser nagua as a Slayer task.
 2
2