 |
This quest has a quick guide. It briefly summarises the steps needed to complete the quest.
|
| Fallen From Grace (#181) | ||||
|---|---|---|---|---|
| ||||
| Released | 29 July 2026 (Update) | |||
| Members | Yes | |||
| Quest series | None | |||
| Lead developer(s) | Unknown (edit) | |||
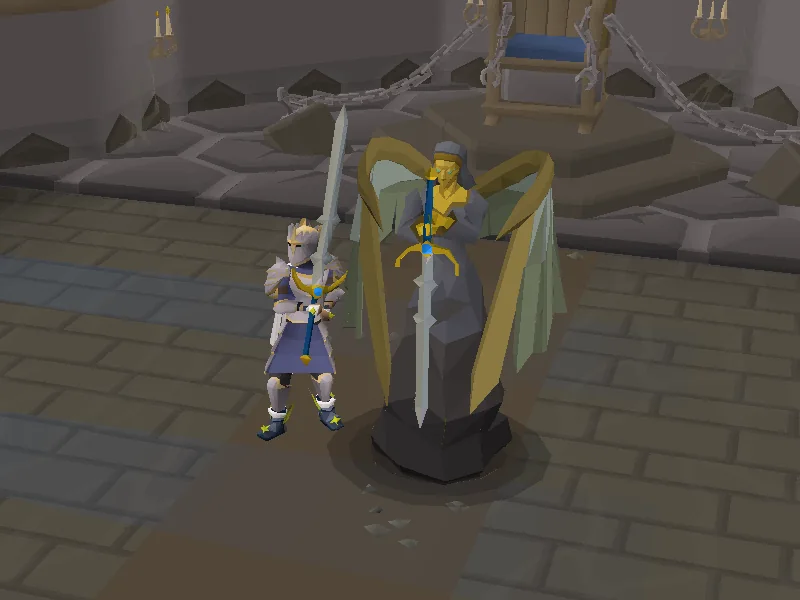
Fallen From Grace is a quest set on Wyrmscraig, in which the player investigates the mystery of the Mad Angel, and discovers the truth behind the disappearances haunting the island.
Details
| Start point | Talk to Cormac, the mayor of Auchrie, on the island of Wyrmscraig. Show on map |
|---|---|
| Official difficulty | Experienced |
| Official length | Short |
| Description | Help the citizens of an isolated island and unlock new training methods and a repeatable boss. |
| Requirements | |
| Items required |
|
| Recommended |
|
| Enemies to defeat |
|


Walkthrough

To begin, sail to Wyrmscraig on a raft or skiff (not a sloop), found slightly south-west of Charred Island. Bring all combat equipment and supplies with you, as you will not be able to bank or teleport to the island until the quest is complete. The closest teleport is to Red Rock using a sailors' amulet or charter ship, which also has a shipwright to recover your boat. Access to Red Rock is unlocked during The Red Reef. Alternatively, the closest mainland port with a shipwright is the Corsair Cove.
Ffion will stop the player when attempting to leave the pier after docking, declaring that outsiders are not welcome on Wyrmscraig. Unable to stop you, he will allow the player to pass after a short conversation.
Run to Auchrie, the only settlement on the island, and speak to Cormac in the centre hut. Players with 58 Agility may take the basalt stepping stone shortcut.
Missing person

Cormac will mention that a villager named Keenan has gone missing, suggesting the player help search for him if they want to get in the other villagers’ good books. He wants you to first check in with Muriel, Keenan's mother. Speak to her in the building immediately north-east (the building with the  map icon) to learn that he went off to the mines to observe the sunstone monolith, convinced there is some secret to be discovered from it.
A pickaxe, hammer, and chisel can be obtained by searching the tent just south of the map icon if you didn't bring them. Inspect the sunstone monolith just north of the tent; you will find a scrawled notebook and a trail of dust leading south. You may optionally read the notebook to learn about Keenan's observations of the monolith, during which he felt like the monolith was watching him somehow.
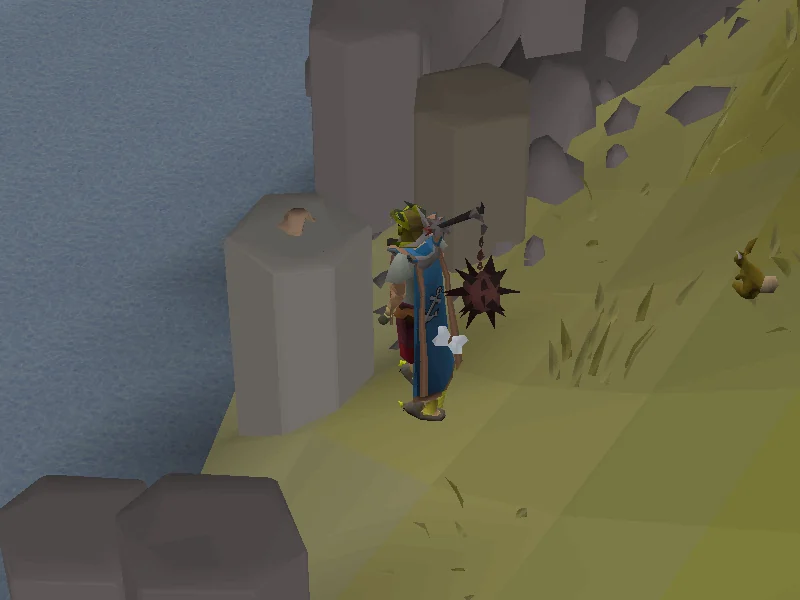
Mine the monolith for a piece of sunstone, then use the chisel on it to create a sunstone core. Now, follow the trail of dust to the south-west tip of the island, and investigate the large hat on the basalt rock. (Show map)
After observing the cathedral, head back to Cormac and tell him what you found. Cormac will explain that the cathedral is the home of the Mad Angel; according to local superstition, she keeps the islanders safe in exchange for tribute, taking one of their own if they fail to do so. He suggests that you try entering the cathedral from the caverns beneath it.
The allegory of the cave

After speaking to Cormac, board either a skiff or raft and sail into Wyrmscraig Cavern on the south side of the island. The entrance to the cavern can be found by where Keenan's hat was, marked by the map icon.
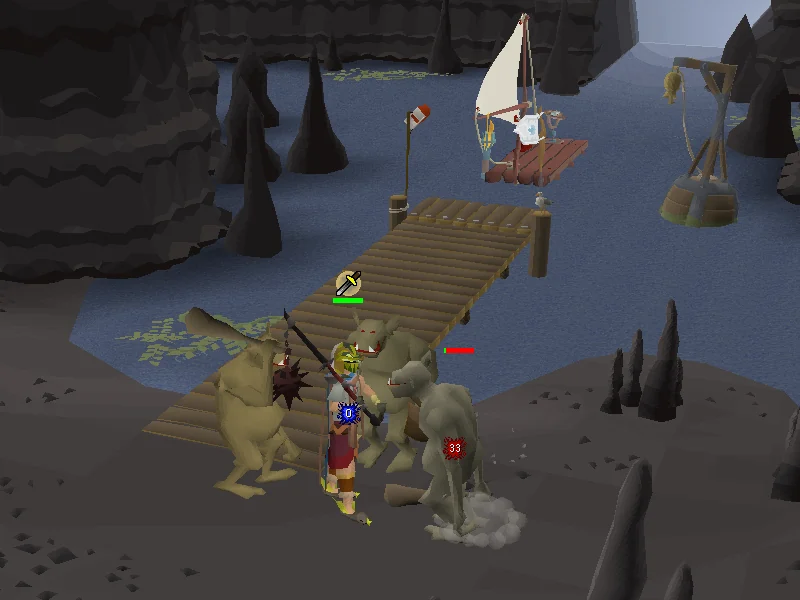
Upon disembarking, a talking skeleton will usher you over. He wants you to deal with three nearby mountain trolls that have blocked the path with rocks.
The area is multicombat, so low level players may consider praying Protect from Melee. Defeat the three trolls, and the skeleton will call you back over. Talk to him again, and the player will then assist in clearing the rest of the rocks. The skeleton introduces himself as the Slayer Master Mortimer, noting that he has not seen the missing villager. You can now use Mortimer as a Slayer Master.
- Tip: If you need lead for building the bank chest, head east from Mortimer, then south to the mine, and mine 4 lead ores before continuing.
When ready, follow the path north past the unaggressive wyrms until you see a broken golem. Inspect the golem with at least one free inventory space to remove the dull stone core; next, use the sunstone core you mined on the golem, and it will power up and allow you to enter the cathedral's basement.
- Tip: Before continuing into the basement, players with 54 Agility may consider exiting the cave to the west, then mining the rocks shortcut to the east to unlock a quicker path back to the boss should they die during the fight.
The cipher
If not interested in the methodology to obtain the following solution, you may skip ahead to the end of this section to view the chest's combination.
Upon attempting to climb up the stairs, you will receive a warning note. Read it to find out that there is a creature in the cathedral that has been sealed off by the orders of an individual named Elessia; you will also be prompted to read the back of the note, which appears to be gibberish at first glance.
A worn journal can be found on the table and be read, stating that Elessia has been ill for some time. Next to the table is a locked chest which the player must open with a combination of directional inputs. To get the combination, the back of the note must first be decrypted. The journal mentions the use of keyword ciphers to secure Ardeaglais, and the capitalized word FAITH on the front of the note provides the keyword.
Unlike the simpler Caesar ciphers used in Treasure Trail Cipher Clues, this cipher is a type of the mono-alphabetic substitution cipher, which works by assigning each letter of the alphabet a corresponding letter to be used in its place in the ciphertext. This kind of cipher cannot be brute-forced, due to the replacement alphabet having 403,291,461,126,605,650,000,000,000 possible combinations. It can however be defeated using cryptanalysis techniques such as Frequency analysis, as well as targeted decoding of two or three letter words within the ciphertext.
The keyword variant of this cipher begins by replacing the letters of the alphabet starting with "A" with the letters of the keyword. When every letter of the keyword has been used, the remaining letters in the alphabet follow in their original order. Using the keyword "FAITH" results in the following replacement alphabet:
| Cipher | F | A | I | T | H | B | C | D | E | G | J | K | L | M | N | O | P | Q | R | S | U | V | W | X | Y | Z |
|---|---|---|---|---|---|---|---|---|---|---|---|---|---|---|---|---|---|---|---|---|---|---|---|---|---|---|
| Plain | A | B | C | D | E | F | G | H | I | J | K | L | M | N | O | P | Q | R | S | T | U | V | W | X | Y | Z |
Using the replacement alphabet to decrypt the back of the note results in the following:
Starting with sunrise,
Through to sunset,
And as the moon hangs low,
In the southern sky,
We will watch over her.
The first four lines point to a direction:
- Sunrise - East/Right
- Sunset - West/Left
- Hangs low - Down
- Southern sky - Down
Which reveals the combination code Right, Left, Down, Down.
Upon unlocking the chest, you will receive an ancient sunstone core and a golem primer. The golem primer may be read as a guide to golem crafting, but this is not required to progress. Use a chisel on the ancient sunstone core to get a key. Alternatively, you can destroy it without the use of tools. Climb the stairs and prepare for a fight with the Mad Angel.
Guardian, angel
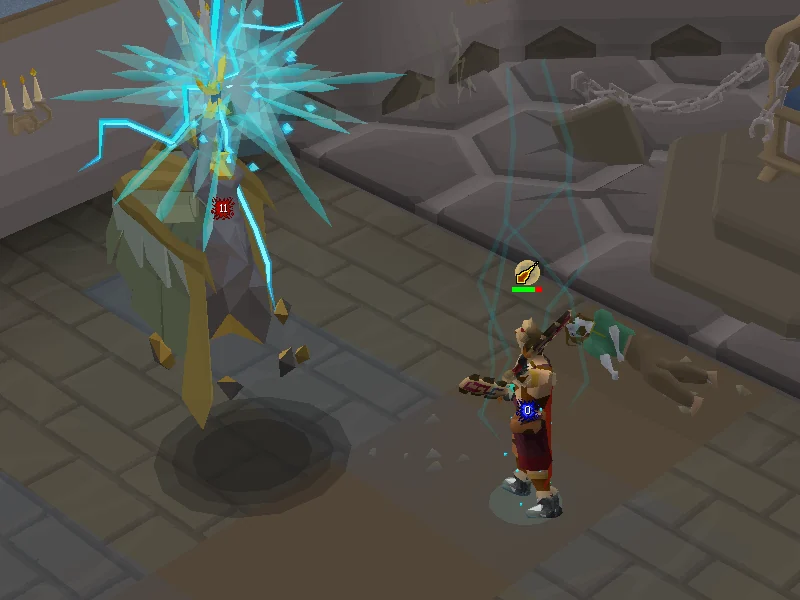
You must now fight the Mad Angel. She has an inaccurate melee attack, as well as three special attacks detailed below. Pray Protect from Melee, and attack with a fast melee weapon; she is weakest to Crush attacks. Upon reaching 255 Hitpoints (~45%), the Mad Angel will become enraged, denoted by a ...! overhead message. During this phase, special attacks are performed quicker, and she will use all three consecutively at the start of this phase.
| Attack | Description | Technique |
|---|---|---|
 |
The angel will bring her sword back slowly. After a delay, it will cleave towards where the player was when the windup began, leaving dust in its wake. | Stand two or more tiles behind her. This attack will be used 4 times in a row normally, and 6 times if she is in her enraged state. |

|
The angel will launch a spiky glowing ball into the air. | Stand on the area where a shadow appears to launch the ball back. It will bounce to another area twice, for a total of three strikes. Stand on the shadow each time. |

|
The angel will charge up a blue lightning attack. | Activate Protect from Magic. This will reduce the damage by 50% normally, but will negate all damage if only activated 4 ticks (2.4s) after the charging begins. If the angel is in her enraged state this attack will happen three times in a row, with the third strike hitting after a shorter delay of 2 ticks (1.2s). |
Once ready to fight, climb the church pew, which may also be used to escape the fight at any time.
After defeating the angel, inspect the body by the throne, confirming that it belongs to Keenan, and read the final letter. Elessia, who you find out is an Icyene, is revealed to have killed Keenan as a result of her illness and hunger, greatly regretting her actions. Before leaving, she constructed a sunstone golem to protect Wyrmscraig in her place, hoping the island's inhabitants will be skilled enough to refine it. Optionally, you can also read the book Observations, obtained from searching one of the bookcases in the cathedral, which tells of Elessia's history.
Exit the cathedral by searching the lock and solving it. The combination to the lock changes each attempt, so you will have to deduce the current code. A simple way to solve the code is to attempt to unlock it while all tumblers are at 1. If any of the boxes on the right side turn green, leave that tumbler in place, then move every other tumbler up one. Repeat until you solve the code. This may take several attempts.
Players with 54 Agility may now use the rocks shortcut to the south-east to return to Auchrie. The rocks must be mined the first time the shortcut is used. An iron pickaxe spawns in Wyrmscraig Cavern for players who forgot to bring one, which can be accessed through the south-west dungeon entrance. Players without 54 Agility can also use the entrance to return to their boat.
Return to Cormac and speak to him to finish the quest. Your boat will be docked at the island, not in the cavern.
Congratulations, quest complete!
- Tip: You may now utilise teleportation options to the island, as well as construct the bank chest in the building with Muriel. This requires a sunstone crystal that was dropped by the Mad Angel; it may be collected from Cormac if lost. The additional materials required are 2 lead bars, 8 mahogany planks, 32 mithril nails, a saw, and a hammer.
Rewards
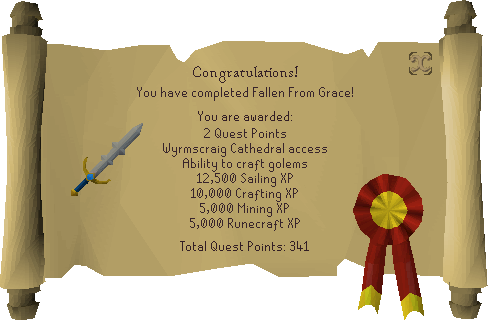
- 2
 Quest points
  10,000 Crafting experience
 12,500 Sailing experience
 5,000 Mining experience
 5,000 Runecraft experience
- Access to a new Slayer Master, Mortimer. (Unlocked upon entering Wyrmscraig Cavern during the quest.)
- Access to the Mad Angel, a repeatable boss
- Access to the Crafting minigame Golem crafting
- Ability to teleport to Wyrmscraig with the necklace of passage, Slayer ring, or Ardeaglais teleport
Transcript
| This article on a quest has an associated dialogue page. Click here for a transcript of possible conversations encountered throughout the quest. |
Music
| Name | Unlock details | Music track |
|---|---|---|
| Wings of Madness | Unlocked during the fight with the Mad Angel |
Trivia
- Ardeaglais is Gaelic Irish for cathedral.