2
2Requirements
- Completion of the following quests:
- 35 Crafting [boostable] [not required to start]
- The ability to defeat a level 95 enemy
- Access to Abandoned Mine
QUEST 66 · MEMBERS
Recent forays into Morytania by some of Saradomin's more fanatical supporters have unearthed murky rumours concerning an abandoned mine in the south. Legend speaks of an unusual material, hidden in the depths of the mines, that is somehow linked to the desolation and fear that now surrounds the place. Do you have the nerve to find out more, and enter the haunted mines of Morytania?
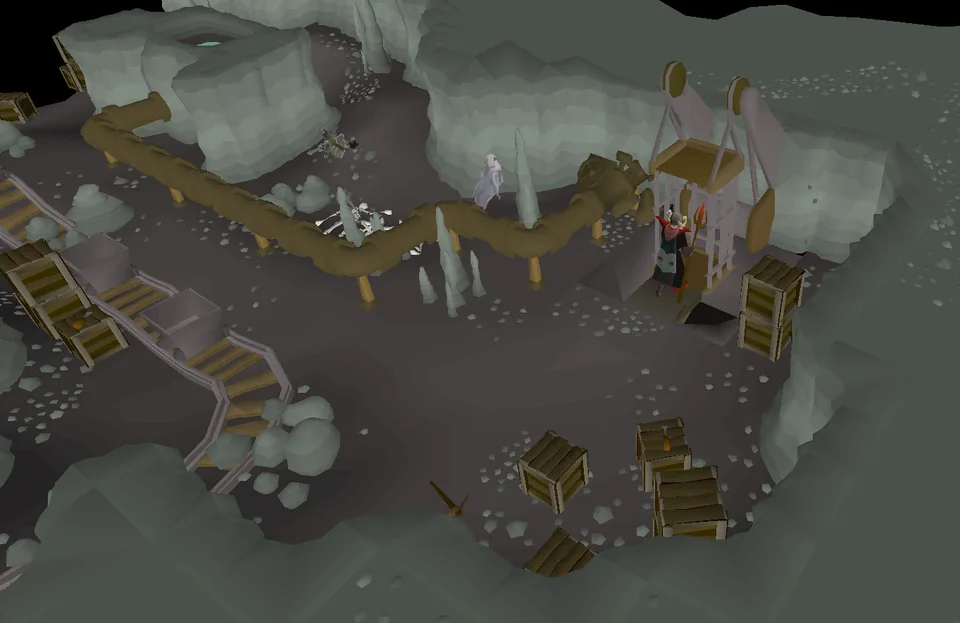
Talk to the Zealot by the Abandoned Mine in the south-western corner of Morytania.
The boss fight at the end of the quest is considerably more difficult than the boss's combat level may suggest. It is highly recommended to bring:
STEP BY STEP
Follow the chapters below. Click any screenshot or diagram to view it at full size.
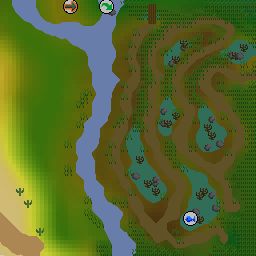
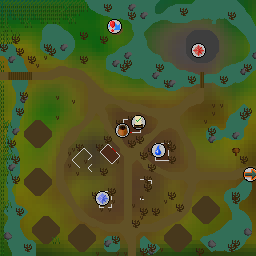
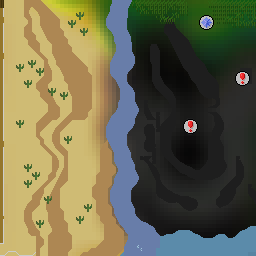
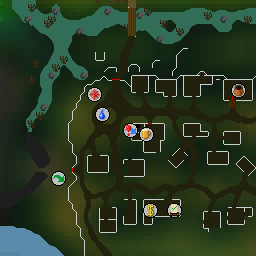
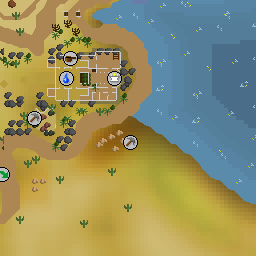
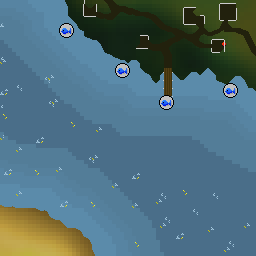
To begin the quest, players need to head to the Abandoned Mine, which can be found in the south-westernmost part of Morytania, south of the swamps and west of Mort'ton and Burgh de Rott. To reach the abandoned mine players will either have to have started Nature Spirit or have access to fast travel to Mort'ton or Barrows.
There is a low fence shortcut from Burgh de Rott which requires 25 and partial completion of In Aid of the Myreque, which will save time not running through the swamp to the north of the mine.
Warning: The boss fight is very difficult even for higher combat levels, as you will take a lot of damage regardless of armour. The only nearby bank is the Burgh de Rott bank unlocked through In Aid of the Myreque, and returning to the boss fight room will require you to redo some steps of the quest, so it is recommended to bring all of your combat gear and supplies for the boss at the start of the quest. Read ahead to the boss fight section for tips.
Note: If travelling through the swamp to reach the mine, don't forget your filled druid pouch.
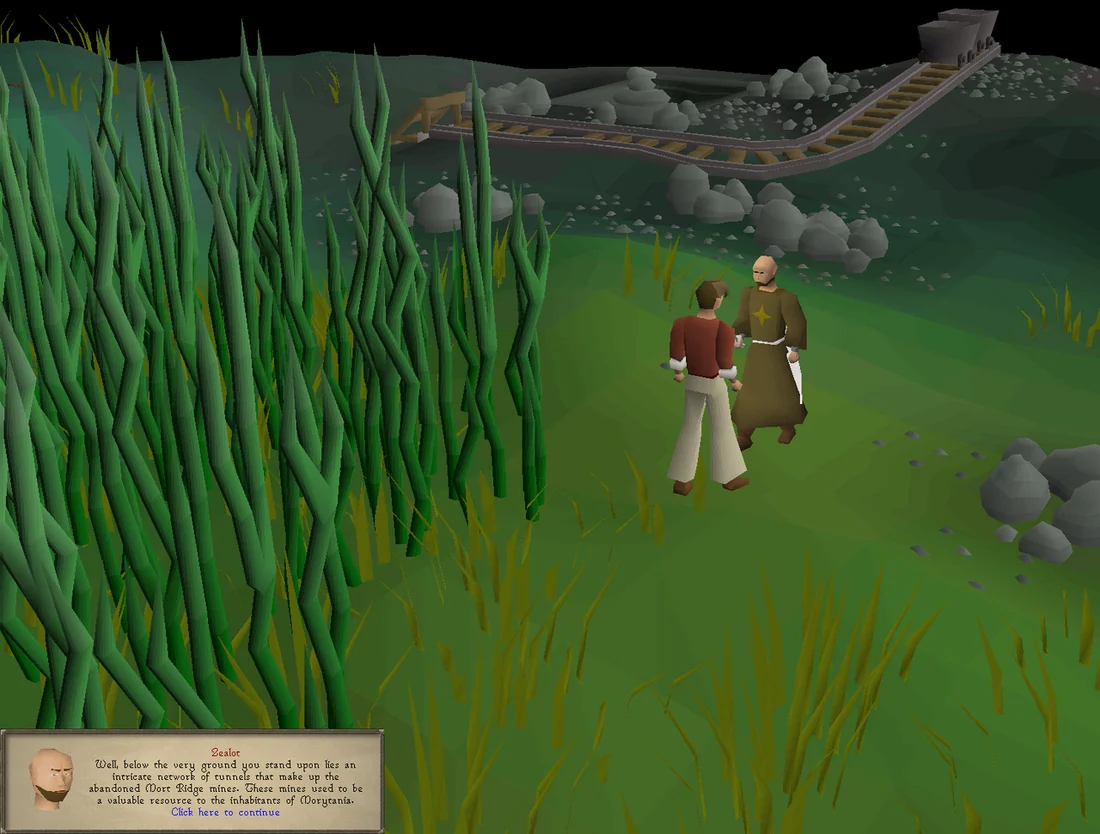
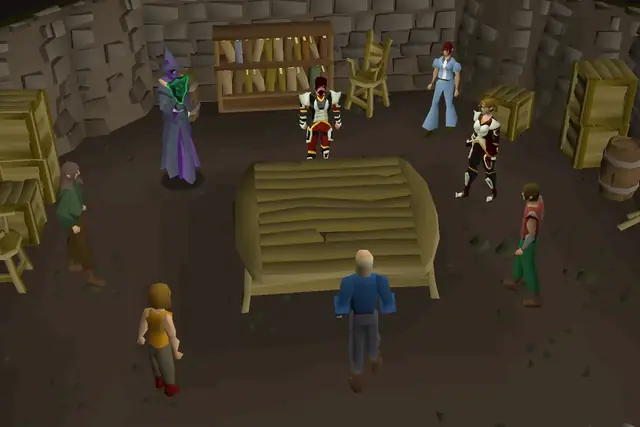
In the area between the mine and the swamp, a Saradominist zealot is walking around. Speak to him and he will demand to know your allegiance. Select any response other than Zamorak, and ask him what he is doing. He will explain that he is on a quest to reclaim the Haunted Mines in the name of Saradomin, and that the legendary Salve amulet, since lost, was carved from the crystals that grow in the lower levels of the mine. The mines are haunted by the condemned soul of Treus Dayth, a Zamorakian mage whose soul was bound by Zamorak to the mines to prevent those crystals from ever being reached again. The zealot hopes to reach these crystals to recreate the Salve amulet.
Ask about other entrances into the mine, and the zealot will confirm that a second entrance may exist, and that he has come into possession of a key granting access to the lower levels of the mine. Pickpocket him to get his key (drops on the floor with full inventory). Follow the cart track to the south (avoiding the the feral vampyres) and climb over the mine cart blocking the way, then enter the cart tunnel.
Note: If you don't have 15 , you cannot climb over the cart - instead, go to the west side of the mountain and enter the southern entrance.
You find yourself in a dark cave with many bats, big and small, and many pickaxes and corpses strewn about. There are some hazards to be aware of throughout the mine:
Your task is to make your way to the depths of the caves and find the Salve crystal. Follow the cart track to the west and exit the cave on the western side (ignore the ladder). Once outside, enter the southern entrance (the same one used if you didn't climb over the cart).
Climb down the ladder at the end of the blocked path. Head east and climb down the next ladder.
Follow the path to the cart track running north to south. Wait until the moving cart has headed south, then follow it and wait in the western alcove to the south. When the cart passes north, run south to the ladder and climb down.
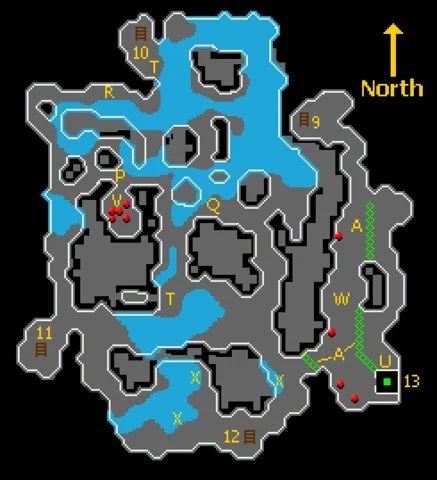
| Map Label | Description |
|---|---|
| 9-12 | Ladder to Level 3. |
| 13 | Lift (elevator) to Level 5. |
| A | Obstructions that block passage. |
| P | Point set panel. |
| Q | Levers for track switches A, B, C, D, and E. |
| R | Levers for track switches F, G, H, I, J, and K. |
| T | "Searchable" mine carts. |
| U | Water valve. |
| V | Iron pickaxe and several coin spawns. |
| W | Chamber contains two bronze pickaxes and two chisels. |
| X | Glowing fungus spawns. |
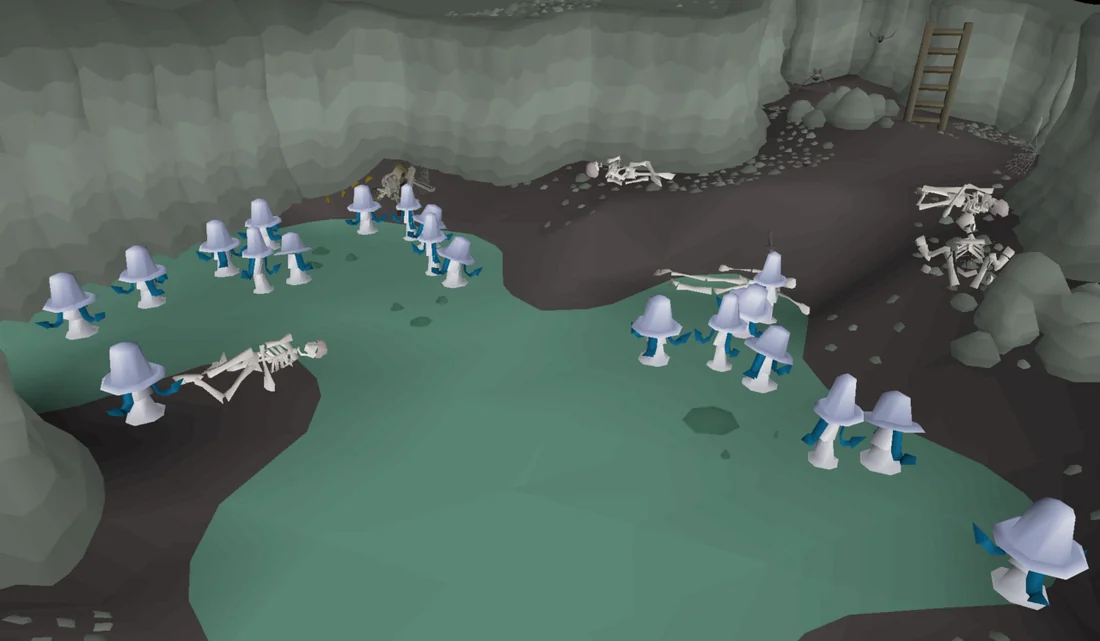
After climbing down the ladder (12), you will arrive next to a stagnant pool to the west with glowing fungus growing (X). Pick one; this is to be your light source in the lowest level of the cave (no other light source will work). There is a lift to the east, but you cannot descend in it now - it leads to a flooded area which would extinguish any other light source. You will need to find a way to transport the fungi to the lift without carrying it, as it will crumble to ashes if taken outside.
Warning: Do not take the fungi outside of the cave and also do not drop it, as both actions will cause it to crumble to ashes. Random events that teleport the player will also destroy the fungi.
Head north-west along the track until you reach a searchable mine cart. Place the fungus in the cart (T). Head north and then west to the Points settings (P) panel, which operates the cart system.
Note: In the alcove immediately south of the panel is an Iron pickaxe. If you didn't bring a pickaxe but you plan to do the hard Morytania Diary task during the quest, you can pick this one up without it becoming possessed. Beware of the skeletal miner corpse becoming reanimated however.
Open the panel, and it will show a map of all the cart tracks on this level as well as ten junctions that can each be in two positions. Pressing the start button sets the cart system in motion. The objective is to get the cart from the start position on the left to the ladder in the top right corner (north-west).
The map also shows two groups of levers controlling the junctions. The cart will follow the crimson (lighter red) route at any junction when approaching from the tail direction of the corresponding arrow. Pulling the respective lever exchanges the crimson and burgundy arrows at the junction. The initial configuration will be different for each player, but the solution remains the same (see the image below).
The levers A through E are south-east of the control panel (location (Q) on the map above), whereas F through J are north, around the corner (location (R)). Beware of skeletal miners lying in ambush at both stations. The levers F, G and H are inaccessible, meaning those junctions are fixed.
When approaching a junction from the arrow head's direction, its orientation (i.e., colour) does not matter as long as it is a straight path. In order to round a corner and not plunge into a wall or the water, the direction taken by the cart must be marked by a crimson arrow.
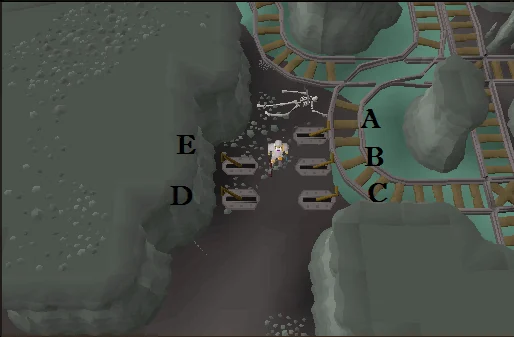
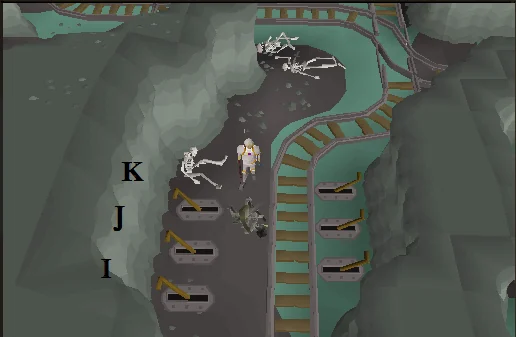
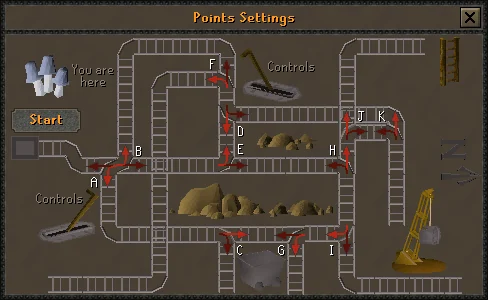
Operate all the levers in accordance with the rules above and then check the control panel to make sure that the route on your map directs the mine cart to the ladder. Operate the mine cart by pressing the start button and the map will show the path of the mine cart.
Depending on the contents and route of the cart, four outcomes are possible. They are indicated both by the second half of the short cutscene, and a game message or player dialogue:
If the cart sinks, the glowing fungus is removed from the cart. In that case, pick another glowing fungus and put it in the cart (T). Operate the appropriate levers to fix the problem and hit the red button again.
When the mine cart reaches the correct end point, you will remark that it may have ended up somewhere useful. If your character doesn't make a comment about the location of the cart, put another mushroom in and send the cart off again.
You will now have to reach the ladder yourself to retrieve the fungus. First, retrace your steps to the very top of the mine. Go back up the ladder (12) near the glowing fungi pool. Walk north along the track, avoiding the cart. Take the first path to the east and climb up the ladder at the end of the path. Go west and up the ladder, then exit the cave to the west. You should end up next to the River Salve.
Enter the northern cave. Climb down the first ladder immediately to the east and head north-east through the cave. Climb down the northern ladder to the next level. Head to the north-west corner of the cave and climb down the ladder.
Search the nearby cart and take the glowing fungus that was put in earlier. If there is no fungus in the cart, you will need to repeat the previous process.
Note: If you die during the boss fight, you will need to get another glowing fungus and send it through the mine cart again, but you will not need to set the levers again as they will remain the same.
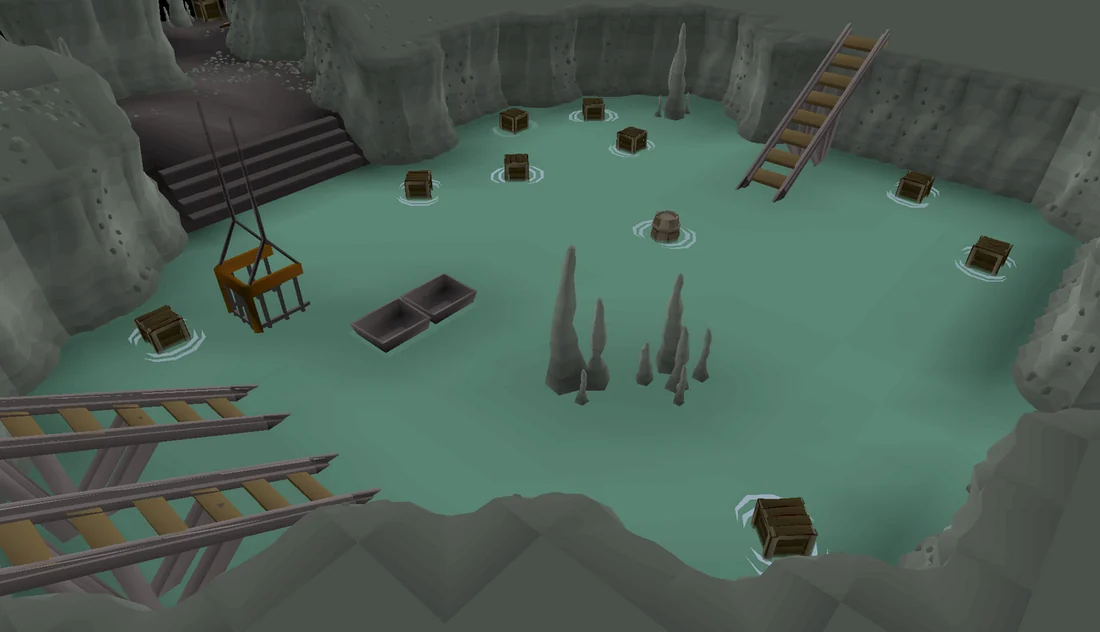
Do not take the mine cart track leading south. Instead, climb back up with the fungus in your possession. Head all the way east past the ladder going up and then south past a moving cart. Climb down the ladder to end up in a side cave east of the flooded tracks. Head south down the corridor. Pick up the chisel from the spawn on top of a crate if you did not bring one.
In this area there is a water-powered lift going further down but it is not operational. To use it, head around the large pipe and use the zealot's key on the valve to activate the water flow from the nearby basin. Run quickly back to the lift and head down, before a mischievous ghost can shut off the valve. If the ghost beats you, simply turn the valve again and retry.
Note: If you die during the following boss fight, you will not need to use the valve again, and the key is no longer required for access.
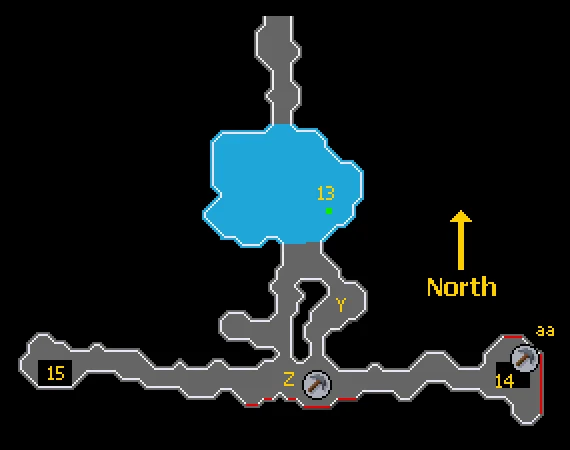
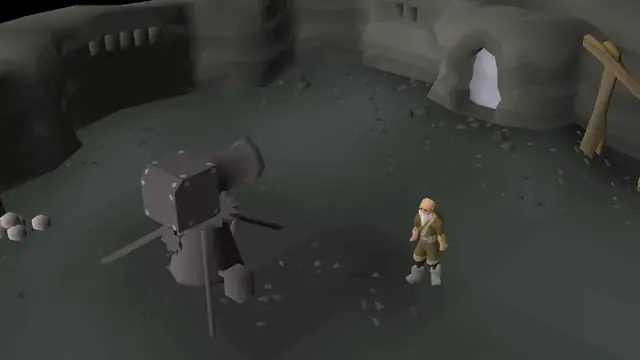
The lift will drop you into a pool of water, but the cave will be properly lit with the glowing fungus. From the flooded chamber, walk south onto the track (beware of possessed pickaxes) and follow the east track. Climb down the stairs (14) and go west into a large chamber with loading cranes and mine carts. This room is where the boss fight will take place.
Do not take the innocent-looking key until you are completely ready to begin!
Note: If you want to return to the upper levels, simply return to the lift, click on it and you will automatically swim towards it.
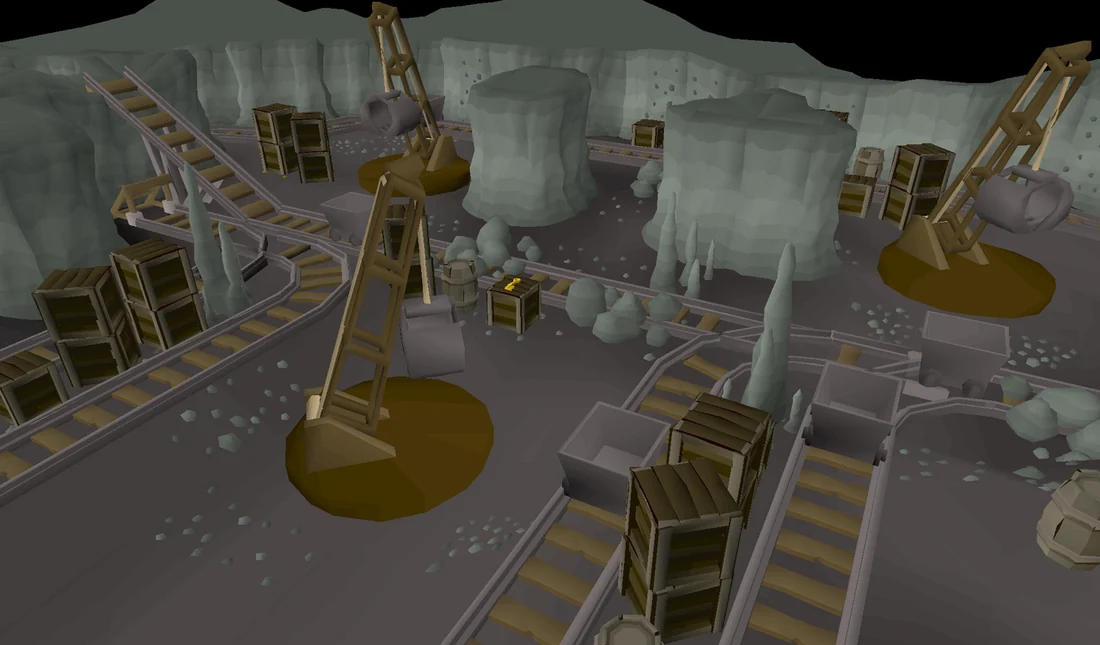
To start the fight, try to pick up the innocent-looking key. It will float away and return. Click the chatbox to continue the dialogue and the ghost of Treus Dayth (combat level 95), the erstwhile guardian of the Salve crystals, will appear and start to attack you.
During the fight Treus will use his ghostly powers to turn invisible, and move through obstacles about the room. He cannot be attacked while invisible, and you will need to chase him around the room until he reappears. His location is at any time indicated by a flashing yellow arrow on the minimap. As the fight progresses he will disappear at a faster rate.
There are four methods that Treus uses to damage you:
As Treus moves around the room, you will need to chase him across the tracks without staying on them, and while avoiding standing too close to the cranes. Treus will throw pickaxes at you, so you should pray Protect from Missiles while running around, using stamina potions to keep your run energy, and restoring your hitpoints with food while he is invisible. Note that you can also leave via the eastern door at any time and use that as a safe zone to regenerate your health, run energy and prayer if necessary - the boss will have the same amount of health when you re-enter. The boss will eventually reset back to a key if the fight lasts too long.
If Treus moves between the north-western and north-eastern side of the room, you may run back and forth along the northern-most cart track where you only have to dodge one cart. If he moves south, try to hug the cavern walls to avoid the cranes as you approach him.
Magic is the easiest choice against this boss due to its low Magic defence; it is also weak to Wind spells and Crumble Undead. If you have access to an Iban's staff (requiring 50 Attack, Magic, and completion of Underground Pass) it may be more effective, as it hits accurately (especially against this boss) and very high. Note however that most of your attacks will take place in close to melee range, as the obstacles in the room will block you from attacking the boss at range. You can kill the boss with any combat style if you have a stronger option due to your combat stats or gear. If using magic, consider bringing along an additional set of defensive armour to switch to while running after the boss to reduce the damage of his Ranged attack. When he reappears you can switch back to your offensive Magic gear.
As you have limited opportunities to hit him, using a high hitting special attack like the dragon dagger as a secondary can be useful. Its special attack hits twice in one go, but this boss will only receive one of those hits before he moves away to a new spot and before you even get to him the second attack from the dagger will automatically hit him. If using melee as your primary attack style, bring the highest-hitting melee weapon you can use, such as a 2h sword or halberd.
Interestingly, Treus Dayth's attack speed while not teleporting is dramatically lowered to a 30-tick cycle if he is successfully poisoned. He is, however, immune to poison damage. You may consider using a trident of the swamp to apply venom.
Note: It is not possible to freeze the ghost from moving using Magic or the Zamorak Godsword special attack.
Note: If you die, items will appear inside a grave for 15 minutes. You will need to get another glowing fungus to return. The boss will respawn once you take the key again. If you fail to retrieve your grave in time your items will be at Death's Office.
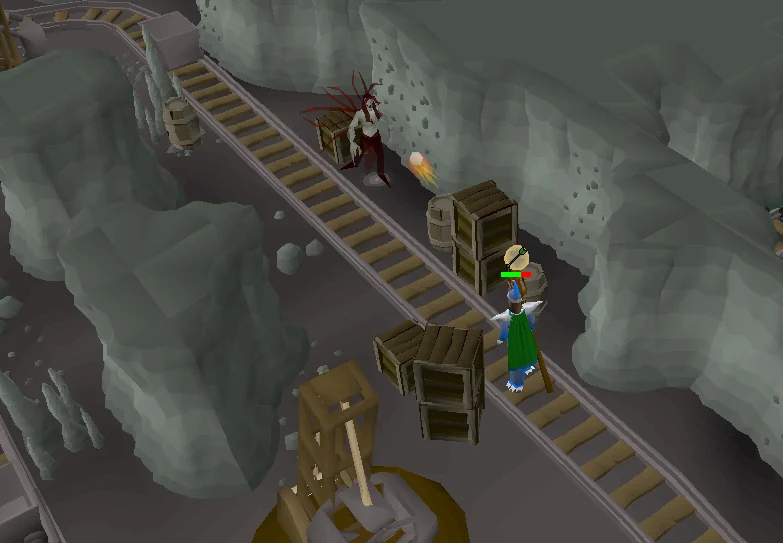
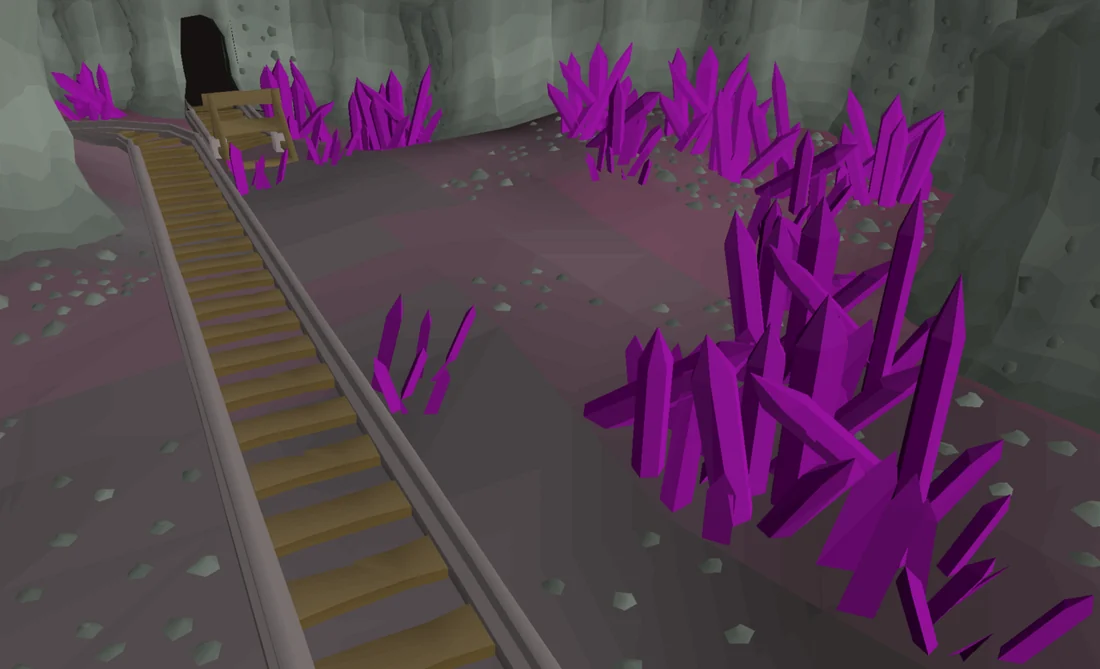
After defeating Treus Dayth, the machinery will stop attacking you. Pick up the innocent-looking key, which no longer resists and is, in fact, the crystal-mine key. Now, head back east through the door and climb up the stairs back to Level 5. Walk all the way west until you reach another staircase (15) and head down.
The crystal-mine key opens the large door to a room with several crystal outcrops in the south-east corner. Use a chisel to cut a piece from the crystal outcrop ( 35 ). If you forgot your chisel, go back up the lift and pick up the chisel from on top of the crate. You will obtain a salve shard that can be crafted into a new amulet. Be sure to cut extras for backup!
Note: Mining a mithril ore from the veins on the wall within this room will complete a task in the hard Morytania Diary.
A nearby cart tunnel leads right back to the entrance of the mine and can henceforth be used as a shortcut.
Congratulations, quest complete!
Use this when you already know the route. The full walkthrough above includes explanations and diagrams.
Talk to the Zealot outside the mine.
Say: I follow the path of Saradomin. → I come seeking challenges and quests. → What quest is that then? → Why was everyone in the mines slaughtered? → Is there any other way into the mine? → Where is the second entrance to the mines? → Can I borrow your key?
Pickpocket him for the zealot's key.
Climb over the cart to the south and crawl-down the cart tunnel.
Run directly west through the cave and crawl-through the cart tunnel.
Re-enter the cave via the southern entrance.
Descend the nearby ladder.
Go down the ladder directly east.
Avoid touching mine carts.
Go south along the moving cart's tracks using the alcove for cover, then slightly west.
Climb down the ladder.
Pick a glowing fungus. Don't take any random events that teleport you out of the mine from now on or your fungus will turn to ash.
Go NW and place the fungus in the searchable cart.
Go NW to check the points settings. (Board on a wall)
Write down which levers need to change to match the correct setting to get to the ladder in the top-right corner.
The initial configuration will be different for each player. See pictures for the correct configuration and labels on each lever.
Go south-east and pull the needed levers (between A-E).
Go north-west and pull the needed levers (between F-K).
Return to the point settings and click start.
Leave the cave by going back the way you came
Go up the ladder by the glowing fungus spawn.
Go north past the haunted cart, then the first wing east, climb up the ladder.
Go west, climb up the ladder.
Go west and exit the cave.
Crawl-down the Cart tunnel to the north
Climb down the nearby ladder.
Go NE and climb down the ladder by the door.
Go west then north and climb down the ladder.
Search the cart for the fungus and take it. Do not drop until you have completed the quest!
Climb up the ladder and start saving your run energy after you turn the water valve in the next step.
Go all the way east then south past the moving cart.
Climb down the ladder.
Head south and use the Zealot's key on the water valve.
Note: If you forgot a chisel be sure to grab the one near the lift before you open the valve; you won't have enough time to pick it up while running there.
Quickly run to the lift and take it down.
Go south then East and down the stairs.
Go through the door.
Pick up the innocent-looking key to start the boss fight.
Kill Treus Dayth. It is recommended to pray Protect from Missiles throughout the fight. A good way to fight this boss is to run near him after attacking; the goal is to force him into the north-eastern corner. Once this occurs, run west to the end of the detached northern shaft and attack him from a distance. This prevents him from teleporting around the mine while also negating crane damage, which should make the fight easier.
Note: If you teleport away, you will have to get another Glowing fungus.
Note: If you die, you cannot get the Glowing fungus back from your grave in the flooded area. This is not a safe fight.
Note: If you are following the Optimal Quest Guide, using Crumble Undead is the most effective way to kill this boss.
Pick up the key
Go back up the eastern stairs.
Go west and down those stairs. You will need the Glowing fungus to act as a light source.
Open the door and cut the crystal outcrop to the south-east with your chisel.
Congratulations, quest complete!
QUEST COMPLETE
OSRS WIKI CONTRIBUTORS
Walkthrough text and preparation lists are adapted from Old School RuneScape Wiki contributors under CC BY-NC-SA 3.0. Game imagery © Jagex Ltd; individual image credits are available from their captions. This page is fan-made and not affiliated with Jagex.
KEEP QUESTING
Game icons © Jagex Ltd, via the OSRS Wiki. Interface icons by Lucide.