2
2Requirements
- 50 Crafting [not boostable] [not required to start]
- 45 Firemaking [boostable] [not required to start] [q 1]
- 43 Prayer [not boostable] [not required to start]
- 39 Magic [boostable] [not required to start]
- Must be on the standard spellbook
QUEST 97 · MEMBERS
Lazim the sculptor has a sad tale to tell - his days of making art are over, and now all he can do is carp at adventurers as they make a statue for him in the desert. Although, isn't just south of the Bandit Camp an odd place to be putting up a statue? Help Lazim out with his artistic endeavours, and learn more as this quest goes deeper into the history of Gielinor than you might expect...
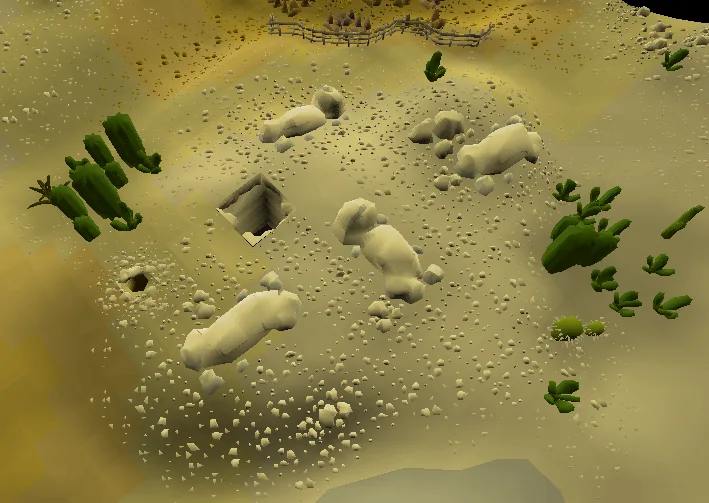
Talk to Lazim just north-east of the Desert Quarry.
STEP BY STEP
Follow the chapters below. Click any screenshot or diagram to view it at full size.
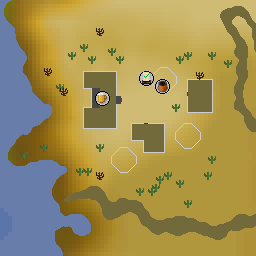
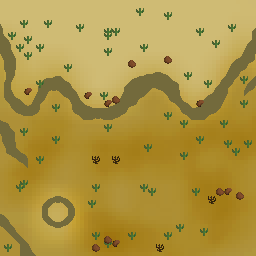
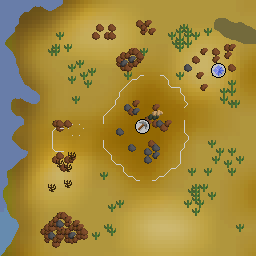
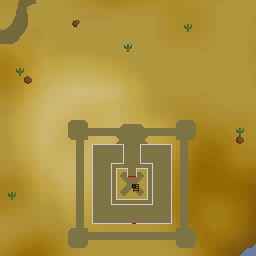
You can start this quest by speaking with Lazim, who is located just south of the Bandit Camp and west of the Ancient Pyramid. The simplest way of getting there is to travel with the free ferry south-west of Al Kharid to the Ruins of Unkah and run north from there. Alternatively, if you have a Pharaoh's Sceptre you can teleport to Jaldraocht (the Ancient Pyramid) and run west. Have at least four free inventory spaces at the start of the quest. You need to buy a Shantay Pass (5 coins) from the guard to exit the Ruins of Unkah and may need more if you come back to buy water from him.
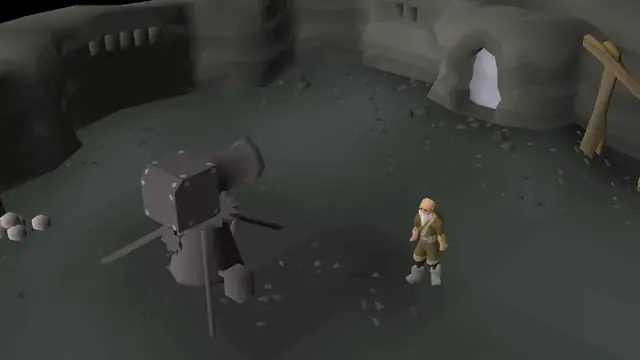
Lazim introduces himself as a down-on-his-luck sculptor who once made statues for royalty but has been unable to hold a chisel since an unspecified accident. He wants your help building a statue to decorate the desolate area. Agree to help him. He will ask you to gather 32 kilograms' worth of sandstone from the nearby quarry.
There are four sizes of sandstone: 1 kg, 2 kg, 5 kg, and 10 kg. You can use your chisel on big blocks to make them smaller, if necessary. At a higher Mining level, you'll get bigger blocks. Speak to Lazim and tell him you have the sandstone once you have finished. You will have to give the pieces to him one by one, eliciting some caustic remarks.
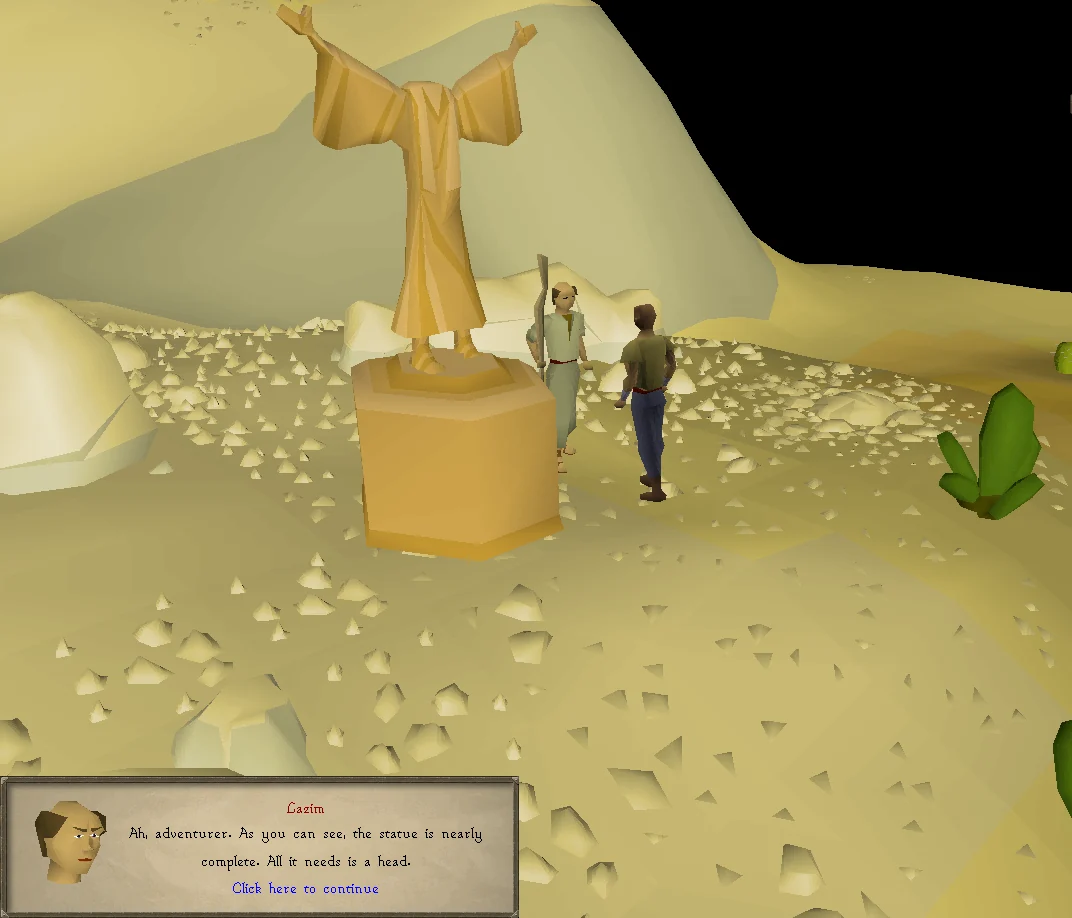
After you've given Lazim exactly 32 kg, he will attach them with magic to make a 32kg sandstone block. Use your chisel on the block that he gives you to make a sandstone base. Talk to him again and then use it on the flat ground next to him.
You now need 20 kilograms of sandstone for the body. After you've given him the required amount and he gives you the 20kg sandstone block, use your chisel on it to make a sandstone body and then attach it to the base. Lazim will grow increasingly angrier with your performance. He seems to be still missing something and tells you to chisel the statue a bit more. Talk to him again; he seems impatient, expecting something to have happened. He decides the statue is only missing a head, to be made out of granite from the same quarry. He lets you decide whose head the statue should bear. (If you want, you can tell him about the events of The Giant Dwarf if you have completed that quest; he will not allow you to use the head of your chosen company director because you no longer remember how it looks.)
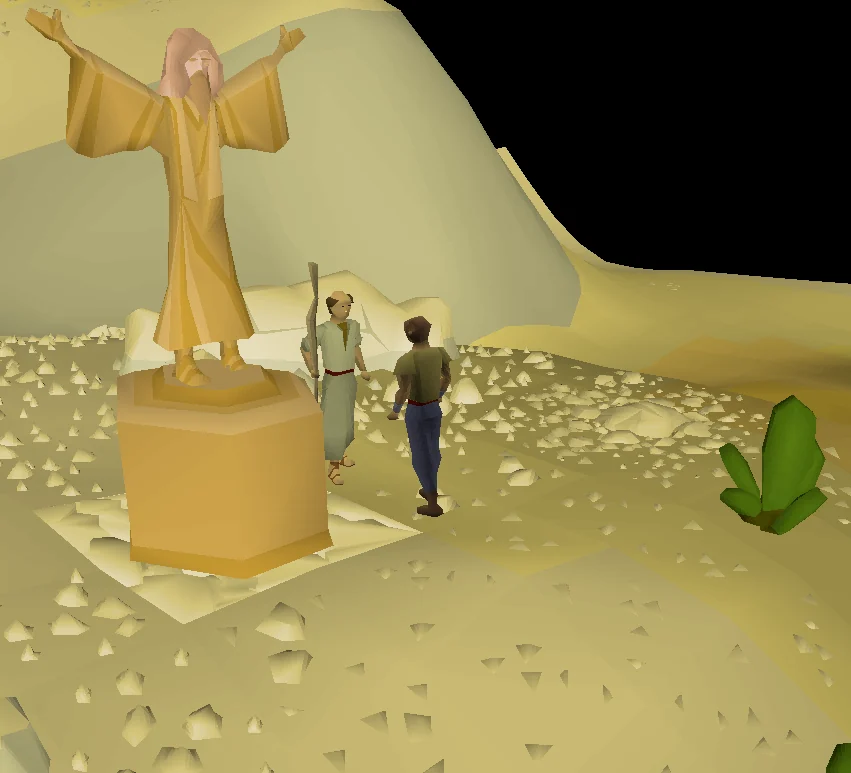
You now have to choose the head of the statue. You may choose between either your own head (which he will not allow either), Lazim's head, a camel's head, or a god's head, with the choice of Zamorak or Icthlarin. Mine a 5 kg piece of granite (not sandstone!). Chisel it into a head (if you sculpt the wrong head, Lazim will insult you but allow you to change your choice at the cost of the granite) and keep the other in your inventory for later in the quest. In order to save time later, mine a second 5kg piece of granite and some clay as well. There is a general store at the Bandit Camp where you can buy a bucket of water to use on the clay to make it soft (The empty buckets can be given to Drew). Also mine a piece of coal if you don't have one already, as you will need it later.
Note: Mining granite is a Hard Desert Diary task.
Use the head on the statue. It will fall through the ground, creating a large hole. As you peer into it, Lazim pushes you inside. You hurt your duodenum and appear in an ancient temple below next to the sculptor and broken statue. Talk to Lazim, who says everything has gone according to plan. You deduce that he is not in fact a sculptor but promises you a share of whatever treasure you find in the temple if you help him. He explains you have fallen to the bottom floor and need to make your way to the top. The doors in the temple do not require keys but stone limbs instead; he suggests you mine or chisel them off the statue.
Note: If you teleport away at this point, you will need to re-enter the temple via the south-western secret entrance.
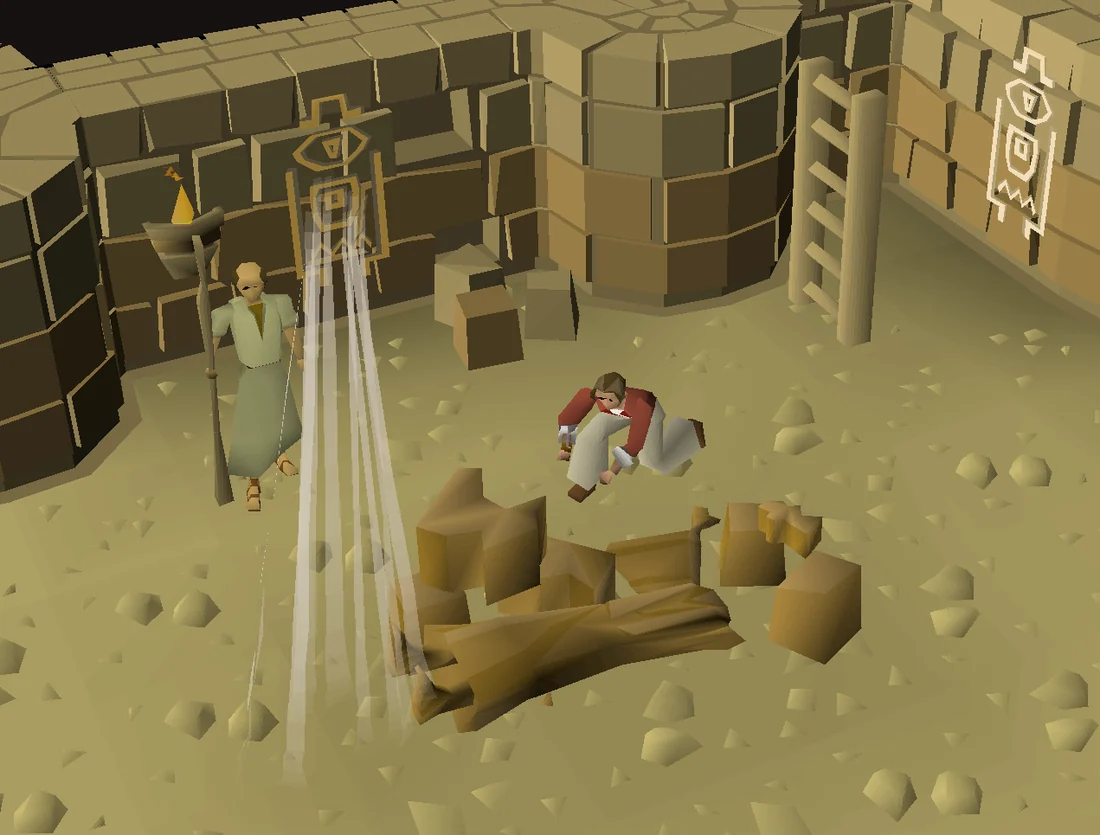
Use your chisel or pickaxe on the statue to get a stone left arm, stone right arm, stone left leg, and stone right leg, which you'll use as keys to unlock the doors to the rooms. Lazim also returns the stone head to you, which had fallen off the statue. Should you need to exit the temple, the ladder next to the statue's remains leads to a pile of sand you can climb to the surface. This will unlock this entrance permanently.
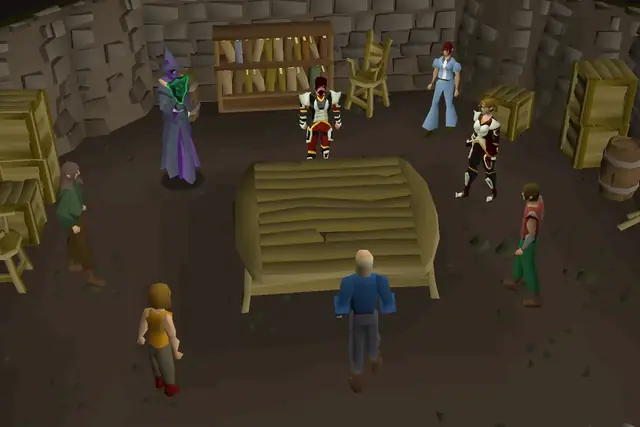
Go around the outside track to each of the rooms through the doors, as the door in the western corridor is locked. Each door requires one of the limbs. Opening a door will give you a headache and trigger a cutscene. You should travel anticlockwise for the cut scenes to be in the correct order and collect the sigils from the pedestals as you go. The first shows a mysterious woman called Enakhra cheering at the completion of the temple for her lord. The second, four Knights of Avarrocka come to destroy the sorceress and her temple, only to be slain effortlessly by Enakhra's magic. One knight is left alive, frozen in ice. In the third cutscene, a camel-headed man named Akthanakos apparently convinces Enakhra to defect from Zamorak, for whom the temple is but who would rather have a weapon, to 'their side'. She pretends to agree, upon which the man leaves. In the next cutscene, she is shown animating bones to a weak skeleton in an attempt to create a weapon for Zamorak and is not satisfied.
As you pass the bigger rooms along the way, take the Z sigil, R sigil, and K sigil, which together with the M sigil in the room in which you started, make up the consonants of 'Zamorak'. You may also want to climb the ladders and sandpiles to unlock all four secret entrances. After you've unlocked all of the outer doors with the four limbs, go towards the middle and use the sigil to unlock the door. You may also unlock the other three doors. (This will permanently remove the sigils.)
Go up the ladder. A magic barrier is blocking your progress and there is a curious pedestal next to the ladder. Go back to Lazim and ask him about it. He asks whether there is a recess in it, which you confirm. He suggests placing the statue head into it. Try doing so; it will fit, but not perfectly. If you return to Lazim for advice, he says you should make a mould of the recess somehow and use that as a template to make another head from granite. If you did not bring soft clay, regular clay can be mined in the quarry. Take the ladder next to Lazim up and climb up the sand pile to resurface. There is a general store to the north where you can purchase a bucket, bowl or jug with water and use it on the clay to make soft clay. When you return, climb down the secret entrance a few tiles east of the hole you fell down to get back into the temple.
Use soft clay on the pedestal to make a positive camel head mould and then use the chisel on a piece of medium-sized granite (5 kg) to make a new stone head. Place this granite camel head into the pedestal to be greeted by another cutscene. It shows Akthanakos standing by the pedestal, confused. Enakhra reveals her betrayal and freezes him, expressing her loyalty to Zamorak.
Optional: Use a second soft clay on the granite head on the pedestal to make a camel mask for yourself, but only after you've crafted and placed in the new stone head.
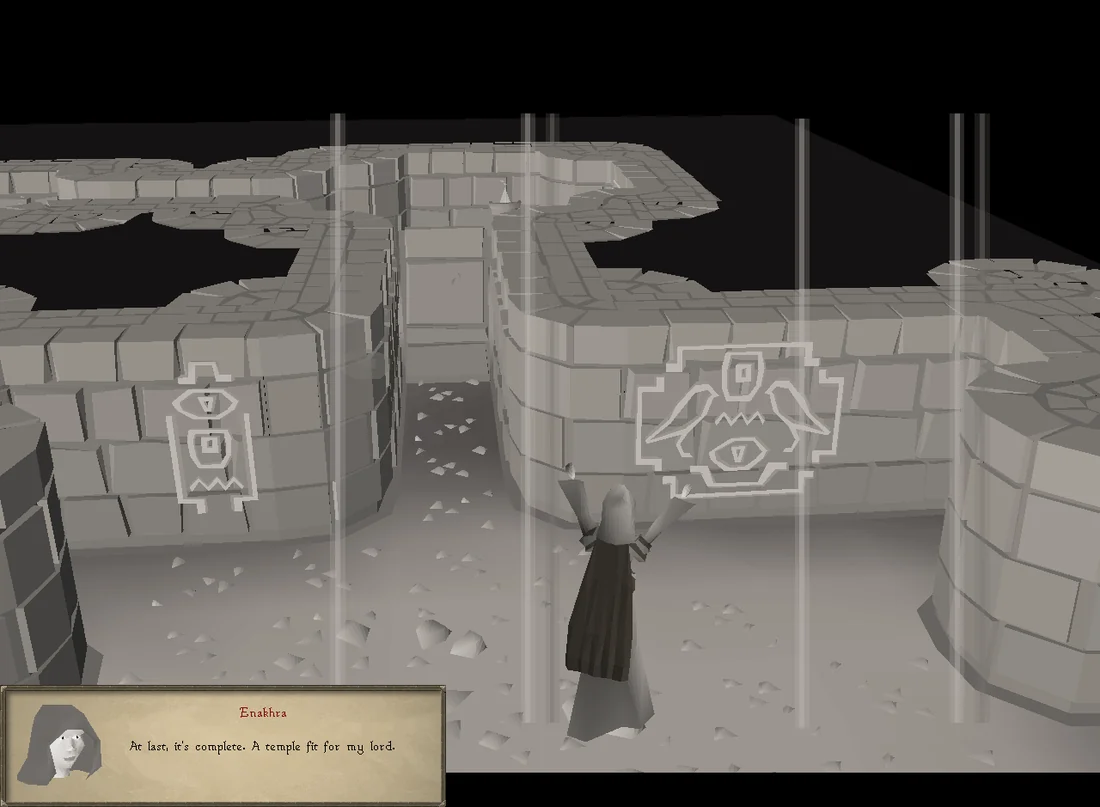
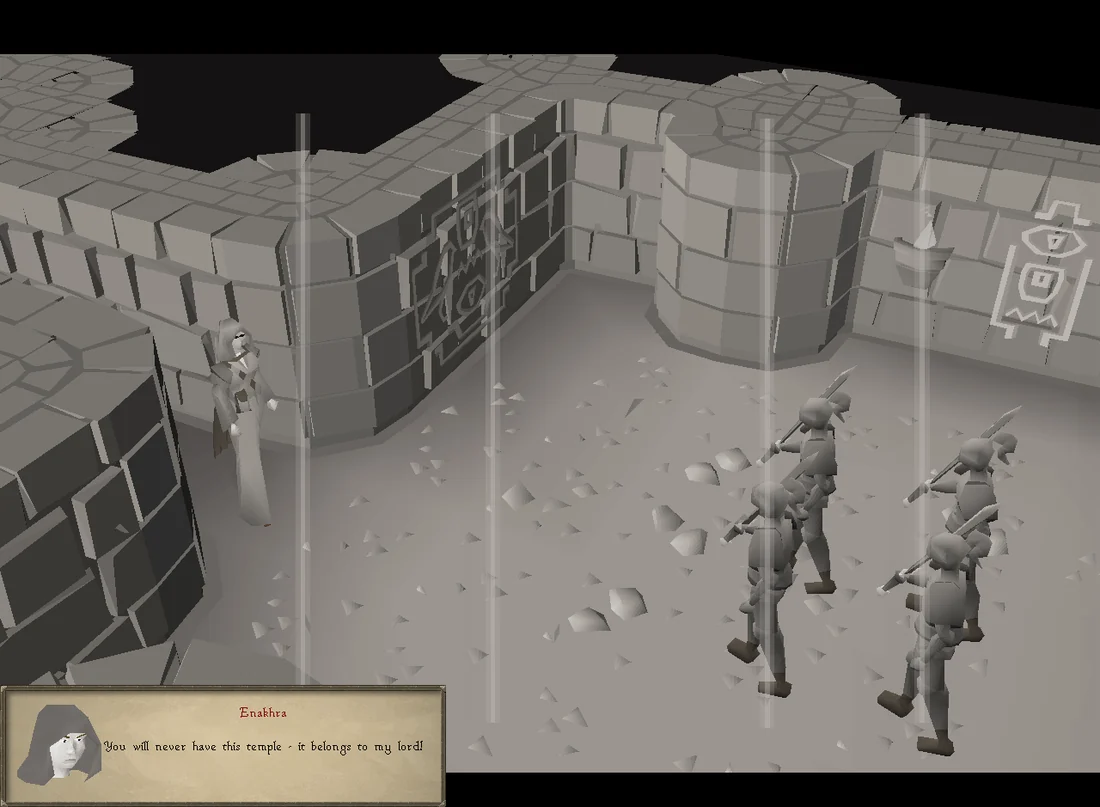
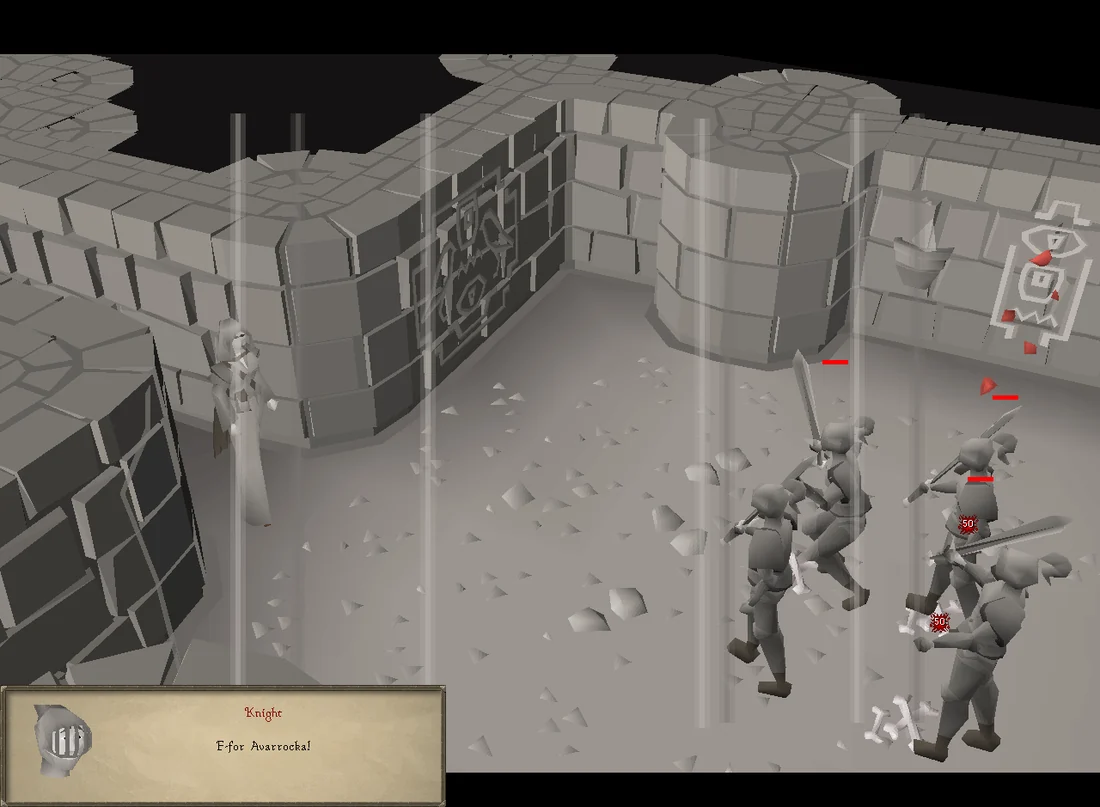
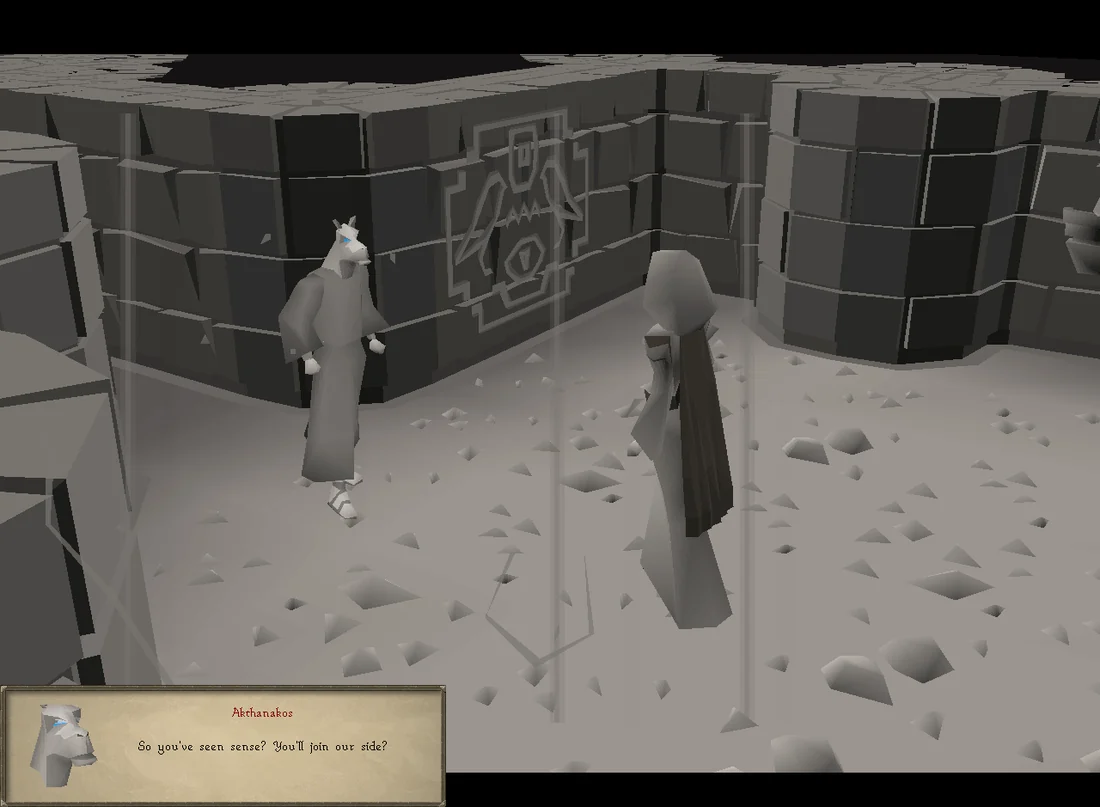
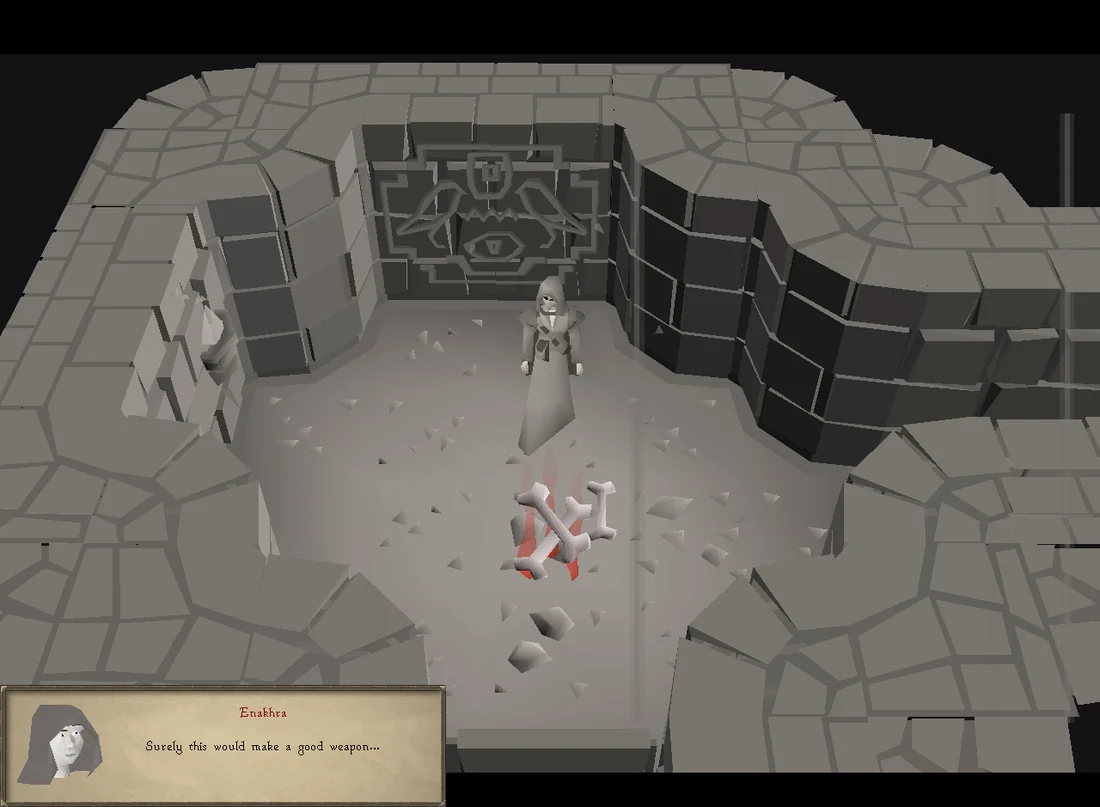
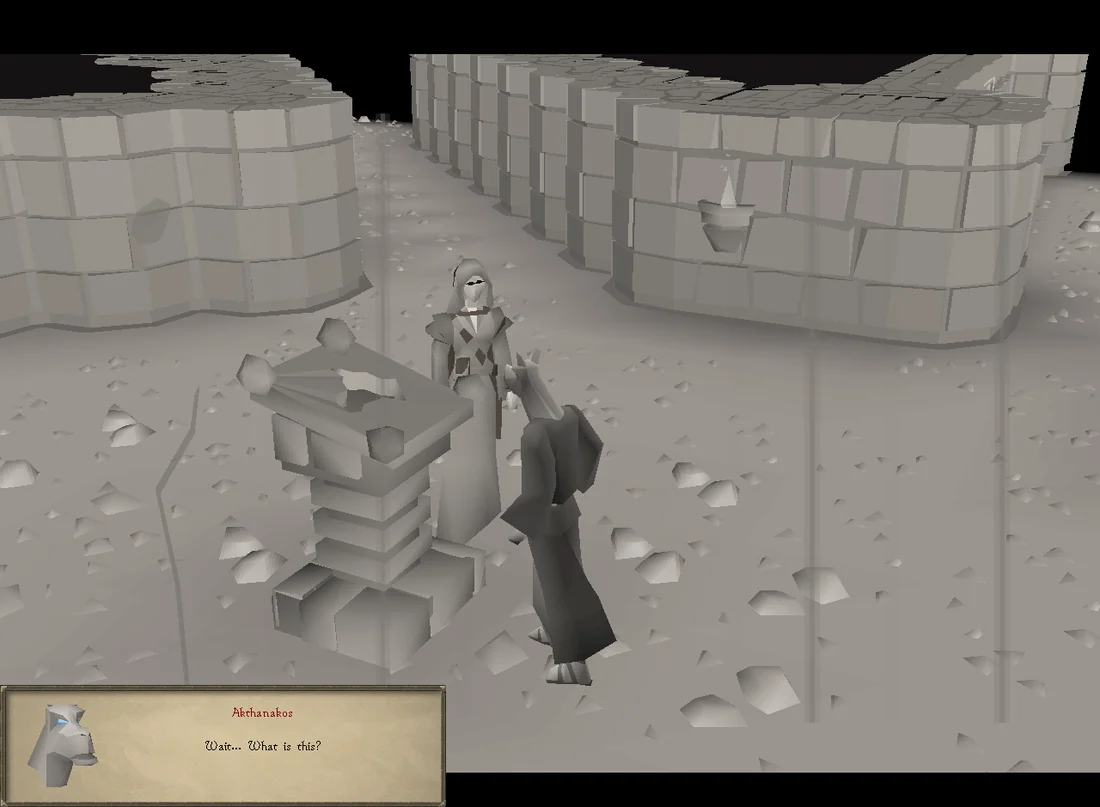
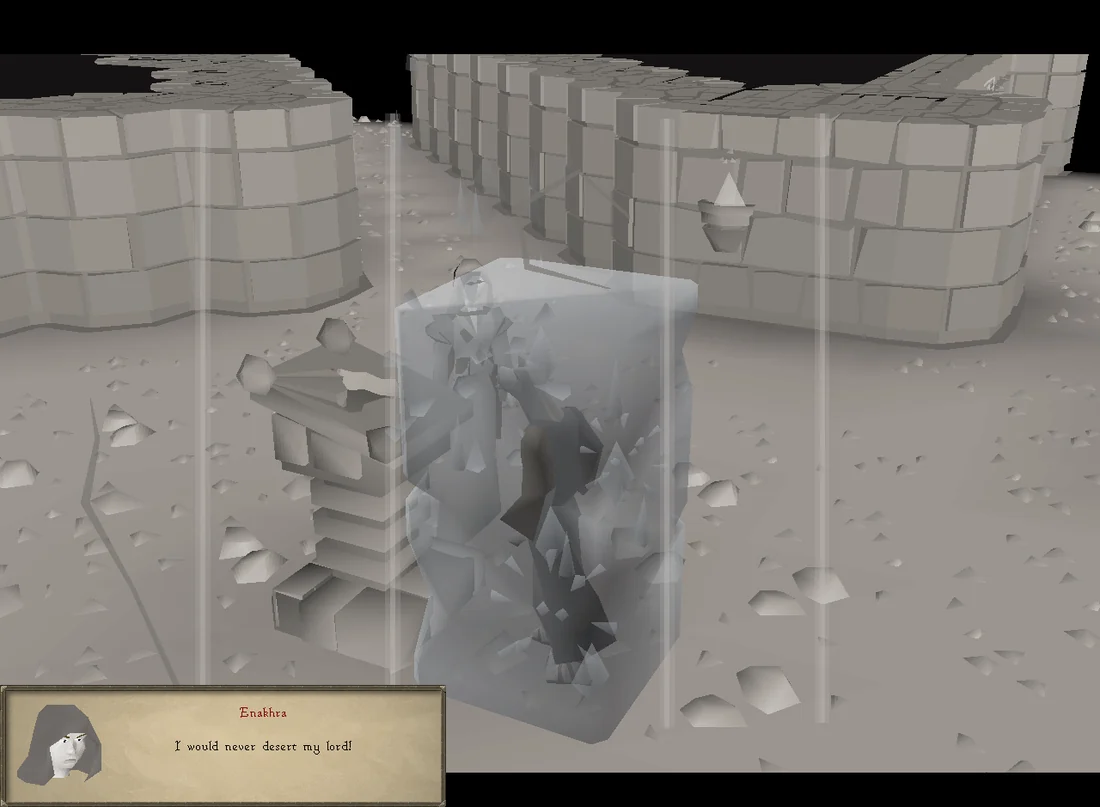
Lazim will appear next to you after the cutscene, complimenting you on opening the doors. He explains the magic barrier will not let you through but it may open if you solve each of the four puzzles in the surrounding rooms. You will know you have succeeded because the corresponding globes on the pedestal will be lit. You may wish to start with the blood room, as it will unlock advice about the other ones.
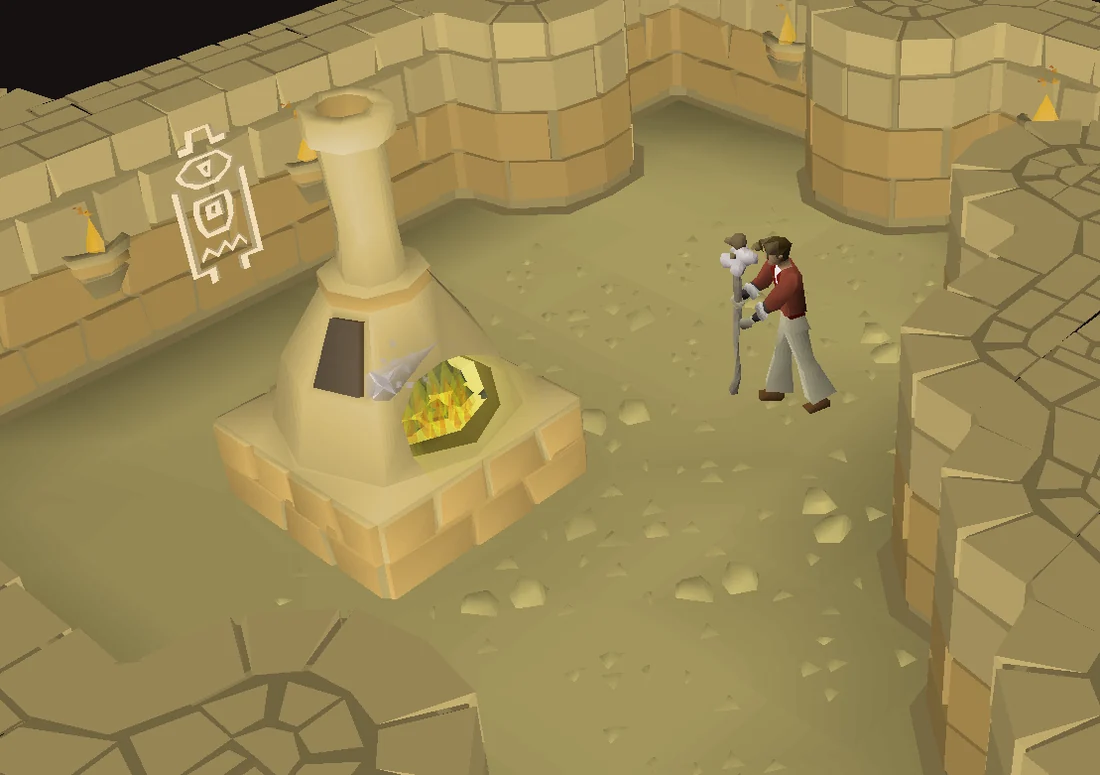
Take the north-east corridor and examine the furnace. Its grate is blocked and requires a strong blast of air to clear. Use a wind spell, bolt or stronger, on the furnace to clear out the room.
Warning: Standing too long in this room without lighting any braziers will do damage due to darkness! Light the candle before entering the room to avoid damage.
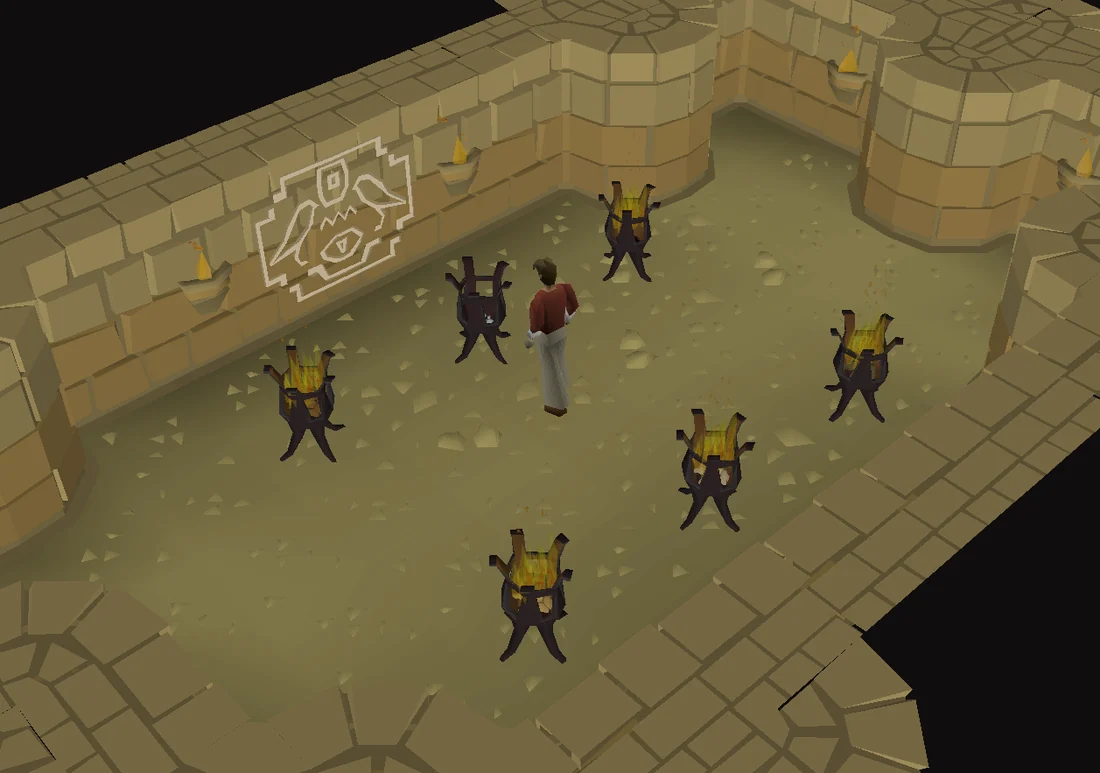
Take the south-east corridor and investigate each braziers to see what kind of fire used to burn there. The appropriate Firemaking level is required to see what item goes into what brazier, but it is not required to actually add the items to the brazier, meaning that you can simply guess and check to figure out which item goes into which brazier without needing the Firemaking level. The items are: logs, oak logs, willow logs, maple logs, a candle, and coal. Use the appropriate items on the braziers to light them.
Take the north-west corridor and talk to the old knight Pentyn, frozen by a magical spell. He believes you are a shapeshifting Mahjarrat there to torture him again. He explains he is a Knight of Avarrocka and has been frozen, wounded and hungry for many years. Give him your bread, pie, cake, pizza, or baked potato with toppings. He will not accept half-eaten food. Make sure to right-click and use it on him, rather than left-click to eat. You may have to right-click again on Pentyn to make sure you are using the food on him and not on the magic spell.
He will reminisce about one of his family members, with the specific one depending on what type of food was given to him, and thank you for the memory. He'll still be stuck, but will no longer be in hunger.
He will also offer advice on the other rooms. The frozen fountain did not yield to fire nor swords and is likely magical in nature. The furnace produces choking fumes and requires a good breeze to clear. The fires in the dark room will have gone out since he last saw them and require relighting.
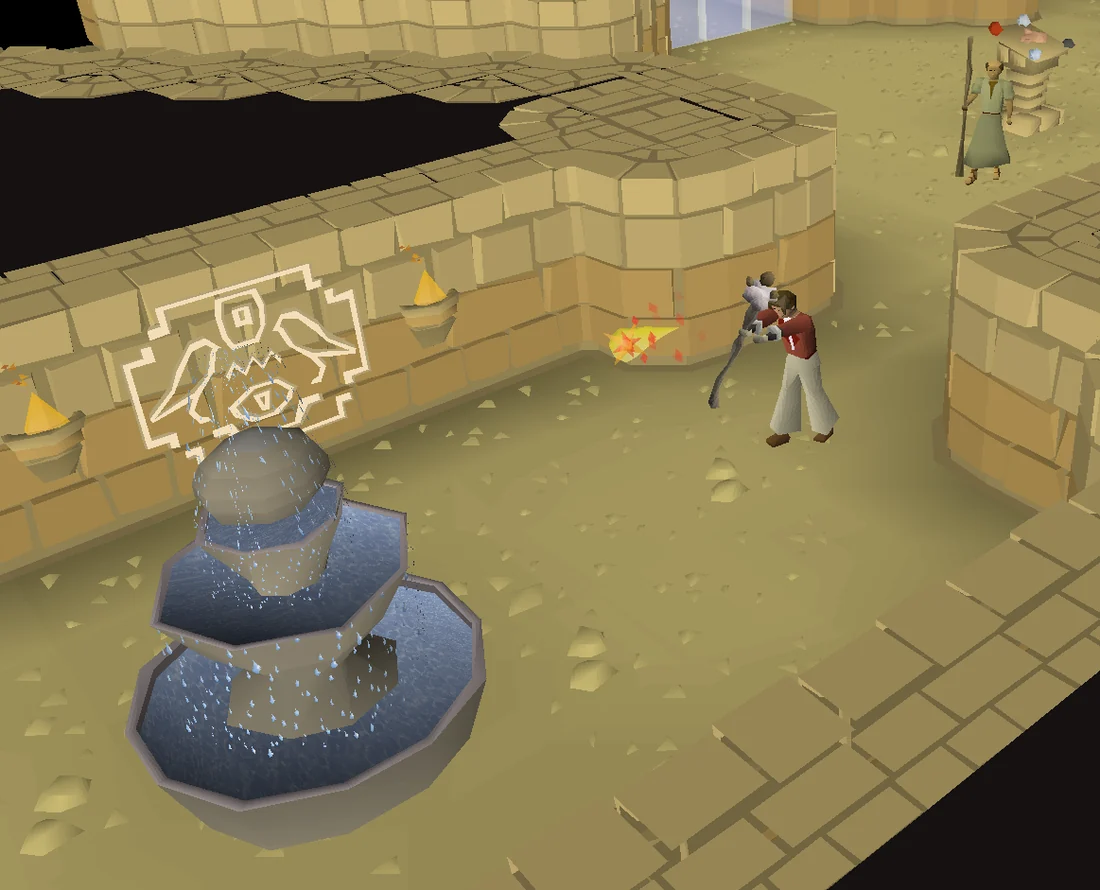
Take the south-west corridor to find a frozen fountain that will require more than a regular fire to thaw. Cast a fire spell, bolt or stronger, on the frozen fountain to thaw it.
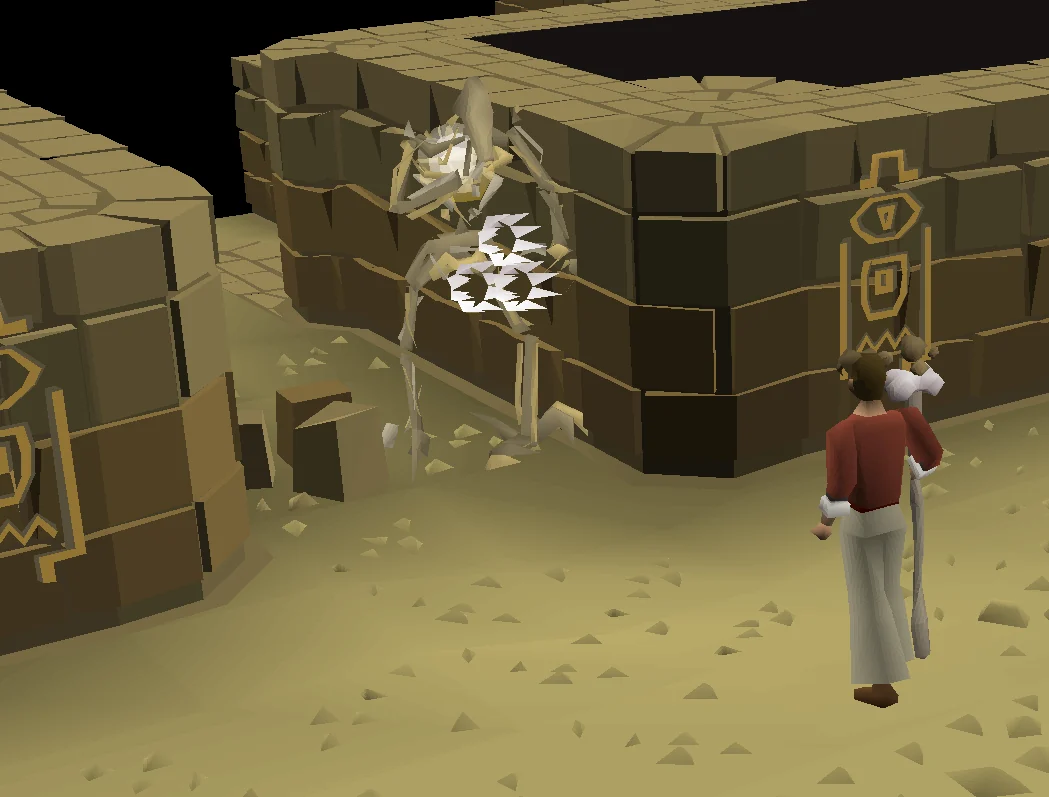
After all four globes are lit, speak to Lazim again, who will warn you of traps beyond the barrier, such as giant skeletons that will rend your limbs from your body. Go north through the barrier and up the ladder. You will indeed encounter a Boneguard south of the ladder. Talk to it. It warns you that you will not pass it unless it 'crumbles to dust' and attack if you don't run away in time. Cast Crumble Undead on it. Your spell must hit the guard. The boneguard collapses and a freed spirit thanks you. It asks you to please bury the five big bones it has left behind.
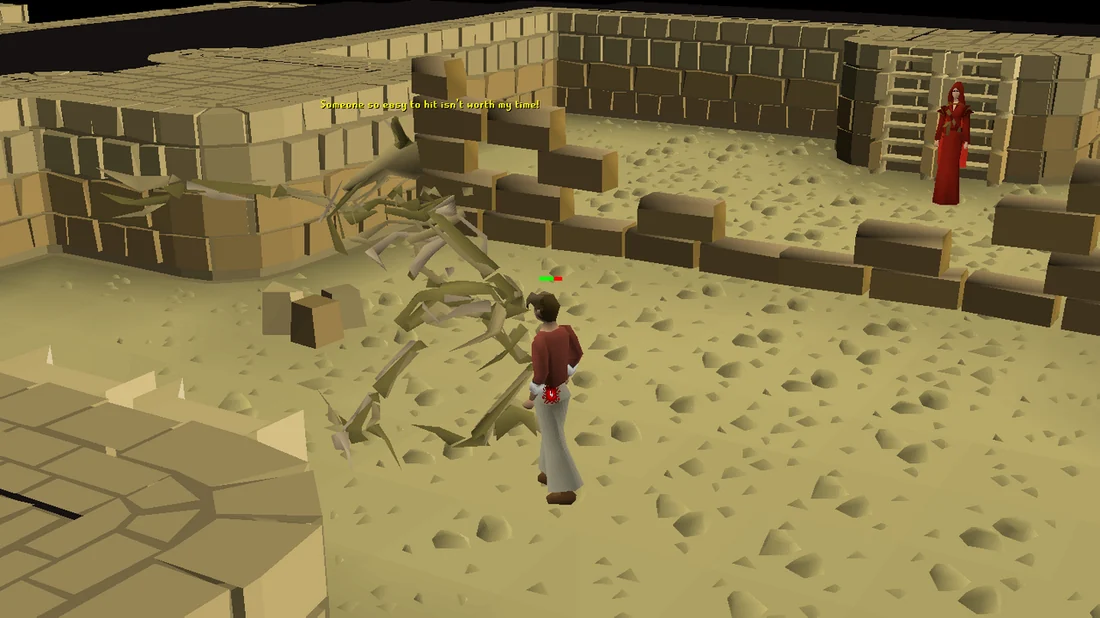
Pass the boneguard's remains and climb down the ladder. You'll see another boneguard. If you want, you may also climb down the ladder from the other side, where Enakhra herself is standing. She angrily tells you not to interrupt her concentration and fires two spells at the Boneguard opposite her to prevent him from escaping before Zamorak can collect it, his weapon. Speak to the Boneguard. It will attack you once, stating that someone so easy to hit is not worth its time.
This time, turn on Protect from Melee and talk to it. It will try to attack you a couple of times — then, it will be impressed and ask for your help. It will tell you that it was put under Enakhra's control millennia ago and that she had tricked him into this state of slavery. When her concentration wavered, the Boneguard managed to construct part of a wall to obscure Enakhra's line of sight, but her spells have strengthened lately. Agree to help the Boneguard by finishing the wall so that it can be free. It promises you its amulet as a reward in return. It tells you to take stones from the nearby pile of rubble, stack them on the unfinished wall, trimming them with a chisel so they fit and that it will require but three loads.
If you want, you may quiz him for more backstory on himself and Enakhra. He says the latter is a 'coward and a despicable traitor' who supported Zamorak when he became a god. She built him this temple as a gift, but he did not care and she has been hidden inside ever since. He himself was once a proud mage but has long been trapped in Boneguard form, forced to defend Enakhra's temple from intruders when he believed her lies about wanting to become allies and end their rivarly.
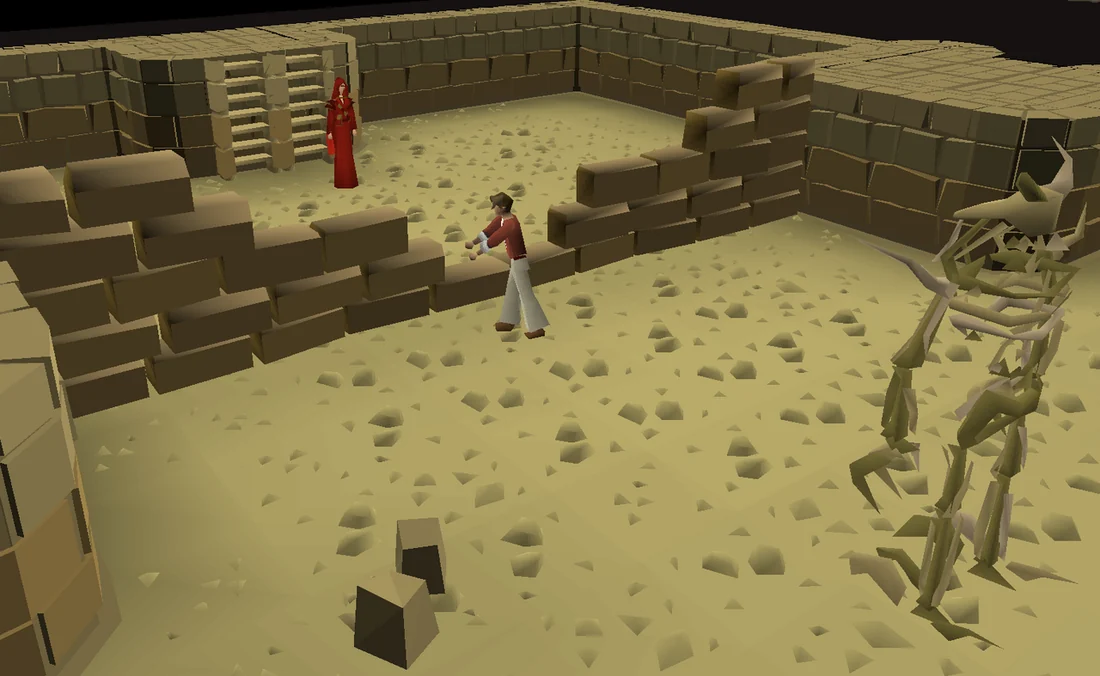
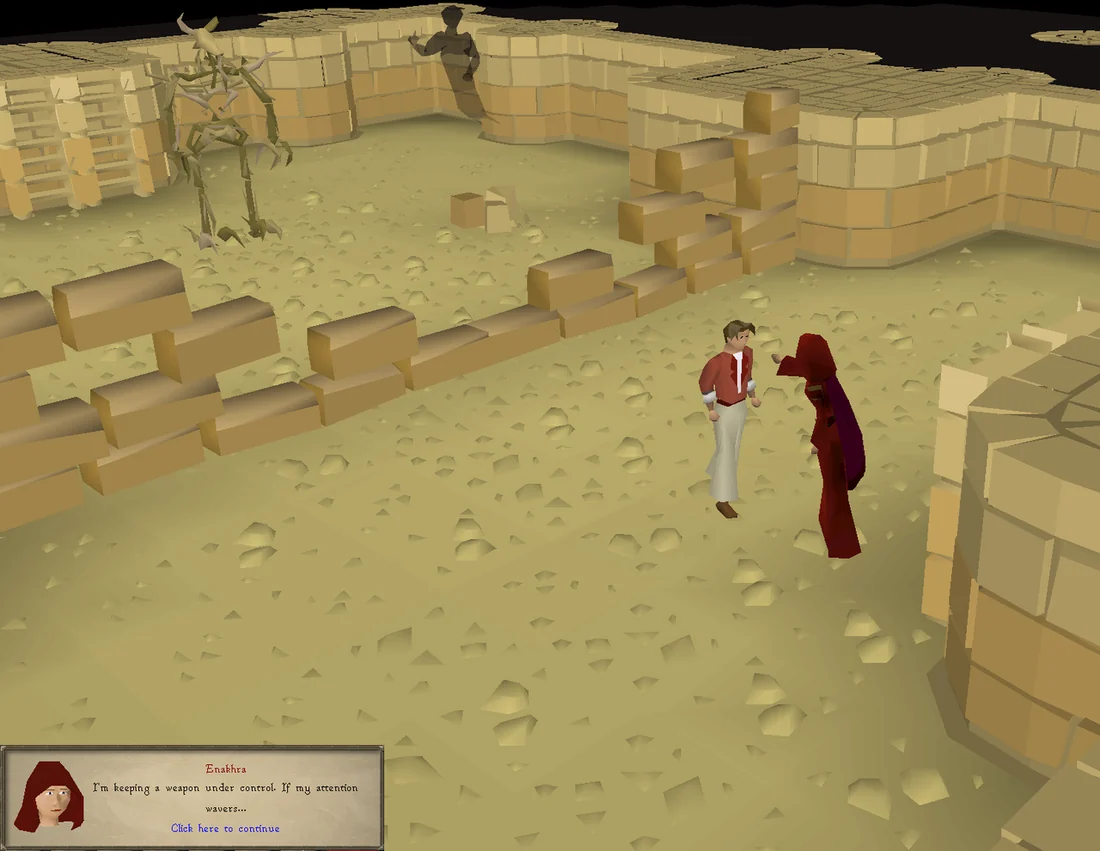
Take three pieces of sandstone from the pile of bricks, use the sandstone on the wall and then use your chisel on the wall to trim it. Once you've built the wall, Enakhra will be furious with you. Optionally, cross to the other side to talk to her. She will say the Boneguard, Akthanakos, is much harder to control now and that he supports someone whose name should not be mentioned. She also scolds you for dishonouring Zamorak's name.
Talk to the boneguard. It will thank you, crumble and reveal itself to be another Mahjarrat, the camel-headed Akthanakos. He is free from slavery after thousands of years and gives you his amulet in thanks. It allows you to understand camels and Ugthanki as well as containing teleports back to the temple. He then confronts his rival in a cutscene.
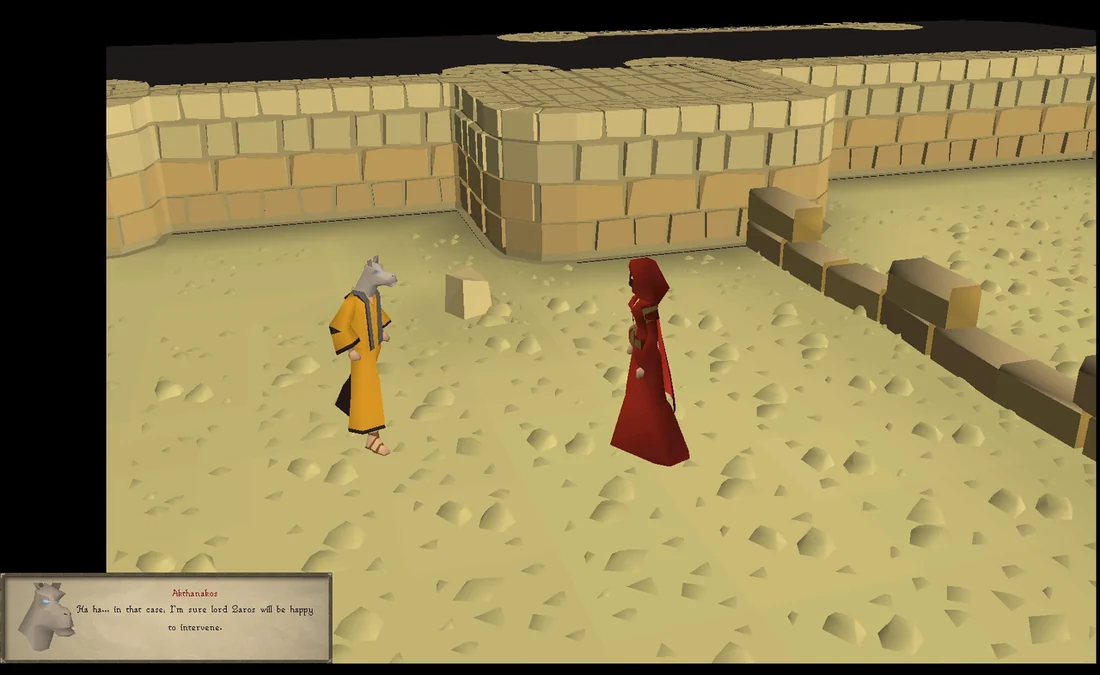
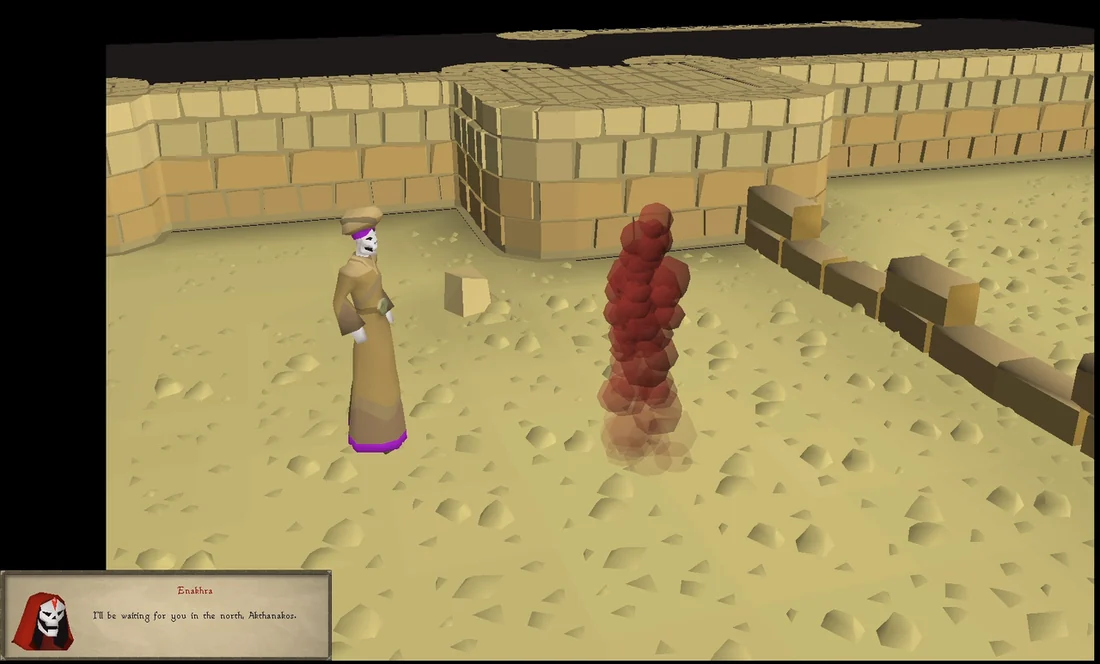
Enakhra blows up the wall and faces her nemesis. Akthanakos laughs and says Lord Zaros will be happy to aid him should, as Enakhra announces, Zamorak come to punish him for destroying his weapon. They transform into their skeleton forms and announce they will fight in the North before teleporting away.
| Akthanakos Freed | |
| The jingle for the ending cutscene. | |
Congratulations, quest complete!
Use this when you already know the route. The full walkthrough above includes explanations and diagrams.
Talk to Lazim north-east of the quarry.
Say: Of course! → Okay, I'll get on with it.
Bring him 32 kg of sandstone, it doesn't have to be all at once. You can break down big pieces with a chisel.
Use your chisel on the sandstone (32 kg).
Place the base on the flat ground.
Repeat the process for a 20 kg body.
Use your chisel on the statue.
Talk to Lazim and pick any head (remember which head you picked).
Mine two 5 kg pieces of granite (not sandstone!). (Ironmen: Mine a 3rd piece of any size for King's Ransom)
Make the head you chose (if you don't make the head you chose, you will have to make another head). The other 5 kg granite piece is used later.
If you did not bring clay or coal, mine some now.
Talk to him and you'll fall into a temple.
Talk to Lazim.
If you climb up the ladder and up the sand pile next to the statue now, you'll be able to exit and enter the temple from any outer room on the bottom floor later.
Use your chisel on the fallen statue four times to get all its limbs.
Talk to Lazim again to retrieve the statue head.
Take-sigil from the pedestal south of Lazim to get the M sigil.
Skip this step and come back after the next if you have no inventory space.
Go around all the rooms through the outer hallways and pick up the R, K and Z sigils. The matching limbs are automatically used and consumed to open the doors.
Go to the centre room after collecting all four sigils
Try to open the doors to place the sigils. Make sure to complete each dialogue.
Climb the ladder.
Use soft clay on the pedestal. (Cast a fire spell on the frozen fountain if you still need a water source.)
Use a chisel on the 5 kg granite.
Place the new stone head in the pedestal. The original head will be slightly too small. The new head should fit perfectly and trigger a cutscene (Make sure to finish dialogue).
North-west: use your bread or cake or pie on Pentyn. You may have to right-click again on Pentyn to make sure you are using the food on him and not on the magic spell.
Say: It's okay, I don't need any help.
North-east: cast wind bolt, blast, wave, or surge on the furnace.
South-east: light the 6 braziers with the appropriate fuels.
South-west: cast fire bolt, blast, wave, or surge on the fountain.
Pass through the magic barrier and climb the ladder. (If you can't pass through barrier, talk to Lazim)
Cast crumble undead on the boneguard.
Climb down the stone ladder to the south.
Turn on Protect from Melee and talk to the new boneguard.
Say: Of course, I'll help you out. → Okay, I'll start building.
Take 3 sandstones from the rubble pile.
Use a sandstone on the southern wall, then use your chisel on the wall. Repeat to completion.
Talk to the boneguard again.
Congratulations, quest complete!
QUEST COMPLETE
OSRS WIKI CONTRIBUTORS
Walkthrough text and preparation lists are adapted from Old School RuneScape Wiki contributors under CC BY-NC-SA 3.0. Game imagery © Jagex Ltd; individual image credits are available from their captions. This page is fan-made and not affiliated with Jagex.
KEEP QUESTING
Game icons © Jagex Ltd, via the OSRS Wiki. Interface icons by Lucide.