QUEST 95 · MEMBERS
Devious Minds
No-one likes to miss a good ceremony, least of all a poor lowly monk who needs your assistance! Will you be able to aid him and make his dreams come true?
- Difficulty
- Experienced
- Length
- Short
- Quest points
- 1
- Released
- 19 December 2005
 1
1Jump to a chapter
Before you start
Where to start
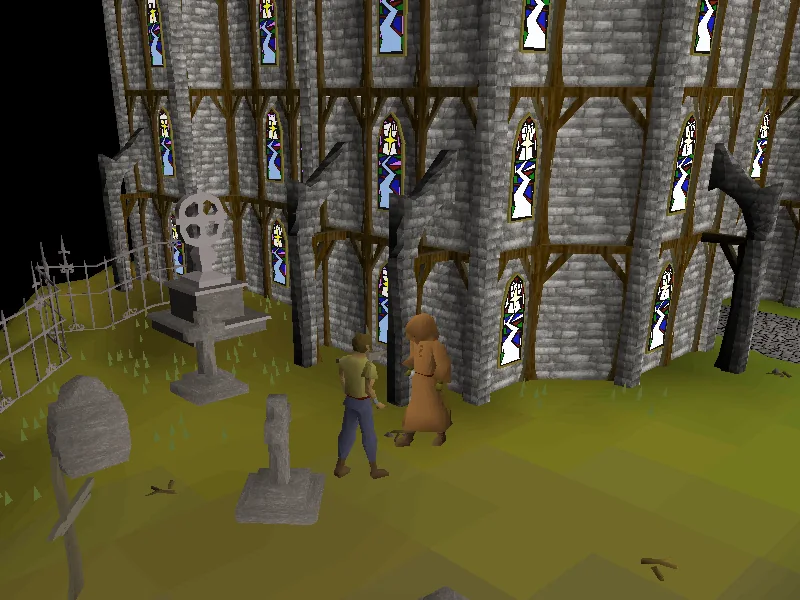
Talk to the monk outside the Paterdomus Temple, at the northern end of the River Salve.


Items required
- A mithril 2h sword
- A bow string
- A non-degraded large or colossal pouch
- (You will lose all 3 items!) unless a colossal pouch is used.
Recommended
Enemies to defeat
Abyssal creatures level 41+ (if not using Guardians of the Rift to obtain a large pouch)
Ironman concerns
- Mithril 2h sword can be purchased at Gaius' Two Handed Shop in Taverley for 2,600
The player visits Entrana for a portion of the quest. Plan ahead as the Large Pouch with the orb in it is lost on death.
Warning: The quest involves travelling via the Abyss located in level 4-7 Wilderness, with a chance of getting killed by other players.STEP BY STEP
Walkthrough
Follow the chapters below. Click any screenshot or diagram to view it at full size.
The monk
Head to the Paterdomus Temple, north-east of Varrock and the Digsite; the same temple encountered during Priest in Peril. Talk to the monk just outside, who will request your help. On his recent travels to Morytania, he learned of a weapon from the lands to the far east that he believes will be valuable in the Saradominist fight against darkness. In order to help him build such a weapon, he wants you to take a two-handed mithril sword to Doric, a dwarf whose whetstone he considers unmatchable.
A strange weapon
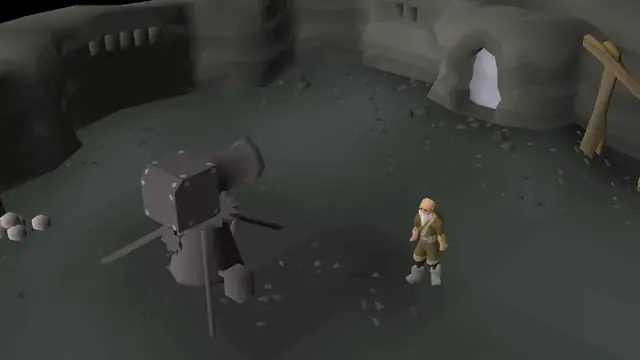
Show animation: A player using Doric's whetstone.
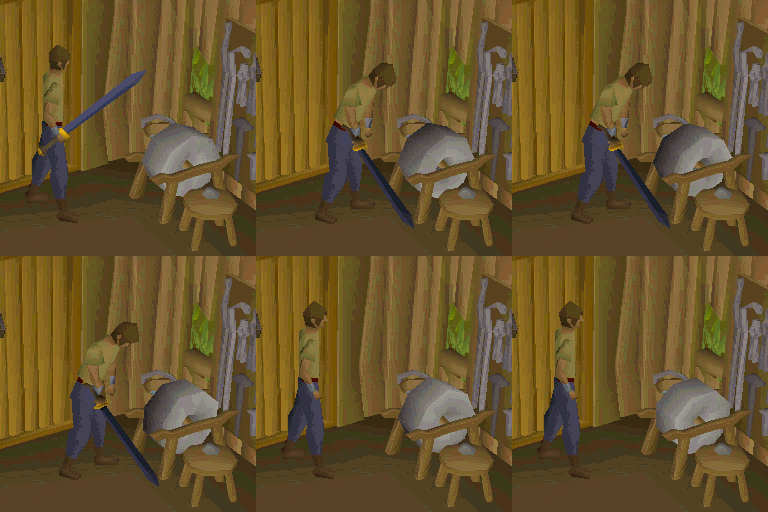
Items needed: A mithril 2h sword and a bow string
Skills needed: 65 Smithing [boostable] to create a slender blade, 50 Fletching [boostable] to create the bow-sword
Skills needed: 65 Smithing [boostable] to create a slender blade, 50 Fletching [boostable] to create the bow-sword
Head to Doric's house just north of Falador, and use a mithril 2h sword on the whetstone inside to make a slender blade, then attach a bow string (the bow string spool works) to it to make the bow-sword.
When you've made the bow-sword, make your way back to the monk. You can use the balloon transport system to fly from Taverley back to the Earth Altar by using a set of willow logs, if you have already unlocked the Varrock destination.
A gift for Entrana
Give the bow-sword to the Monk and he will be grateful for it; although he needs one more favour. He wants you to secretly deliver a special gift to Entrana for a special ceremony. He will give you an orb to smuggle; to do this, the Monk suggests using the Abyss to access the Law Altar on the island. He also wants you to protect the delicate orb by storing it inside an essence pouch. Only a large pouch or colossal pouch may be used. The large pouch will be destroyed during the quest, whereas the colossal pouch will survive. Your pouch must not be degraded — if it must be repaired, contact the dark mage either by the Astral Contact spell or directly in the Abyss.
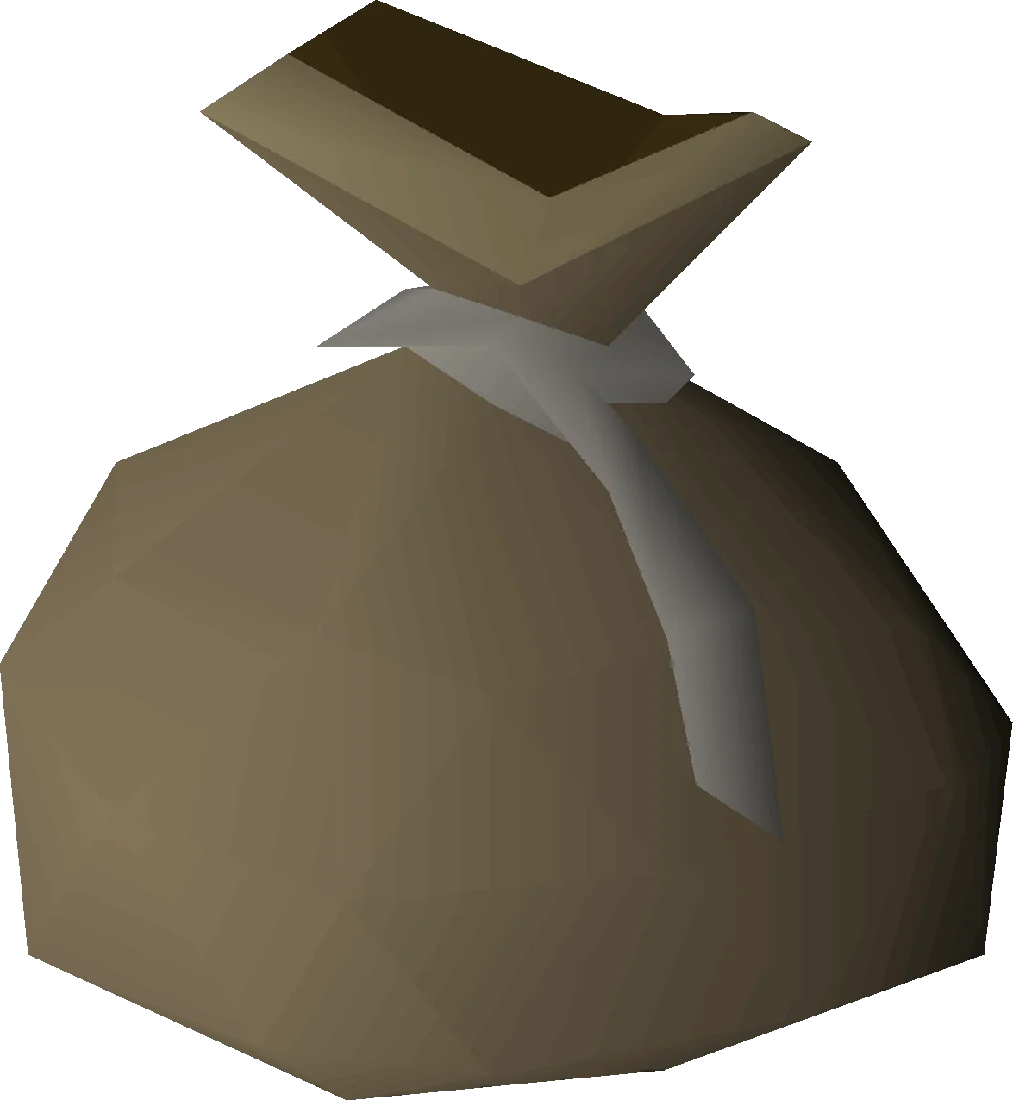
Large pouches can be obtained as rewards from the Rewards Guardian at Guardians of the Rift or as drops from abyssal leeches, guardians and walkers found within the Abyss or the Abyssal Area. You must obtain the smaller pouches first. You do not need to have the Runecraft level (50) in order for it to be dropped, but it is required to use it.
Use the orb on your large or colossal pouch to create an illuminated large pouch.
As usual, no other weapons or armour are allowed on Entrana. The Abyss is intended to be the only way to enter Entrana with the orb. However, players with a Greater Teleport Focus on their boat can circumvent this by casting Teleport to Boat on a ship docked at Entrana. If using the Abyss, it is accessible through a teleport from the Mage of Zamorak, who is located in the Wilderness at the point where the River Lum goes underground, just north of Edgeville. Enter the Abyss to reach the Law Altar, and through it, Entrana.
- Note for Ultimate Ironman players: The orb and the large pouch containing the orb will be lost if the player dies after putting the orb in the pouch, including to deathpile or deathbank. If obtaining a large pouch from Abyss, make sure to deathpile or deathbank gear and items after obtaining the pouch but before putting the orb in it (the orb is always lost on death, players can get a new orb after dying from the Monk at Paterdomus). Do not put the orb in the pouch before you deathbank or deathpile and are fully ready to go to Entrana. Note the pouch used for this quest will be lost regardless as part of successful completion.
Surprise!
Items needed: The large pouch (Devious Minds)
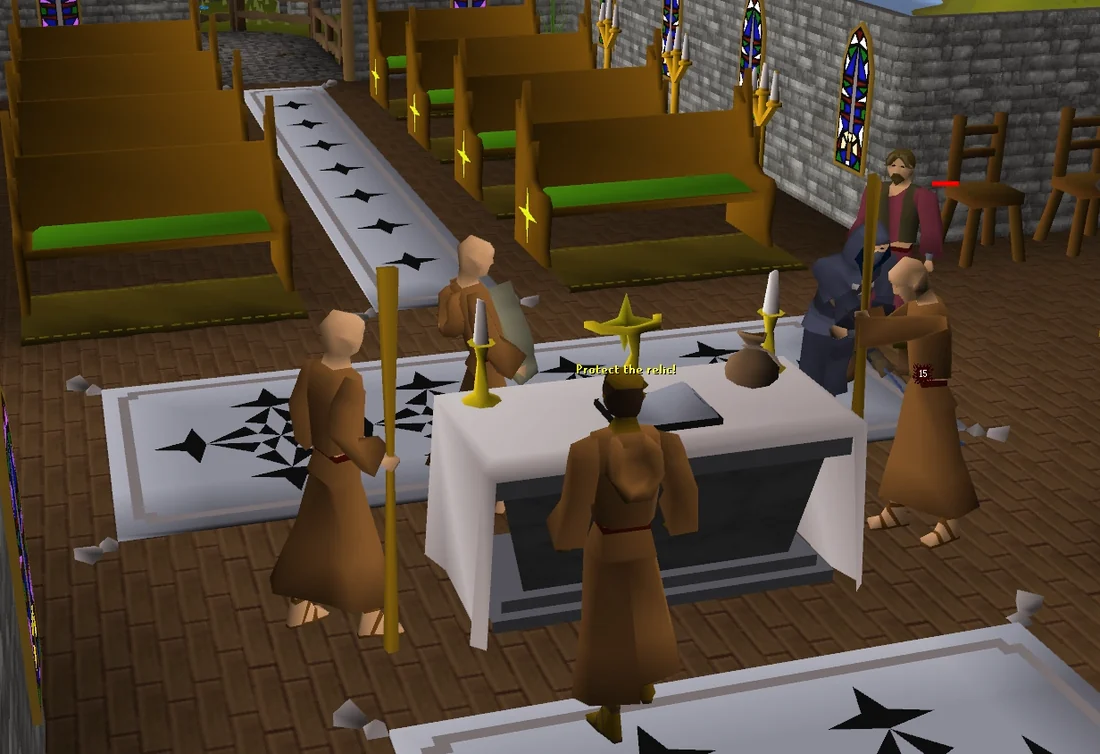
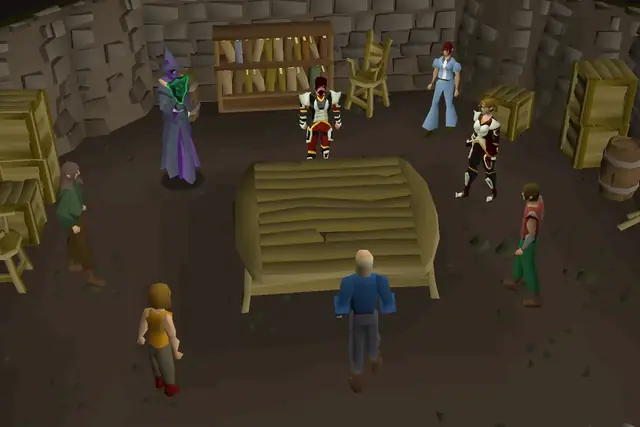
On Entrana, head to the church at the heart of the island and use your pouch on the altar. A cutscene ensues, wherein the monks are walking towards the altar to begin the ceremony, one of them holding a mysterious relic, when suddenly an Assassin wielding the bow-sword teleports in, swiftly kills the monks and steals the relic. After teleporting away, the orb on the altar explodes.
| Assassin Attack! | |
| The jingle that plays during the cutscene. | |
After the cutscene, talk to the High Priest. It turns out that the orb you delivered was in fact a teleport beacon, which allowed the assassin to sneak into the holy island, unhindered. After questioning the player, he will conclude that no worshipper of Saradomin would ever do this; he wants you to return to the Paterdomus Temple to look for any trace of the 'monk'.
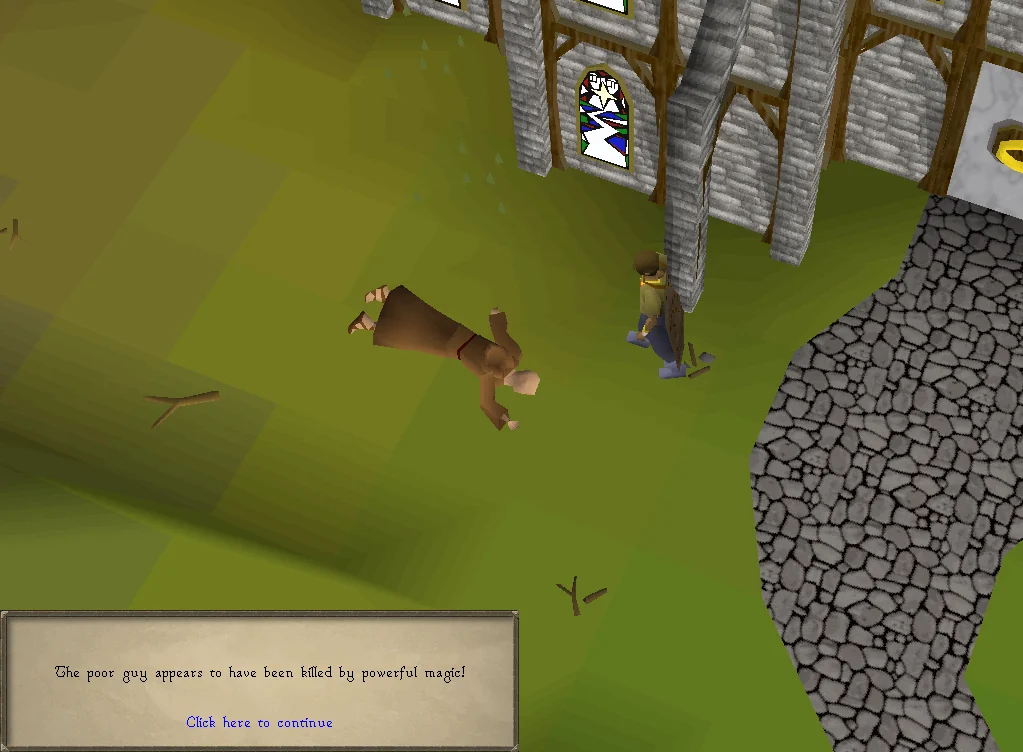
On arriving back at the Paterdomus Temple, the monk you helped is gone, replaced by a Dead Monk. Searching the body reveals that he has been killed by powerful magic, and is not the same person you spoke to earlier.
Go back to Entrana and speak with the High Priest again (you can travel via Port Sarim this time if you wish). He will reveal that the relic was once part of a powerful artefact, and asks you to report it to Sir Tiffy Cashien. Find Sir Tiffy sitting on a bench in Falador Park. Unsurprised, he reveals that the Temple Knights already had intel on the relic being stolen. After the player asks if there is anything they can do to help, Sir Tiffy says they will be in touch.
Congratulations, quest complete!
Quick checklist 17 instructions
Use this when you already know the route. The full walkthrough above includes explanations and diagrams.
Starting out
Talk to the monk outside of the Paterdomus Temple, which is east of Varrock.
Say: Yes. (You can use fairy ring code CKS and then run west and climb the shortcut to arrive there quickly).
A strange weapon
Go to Doric's house north of Falador.
Use the mithril 2h sword on Doric's Whetstone to make a slender blade.
Attach the bow string to it to make the bow-sword.
A gift for Entrana
Talk to the monk again with the bow-sword.
Use the orb on the Large pouch.
Ultimate Ironmen: The Large pouch is lost upon death if the orb is inside it. Use the orb on the pouch only after 'banking' for Entrana.
Bank your weapons and armour and take out supplies to protect against the monsters in the Abyss.
Go to the Law Altar through the Abyss.
Exit the portal and head to the church on Entrana.
Surprise!
Use the pouch on the church altar and wait for the cut-scene to finish.
Talk to the High Priest.
Head back to the monk in Paterdomus.
Search the Dead Monk.
Go back to Entrana and speak with the High Priest. (Rat Pits Minigame Teleport will take players to Port Sarim. Requires Ratcatchers quest. Players can also use the Minigame Pest Control teleport which is very close to Port Sarim)
Head to Falador Park and talk to Sir Tiffy Cashien.
Say: Devious Minds.
Congratulations, quest complete!
QUEST COMPLETE
Rewards
- 5,000 Fletching Fletching experience
- 5,000 Runecraft Runecraft experience
- 6,500 Smithing Smithing experience
OSRS WIKI CONTRIBUTORS
Sources & credits
Walkthrough text and preparation lists are adapted from Old School RuneScape Wiki contributors under CC BY-NC-SA 3.0. Game imagery © Jagex Ltd; individual image credits are available from their captions. This page is fan-made and not affiliated with Jagex.
- Devious Minds →full guide · revision 15292315
- Devious Minds/Quick guide →quick guide · revision 15261955
KEEP QUESTING