1
1Requirements
- Completion of The Fremennik Trials
- 40 Firemaking [boostable] [not required to start]
- 50 Woodcutting [boostable] [not required to start]
- The ability to defeat a level 100 monster
QUEST 123 · MEMBERS
Poor Olaf Hradson. He has to live up to such expectations. His ancestors sailed all over the world, and now he has to go out and prove himself their equal. If only he could read a map... If only he could sail... If only he hadn't crashed! Can you help a depressed and soggy Fremennik regain his pride, and possibly the lost treasure of his grandfather?
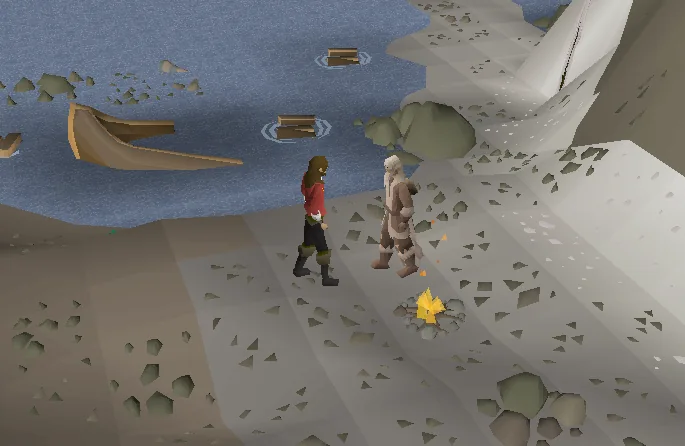
Talk to Olaf Hradson east of Rellekka, just south of the Rellekka Hunter area.
STEP BY STEP
Follow the chapters below. Click any screenshot or diagram to view it at full size.
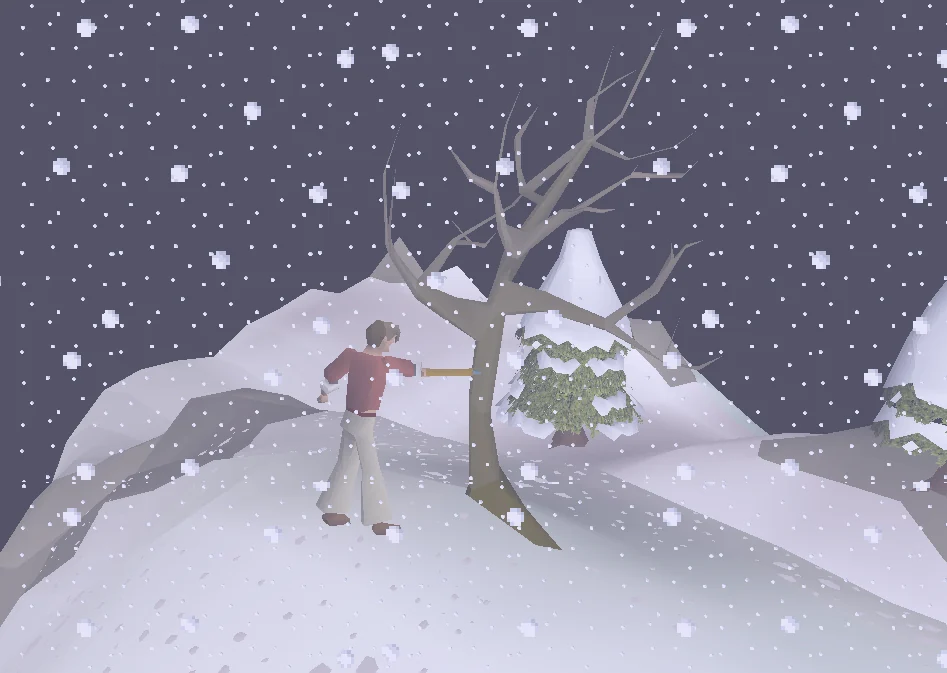
Talk to Olaf Hradson, who is north-east of Rellekka by the entrance to the snow hunting area, Keldagrim, and fairy ring DKS. He will tell you about his attempt to live up to his family's reputation by becoming an expert explorer. Although he failed miserably, he still wants to make his family proud. He wants you to deliver some special carvings to his wife and son in Rellekka, pretending they are from a faraway land. Unfortunately, he only has damp driftwood on him, as his ship was allegedly smashed thrice onto the rocks in a huge storm. He directs you to the windswept tree up the mountain path to the east, from which you could obtain some dry wood. He promises you the treasure map he had been carrying in return.
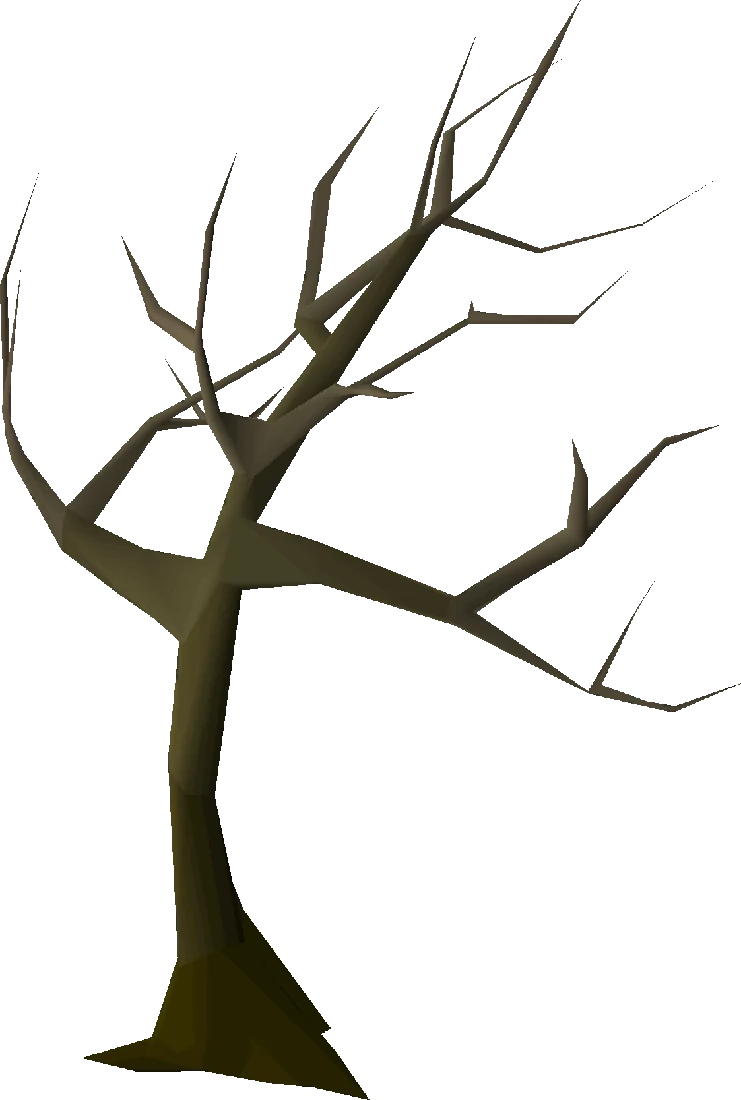
Go up the snowy hill to the east and cut the windswept tree with any axe to get windswept logs. Once you bring the logs back, Olaf will make a crude carving for you to take to his wife Ingrid, and an even cruder carving to give his son Volf back in Rellekka.
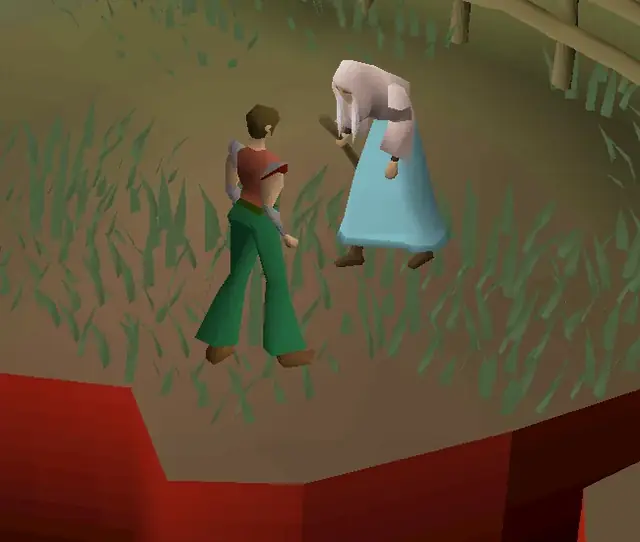
Olaf's wife, Ingrid Hradson, is found wandering around the well, just south-east of the longhall in Rellekka, or in the house next to it. You can take the agility shortcut at the eastern fence if you have 57 . The player will give her the carving, describing it as an expensive, exotic gift from the far-flung and tropical shores of the Island of Obscurity. She will give you a piece of freshly baked bread as thanks.
Olaf's son, Volf Olafson, is further north by the helmet shop. After you tell him that his father has sent him a very valuable gift from the Island of Obscurity, he will give you a cooked shark as thanks.
Talk to Olaf again, whose fire seems to have gone out. He is freezing but would rather die than return to Rellekka so soon and admit his lie. He will give you some damp planks and ask you to light the fire. Use them on the embers, and light it with your tinderbox (requiring 40 ). After you make the fire, he will ask for food, having eaten nought but seaweed and biscuits for a week. You do not have to give him food; you can simply tell him not a chance, and he will give you the map anyway. If you do choose to give him food, he will take any piece from your inventory.
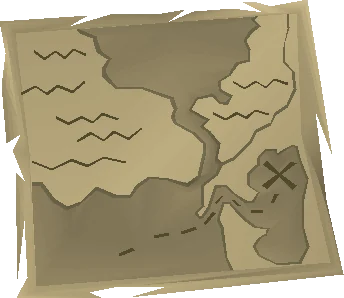
He will give you the last map of his grandfather, Sven the Helmsman. It supposedly leads to his last treasure hoard, but Olaf has been unable to decipher the runic inscriptions. He wishes you luck on your search and decides to remain where he is for now to practise his carving and possibly starve.
Read Sven's map. It depicts the precise area where you are. The X represents the tree up on the hill that you visited earlier. Dig next to the same windswept tree on the hill from earlier and you will fall into a cave.
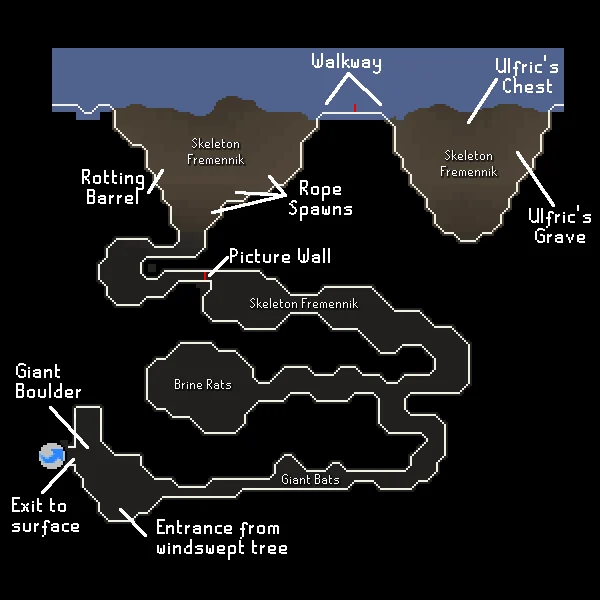
Note: You can leave the cave at any time by rolling up the boulder. This will place you by Olaf, and you will need to climb the hill and dig again to re-enter.
Follow the corridor to the east and then north, until you reach the picture wall. Along the way you may kill a brine rat in the western enclave to complete a task in the Medium Fremennik Diary (requires 47 ).
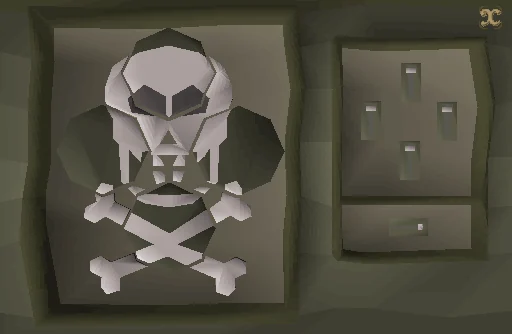
Once at the picture wall, kill a level 40 Skeleton fremennik to get a key. Crumble Undead is useful to kill the skeleton quickly.
Search the picture wall to find a puzzle on it that must be solved by pulling levers. The pieces must be rotated to get an image of a skull and crossbones. The top lever turns the top and left circles anticlockwise. The left lever rotates the left and bottom circles. The bottom lever rotates the top and bottom circles. Finally, the lever on the right rotates the left and right circles. Once the image is correct, pull the horizontal lever at the very bottom.
The levers in order are: right, up, left, down, and then the very bottom.
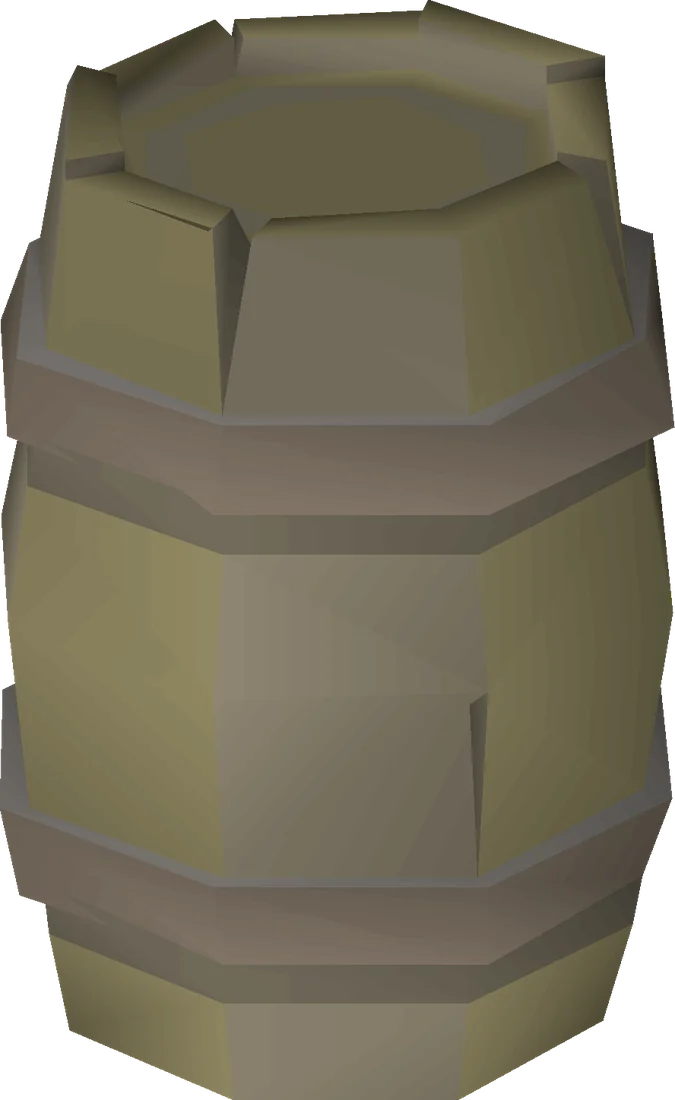
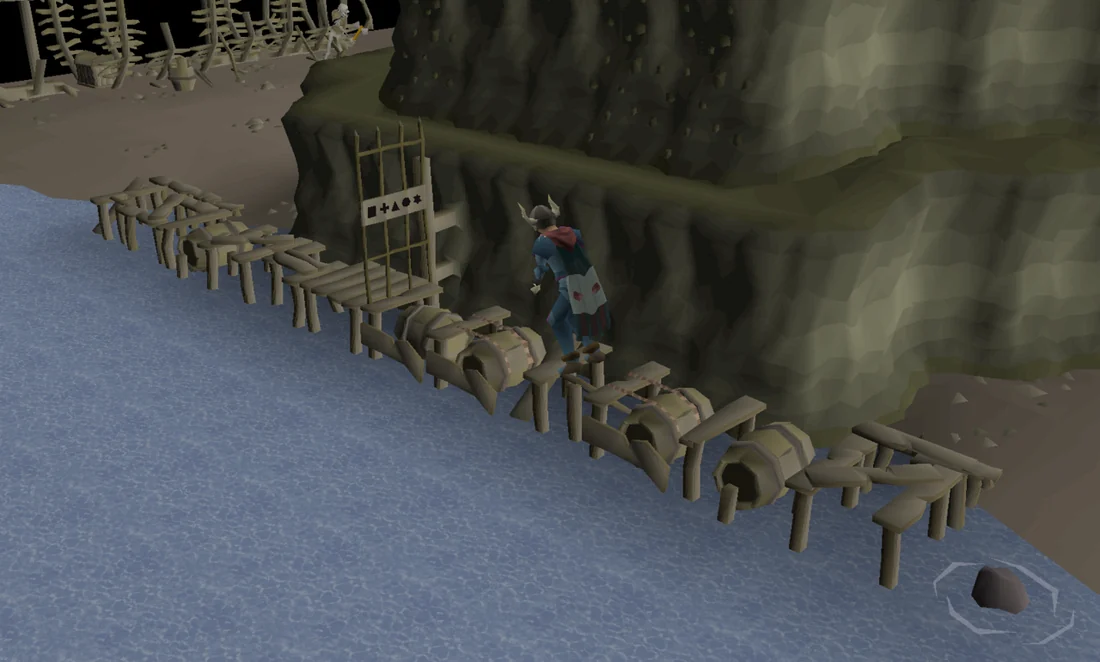
Inside the next room, you will find ropes and rotten barrels that can be picked up. Take two barrels and, if you haven't brought them with you, six ropes. If you brought an agility potion or a summer pie, drink or eat it here to boost your Agility level. Cross the bridge to the north-east and use a barrel on the broken section of the bridge to fix it. Do this again on the next broken section. You may slip and fall off the bridge. If this happens, you will appear just north of Olaf and will have to climb up the hill by the windswept tree and dig to enter the cave again.
Contrary to popular belief, Agility level is the only factor in increasing the player's chance of successfully crossing the bridge. The success rate for crossing each tile of the bridge is AgilityLevel×0.86+32.47+(Falls×2.4).[1] Crossing the entire bridge is guaranteed at 78 . However, because it rolls for all 12 tiles, there is still only a ~50% probability of crossing the bridge at 73 . [2] At 1 , the probability per tile is only 33.33%.
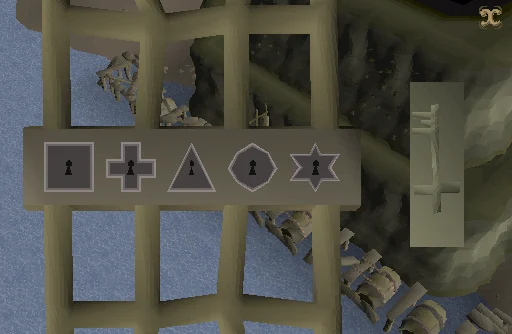
There is a locked gate in the middle of the bridge. Try to open it by using your key on it and selecting the right shape, and you will be shown five different locks. If you fall after you opened the gate you will have to collect a key again from a Skeleton fremennik nearby. Choose the one that matches the loop of your key, and the gate will open. If you lose your key, or fall off after the door, but before you complete the rest of the bridge, you will need to kill another Skeleton fremennik to get another key to be able to get back through the door.
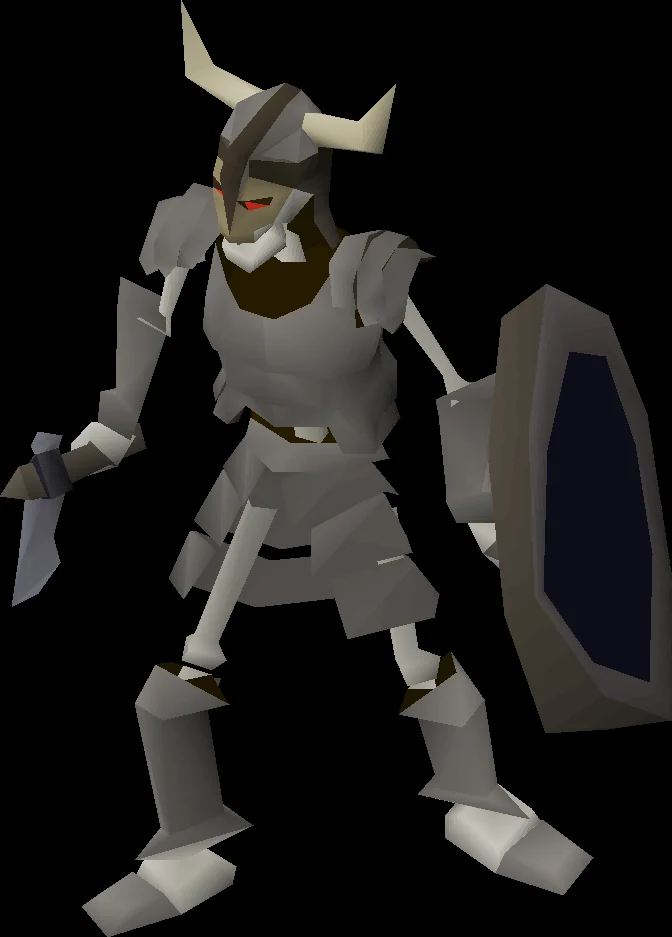
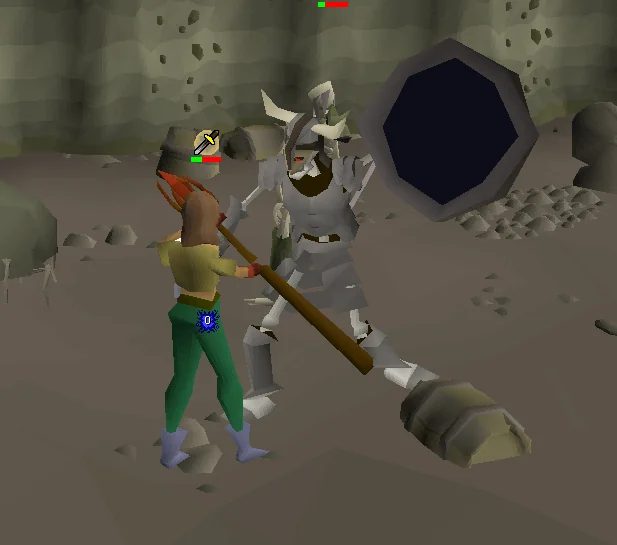
Once through the gate, make your way to the end of the rotten bridge. Again, you can fail, in which case you are washed out of the cave. The final section of the cavern contains a rotten shipwreck containing a treasure chest.
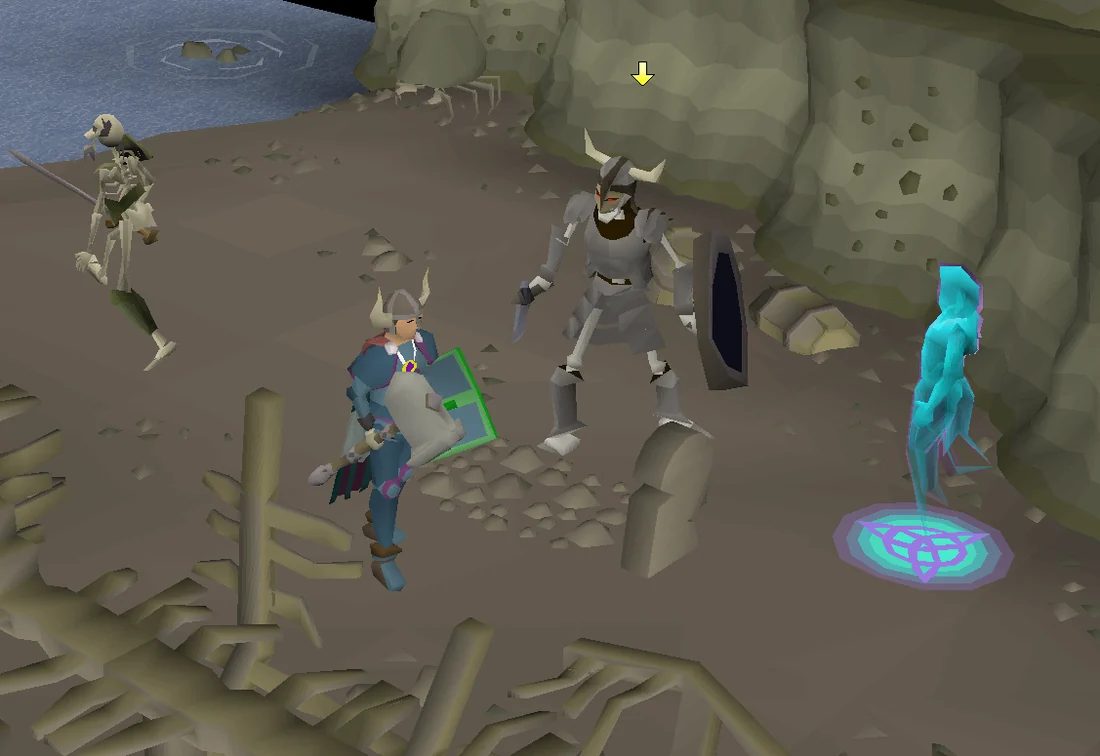
Attempt to open the chest. A level 100 skeleton named Captain Ulfric will appear from a grave. Protect from Melee is effective as he only uses melee; otherwise you may use his grave as an obstacle for a safespot. It is worth noting that he can teleport to you during the fight. Although the undead Fremennik is strong and accurate, he only has 60 Hitpoints and can be killed quickly. Crumble Undead and/or a salve amulet are also effective.
After defeating Ulfric, search the chest again to claim Sven's treasure and finish the quest.
Congratulations, quest complete!
Use this when you already know the route. The full walkthrough above includes explanations and diagrams.
Talk to Olaf Hradson west of fairy ring DKS.
Say:
Chop the windswept tree up the mountain to the east and just north of the fairy ring and obtain Windswept Logs.
Take the logs back to Olaf.
Travel to Rellekka and talk to Ingrid Hradson who is near the well (water drop on map) (Enchanted Lyre or Fremennik sea boots 1).
Talk to Volf Olafson who is outside the helmet shop to the north.
Return to, and talk to Olaf (Teleport to a Fairy Ring, or use the agility shortcut to the East)
Use the damp planks on the fire pit (embers) next to Olaf.
Talk to Olaf again.
Say:
Return to the tree and dig next to it.
Go all the way east in the tunnel and then north.
(Optional): Kill a brine rat here to complete a Fremennik Medium Diary achievement (requires 47 Slayer).
Kill a skeleton fremennik and pick up the key it drops.
Search the picture wall to the far west.
East, North, West, South, and then the very bottom ("Confirm").
Search the wall again to walk through.
Pick up two rotten barrels and six ropes in the next room.
Go to the bridge to the north-east and use the barrels on the missing portions; a higher level Agility helps (If you fall, you will need to go through the cave again.) (Recommended: stamina potions.)
Open the gate.
Pick the shape that matches the loop part of the shown key. If you fall after opening the gate, you will need to retrieve a new key.
If you fall off the bridge after opening the gate, you have to reobtain a key to open the gate in the middle again.
Search the chest located in the old ship and kill Ulfric (level 100, uses melee).
The safespot for Ulfric is the dirt north of his grave stone
Search the chest again.
Congratulations, quest complete!
QUEST COMPLETE
OSRS WIKI CONTRIBUTORS
Walkthrough text and preparation lists are adapted from Old School RuneScape Wiki contributors under CC BY-NC-SA 3.0. Game imagery © Jagex Ltd; individual image credits are available from their captions. This page is fan-made and not affiliated with Jagex.
KEEP QUESTING
Game icons © Jagex Ltd, via the OSRS Wiki. Interface icons by Lucide.