QUEST 166 · MEMBERS
The Heart of Darkness
Uncover the secrets of a mysterious cult and unlock a new dungeon.
- Difficulty
- Experienced
- Length
- Medium
- Quest points
- 2
- Released
- 25 September 2024
 2
2Jump to a chapter
Before you start
Where to start
Talk to Prince Itzla Arkan at the Teomat.


Items required
- 30 coins
- Pickaxe (obtainable during quest)
- Up to 4 empty inventory slots
Recommended
- 65 Combat level
- 43 or higher Prayer level for Protect from Melee
- Combat gear
- Food
- 10 Quetzal feed, 3 limestone brick, and 4 soft clay to build the Unbuilt Landing Site in Salvager Overlook
- Prayer potions or Super restore potions
- Super combat potions or similar

Enemies to defeat
- Several Emissary Brawlers (levels 74 and 86)
- Several Emissary Conjurers (level 71)
- Prince Itzla Arkan (level 167)
- Amoxliatl (level 263)
Ironman concerns
You will need 3-4 empty inventory slots at multiple parts of the quest.
STEP BY STEP
Walkthrough
Follow the chapters below. Click any screenshot or diagram to view it at full size.
Infiltration
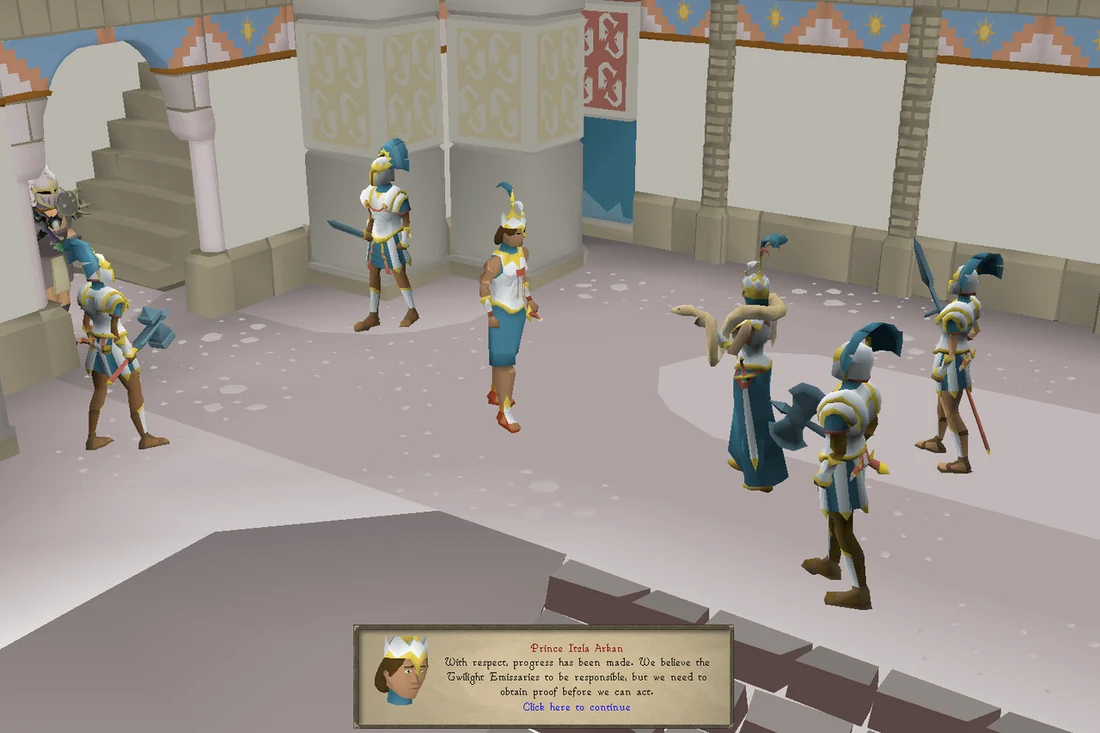
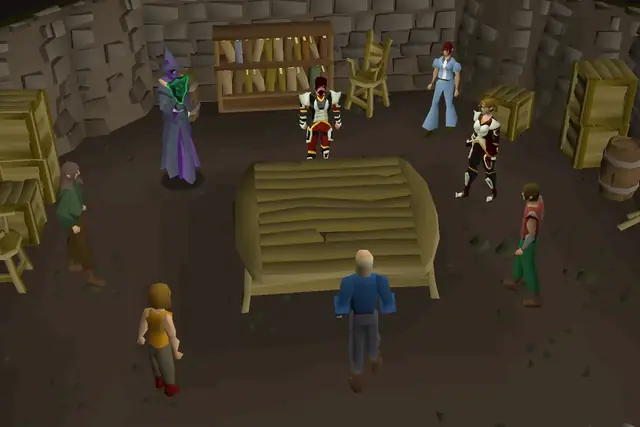
Start the quest where you left off at the end of Twilight's Promise, at the Teomat. Speak to Prince Itzla, who will propose you and him go undercover by infiltrating the Twilight Emissaries. As he discusses the plan, his mother, Queen Zyanyi Arkan, will arrive. Frustrated at her son's failure to protect his father, Itzla tells her about his plans to lead the infiltration. However, she refuses, insisting that he confide in someone he absolutely trusts to lead in his stead. After the Queen's departure, Itzla relents and asks you to visit a pub in the Quetzacalli Gorge to meet a trusted contact of his, who will fill you in on the infiltration operation.
Head south-west towards Renu and fly to the Quetzacalli Gorge, then head to the Windbreaker pub and speak to the bartender. Ask him to rent the basement room as instructed, only to find out a basement doesn't exist; he will offer to let you rent the ground floor room for 30 coins instead. If you don't have 30 coins, either pickpocket the citizens around the area or use the bank just east of the pub. Once you have the coins, accept the bartender's offer, then head to the east room and rest at the bed.
Upon waking up, you will find a disguised Prince Itzla to be your "trusted contact". He claims that there are very few people he can trust after the events of the previous quest, and that the less people who know about his mission, the better; additionally, as an outsider fairly uninvolved in Varlamorian politics, you ironically are far more trustworthy. He will then tell you that he believes a shopkeeper in the Gorge is recruiting members for the cult, and that you will pose as a potential recruit in the hopes he'll contact the Emissaries.
Head out east to the Quetzacalli Gorge General Store and speak to the shopkeeper, and tell him that you've heard he can offer help to those in need. He is initially skeptical, but accepts your request to join the Emissaries, and tells you and your "friend" to head to the Twilight Temple, where he'll send word for them to expect two recruits. Return to Prince Itzla at the Windbreaker, he will then meet you at the Temple.
Trials of the Emissaries
Items needed: 4 empty inventory slots
Items recommended: 10 Quetzal feed, 3 limestone bricks, and 4 soft clay. Combat gear, Food, Prayer Potions and at least 43+ prayer for Protect from Melee
Items recommended: 10 Quetzal feed, 3 limestone bricks, and 4 soft clay. Combat gear, Food, Prayer Potions and at least 43+ prayer for Protect from Melee
Head north-east past the gate, and make your way east past the Proudspire, then head south to the Tower of Ascension to meet Prince Itzla. He will tell you that a person named Forebearer Janus will call on the both of you when its time to be tested. In the meantime, he wishes to speak to the nearby recruits for insights on why they wish to join the Emissaries.
Talk to the nearby recruits: Nova, Sergius, Felius, and Caritta. Nova will speak of the Augur, the new leader of the Emissaries, who has reorganized the cult and is said to guide them to Mokhaiotl. Return to Prince Itzla, who will explain that Mokhaiotl refers to the centre of the world, which is where it is said Ximoua will happen. As you discuss this with him, Forebearer Janus calls on the both of you to begin your trials.
Before leaving, it is recommended that you bring the materials to build a landing site: 10 quetzal feed, 3 limestone bricks, and 4 soft clay, as you'll be in proximity to the Salvager Overlook landing site en route to the Temple.
The first trial
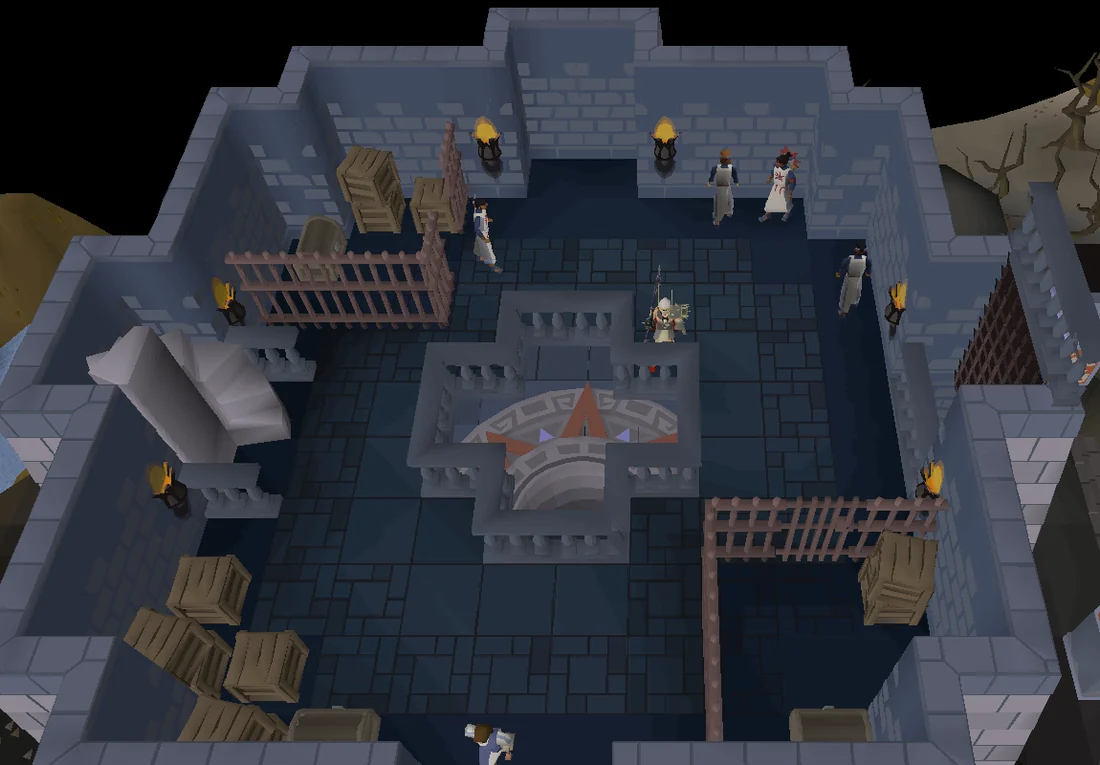
| “ | The aim is simple: Speak the correct pass phrase to me and you will be allowed to proceed. | ” |
You will be in a room with three Emissary Ascended. Pickpocket one of them to obtain a tower key, which is used to open the south-east gate. Search the chest to receive a book and scrap of paper. Take note of the first letter of each white word in the book, which is the passcode for the south-western chest; you will receive a poem and another scrap of paper.
The first word of each verse in the poem uses the language of the Old Ones, translated as cardinal directions: Takam = East, Makt = North, Silam = West, Uitt = South. Reference the poem to get the order of arrows for the code for the last chest located in the north-west part of the room. Enter the code to get the last scrap of paper. Combine the three for a completed note, which contains a pass phrase.
Speak the pass phrase to Forebearer Janus to complete the first trial.
The second trial
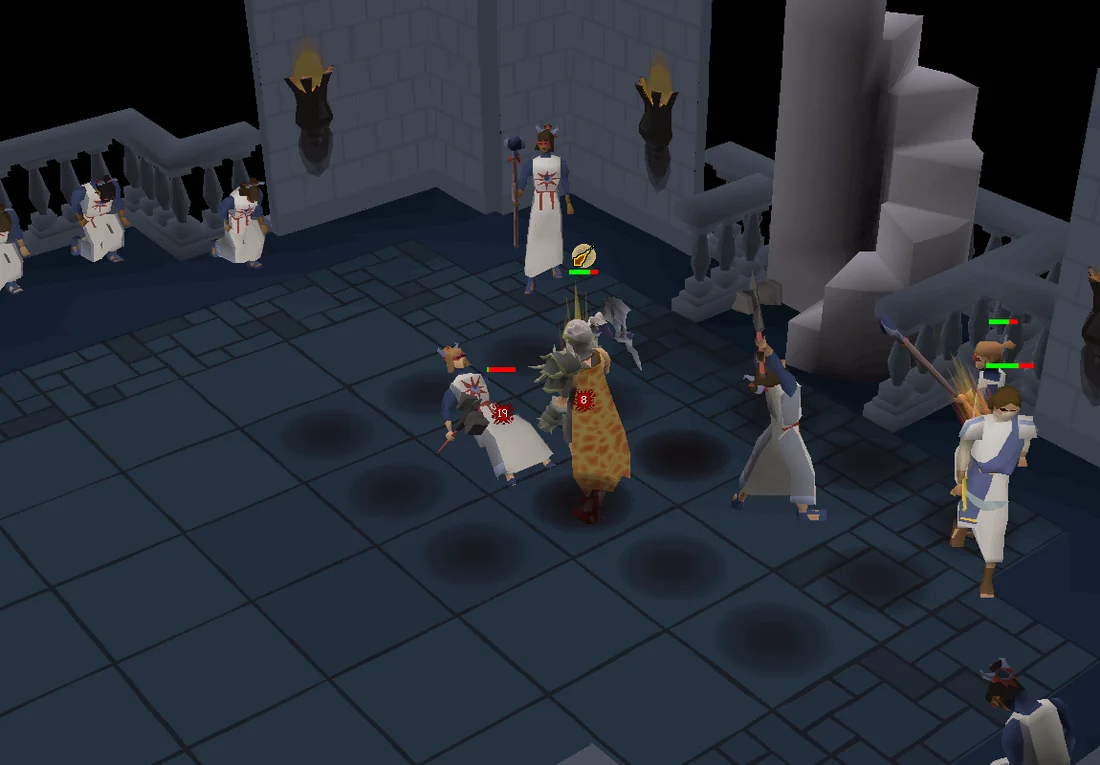
| “ | Welcome to your next trial. Here, there is one simple goal... Survive. | ” |
The second trial is combat-based, with Emissary Brawlers (melee) and Emissary Conjurers (magic) attacking two at a time, then four at a time. The level 86 brawlers can use a special attack that strikes the tiles adjacent to them, while the conjurers can heal themselves and adjacent brawlers. These special attacks are marked by black shadows appearing on the ground. Players should take care to move out of the brawlers' special attack as it can hit through prayer. The prince is able to dodge this attack on his own.
There are a total of four waves:
- Wave 1: Two level 74 brawlers initially, with two reinforcements replacing them as each falls.
- Wave 2: One level 74 and one level 86 brawler initially, with two reinforcements of the same kind.
- Wave 3: One level 86 brawler and one conjurer initially, which are replaced by one level 74 brawler and another conjurer.
- Wave 4: Two level 86 brawlers and two conjurers at the same time, with no reinforcements.
Both you and Prince Itzla must survive the trial; use the bandages from the medical boxes around the room on him to heal. There are a total of three boxes with five bandages each, and will heal 18 hitpoints to Prince Itzla. The bandages can also be used on yourself, but will heal less[clarification needed] than when used on the prince. Lower level players who cannot clear the trial quickly should be careful to leave enough to heal him.
If Prince Itzla dies, you will fail the trial and have to restart. The bandage boxes will be refilled.
Speak to Forebearer Janus again to start the third trial. Any remaining bandages should be used to heal before this as they will be removed upon proceeding.
The third trial
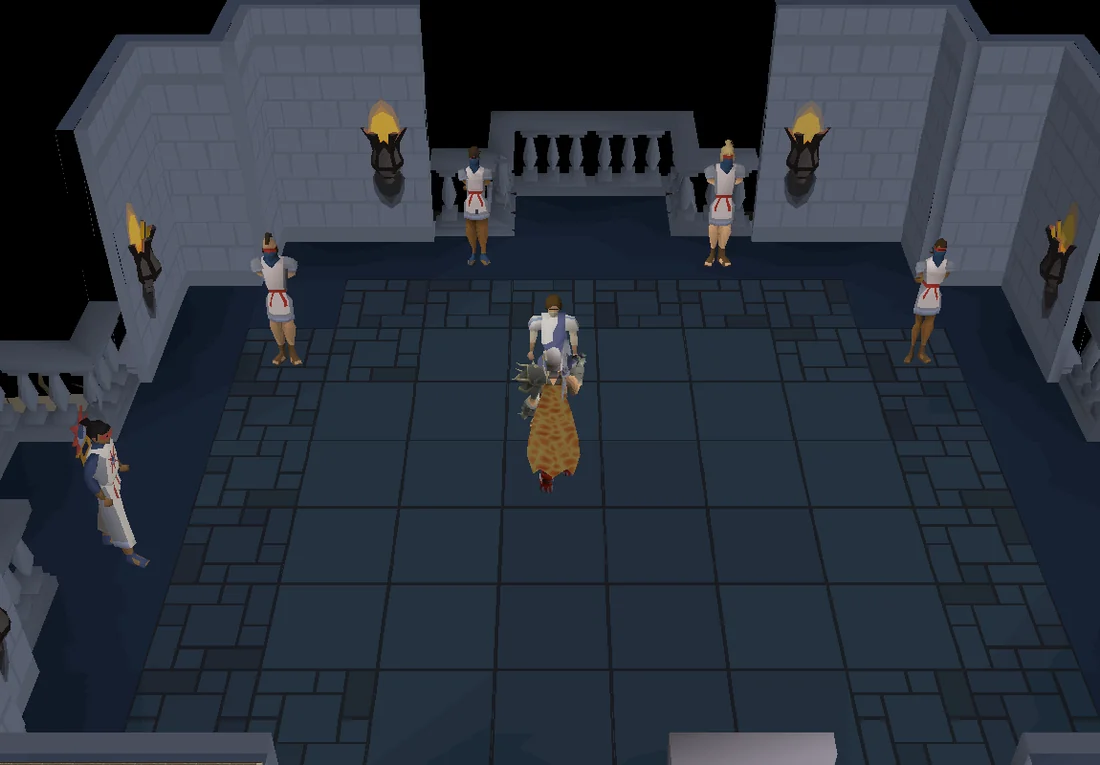
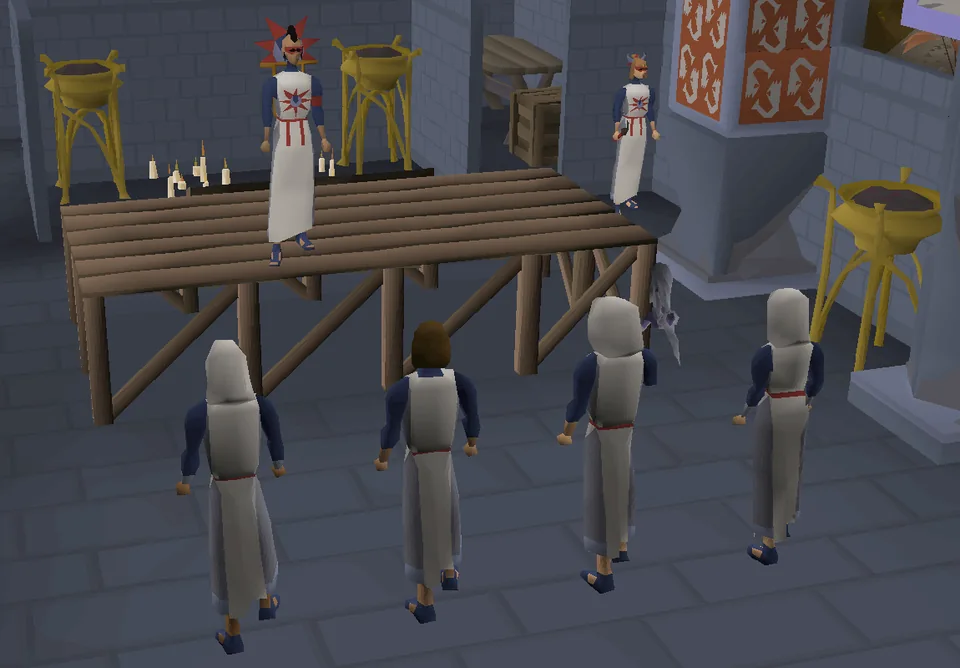
| “ | Welcome to your third trial. Before you stand some recently initiated acolytes. However, it seems one of them was not as loyal to our cause as first believed. Your task is to question all four and determine who the traitor is. | ” |
The third trial involves questioning the members of the cult - Tenoch, Silia, Adrius, and Eleuia - and working out who the traitor is. Ask each of them either why they joined the Emissaries or what they know about the Final Dawn; the traitor (different for each player) will always mention Mictl. Mictl (the afterlife in the Losanium religion) not only doesn't exist in the religion of the Twilight Emissaries, but is also in conflict with its cyclic cosmological model, where the world is periodically destroyed and rebuilt into a new one. Once you question each member, you'll be given the option to accuse them while talking to them. If none of the members mention Mictl, you may need to exit and re-enter the floor.
If the chosen member is the traitor, Janus will kill them rather than keep them barely alive; speak to him to begin the final trial.
| Player Prompt | If Tenoch is traitor | If Silia is traitor | If Adrius is traitor | If Eleuia is traitor |
|---|---|---|---|---|
| Why did you join the Emissaries? | To do my duty, of course. Ralos and Ranul wish us to bring about the end of this world. Only then will we all unite in Mictl. | I always knew people were wrong about me. I knew I would serve a higher purpose. I never cared what it was. I only cared that in doing so, I would be granted a place in Mictl. | To be honest, I wasn't too sure about joining at first. My friend convinced me though. Here we have a chance to be granted a place in Mictl. | I wished to see my god in mortal form and be granted eternity in Mictl. In return for my service, the Emissaries promised me they could grant that wish. |
| Tell me about the Final Dawn. | The Final Dawn is our destiny. Ralos and Ranul will unite us all and end this world, but in doing so, they will grant us eternal life in Mictl. | The Final Dawn is an end, but also a beginning. It is when Ralos will use his holy fire to destroy this world. Then he and Ranul will guide us to Mictl. | They say the Final Dawn is inevitable. It's the end that we can't escape from. It's a scary thought, but at least here I have a chance to control my destiny and obtain a place in Mictl. | The Final Dawn is the will of Ranul. He will show us all that death is nothing to be feared. He and Ralos will lead us into forming a new world before then guiding us to Mictl. |
The fourth trial
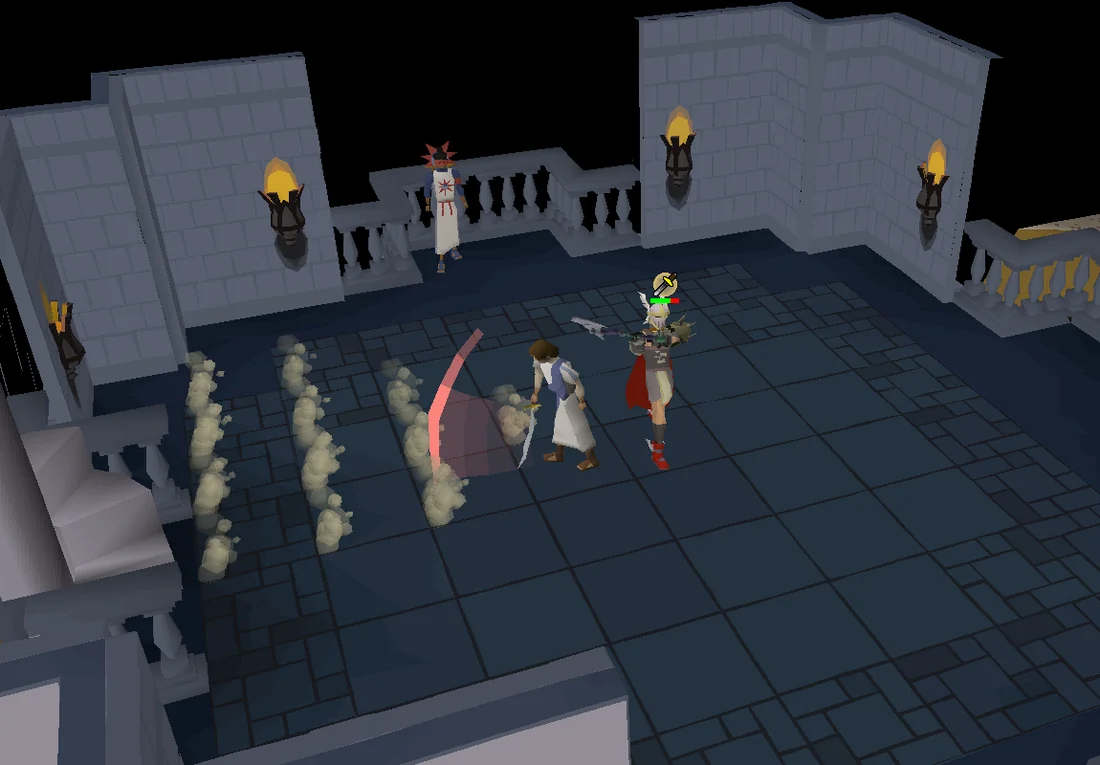
| “ | Victory is within your reach, but one more trial awaits... Face your opponent. | ” |
The final trial requires you to battle Prince Itzla. He uses melee attacks, so Protect from Melee is advised. He will use protection prayers whenever you perform a special attack, and uses two in turn, both of which he will warn you about in advance. For instance, he will pray Protect from Magic if a Voidwaker special is used.
The sword swipe special attack turns off any active protection prayers, but you can simply reactivate them without any delay. The other is an AoE attack, once he warns you he is going to do it, run behind him immediately to dodge.
Upon his defeat, speak to Janus to complete the trials.
The Ruins of Tapoyauik
Items needed: up to 4 empty inventory slots (the icons can be done one at a time, but is recommended against)
Items recommended: Combat gear, Food, Prayer Potions
Items recommended: Combat gear, Food, Prayer Potions
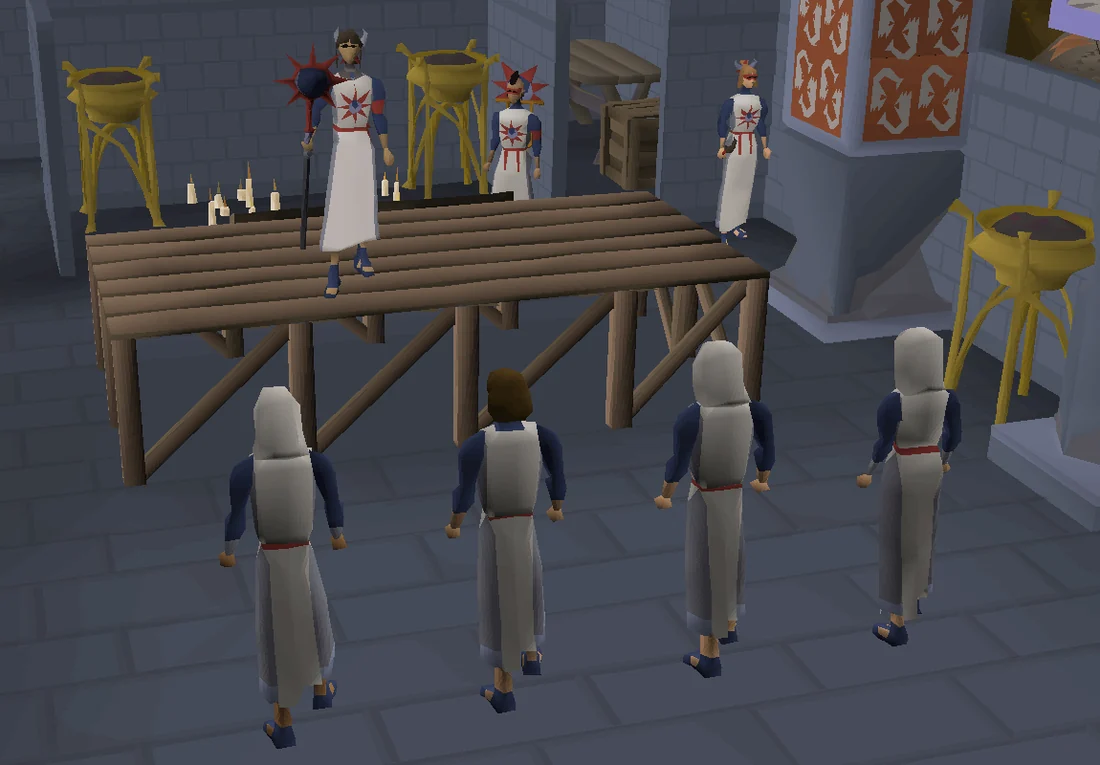
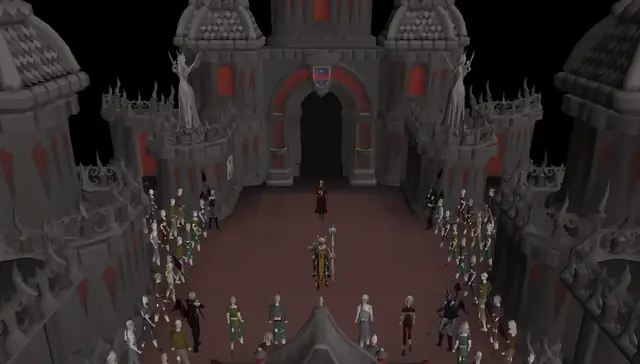
Now that you and Prince Itzla have passed the trials, the Augur herself will oversee the initiation process. Open the nearby chest to obtain the Twilight Emissary Robes, then wear them and make your way to the Twilight Temple to begin a cutscene.
Note: If you teleport out or walk too far, Itzla will go back to the Tower of Ascension.
During the initation, it is revealed that the Augur is indeed Metzli, the Teokan of Ranul, and claims Ennius and Furia Tullus are the mortal forms of Ralos and Ranul, who were reborn as the twins during an eclipse 31 years ago.
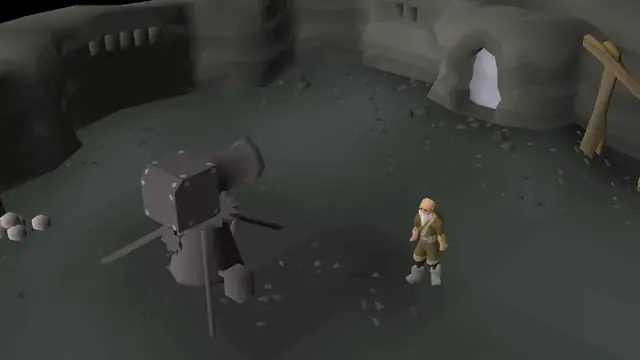
After the cutscene, speak to Forebearer Fides. She will task you with opening up the passage to the Ruins of Tapoyauik, a fortress of the Old Ones under the temple, where Metzli believes they left behind secrets to bring about the Final Dawn. Make your way to the building directly south, and climb down the stairs to the blocked passage; a barrel containing pickaxes can be found nearby to mine it.
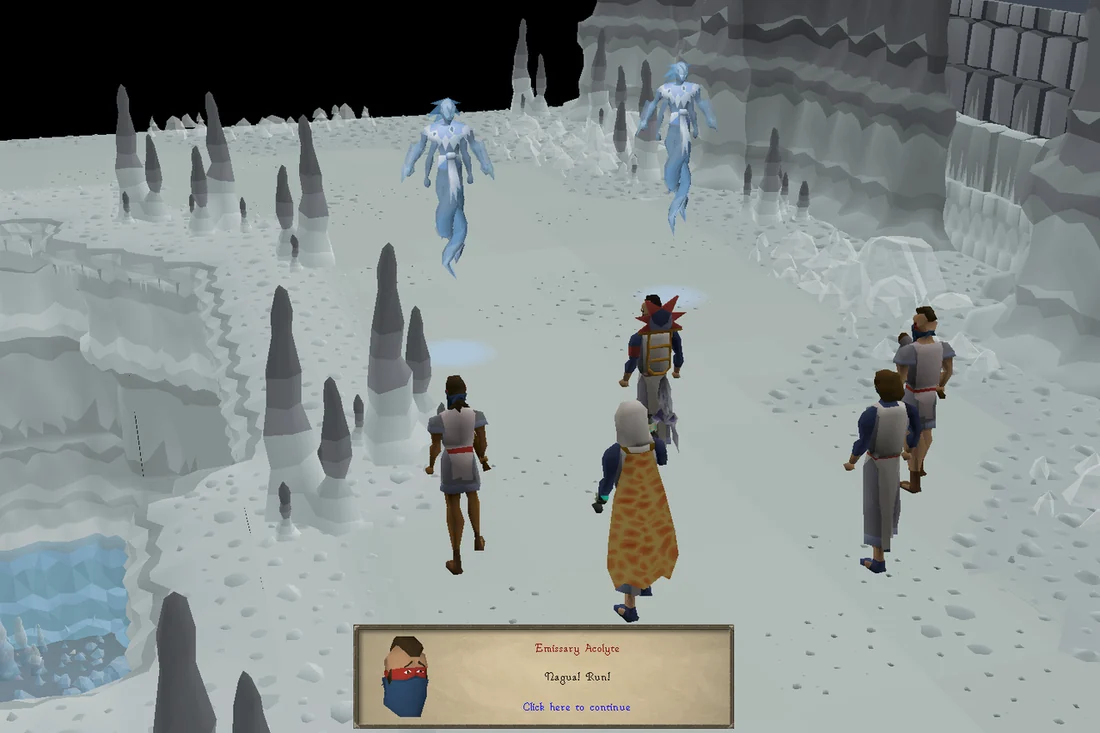
Upon mining the blockage, a cutscene will play in which you proceed further into the fortress. However, the ground rumbles, manifesting two frost nagua, killing Forebearer Vulcan and knocking Prince Itzla over a pit.
Note: Once you have completed the cutscene, you no longer need to wear the Twilight Emissary Robes to proceed. The robes will be required in the subsequent quest The Final Dawn, and can be reclaimed at anytime from the chest you found them in.
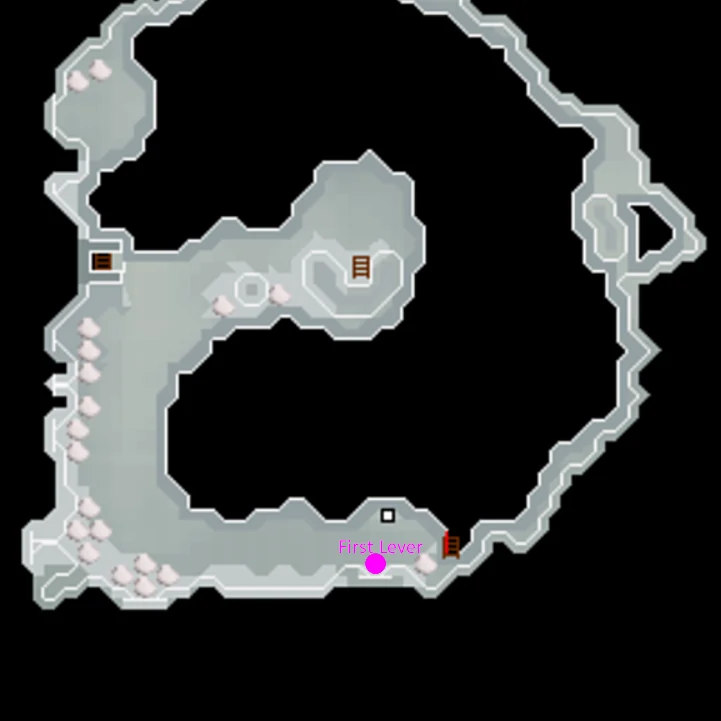
You will now need to navigate the fortress to meet up with Prince Itzla. Run past the frost nagua (use Protect from Magic if able), then avoid the spear traps; getting hit by one will stun you and deal 6-12 damage. Once past them, pull the lever and climb down the nearby ledge.
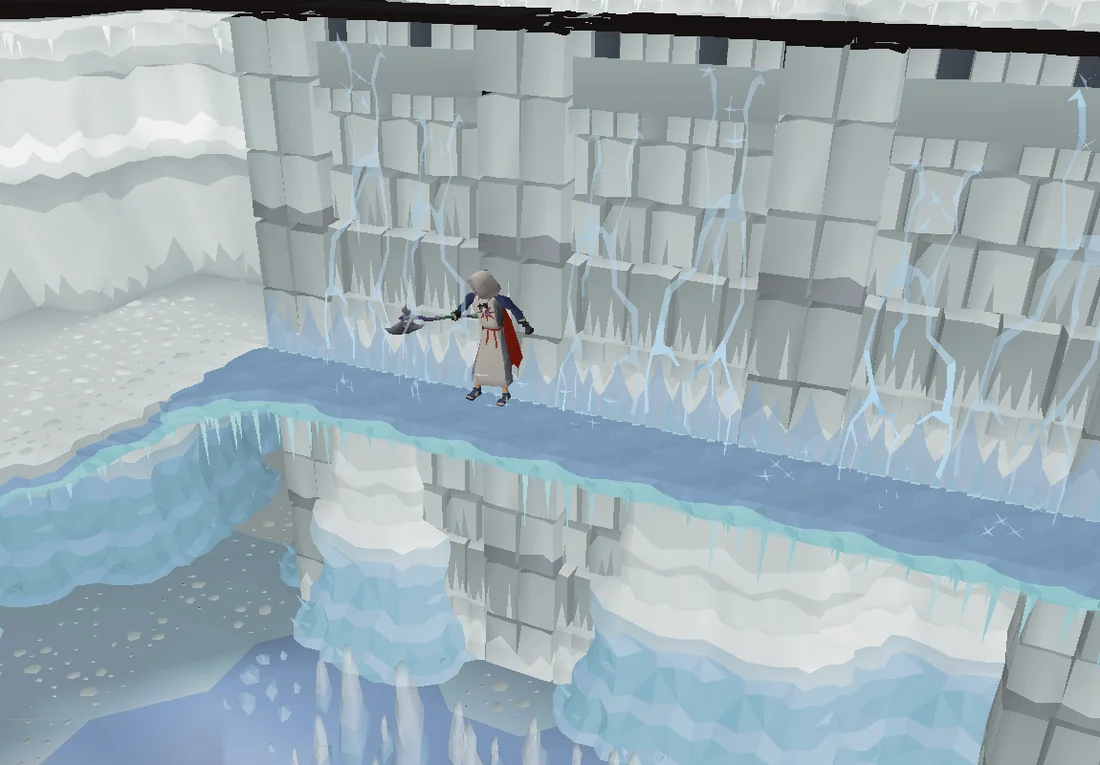
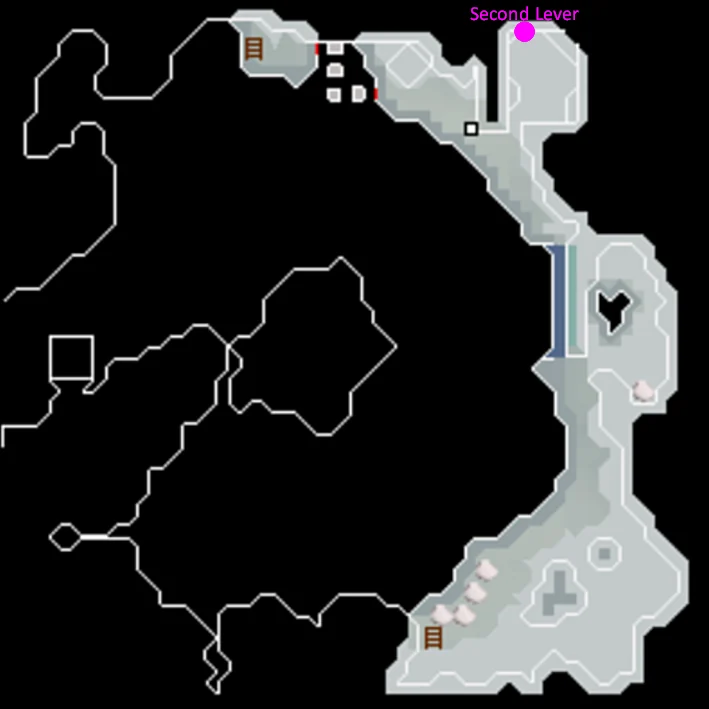
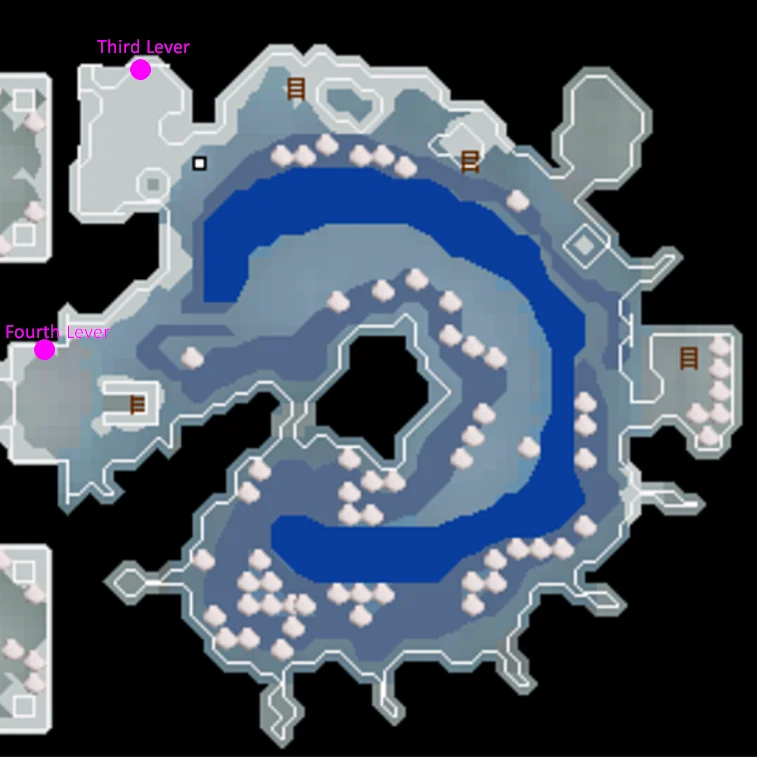
Next, run past the frost crabs and make your way north, avoiding stepping on the traps by taking the middle path. You will come across a wall by an icy ledge that you can slide across. Once across, enter the north-eastern room and move around the trap before pulling the lever. Move west to the frozen platforms and cross them, then climb down the western ledge.
Head west to the enclosed room and pull another lever, avoiding the trap. Head south to find a large gate and another lever to pull on the north side. Before entering, pull the chain just east to unlock a shortcut to the exit. If you need to leave and come back, climb down the stairs to enter the dungeon and head west to climb down this chain.
There are four total levers to pull, each lever lighting a brazier at the large gate.
Icons Puzzle
When you walk west through the gate, you will find yourself in a large, rectangular room divided into thirds. The eastern third that you start in contains many urns and two murals. The middle third has a floor of ice and several frost nagua. The western third contains urns, another two murals, four statues, and a frozen door.
Do not search the urns yet - whilst searching urns, frost naguas will spawn and attack and cannot be safespotted. Instead, inspect the two murals and take note of the first words used (zema, oma, yeya, naui) and the corresponding element that is visible on them. You will need to recall these word-element pairs soon. Then, run all the way west to meet up with Prince Itzla. He will help you fight any nagua that you bring near him.
Now in the western third of the room, inspect the other two murals for their words and elements. Check which three of the statues are broken. Then, you will need to run back east again.
In the eastern third again, search the urns to find three distinct icons which correspond to the broken statues that you inspected earlier. The icons will be found in the urns corresponding to their elements, but there are multiple possible urns for each icon. Incorrect urns will spawn a frost nagua that will attack and chase you around the room. Once you have all three icons, run west again.
Finally, in the western third again, use the icons on their corresponding statues. Once you have done so, you will need to touch each of the four statues in the correct order. The words on the murals determine the order in which the player must touch the statues: Zema = 1, Oma = 2, Yeya = 3, and Naui = 4. Meanwhile, the elements on the murals determine the specific statue that must be touched. The order is different for each player. If all statues are touched, but in the incorrect order, you will take damage from falling rocks.
Upon touching the statues correctly, they will unleash a wave spell, melting the ice off the door and killing any remaining frost naguas near it. The next section will be a boss fight, so return to a bank if needed.
Guardian of the Fortress
| This fight takes place in an instance. |
Items needed: Combat gear (Melee combat strongly recommended)
Items recommended: Food, Prayer Potions and at least 37 prayer to use Protect from Magic, Super combat potions or similar, melee equipment to destroy ice blocks (Glacial temotli)
Items recommended: Food, Prayer Potions and at least 37 prayer to use Protect from Magic, Super combat potions or similar, melee equipment to destroy ice blocks (Glacial temotli)
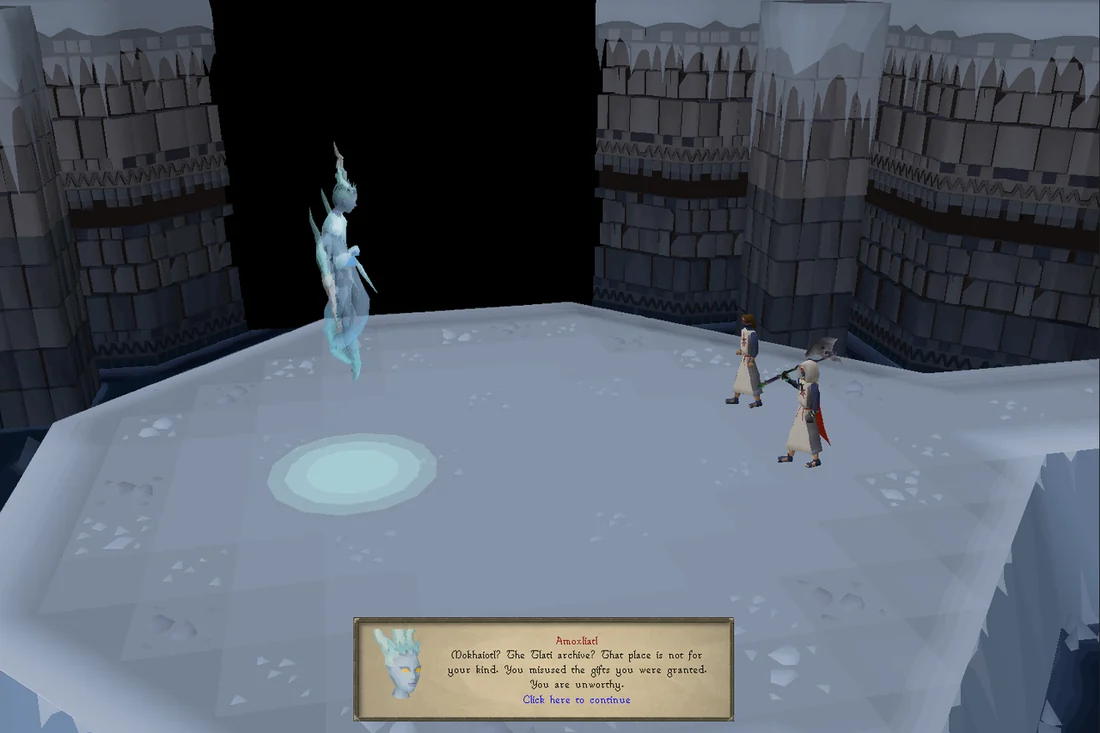
Enter the door to begin a cutscene in which you and Prince Itzla encounter Amoxliatl, a powerful frost nagua guarding the fortress. She will tell you and Itzla that the Mokhaiotl - or the Tlati archive - is off-limits to humans, claiming they are unworthy. Suddenly, Prince Itzla is teleported away, revealing that Metzli, Ennius, and Furia followed you here. As they attempt to deal with you, Amoxliatl claims they have defiled Tapoyauik and will face the consequences. However, as they teleport away, you are forced to fight her in their stead.
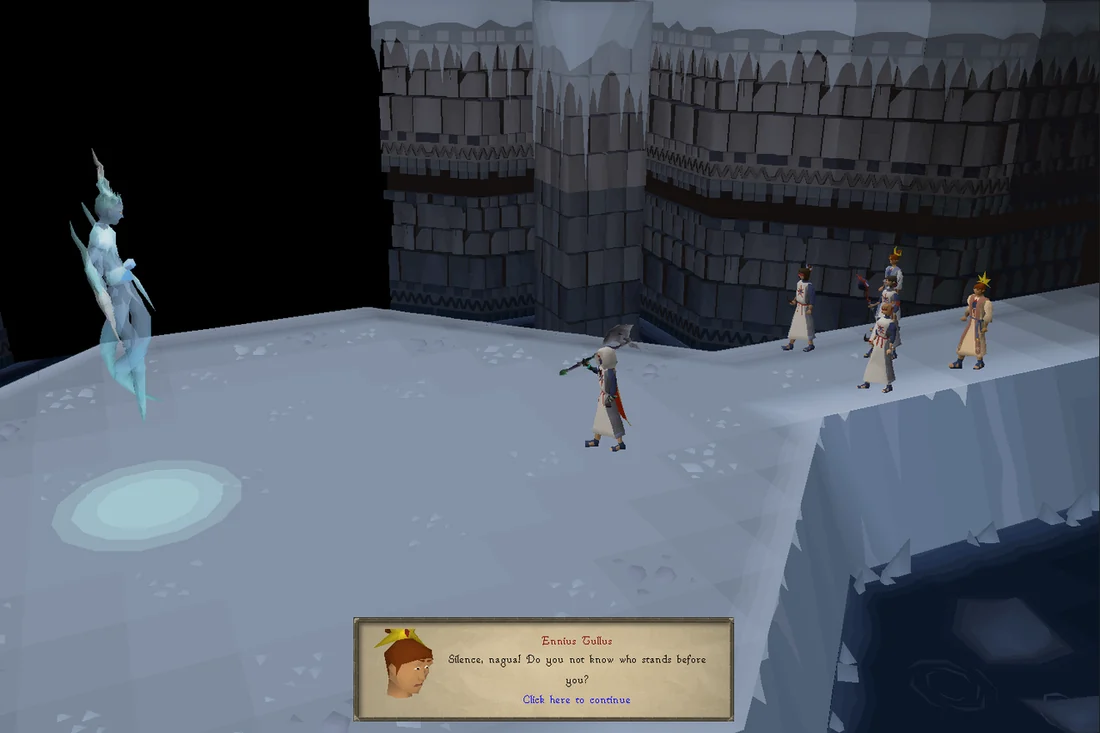
The quest version of Amoxliatl is somewhat easier than the regular fight, possessing 400 hitpoints instead of 520 and having more forgiving damage. Nevertheless, players will still have to properly handle her mechanics to beat the fight.
Amoxliatl uses three different attacks. In her standard attack, she attacks with magic, summoning ice spikes on the player's current tile and around the arena. Protect from Magic will protect against the initial attack, but the ice spikes additionally deal typeless damage. Finally, an icy pool will be left on the tile where the player was originally standing that will deal 6-10 damage per tick.
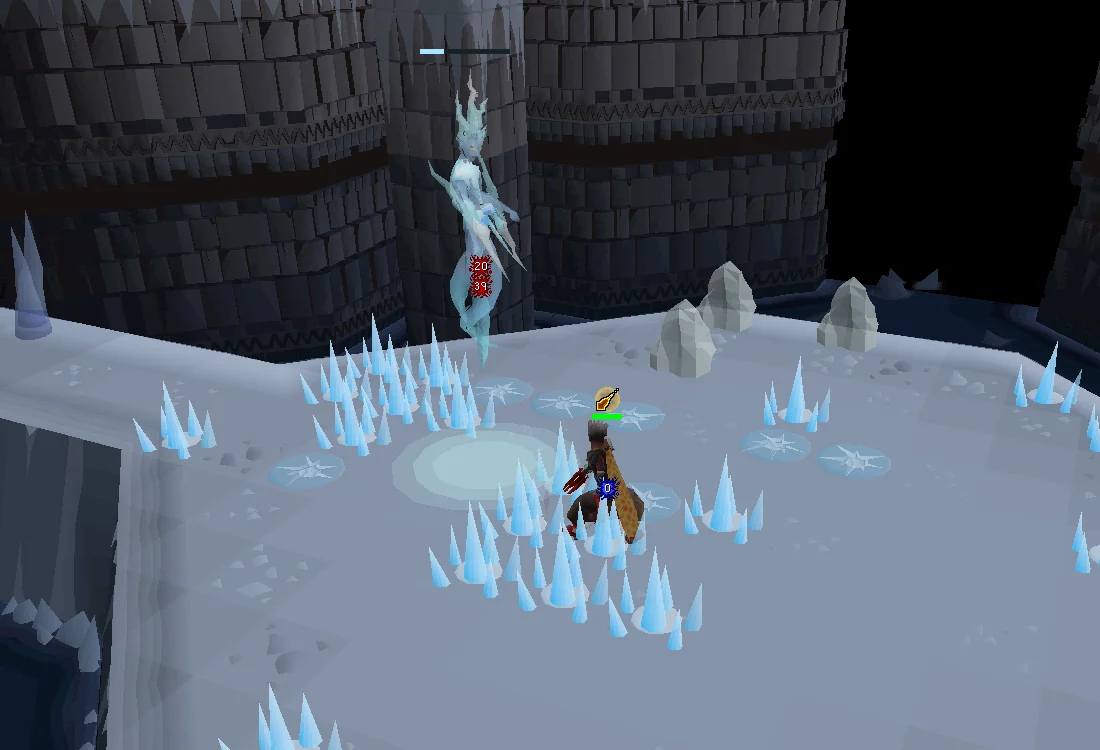
After every 2-4 standard attacks, Amoxliatl will use one of two special attacks. The first one used is randomly selected, but after that, she will alternate between them and will not use the same special attack twice in a row. If you are standing in the narrow entry path, she will not use her Unstable Ice special attack.
- Unstable ice blocks: Amoxliatl forms 1-4 blocks of unstable ice around the arena. If not destroyed in time (16 ticks, ~10 seconds), all remaining ice blocks will shatter, causing icy pools to form within 3x3 of the ice blocks and healing the boss (16-25) for each ice block shattered. The ice blocks can only be destroyed with melee, and melee attacks against them will result in a max hit with an attack speed of 1.
- Icicle attack: Amoxliatl disables the player's prayer and launches an icicle at them. A message is shown in the chatbox: Amoxliatl disables your prayers and launches an icicle attack! Turn on Protect from Magic before the icicle hits you to negate all damage.
After defeating Amoxliatl, you will forcefully be banished from Tapoyauik. Make your way to Sunrise Palace, where Servius is currently staying. You will inform him of the events that transpired, and he will ask that you leave so as to avoid the Queen's anger, but assures you that you will be involved in whatever plans are made next.
Congratulations, quest complete!
Quick checklist 59 instructions
Use this when you already know the route. The full walkthrough above includes explanations and diagrams.
Starting out
Talk to Prince Itzla Arkan at the Teomat to start the quest.
Say:
Talk to him again after the cutscene.
Travel to the Quetzacalli Gorge (There is a Quetzal landing site that is automatically unlocked).
Talk to the bartender in the south-west pub and ask to rent the room for 30 coins.
Say: I'd like to rent the basement room. → I'll take it.
Enter the south-eastern room in the same building (there is no basement) and rest on the bed.
Talk to the Prince.
Talk to the shopkeeper in the general store east of the pub about help.
Say: I hear you can offer help to those in need.
Return to the rented room in the pub and talk to the Prince again.
Go through the large gate to the north and run all the way east to the Tower of Ascension and talk to the Prince
Say: Alright, I'll get mingling. (just outside the entrance to the tower with the dungeon icon on the minimap).
Optionally, build the Unbuilt Landing Site in the Salvager Overlook on your way there if you haven't already done so.
Talk to the nearby recruits, Nova, Sergius, Felius, and Caritta.
Talk to the Prince again
Say: Could you remind me what Ximoua is? (make sure you don't have a pet following you, or you'll be unable to proceed)
Enter the tower to the west and talk to Forebearer Janus and climb the stairs.
The First Trial
Use the key to open the south-eastern gate, open the chest to receive a book and scrap of paper
Open the south-western chest with a keyword. The solution is different for each player.
The solution can be found by connecting the first letter of each highlighted word in the book
Read the poem, then talk to Prince Itzla
Open the north-western chest with the code, the code is unique for each person.
Transcribe the marked words from the poem into directions: Takam: East, Makt: North, Silam: West, Uitt: South
Combine the scraps of paper to reveal the passcode.
Speak the passcode to Forebearer Janus on the current floor. Do not go downstairs to speak with him as this will reset the trial.
The Second Trial
This is a wave-based combat trial, with melee and mage enemies attacking two at a time, then four at a time. Some of them do a 3x3 AOE attack which can be dodged. Use the bandages from the medical boxes around the room to heal Prince Itzla by left click Healing him during the fight as needed.
Speak to Forebearer Janus again to start the next trial.
The Third Trial
Talk to the prince
You must question each member of the cult to work out who the traitor is. Choose the person who mentions anything about Mictl as this is not part of the Emissaries' beliefs.
Once you question each one, you'll be given the option to accuse them while talking to them.
If none of the members are the traitor you may need to exit and re-enter the floor.
The Final Trial
Fight Prince Itzla.
Pray melee against his basic attacks.
He has two special attacks, both of which he warns you about. The sword swipe turns off any protection prayers, but you can turn them straight back on. The other is an AOE attack, once he warns you he is going to do it, run behind him immediately to dodge.
He is immune to special attacks. (NOTE: If using a Scythe of Vitur; you must unequip it and punch or kick to finish the fight.)
Talk to Forebearer Janus.
Search the chest south to obtain a set of Twilight Emissary robes.
Equip the emissary robes, speak to Prince Itzla to have him follow you, and then enter the temple to the east.
After the cutscene, speak with Prince Itzla and then speak with Forebearer Fides.
Enter the ruins south of the temple and go down the stairs.
Ice Dungeon
Take a pickaxe from the barrel near the entrance.
Mine the rocks.
Run past the Frost Nagua and the spikes and pull the first lever.
Climb-Down the Ledge, run past the frost crabs while avoiding the traps.
Throughout the cave, several traps deal 10 Hitpoints of damage. You can avoid them or tank the damage.
Slide along the icy ledge, and then enter the room in the north-east and pull the second lever.
Continue through the cave and jump over the frozen platforms to get to the west side.
Climb down another ledge, and run into the north-western room with stone chests to pull the third lever
Walk south-west to the large gate and pull the fourth lever located on the northern wall next to the gate. Note: If you forgot a lever, not all braziers will be lit and the gate will be closed.
Pull the chain before continuing, as this will allow you to climb up and down it in the future.
Statue Puzzle
Walk west through the gate and search urns to collect three coloured icons.
Level 104 Frost Nagua will continue to spawn and attack you while searching. Protect from Magic will negate the damage from their regular attacks.
Fix the broken statues in the western area with the corresponding coloured icons.
Inspect the four markings in the four corners of the area. The first word describes the order in which to activate the four statues to open the frozen door.
Different for every player: check the murals and they will have Zema (1), Oma (2), Yeya (3), or Naui (4). Touch the statues in the order determined by the markings (1-4).
Go through the door, prepared to fight the final boss.
Final Boss
Fight the Amoxliatl.
Pray magic
Step away from the spikes
Avoid standing on the ice pools
Re-enable protect from magic when it is disabled
The blocks she summons will deal area damage and heal her, melee them to destroy them. (higher level players can leave these and just attack with fire spells)
Head to the Sunrise Palace and speak to Servius, Teokan of Ralos to finish up the quest.
QUEST COMPLETE
Rewards
- Access to Tapoyauik
- 8,000 Mining Mining experience
- 8,000 Thieving Thieving experience
- 8,000 Slayer Slayer experience
- 8,000 Agility Agility experience
OSRS WIKI CONTRIBUTORS
Sources & credits
Walkthrough text and preparation lists are adapted from Old School RuneScape Wiki contributors under CC BY-NC-SA 3.0. Game imagery © Jagex Ltd; individual image credits are available from their captions. This page is fan-made and not affiliated with Jagex.
- The Heart of Darkness →full guide · revision 15318070
- The Heart of Darkness/Quick guide →quick guide · revision 15227052
KEEP QUESTING