QUEST 179 · MEMBERS
The Red Reef
Investigate the dealings of the Red Reef Trading Company and gain access to some trees to cut.
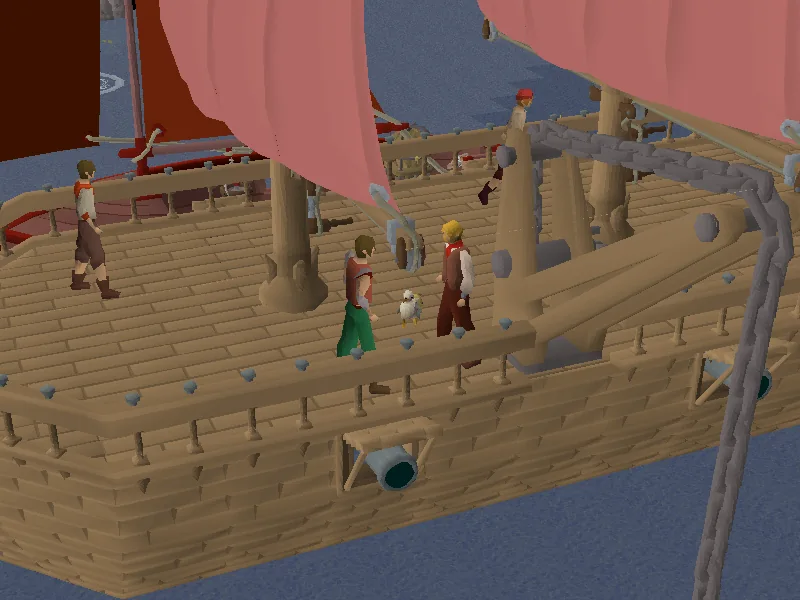
- Difficulty
- Experienced
- Length
- Medium
- Quest points
- 2
- Released
- 20 May 2026
 2
2Jump to a chapter
Before you start
Where to start
Talk to Elder Raley at his home on the Great Conch.


Items required
Recommended
- 65 Combat level
- 40 Prayer for Protect from Missiles during boat combat.
- At least 300 hitpoints in repair kits (for players with weaker gear/cannons), preferably teak or better.

Enemies to defeat
- 2 pirate ships (or the crew on the ship)
- Oaky Doak (level 77)
- Boatswain Bill Teak (level 77)
- Mister U. (level 77)
- Captain Ruban Acer (level 95)
- Old Jack (level 77)
- Mute Jack (level 77)
- Bloody Jack (level 77)
- Captain Jack (level 95)
- 6 pirates (level 52)
- Black Eye Bethel (level 191)
- Giant lobster (level 112, safespottable)
STEP BY STEP
Walkthrough
Follow the chapters below. Click any screenshot or diagram to view it at full size.
Troubled Tortugan
Bug Bug: You may be unable to start the quest if you have just levelled to the skill requirements, or just completed Troubled Tortugans. Relogging should fix this.
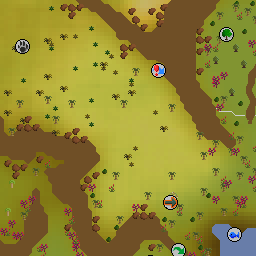
Speak to Elder Raley at his house just south of the bank at the Summer Shore. He asks whether you've seen Floopa, who has wandered off somewhere. You'll offer to look for her, and Raley recommends that you ask around town whether they've seen her.
 1
1- 1 Location
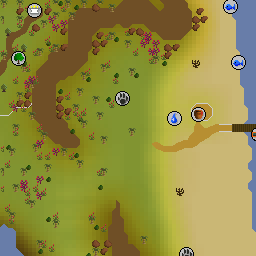
Speak to any tortugan in the Summer Shore marketplace, and they'll direct you to the Sacred Grove to the north-east. Speak to Elder Katt, who will permit you temporary access to the Grove. Upon entering the Grove, speak to Floopa to the north-west, who will tell you that she was just out to gather camphor logs, but is taking a while due to her injury.
She further says that the camphor wood is for a new spear, and upon pressing her for details, she reveals that she recognized the ship that sailed away from the Little Pearl during the events of Troubled Tortugans, which is a ship owned by the Red Reef Trading Company. Once a navigator for their flagship, The Zenith, she was betrayed by Spencer Brentwood, the company's founder, who caused the events that resulted in her injury.
You will offer to investigate the trading company on her behalf while she recovers, and she tells you that their headquarters is on Red Rock, to the far west of the Great Conch.
Problem Solving
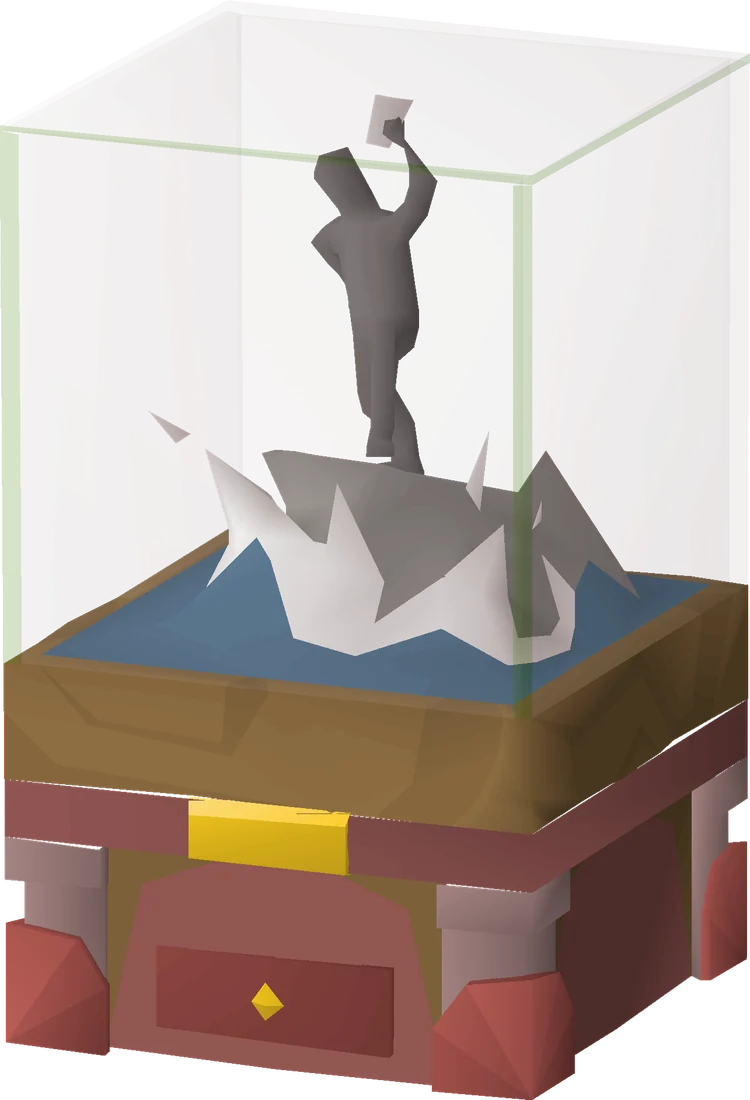
Make your way to Red Rock via boat.
- Tip: While in Red Rock, inspect the Sailors' Marker next to Shipwright Sylvia to unlock the teleport for the sailor's amulet.
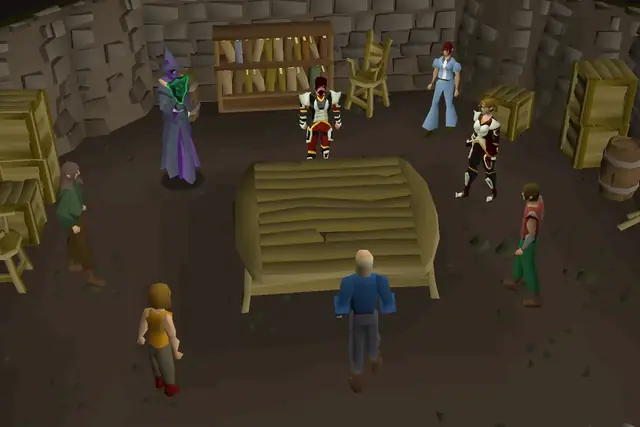
Head to the building headquarters to the west and speak to the receptionist, who will set you up with a meeting with her superior, Theodore Paxton, after hearing of your need for employment. She will tell you to inspect the displays detailing the company's history while you wait. Start with the display closest to the door, and move anti-clockwise to view the displays in chronological order. Once all four displays have been inspected, players will be able to speak to Theodore Paxton in the southern part of the building.
Theodore will ask that you help deal with a pirate captain named Black Eye Bethel, who has been attacking the company's ships. He will ask that you sail to their hideout at Last Light and "put an end to her and her ships".
Last Light
Items recommended: Repair kits, cannonballs for ship combat, and combat equipment to subsequently defeat six pirates and Black Eye Bethel. Ranged or Magic is recommended if skipping ship combat
| This fight takes place in an instance. |
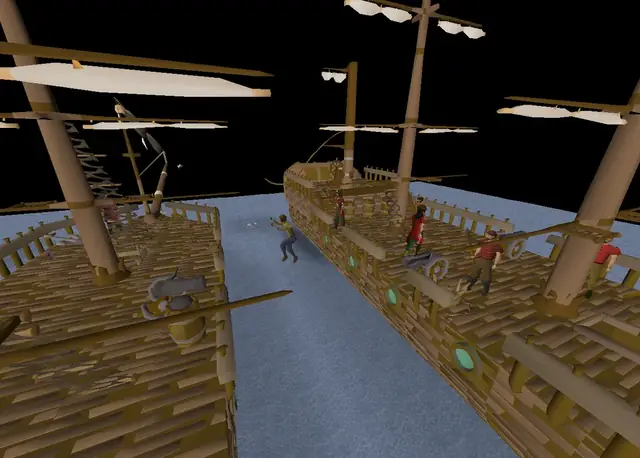
Sail south towards Last Light, and the The Bark of the Bight and The Four of a Kind will appear upon approaching the island, immediately attacking the player and player's boat when in range.
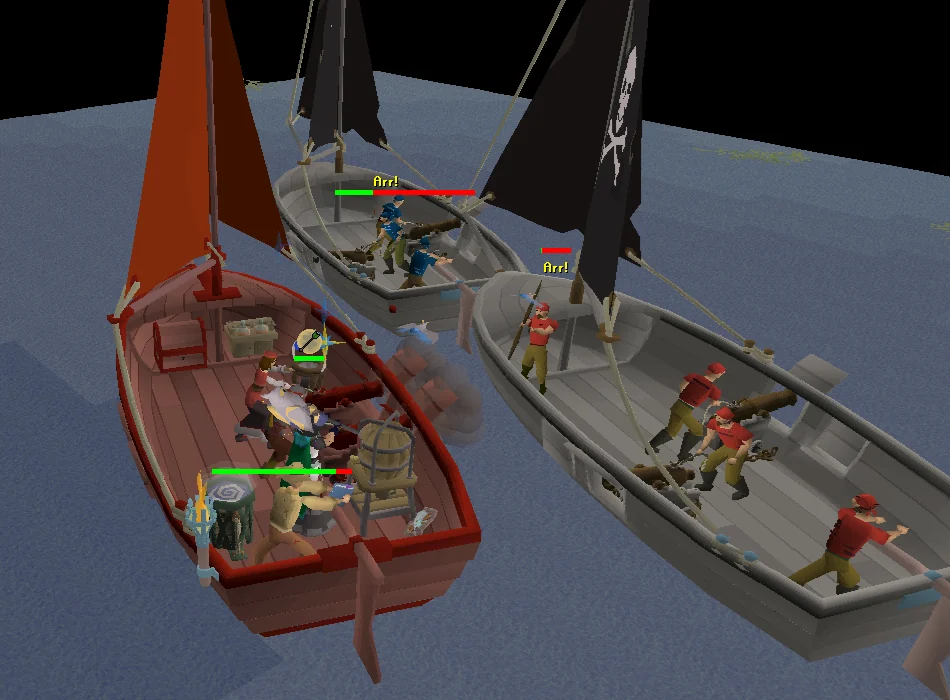
Each boat has 250 hitpoints and 4 crew members: one captain, one helmsman, and two cannoneers.
- Captain Jack/Captain Ruban Acer: Will directly attack the player with ranged attacks; Protect from Missiles blocks all damage. If their helmsman is killed, they will take over the steering of the ship.
- Bloody Jack/Mister U.: Mans the helm of the ship.
- Old Jack/Mute Jack/Oaky Doak/Boatswain Bill Teak: Mans one of the cannons each; each cannon has a 180 degree range of fire. If all other crewmates are killed, they will attack the player with ranged attacks.
To defeat both ships, players must either kill all of the crew onboard or sink the ship; the former requires magic or ranged attacks, while the latter requires the use of cannons on the player's boat. It is recommended to only pursue one of the two methods. Players with lower stats and/or cannon tiers should bring at least 300 hitpoints in repair kits, preferably teak or higher.
- For the cannon method, players should be using a sloop with both cannons on the same side of the boat. One of the cannons should be manned by the player themselves, as this greatly increases the cannon's accuracy and damage. Wear equipment with good ranged bonuses as these affect the cannon's damage output. Be aware that crewmates must have a sufficiently high Privateering stat to operate higher tier cannons. Players may be tempted to reclick after performing actions such as drinking a potion, but clicking the cannon again will disengage the player from it, while reclicking the boat runs the risk of accidentally clicking a pirate, which causes the player to stop firing.
- Players with strong weapons and combat stats can opt to kill the pirate crew instead; each boat's crew has a total of 450 hitpoints. Players can target the captains (or helmsmen, as the captains will take over their jobs) first to reduce the need for protection prayers, or they can prioritise the cannoneers to reduce the need for repair kits.
Once both ships are dealt with, sail further south to Last Light. Upon disembarking, players must defeat six pirates in multi-combat before they can head upstairs. The four pirates outside may be safespotted by trapping them to the north of the mooring point, while the two pirates inside may be flinched by standing just north of the staircase. Protect from Melee will prevent all damage. Leaving the fight early via the mooring point will reset the fight.
- Warning: Teleporting away from the island after docking will cause your ship to become lost at sea, along with its contents.
Black Eye Bethel
Head up two flights of stairs to find Black Eye Bethel. She will only attack with melee, but has various special mechanics:
- Step out of the way when she charges up an attack. Her attack will still hit you even if you're several tiles back; instead you must stand to the left or right of the row of tiles she's facing. You'll know she's charging up when the tile she stands on turns blue, and she says Dodge this!.
- Upon reaching below 70% health, she will switch to a rune scimitar, which increases her max hit but decreases her accuracy and defence.
- Upon reaching below 40% health, she will switch to a dragon scimitar, which increases her max hit further but decreases her accuracy and defence further. Additionally, she can use its special attack to disable the player's protection prayer.
If you die to Black Eye Bethel, you will not be required to fight the six pirates on the Last Light again.
Upon defeating Black Eye Bethel, return to Theodore Paxton at Red Rock, who will refer you to his boss Spencer Brentwood.
Meeting the Boss
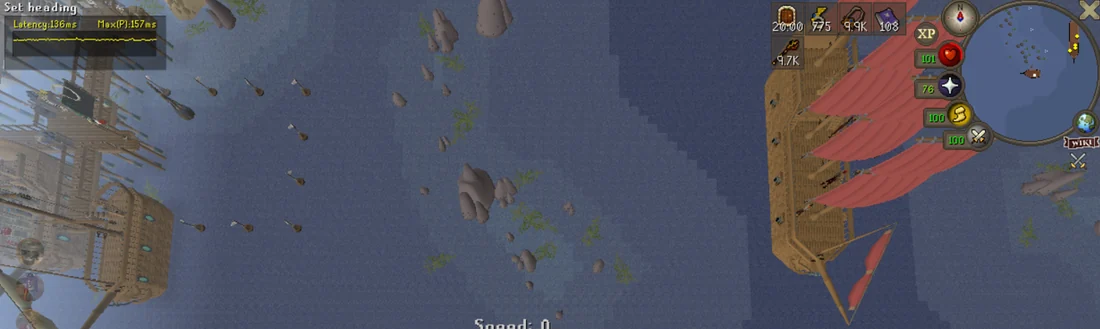
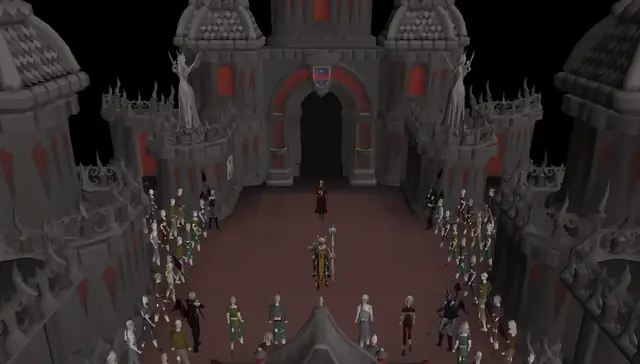
Sail to The Zenith, found to the east of Red Rock.
Bug Bug: The Zenith is missing on most worlds. It should be where the map says "Red Reef." If it's not there, hop worlds until you find it.
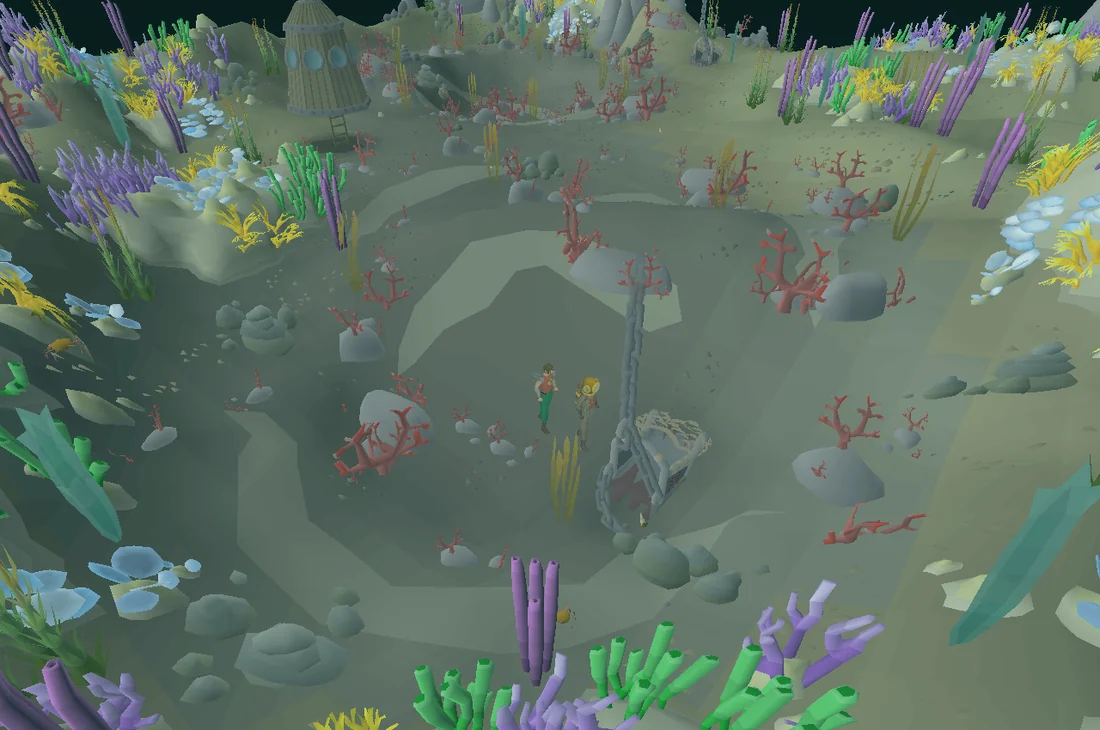
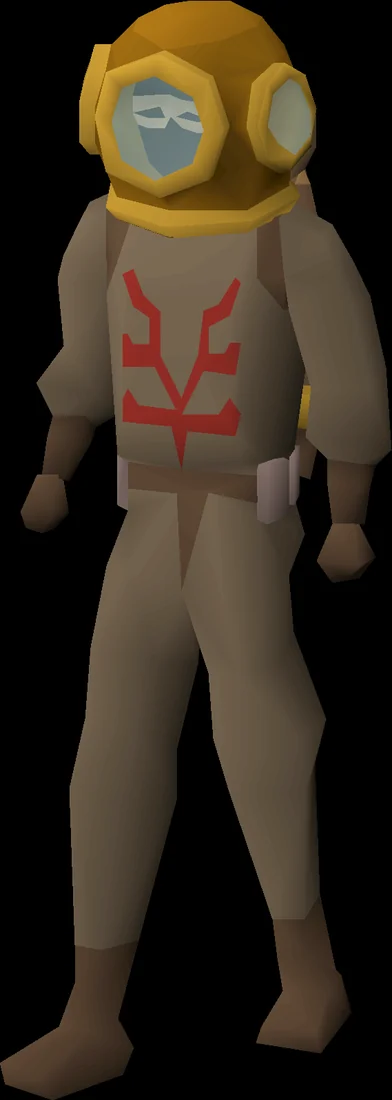
Speak to Spencer Brentwood upon boarding The Zenith, and he'll ask that you come along to help him repair the coral dredgers on the seabed. If you did not bring diving equipment, he will provide you with a set. Note that even with flippers you will not be able to run in this section. Should you need to leave, speak to Spencer to board your boat again; teleporting out will result in the boat being lost at sea and must be recovered via shipwright!
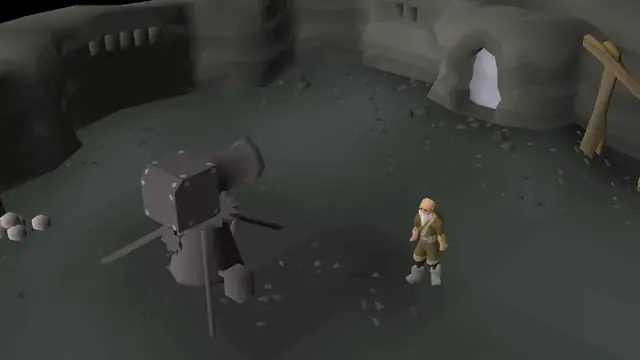
Once you reach the seabed, talk to Spencer about repairing the dredgers. After talking to him, the option to repair will be visible and you can help Spencer repair the northern coral dredger. Upon attempting to do so, a giant lobster will appear. It can be safespotted by standing to the west of the dredger, moving down to attack and then back up to prevent the lobster from pathing towards you. It may use a special attack which can be avoided by moving when bluish particles appear under you. You may also choose to avoid the fight altogether by waiting for it to despawn.
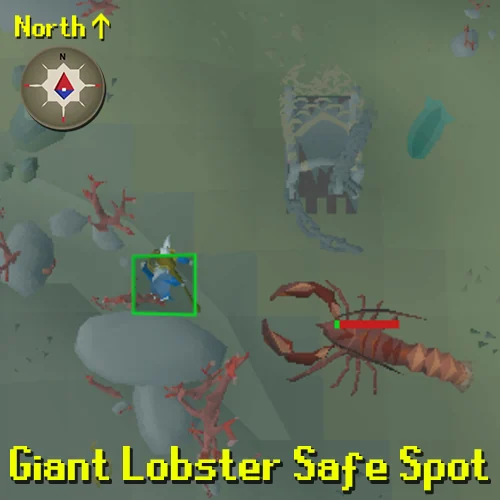
Upon defeating the giant lobster, repair the coral dredger and head to the dredger to the south-east to find Spencer, who will take your back to the surface. He will at last reveal to you the issue he faces: the red coral in the Red Reef is depleting, and he requires a new source of red coral - a large reef in the Pearl Bank. However, as the Little Pearl is nearby, the tortugans will not allow the company to set up operations, confirming their involvement in the attack on the island. He will task you with finding a way for the company to acquire the Little Pearl with minimal bloodshed.
Return to Elder Raley's house, where you will find that Floopa has returned as well. Report your findings to them, and they will reward you with access to The Sacred Grove and a schematic.
Congratulations, quest complete!
Quick checklist 28 instructions
Use this when you already know the route. The full walkthrough above includes explanations and diagrams.
Walkthrough
Talk to Elder Raley in his house just south of the Summer Shore's bank.
Say: Yes.
Talk to Elder Katt at the entrance to the Sacred Grove.
Talk to Floopa in the Sacred Grove.
Sail to Red Rock, to the far west of the Great Conch.
Optional: Inspect the Sailors' Marker next to Shipwright Sylvia to unlock the teleport for the sailor's amulet. Charter ships will now take players here as well.
Talk to the receptionist in the building headquarters.
Inspect all displays.
Talk to Theodore Paxton in his office to the south.
Sail to Last Light, south of Red Rock. Warning: Combat starts immediately upon arrival at Last Light. There is a bank chest in the north-east of Red Rock if you need to stock up on supplies before the coming battle.
Upon approaching the island, two pirate ships will appear. Activate Protect from Range as soon as you see the pirate ships, as you may take player damage.
You must sink both boats, either using your cannons or killing all of the pirates on board with Magic or Ranged. The fight takes place in an instance which you may exit at any point by leaving the area.
Dock at Last Light. Warning: Teleporting away from the island after docking will cause your ship to become lost at sea, along with its contents.
Upon docking your boat, you will immediately enter multi-combat with 6 level 52 pirates, all of whom attack with melee and must be defeated to progress. Protect from Melee will prevent all damage.
Escaping the area via the mooring port will cause the fight to reset. The four pirates outside may be safespotted by trapping them to the north of the Mooring point. The two pirates inside may be flinched by standing just north of the staircase. After defeating the 6 pirates, you will not need to defeat them again if you leave now.
Climb up the staircase twice to fight Black Eye Bethel.
Step out of the way when she charges up an attack, and keep Protect from Melee active. Once she equips a dragon scimitar, she can use its special attack to disable the player's protection prayer.
Return to Theodore Paxton.
Sail to the middle of the Red Reef, east of Red Rock, and board The Zenith.
The quest is currently bugged and The Zenith is missing on some worlds. It should be where the map says "Red Reef" and if it's not there, hop worlds until you find it.
Talk to Spencer Brentwood.
Equip the diving gear (or the medallion of the deep) then talk to Spencer Brentwood again. If you forgot your diving gear, Spencer Brentwood will let you borrow some.(To board your boat to get your diving gear talk to Spencer to disembark.)
Once under the sea talk to Spencer Brentwood and then go north and repair the coral dredger. A level 112 giant lobster will attack you.
Kill the Giant lobster.
Can be safe-spotted with Ranged/Magic by standing next to the dredger.
Avoid its special attack by moving when blue particles appear under your character.
Repair the coral dredger by clicking on it, then head to the dredger to the south-east to talk to Spencer Brentwood again.
Once you are back on the ship talk to Spencer Brentwood once more to return to your ship.
Return back to Floopa at Elder Raley's house.
QUEST COMPLETE
Rewards
- 15,000 Sailing experience
- 5,000 Smithing experience
- Access to Red Rock (partial completion)
- Ability to unlock Red Rock as a teleport destination on the Sailor's amulet by inspecting the Sailors' Marker just west of the bank
- Access to the Sacred Grove
- Bosun's workbench schematic
OSRS WIKI CONTRIBUTORS
Sources & credits
Walkthrough text and preparation lists are adapted from Old School RuneScape Wiki contributors under CC BY-NC-SA 3.0. Game imagery © Jagex Ltd; individual image credits are available from their captions. This page is fan-made and not affiliated with Jagex.
- The Red Reef →full guide · revision 15290400
- The Red Reef/Quick guide →quick guide · revision 15319519
KEEP QUESTING