Gleason's Gielinor GuideAn adventurer's field notes← All quest guides

QUEST 177 · MEMBERS

Troubled Tortugans

Help a stranded tortugan and gain access to the Great Conch.

Difficulty
Experienced
Length
Medium
Quest points
1
Released
19 November 2025
START POINT

Talk to the injured tortugan on a Remote Island in the Unquiet Ocean.

BEFORE YOU LEAVE THE BANK

Preparation

Requirements are gates. Recommendations are comfort and risk controls, not mandatory levels unless the game enforces them.

Requirements

  • 51 Slayer
  • 48 Construction
  • 45 Sailing
  • 45 Hunter
  • 40 Woodcutting
  • 34 Crafting
  • Completion of Pandemonium

Items required

  • Any axe (a bronze axe can be found during the quest, but bringing a better one is recommended for cutting 10 logs)
  • Hammer (obtainable during the quest) or Imcando hammer
  • Saw (obtainable during the quest) or Amy's saw

Recommended

  • At least 4 free inventory spaces (or up to 22 for all the construction materials at once, as there is a bank easily accessible)
  • 60 Combat
  • Food and combat gear
  • Stamina Potion

Enemies to defeat

  • Gryphon (level 95)
  • Shellbane gryphon (level 235)

ACTION CHECKLIST

Walkthrough

Nested rows are alternatives, dialogue selections, or substeps under the action above them. Recheck the pinned source after a game update.

Finding the stranded Tortugan

  1. 01

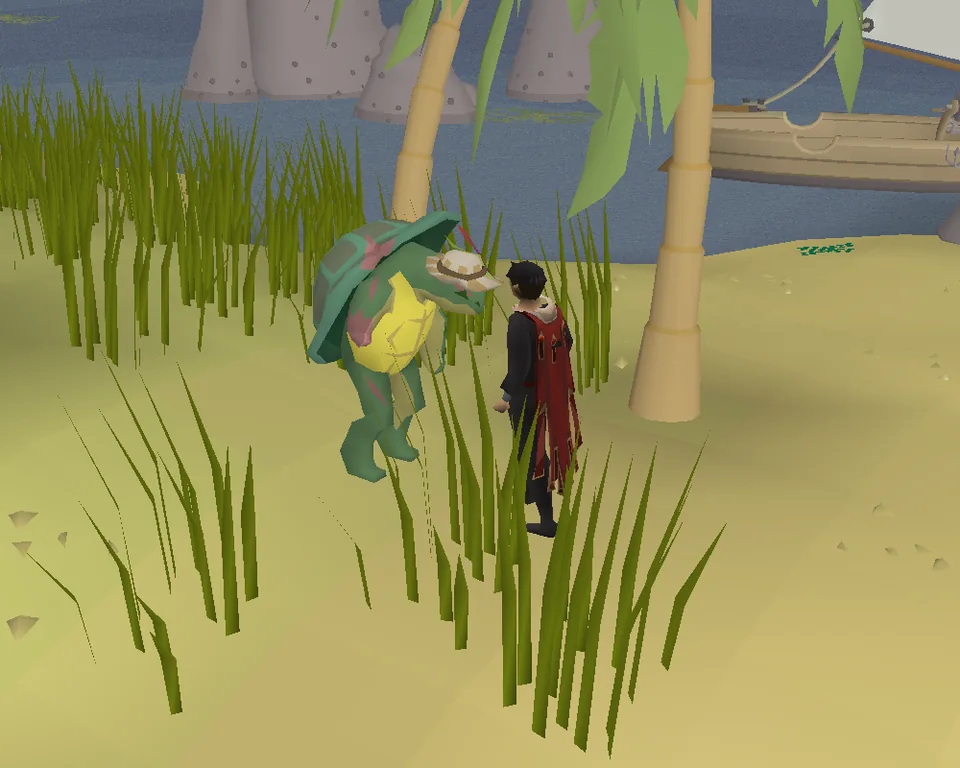
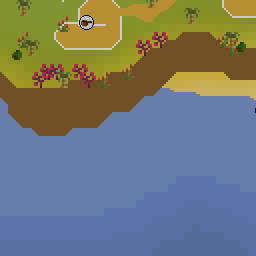
    Talk to the Injured Tortugan on the remote island north-west of The Great Conch, far south of The Pandemonium. Dialogue: Yes.

  2. 02

    Pick up some seaweed. Shake any palm tree and pick up a palm leaf.

  3. 03

    Use the seaweed on the palm leaf to make a bandage.

  4. 04

    Talk to the Injured Tortugan.

The Great Conch

  1. 01

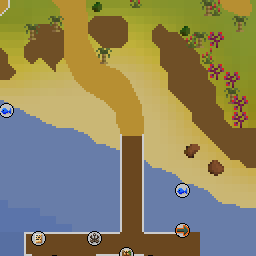
    Floopa will board your boat automatically. Sail to the south shore of The Great Conch.

  2. 02

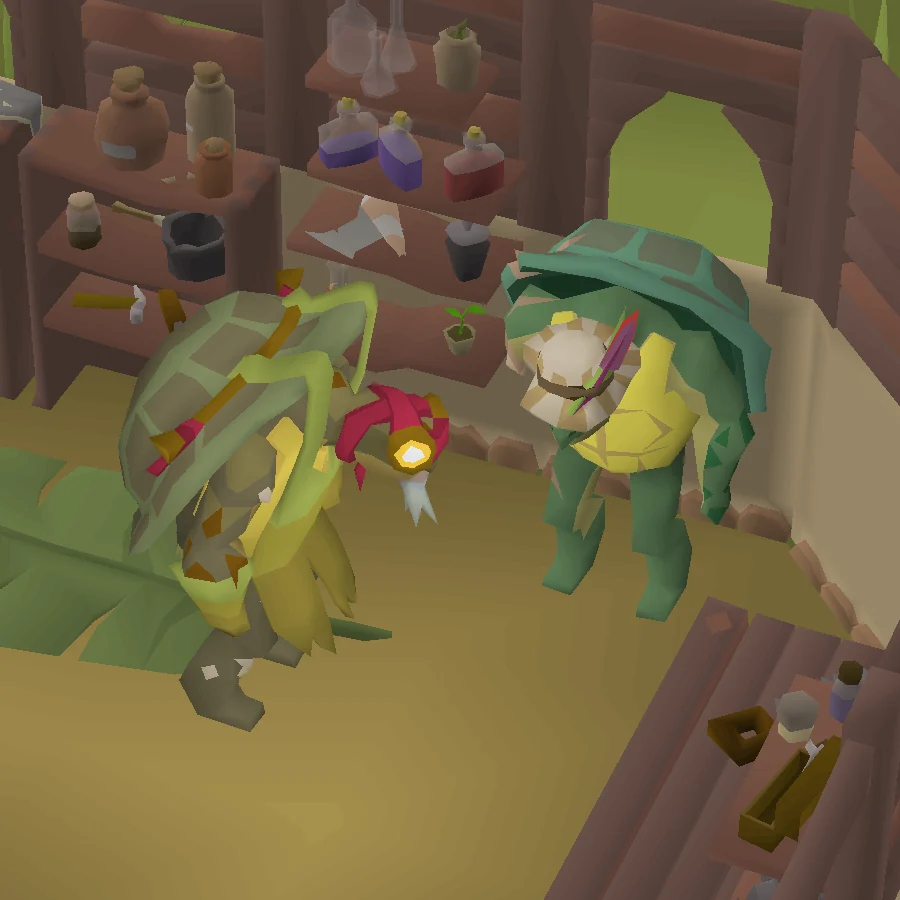
    Disembark and talk to Floopa on the Docks.

  3. 03

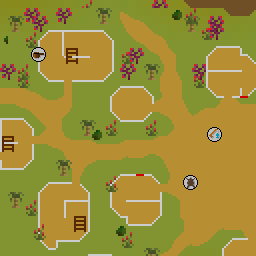
    Enter the village to the north and speak with Elder Raley (first house on the right, south-east of town) to receive a list of repairs.

  4. 04

    Acquire the following repair materials; this can be done in batches if low on inventory space:

  5. A saw can be found in Elder Raley's house if you did not bring one.

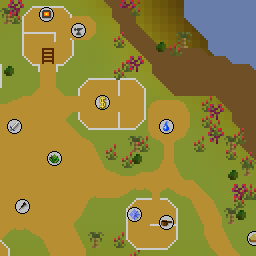
  6. Take a hammer from the building with the anvil and furnace.

  7. Pick up 6 Tortugan Scute scattered around town.

  8. Run west and chop 10 Jatoba Logs from the Jatoba Trees (there is a bronze axe which can be picked up from a tree stump north of the calquat tree patch).

  9. Pick up 6 sea shells near beach (closest spawn is to the south-east of town).

Making repairs

  1. 01

    Repair Elder Krill's stall (the fish stall on the north side of the marketplace):

  2. 1 sea shell, 1 Tortugan scute, 2 Jatoba logs.

  3. 02

    Repair the south wall of Elder Krill's store (directly north of his marketplace stall):

  4. 2 Tortugan scute, 2 Jatoba logs.

  5. 03

    Repair the north wall of Elder Strom's store (west of the marketplace):

  6. 2 Tortugan scutes, 2 Jatoba logs.

  7. 04

    Repair Elder Strom's crate (On the west side of the marketplace, east outside of his store):

  8. 2 sea shells, 1 Jatoba log.

  9. 05

    Repair Elder Coco's stall (on the south side of the marketplace - Crafting stall)

  10. 06

    Repair Elder Coco's crate (directly south of his marketplace stall, north of the building)

  11. 07

    Speak to Elder Raley again.

Tracking the Gryphon

  1. 01

    Track the Gryphon:

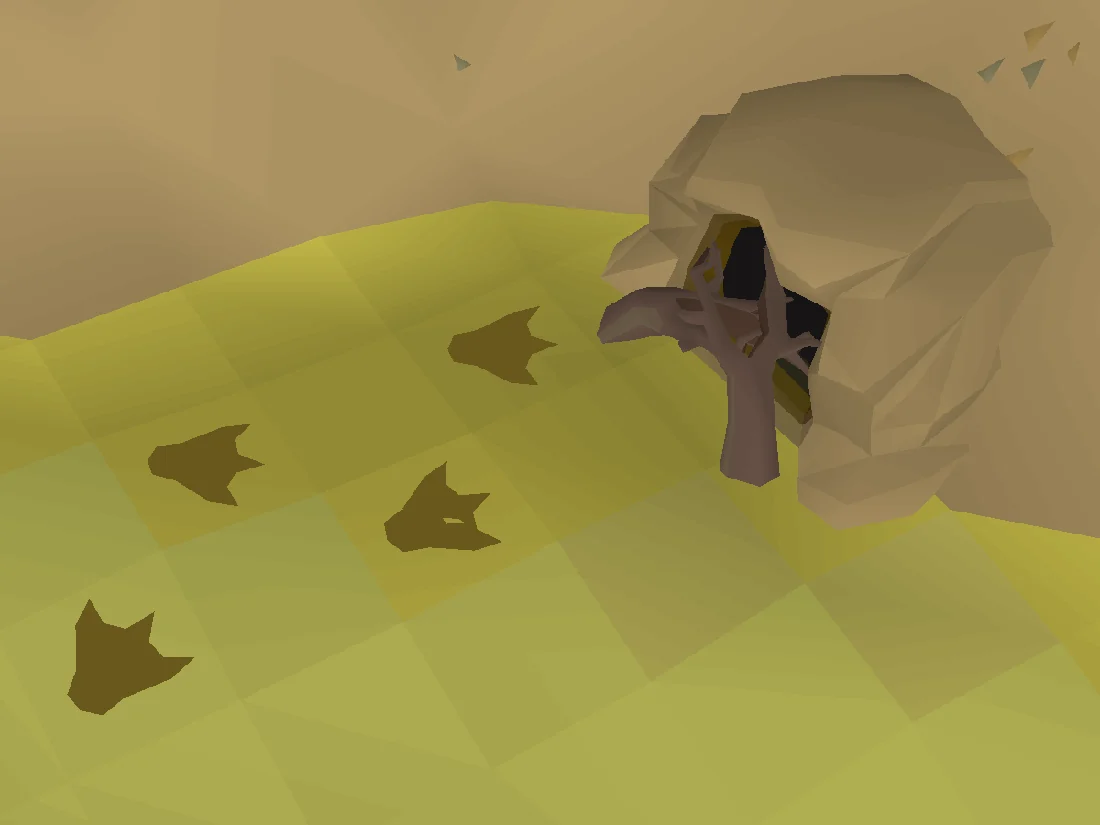
  2. Inspect the monument in the centre of the market to reveal footprints.

  3. Where the trail ends, inspect nearby objects like flowers, rockslides, and plants to pick up the trail again.

  4. Clear the roots blocking the cave entrance with your axe.

  5. 02

    Enter cave and defeat the Gryphon (level 95).

  6. 03

    Exit the cave and return to Elder Raley in town.

  7. You can climb the rocks south of the cave (with level 50 Agility) for a quick way back to town.

Attack on the Little Pearl

  1. 01

    Talk to Elder Blunn at the north-eastern stall in the marketplace to receive a Tortugan shield, a cape-slot item. Keep this equipped for the fight!

  2. 02

    Use the bank in town to prepare for battle.

  3. 03

    Sail to The Little Pearl, south-east of The Great Conch.

  4. 04

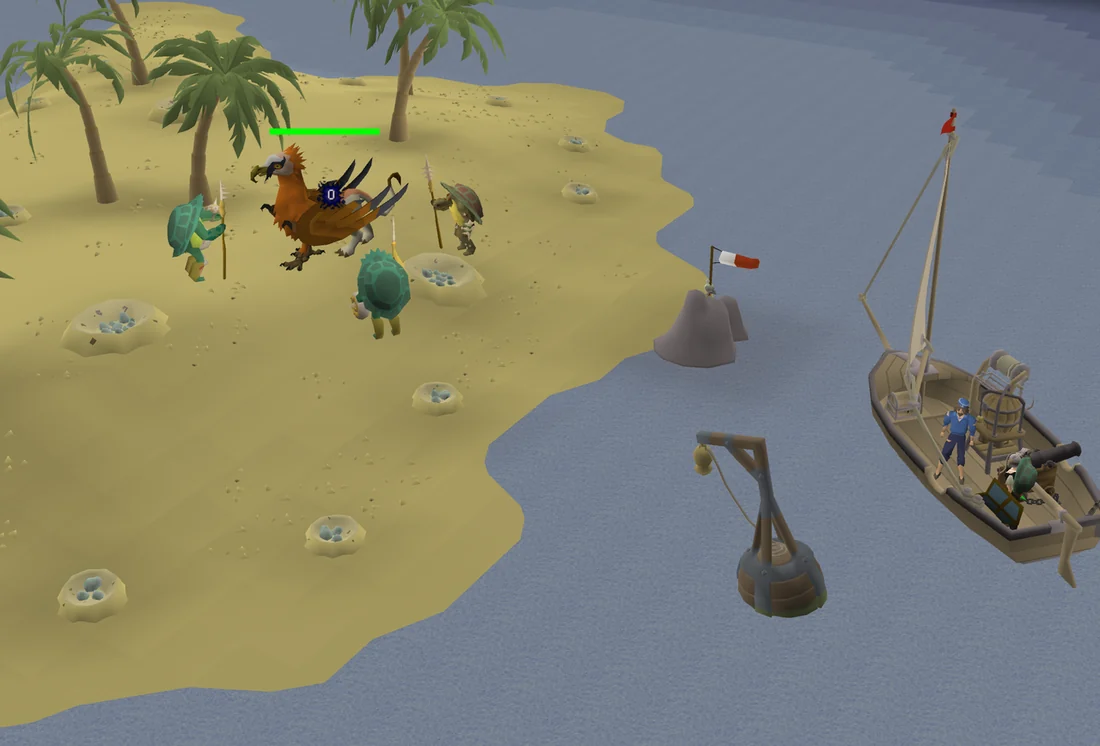
    Disembark and a cutscene will play. Immediately after the cutscene, the battle will begin. Defeat the shellbane gryphon.

  5. Use either Protect from Melee or Ranged.

  6. Fighting with Ranged or Magic is recommended to negate one of his mechanics. This fight can be done without taking damage if using ranged and mechanics are handled properly, but supplies are still suggested.

  7. It can charge you and perform a knockback that hits for up to 65 damage if your equipped weight is under 40 kg. If blocked by a tree or eggs, it will not perform this.

  8. It will occasionally spit out an orange orb. Move 1 tile away.

  9. When "The gryphon aggressively flaps it wings..." is displayed in the chatbox, whirlwinds will spawn under you for a few seconds and then explode shortly after. Move repeatedly off of the affected tiles to avoid damage.

  10. 05

    Don't leave yet: Talk to Korel about the strange ship you saw.

  11. 06

    Return to The Great Conch and talk to Elder Raley again.

  12. 07

    Congratulations, quest complete!

QUEST COMPLETE

Rewards

  • 10,000 Sailing experience
  • 8,000 Slayer experience
  • Access to the Great Conch and its facilities (such as the fairy ring CJQ and notice board)
  • Ability to fight gryphons

REVISION-PINNED EVIDENCE

Verify the guide after updates.

Facts and walkthrough actions are adapted from Old School RuneScape Wiki contributors under CC BY-NC-SA 3.0. This page is fan-made and not affiliated with Jagex.