1
1Requirements
None
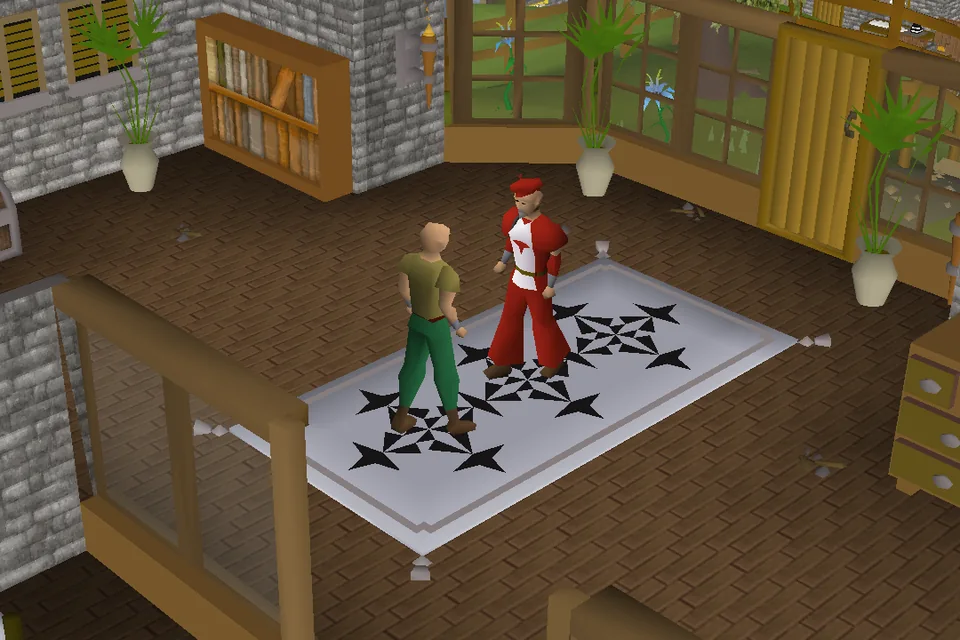
Talk to the Quest Guide on Tutorial Island.
STEP BY STEP
Follow the chapters below. Click any screenshot or diagram to view it at full size.
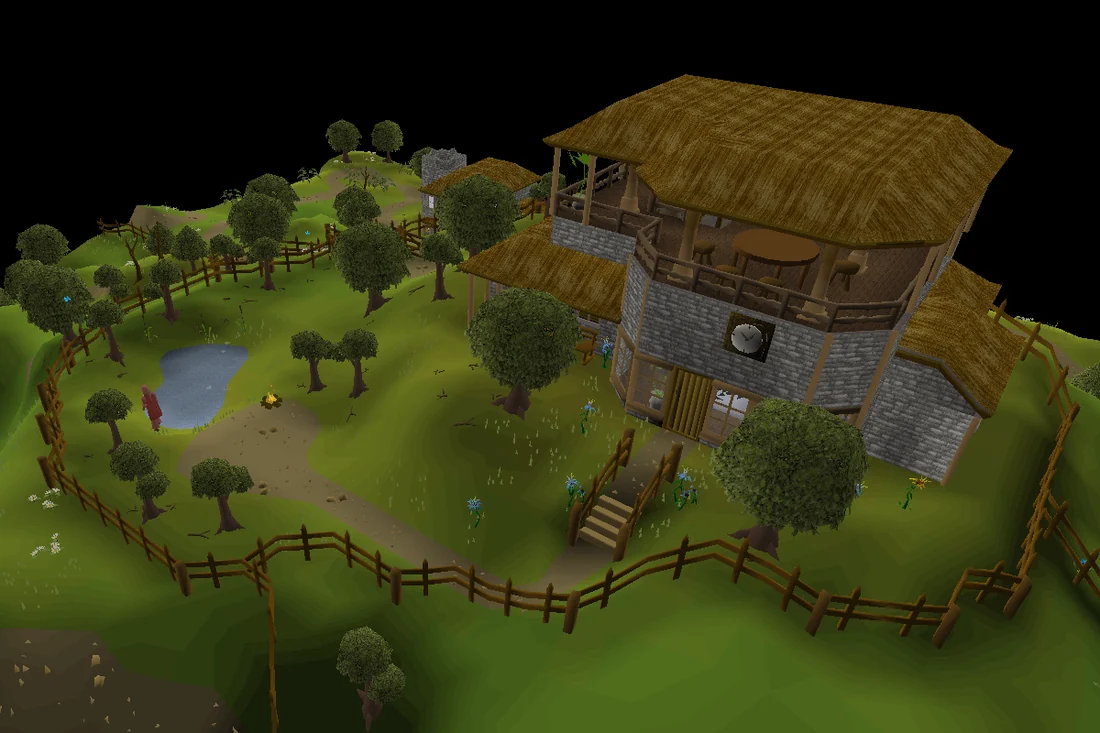
Upon logging in to the game for the first time after account creation, players will find themselves in a house in the centre of Tutorial Island. The Character Creator interface will be open, which allows setting their character's appearance, such as body type, skin colour, and clothing styles. All of these customisation options can later be altered through Makeover for free after leaving Tutorial Island.
After customizing your appearance, you will be asked how familiar you are with Old School RuneScape. To use the Adventure Paths system, you must indicate that you are either brand new, or have played in the past but not recently. Adventure Paths offer basic rewards such as Mithril equipment as you complete beginner tasks on your account, for example reaching a certain level in a skill. More information on the system will be given after leaving Tutorial Island.
Throughout the tutorial, the game will indicate the next action to take with a flashing arrow visible both in the game world and on the minimap, starting with the Gielinor Guide. To move around, simply left click on the ground or on the minimap. To interact with objects and non-player characters in the game world, you may either left click on them to use their primary action, or right click to open the options menu which may contain several actions.
Left click on the Gielinor Guide to talk to him and he will ask you to open the Settings interface, the spanner icon in the bottom right bar. You must open it to continue, but browsing it is optional. Talk to the Gielinor Guide again, who wants you to visit the first instructor.
Exit through the door to the east by interacting with it. Talk to the Survival Expert to the south, who will give you a small fishing net and ask you to catch some shrimp in the nearby pond; but first, he wants you to view the net in your inventory. Open the Inventory interface by selecting the backpack icon from the bottom right bar. To fish, you can either use the fishing net on the fishing spot by left clicking the net and then the fishing spot, or simply left click the fishing spot to use it automatically.
Once you catch a shrimp, you will gain some Fishing experience, and the tutorial will prompt you to open the Skills interface. Once you've opened it, talk to the Survival Expert again, who will give you a bronze axe and tinderbox and ask you to make a fire to cook the shrimp on.
Chop down any nearby tree to obtain some logs, then use the tinderbox on the logs to light them and create a fire. Finally, use the shrimps on the fire to cook them.
Exit through the gate to the west and head to the nearby house, opening the door to enter. Talk to the Master Chef, who will give you a pot of flour and a bucket of water and ask you to cook some bread. To make the bread, use the pot of flour on the bucket of water to make some bread dough, then either use the bread dough on the nearby range or simply left click on the range.
Exit through the north-western door and follow the path to enter the next house. Talk to the Quest Guide, who wants you to open the Quest List interface. After opening it, talk to the Quest Guide again, who will explain more about questing in Gielinor.
Climb down the ladder in the south-east corner of the room, and talk to the Mining Instructor to the north. He will give you a bronze pickaxe and ask you to mine some tin and copper. Mine the tin rocks to the west until you receive tin ore, then mine the copper rocks to the east until you receive copper ore. Use one of the ores on the furnace to the south, or simply left click on the furnance to smelt the ore into a bronze bar. Speak to the mining instructor again, who will give you a hammer and ask you to make a bronze dagger using the nearby anvil. Use the bronze bar on it or simply left click on the anvil, then select the dagger to create one.
Exit through the gate to the east and talk to the Combat Instructor, who wants you to wield your dagger. Select the icon of a man in the bottom right bar to view your worn items, then click the bottom left icon to view your equipment stats. Click your bronze dagger in the inventory to equip it in the weapon slot.
Talk to the Combat Instructor again, who will give you a bronze sword and wooden shield. Left click on the bronze sword in your inventory to equip it, unequipping the dagger in the process, and left click on your bronze shield to equip it in the shield slot.
Open the Combat Options interface by clicking the crossed swords icon on the bottom right interface, which will display the different attack styles you can use with your weapon. Enter the rat pit through the gate, and left click a rat to kill it. Return to the Combat Instructor, who will give you a shortbow and 50 bronze arrows. Equip both, and kill another rat from outside the pen.
Climb up the ladder to the east, and enter the nearby building to use the bank booth, which will display your bank containing 25 coins. Use the poll booth on the western wall to learn about the poll system for adding future content to the game. Enter the eastern door and talk to the Account Guide, who will ask you to open the Account Management interface. Click the icon of a man's face with a cog to view it, then talk to the Account Guide again, who will teach you about Membership, Worlds, Bonds, and other aspects of having an account.
Exit through the door to the east, and follow the path to the next house to talk to Brother Brace, who wants you to open the Prayer interface. Select the star icon in the bottom right bar to view it, then talk to Brother Brace again, who will teach you about activating Prayers and burying bones for Prayer experience.

Exit through the door to the south and enter the building to the south-east. Talk to the Magic Instructor, who wants you to open the Magic interface. Select the spellbook icon in the bottom right bar to view your spells. Talk to the instructor again, who will give you some air runes and mind runes to cast Wind Strike on the chickens in the northern pen. Select Wind Strike in the Magic interface and then click on the chicken to cast the spell.
Congratulations, quest complete!
After completing the quest, talk to the Magic Instructor and he will tell you to cast the Lumbridge Home Teleport spell to teleport to Lumbridge. He will ask whether you want to talk to the Ironman tutor first before leaving, who would teach you about the Ironman mode. If you wish to participate in this mode's account restrictions, you must talk to the tutor before leaving.
Use this when you already know the route. The full walkthrough above includes explanations and diagrams.
Complete the Character customization stage; use the revision-pinned full source for its dialogue and puzzle details.
Complete the Adventure Paths stage; use the revision-pinned full source for its dialogue and puzzle details.
Complete the Gielinor Guide stage; use the revision-pinned full source for its dialogue and puzzle details.
Complete the Survival Expert stage; use the revision-pinned full source for its dialogue and puzzle details.
Complete the Master Chef stage; use the revision-pinned full source for its dialogue and puzzle details.
Complete the Quest Guide stage; use the revision-pinned full source for its dialogue and puzzle details.
Complete the Mining Instructor stage; use the revision-pinned full source for its dialogue and puzzle details.
Complete the Combat Instructor stage; use the revision-pinned full source for its dialogue and puzzle details.
Complete the Account Guide stage; use the revision-pinned full source for its dialogue and puzzle details.
Complete the Brother Brace stage; use the revision-pinned full source for its dialogue and puzzle details.
Complete the Magic Instructor stage; use the revision-pinned full source for its dialogue and puzzle details.
QUEST COMPLETE
OSRS WIKI CONTRIBUTORS
Walkthrough text and preparation lists are adapted from Old School RuneScape Wiki contributors under CC BY-NC-SA 3.0. Game imagery © Jagex Ltd; individual image credits are available from their captions. This page is fan-made and not affiliated with Jagex.
KEEP QUESTING
Game icons © Jagex Ltd, via the OSRS Wiki. Interface icons by Lucide.