QUEST 105 · MEMBERS
Royal Trouble
It's tough being a regent of a small island kingdom, especially when the king has declared war while you were adventuring. Something is up in Miscellania and Etceteria, so you'd better find out what before both kingdoms end up in royal trouble.
- Difficulty
- Experienced
- Length
- Medium
- Quest points
- 1
- Released
- 22 May 2006
 1
1Jump to a chapter
Before you start
Where to start
Talk to Advisor Ghrim in Miscellania Castle.


Items required
Recommended
- 50 Combat level
- Weapon, armour and some food
- Superantipoison or any other poison cure
- 43 Prayer and Prayer potions for protection prayers
- Stamina or energy potions
- Multiple charged Rings of Wealth for fast travel to Miscellania

Enemies to defeat
Giant Sea Snake (level 149)
STEP BY STEP
Walkthrough
Follow the chapters below. Click any screenshot or diagram to view it at full size.
Before you begin
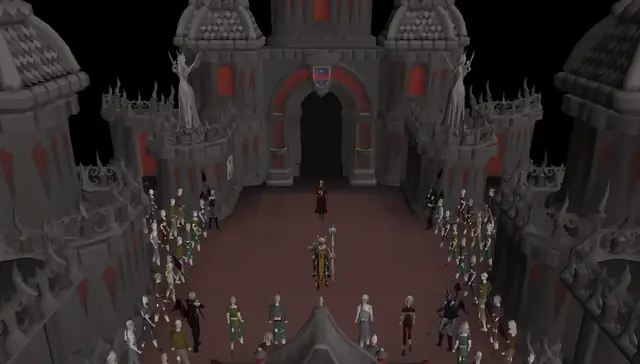
Travel to Miscellania (fairy ring: CIP), and speak to Advisor Ghrim in the castle to start the quest. He'll say that since you took up the position of regent, King Vargas has grown bored and both he and Queen Sigrid have begun threatening each other with another war.
| A Royal Plan | |
| The jingle that plays during the cutscene. | |
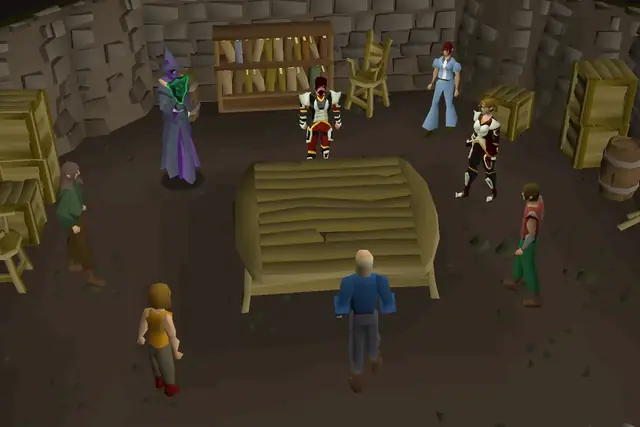
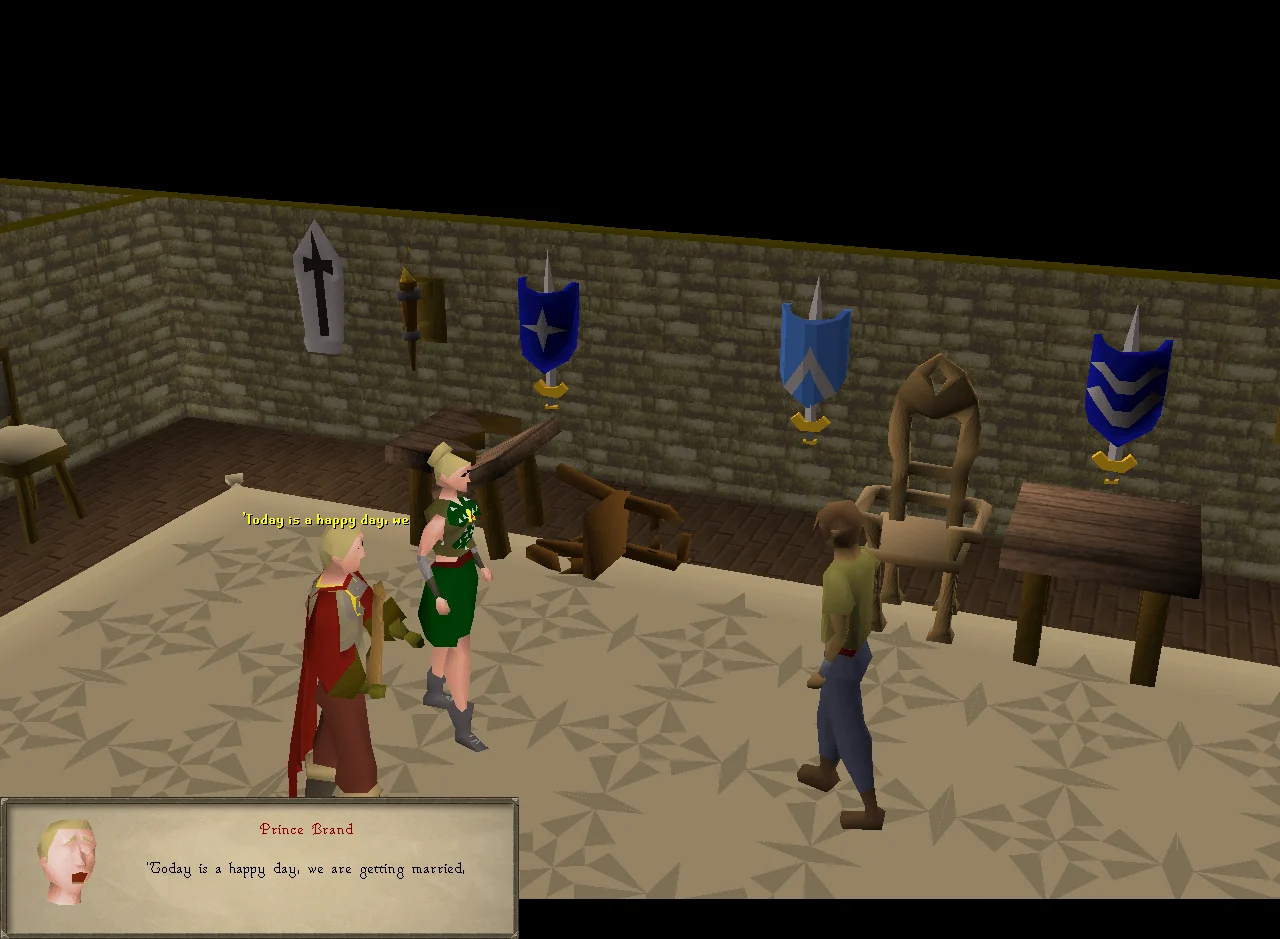
Speak to Prince Brand or Princess Astrid, found in either of the two rooms next to the throne room, and a cutscene will follow. Prince Brand suggests that you convince the King and Queen Sigrid to marry to prevent further catastrophe, which Princess Astrid excitedly agrees upon.
Stolen goods
Speak to the King. He'll say that several items from many of Miscellania's citizens have been going missing, and that you should investigate.
Find and speak with either Gunnhild by the herbs, Leif by the trees, Frodi on the dock, or Magnus by the mines (they will all say the same thing, you only need to talk to one of them). Apparently, Etceterian soldiers came to ask for tithes, the workers refused, and the next day items were stolen.
Talk with the King again. He'll send you to discuss this situation with Queen Sigrid.
More stolen goods
Speak with Queen Sigrid in Etceteria. She'll tell you to talk to her citizens about things gone missing, criticising the king whenever she gets the chance.
Go downstairs to speak to one of the Etceterian citizens such as Helga, Haming, or Matilda. They will tell you the same story as the workers in Miscellania, only with the roles reversed.
Speak again with Queen Sigrid and update her on the known information. Soldiers have been mentioned in both stories, yet neither side has an army. She'll say this is your responsibility due to your position as regent and demand you solve things.
Note: Be sure to have the things you will need for the fight at this point, utilising the bank directly north on Etceteria. Remember to take antipoison potions and prayer potions as needed. It is recommended to leave about 10 inventory spaces open for items you're going to use later on during the quest.
To the dungeon with you!
Go back to Miscellania and speak with King Vargas to review your conversation with the Queen. He'll ask you to speak with Ghrim about the presence of these alleged armies and the missing goods.
Ghrim, assuming these happenings are being caused by outsiders, will suggest you speak with the Sailor at the docks to find out if he's seen any suspicious characters.
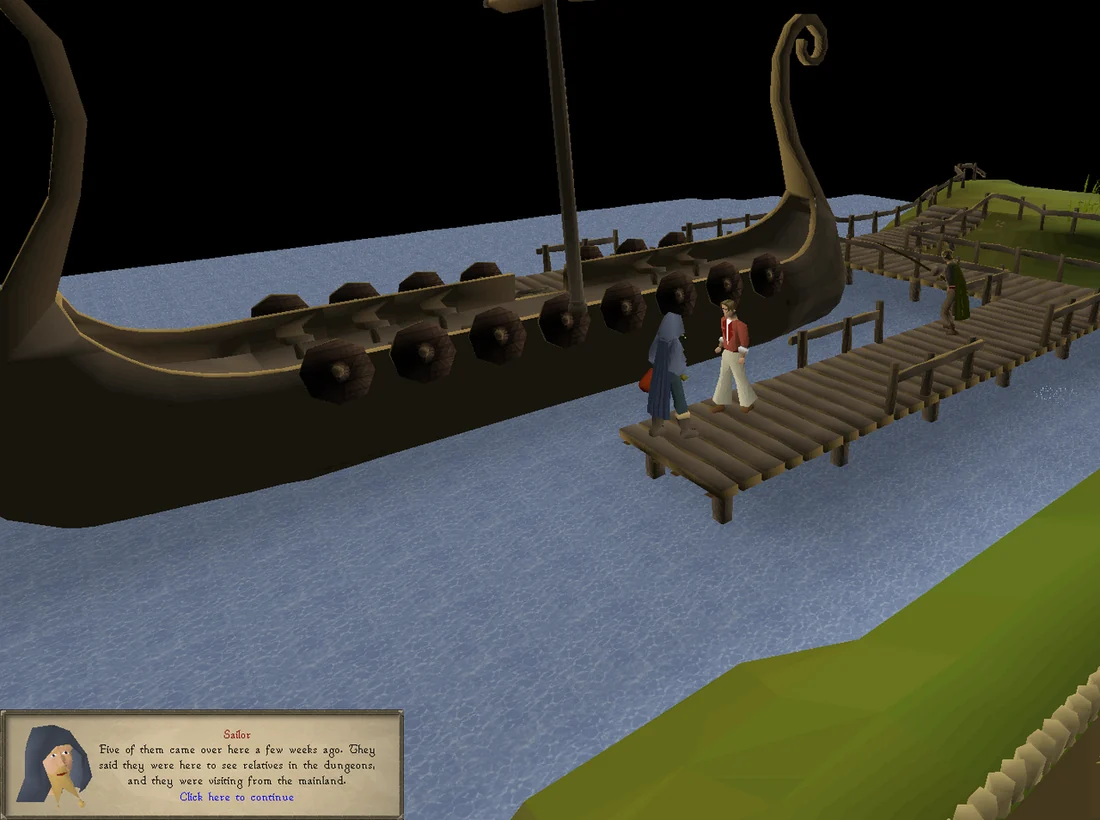
Head to the Sailor at the docks of Miscellania. He will mention a group of children who came to the island recently, saying they had gone to go visit their family in the dungeon.
The dungeon is still inaccessible at this point, so speak again with King Vargas to gain access. He'll give you a scroll with his signature.
Take the scroll and enter the dungeon within Miscellania's castle walls (look for the dungeon icon on the minimap), and you will arrive in a small underground settlement.
Repairing the lift
Items needed: 9 free inventory spaces, 5 coal (or you can mine the coal from the chamber with a pickaxe you can find near the dwarf miners)
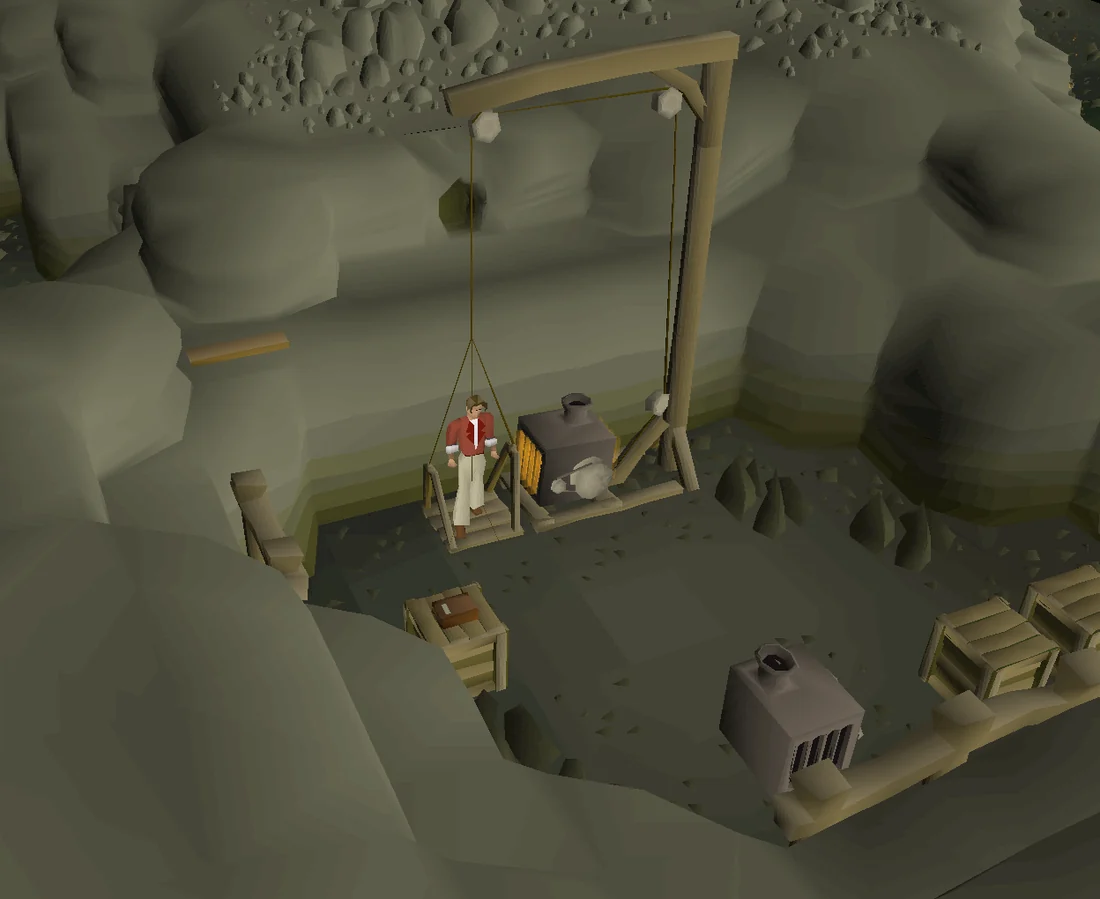
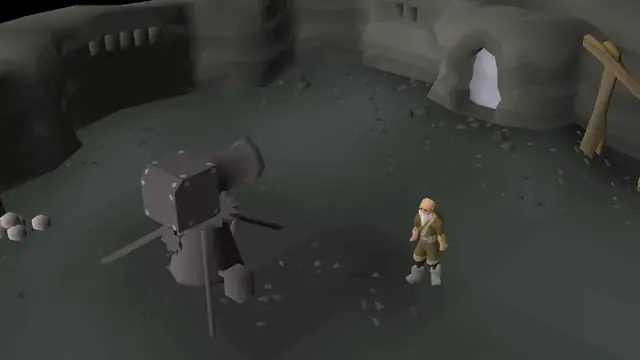
Upon speaking with Donal, he'll talk about a monster deep within the caves. He'll give you a mining prop to get through the passage and into a room with a broken lift.
Head up north, and you will see two dwarf miners. Pick up a bronze pickaxe from the rock if you need one.
Use the mining prop on the crevice and squeeze through it.
Now, you need to repair the lift using items found in the boxes in the chamber:
- First, take an engine and three beams, three pulley beams, and two ropes from the crates.
- Before you start assembling the whole structure, add five chunks of coal to the engine (this can also be done last, after step 8). If you did not bring coal with you, the chamber has four coal rocks as well as a pickaxe near the dwarves if you forgot one.
- Use a pulley beam on the broken scaffold on the east side of the room to attach it.
- Use a beam on a pulley beam to make a long pulley beam, and then use it with another beam to get a longer pulley beam, which you must then attach to the scaffold.
- Use the final pulley beam on the scaffold.
- Use a rope on the scaffold to wind it through the pulleys.
- Use the third beam on the platform to repair it.
- Place the engine on the engine platform (Note: the engine platform is not the same as the platform from step 7. Rather, it is the one on the tile which faces the engine spawning spot).
- Add the 5 pieces of coal to the engine (only necessary if not already added).
The lift should be operational now. While making sure you have another rope, click the 'Use-Lift' option on the platform to head closer to the mysteries of the island. (If this option doesn't appear, make sure you have added 5 coal to the engine. You can do it when placed on the engine platform.)
The burnt diary
Take the plank and enter the small tunnel on the east wall. Continue travelling east and use a rope with the overhanging rock to swing across the water.
You will come across the remains of a fire, search it to get the first part of a burnt diary. Read the diary, and save it for later.
Use the plank to cross the slippery rocks - otherwise, you may be hit for 8 damage. The plank is not left behind and may be reused every time. The rocks can also be safely skipped without a plank via the run trick.
As you proceed further into the caves, you will come across two more fire remains, search them to get the second and third part of the diary. After the third fire remains, there will be some steam vents in the ground. Do not walk across or stand on them as they repeatedly damage you depending on your Hitpoints level.
After the vents, there will be another set of fire remains, search it for the fourth part of the diary. Going further down into the caves, there will be some rocks lying on the cliffs above your path. Do not stand or walk under those rocks as they will fall down on you and deal some damage depending on your Hitpoints level.
After progressing through the area with the rocks, you will come across yet another fire remains. Search it to find the fifth and final page for the diary. Once you have completed the diary, you must read it before being able to enter a crevice at the end of the passage.
Those meddling kids!
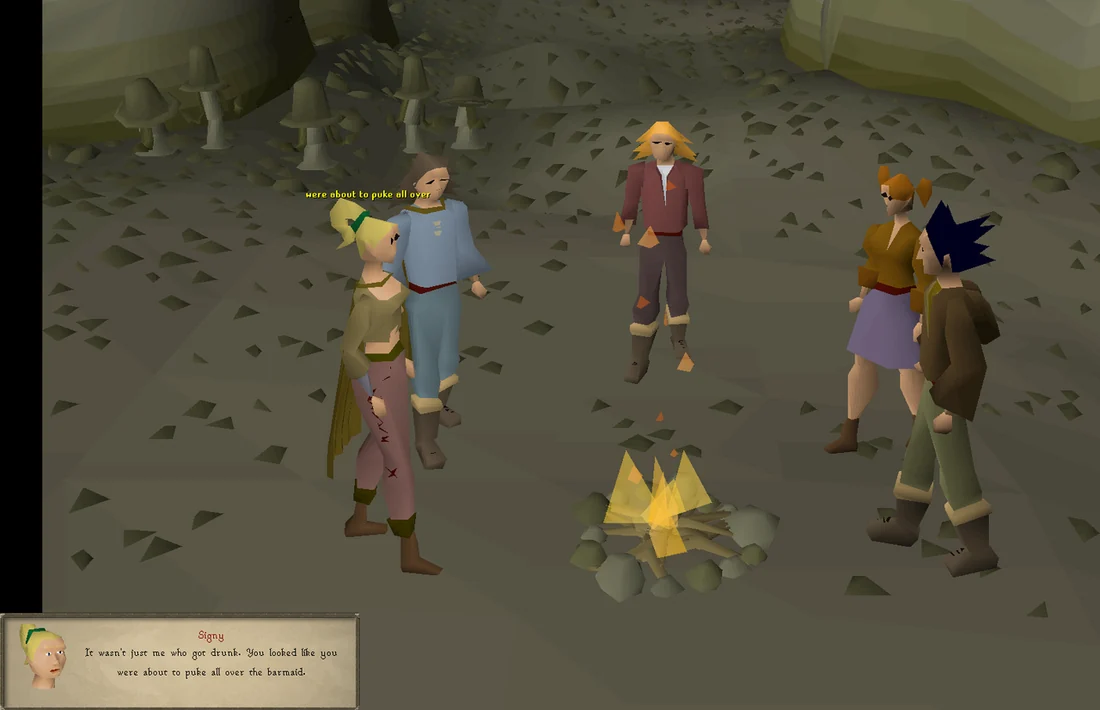
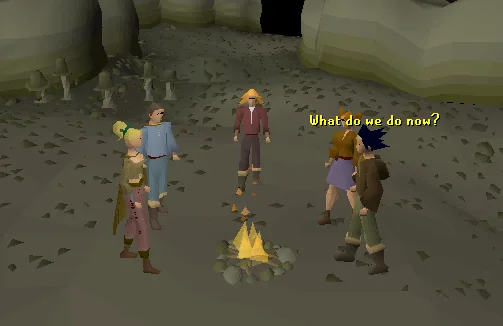
Enter through the crevice, and you should see a cutscene involving some lost kids. Speak to them to get the full story. The kids had apparently not been able to pass the trials to become a Fremennik, so they were going to start a war here and then stop it, and be seen as heroes. They are to blame for everything.
Travel out through the next exit, and roam the passages where there are lots of Sea Snake Young until you reach another crevice; squeeze through and kill the Giant Sea Snake (level 149, with only 100 HP).
King of Slither and Thither
| This fight takes place in an instance. |
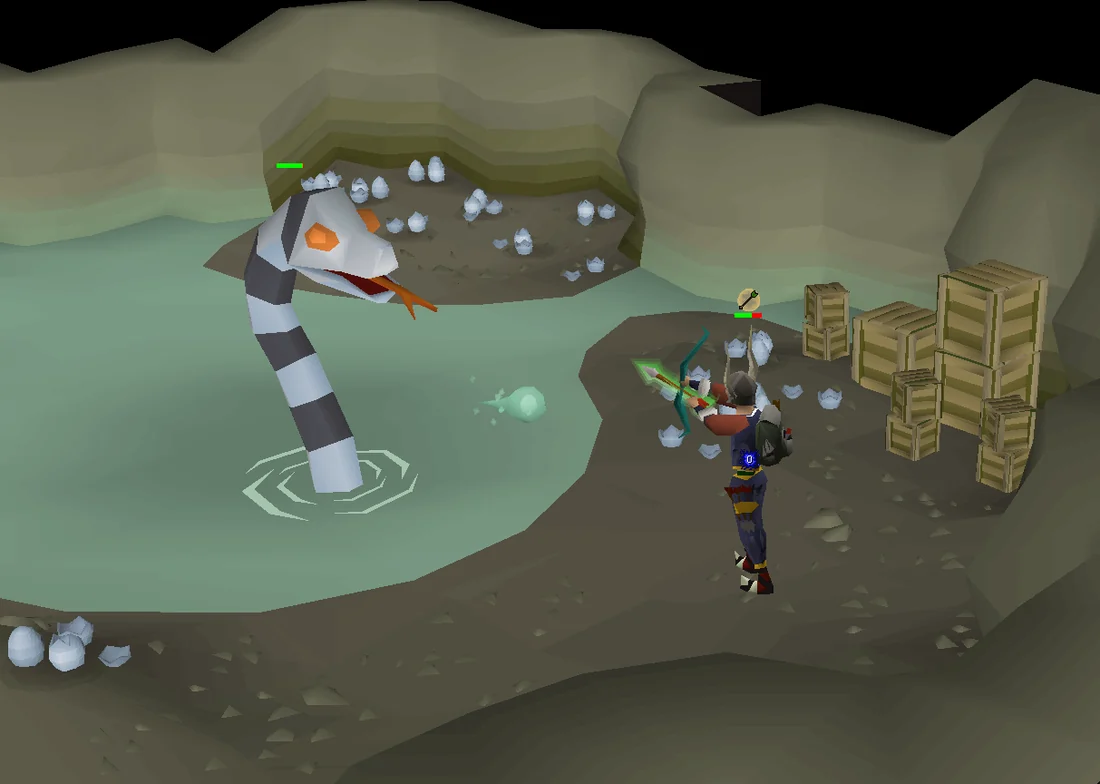
Protect from Melee works fine if you want to run up close. From a distance the snake uses ranged attacks so use Protect from Missiles if ranging or maging. Level 60 Magic and Iban blast will be enough to kill the snake quickly. A Dwarf multicannon can be setup in the boss room to help lower levels defeat the Giant Sea Snake.
Its poison damage hits 9 so an antipoison is strongly recommended. Note that a superantipoison will also negate any effects for 5 minutes. A player who has around level 70 Ranged, full Black d'hide, a Magic Shortbow (i), and Rune arrows, for example, should only need 1 dose of normal Antipoison to kill the Snake. Similarly, level ~70 Melee stats with a Dragon scimitar should also only need 1 dose of antipoison. After the fight, it is also recommended to immediately drink your antipoison because the damage of the poison is very slow, yet heavy.
At peace once again
Pick up the heavy box that the snake drops. If you forget to collect the box before leaving, speak to the guard outside the dungeon on Etceteria.
Return through the crevice. A guard will notice you and help you up, and you will surface near Sigrid's castle.
Go to Queen Sigrid and talk to her. She'll be impressed with you, and she'll give you 20,000 coins as a reward and a letter to take to King Vargas (reading it will not affect the quest).
Talk to King Vargas to give him the letter for the rest of your reward.
Congratulations, quest complete!
Quick checklist 47 instructions
Use this when you already know the route. The full walkthrough above includes explanations and diagrams.
Stolen goods
Speak to Advisor Ghrim.
Say: Has anything been happening in the kingdom recently? → Very well, I'll sort it out. (fairy ring code CIP)
Talk to Princess Astrid or Prince Brand (depending on who you married), watch the cutscene.
Talk to King Vargas.
Say: Right away, your Majesty.
Talk to Gardener Gunnhild by the flax patch next to the castle entrance.
Talk to Queen Sigrid.
Say: Of course, it's my duty.
Talk to Matilda in/around the southern building inside the castle's walls.
Talk to Queen Sigrid.
Say: I suppose so...
Now is a good time to gear up at the bank at the north part of Etceteria as you won't be coming back here until after the boss fight. Don't forget to take an antipoison to help with the fight. Also take 5 coal or have at least 5 empty spaces. Note: Do not waste time trying to mine coal near Miner Magnus, as you don't actually get any resources. An area to mine coal is provided later on in the quest.
The dungeon
Talk to King Vargas.
Talk to Advisor Ghrim.
Say: King Vargas asked me to talk to you.
Talk to the Sailor at the Miscellania docks.
Say: I'm looking for a sailor...
Talk to King Vargas with one open inventory slot to receive a scroll proving you are Regent of Miscellania.
Enter the dungeon, down the ladder in the courtyard (along the castle's south wall).
Talk to Donal in the pub.
Say: Of course. Dealing with monsters is what I do best!
Go north, take a pick (on the rock next to the dwarves) if you need coal.
Use the mining prop on the crevice and proceed through the crevice.
Take an engine and put the 5 coal in it.
Take the following from the crates:
2 beams.
3 pulley beams.
1 rope.
Use a beam on a pulley beam to get a long pulley beam; use another regular beam on it to make a longer pulley beam.
To the broken scaffold add:
A pulley beam.
A longer pulley beam.
A pulley beam.
A rope.
Take:
1 beam.
1 rope.
Add a beam to the platform.
Put the engine on the engine platform.
If you haven't yet, add your five coal to the engine.
Use the lift and take the plank.
Enter the tunnel, run east, and use your rope on the rock.
Keep running and make sure to continue through your character's dialogue.
Take the diary from the fire remains.
Use your plank to cross the rocks, be sure to collect all diary pages by searching the four additional fires through the cave.
Continue running and avoid the steam vents as they will damage you.
Read the diary and continue through the crevice, watch the cutscene.
Talk to Armod.
The final battle
Follow the passage north and enter the crevice at the end of the passage
Kill the Giant Sea Snake. Use protect from ranged prayer and attack at a distance (magic preferred).
Take the heavy box.
Leave the crevice of the boss room and climb up the rope for a shortcut back to Etceteria castle.
Talk to Queen Sigrid to receive a letter and 20000 gold. (You need two free inventory slots.)
Talk to King Vargas.
QUEST COMPLETE
Rewards
- 20,000 Coins
- 5,000 Agility Agility experience
- 5,000 Slayer Slayer experience
- 5,000 Hitpoints Hitpoints experience
- The ability to hire Bosun Zarah as a crewmate with 80 Sailing
- Enhanced rewards from Managing Miscellania
OSRS WIKI CONTRIBUTORS
Sources & credits
Walkthrough text and preparation lists are adapted from Old School RuneScape Wiki contributors under CC BY-NC-SA 3.0. Game imagery © Jagex Ltd; individual image credits are available from their captions. This page is fan-made and not affiliated with Jagex.
- Royal Trouble →full guide · revision 15292352
- Royal Trouble/Quick guide →quick guide · revision 14895716
KEEP QUESTING