| Underground Pass | ||||
|---|---|---|---|---|
 | ||||
| Released | 3 March 2003 (Update) | |||
| Members | Yes | |||
| Floors | Four | |||
| Location | Kandarin | |||
| Inhabitants | Various | |||
| Music | Cursed, Expecting, Iban, Intrepid, Underground Pass | |||
| Map | ||||
The Underground Pass is one of the pathways to reach Tirannwn, the elven lands of western Gielinor. Traversing the enormous and hostile dungeon is the focus of the eponymous Underground Pass quest.
Instructions
Please keep in mind that although passing through this dungeon requires less interactions than that of the quest, it is still a very dangerous place, and caution is advised. Note: If you have completed Underground Pass, and are going to Tirannwn for, say a Treasure Trail step, start the quest Regicide by talking to King Lathas before attempting to navigate past Iban's temple. If you don't, you won't be able to open the temple doors.
Items to bring
- Rope (minimum of 2, as you may fail the rope swing multiple times)
- Any bow which fires normal arrows
- A few arrows (broad arrows, ice arrows, ogre, training, and poisoned arrows will NOT work!)
- Spade
- Emergency teleport
- Food
- Coins to buy more food from Kamen on the final floor
- Stamina potions
- Agility potions or summer pies if your Agility level is low
If you are planning to enter the elf lands after the Underground Pass:
- Antipoison
- Axe and tinderbox can be used to cook rabbits killed in the area, helping you to recover from trap damage.
Entering the pass
Part 1
|
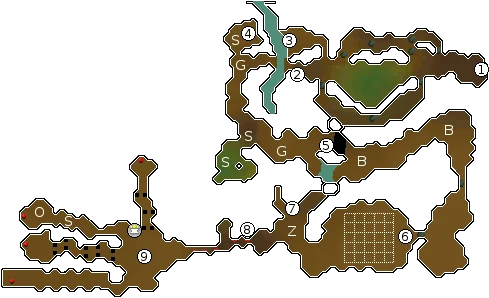
B - Giant bats |
- When you are ready to enter the Underground Pass, head to West Ardougne, and enter the cave.
- Inside the cave, you will see three distinctive paths. Do not take the middle bog-like path, as you will sink down into a tunnel full of rocks which wastes a lot of time climbing out. Take the north or south path to continue, climbing over the rockslides.
- Right ahead, you should see a bridge. Search the abandoned equipment on the floor beside the fire to obtain an oily cloth for your arrows. You must have at least one inventory space to get the cloth. Use it on your arrows to make a fire arrow, then use that on the fire to light it. (Each cloth makes one fire arrow. You can take more than one cloth to make more fire arrows at once. You will only need another one if you fail the next step or the rope swing.)
- When you are ready, equip your bow and lit fire arrows and move to the northern pocket. Fire at the guide rope for the bridge (it has a left-click option.) Note: A Crystal Bow cannot be used for this section. If you try to fire the flaming arrow with a Crystal Bow it says "You'll need a bow to do that".
- Once you have crossed the bridge, you may be attacked by level 39 blessed spiders if you are under level 79 Combat. Stay away from the small rooms to the north and south to avoid them. (If you need a plank for Regicide, one spawns in the north room just after you cross the bridge, but there is another spawn later with no spiders.)
- Head south-east and use your rope on the rock above the trench on the northernmost path. This may fail, and you will lose your rope. (If you do fall, follow the dark path, climbing over the rockslides along the way. You will come out near the start. Go west and take the north or south path as described above.)
- Continue the path east, then south, and climb over the rockslide.
- Head over another pile of rockslide, and you should be in the room with the grid. The path of spaces on the grid that are not trapped is different for every player, so if you remember the pattern from the quest, proceed on with that. Otherwise, trial and error should eventually get you through. It is a good idea to bring out a piece of paper at this point to record the correct path for future reference, as it will be the same each time you go through the dungeon.
- Once you find your way through, pull the lever to the south.
- After passing the gate, you should be in a room full of zombies. Head west past the furnace and the fire, and search the odd markings on the wall to disable each trap.
- Pickup the journal next to the well. Read it and climb down the well.
Part 2
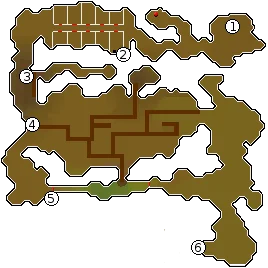
- Entrance from the first area via climbing down the well
- Dig by the mud patch with your spade.
- Narrow ledge
- Agility maze
- 50 Thieving shortcut to bypass the maze
- To the third area
- Head west until you see a cage of prisoners. Pick the lock of the south-east cage. You might need to try more than once. Pick-locking these cage doors gives 3 experience in the Thieving skill when successful and can be done at level 1 Thieving.
- Use your spade on the mud pile, or dig next to it, to pass through a tunnel.
- Head west and cross the ledge.
- If you have 50 Thieving, go south then east, and there are two gates where you can pick the locks to bypass the maze. Otherwise, head onto the stone bridge, balancing over the narrow parts. Take the right path, left, then finally, the left again.
- Squeeze through the pipe to the south.
Part 3
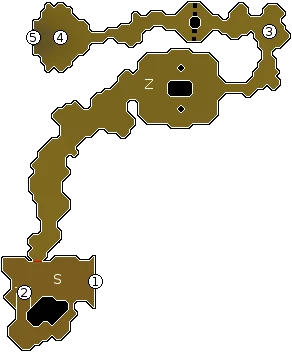
- Entrance from the second area
- Unicorn
- Sir Carl, Sir Harry, and Sir Jerro
- Well
- To the fourth area (Iban's Lair)
- You should now be near a caged unicorn and some skeletons. Pass through the northern tunnel in the room and continue on past some zombies and the room where the paladins were. If you want a plank, grab one from just before the room with the Zombies.
- Be careful of the traps! The plank is not actually needed to pass them, as you can just run straight through them, but doing so will deal around 10-12 damage. Otherwise, use the plank on the flat rock to traverse it, and go on until you get to an ominous door. Pass through to continue. (You can drop the plank now.)
- Note: The well (marked #4) located in this area is used to recharge Iban's staff.
Part 4
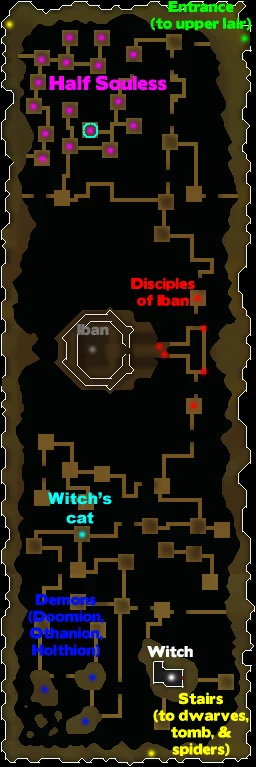
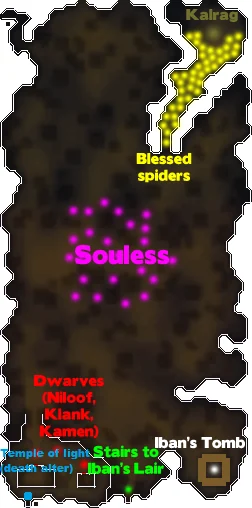
This is the last, and arguably the most frustrating part of the whole Underground Pass.
If you need food, head as far south as you can until you find a way to descend. Once down, talk to Kamen the dwarf. Decline his brew: it will lower your Agility level, thereby causing you to have a higher chance of falling into the abyss. Whether or not you accept the brew, he will then offer to sell you food for 75 gp.
- After buying food, or any time after you fall, head north-west until you find the stairs up. If you didn't go to buy food, head directly to the north-west corner.
- Head south and take the third walkway.
- Jump over the bridge. Continue in a south-eastern direction, jumping over two more bridges, until you reach the T-shaped area. If you fall, go back up the stairs and try again. It can take many attempts to pass all of the bridges.
- Once you pass the final obstacle, head into the throne room of Iban (the Zamorak monk robes are NOT needed) and climb-down the well.
- Head west and exit the cave.
Congratulations! You have reached the end of the Underground Pass!
Music
- Cursed, played at the entrance section of the dungeon
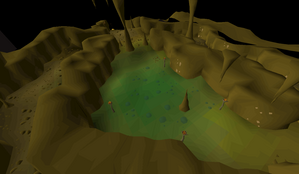
- Expecting, played at the hillside rocky pit when falling through the swamp or rope swing
- Iban, played lower floor of Iban's lair
- Intrepid, played in Iban's lair
- Underground Pass, played in the second area of the dungeon, and in the pitfall trap underneath the grid in the first area
Gallery
-
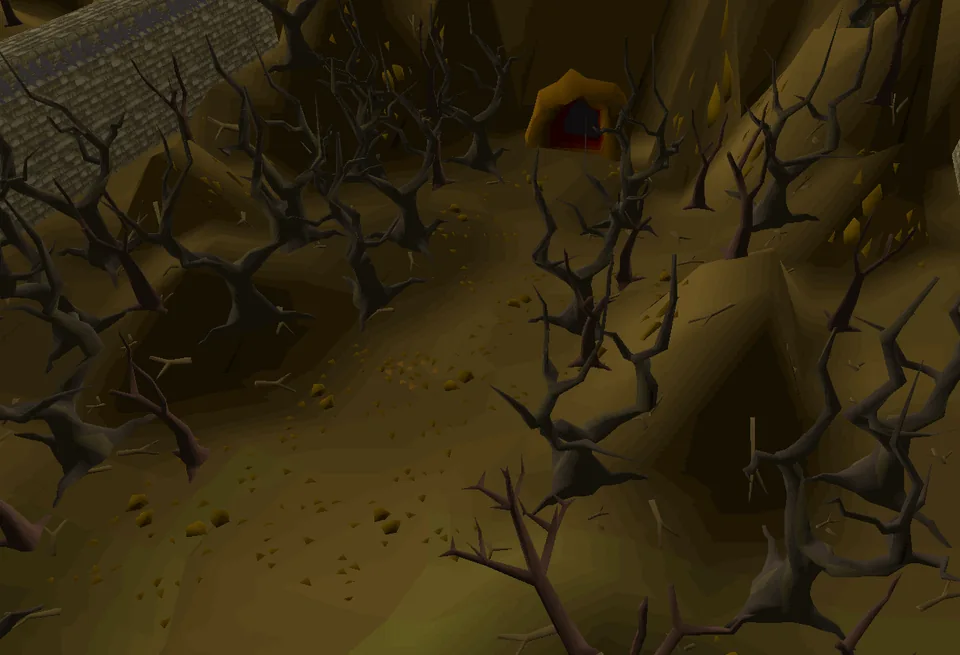 The entrance to the Pass from Ardougne.
 -
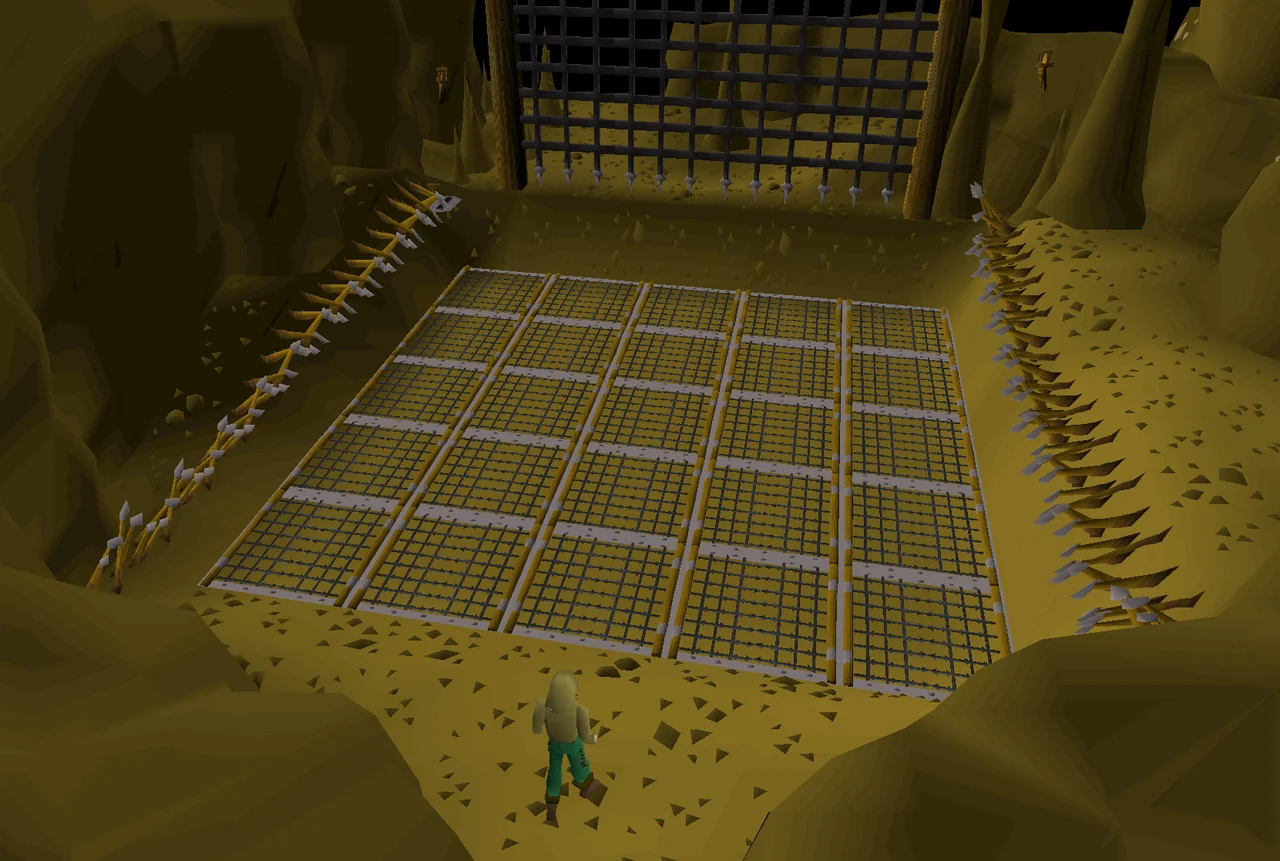 A dangerous grid and portcullis in the first part of the Pass.
 -
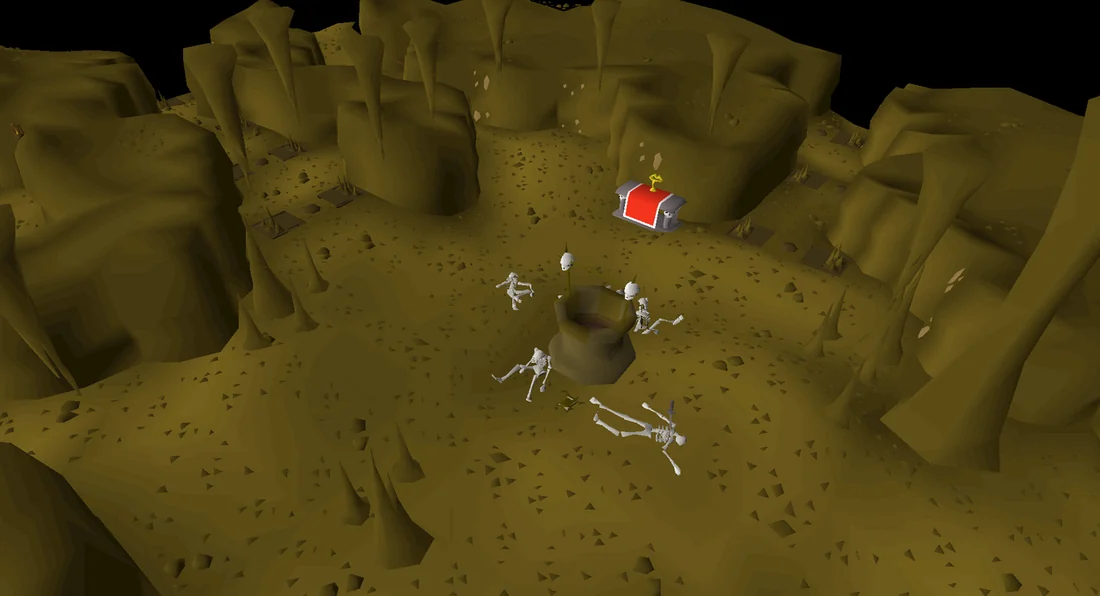 The dreadful Well of Iban and a Chaos Altar.
 -
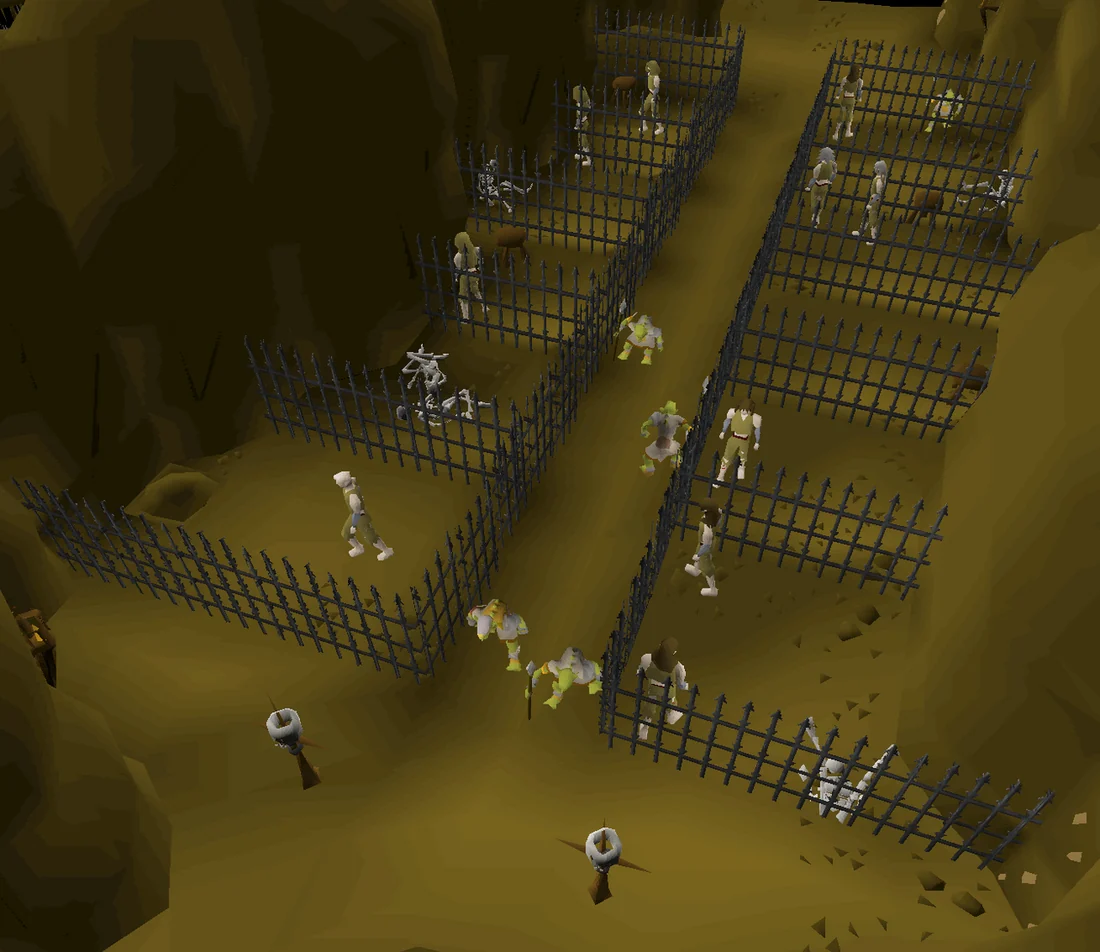 A prison of demented slaves.
 -
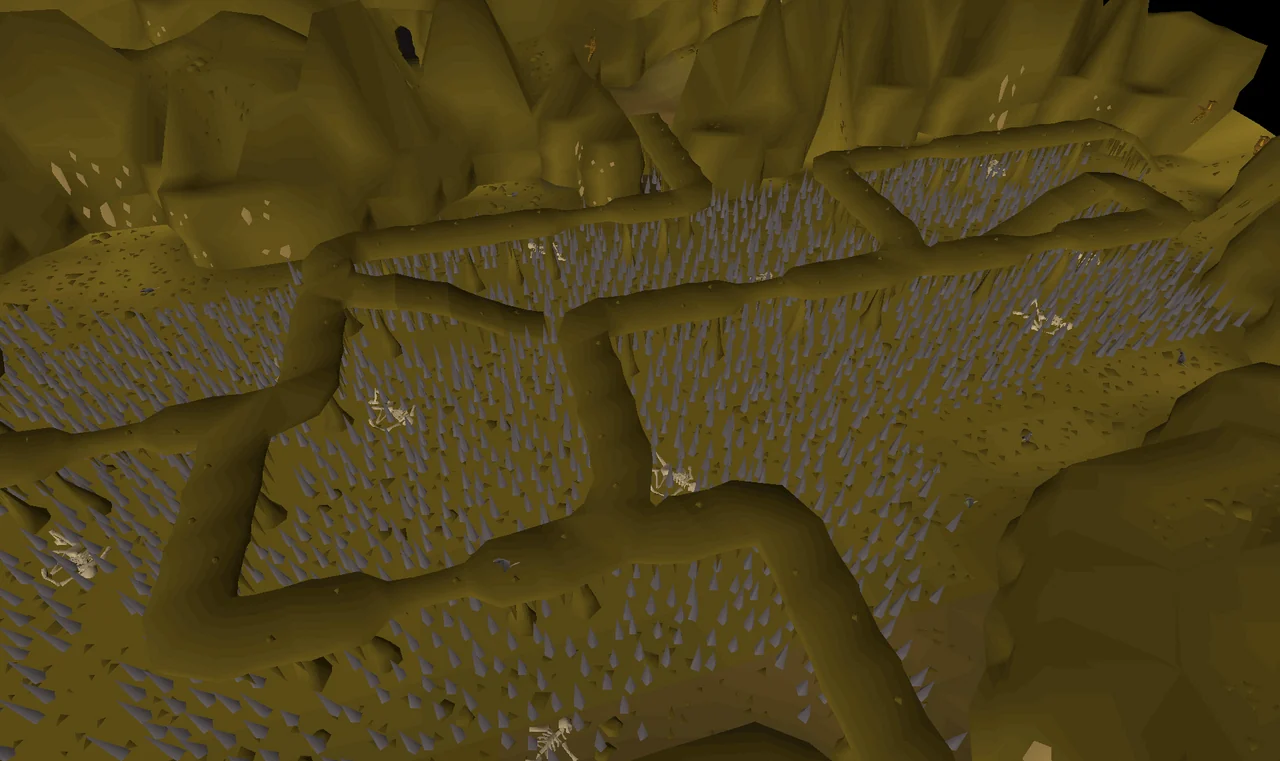 A dangerous walkway beyond the prison.
 -
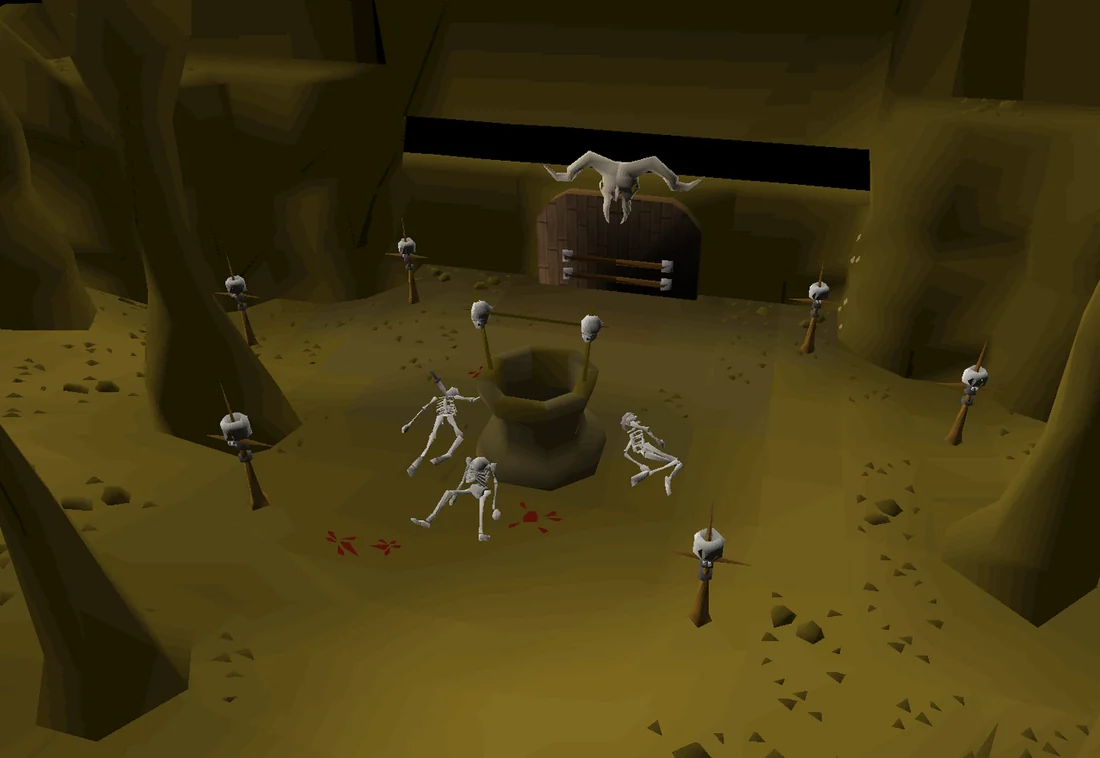 Another well that unlocks the doors to Iban's demesne.
 -
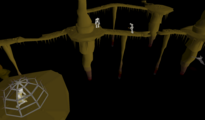 The massive abyss spanned by platforms carries (half-)soulless.
 -
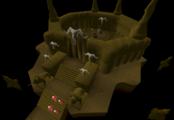 The temple containing Iban's throne.
 -
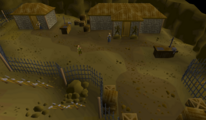 The dwarven settlement beneath Iban's temple.
 -
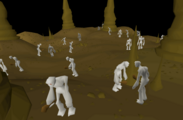 The very depths of the Pass, patrolled by soulless.
 -
 The lair of Kalrag.
 -
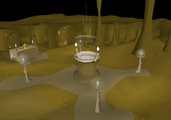 The Well of Voyage on the elven side.
Changes
| Date | Changes |
|---|---|
| 25 July 2019 (Update) |
Several changes are made to the Underground Pass dungeon, along with the release of Song of the Elves. These changes include, but are not limited to:
|
Trivia
- While there are many Agility-based obstacles in the dungeon, all are possible at level 1, and only the pipe obstacle rewards Agility experience.